How to Fix Embroidery Coming Loose
Embroidery adds a personal touch and vibrant design to various textiles, but over time, the intricate stitches can come loose, leading to unsightly fraying or even complete unraveling. Understanding the common causes of this issue is essential for maintaining the integrity of your embroidered pieces.
Whether it’s due to frequent washing, wear and tear, or the use of incompatible materials, addressing loose embroidery promptly helps preserve not only the aesthetic appeal but also the sentimental value of your treasured items. In this guide, we will explore effective methods to fix and prevent embroidery from coming loose, ensuring your projects remain beautiful and long-lasting.
Why Does Embroidery Come Loose?
Embroidery is a delicate craft that requires precision and patience. Various factors can cause it to come loose, such as:
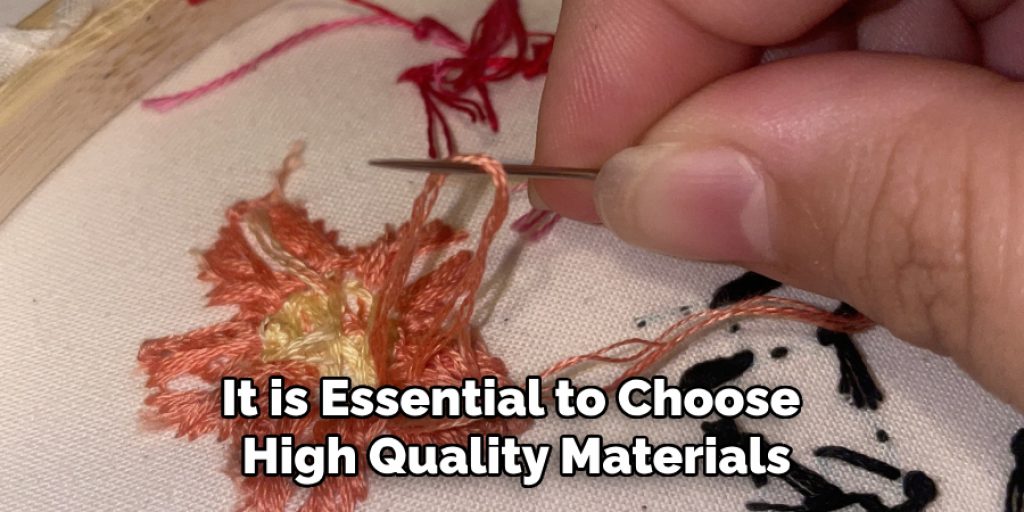
Poor Quality Materials:
Using low-quality threads or fabric can cause the embroidery to loosen and weaken quickly. It is essential to choose high-quality materials, including sturdy fabric and colorfast threads, to ensure the longevity of your work.
Improper Washing or Drying:
Frequent washing or drying at high temperatures can also lead to loose embroidery. The agitation of the machine and exposure to heat can cause the stitches to come undone, especially if they are already weak due to poor-quality materials.
Wear and Tear:
Embroidery on clothing or other frequently used items may experience wear and tear over time, causing the stitches to loosen. This is particularly common in areas that undergo a lot of movement, such as cuffs, collars, and hems.
Incompatible Materials:
Using incompatible materials, such as a thick thread on a delicate fabric, can cause tension and strain on the embroidery stitches, leading to them coming loose. It is essential to consider the weight and type of thread in relation to the fabric when choosing materials for your embroidery project.
8 Step-by-step Guidelines on How to Fix Embroidery Coming Loose
Step 1: Assess the Damage
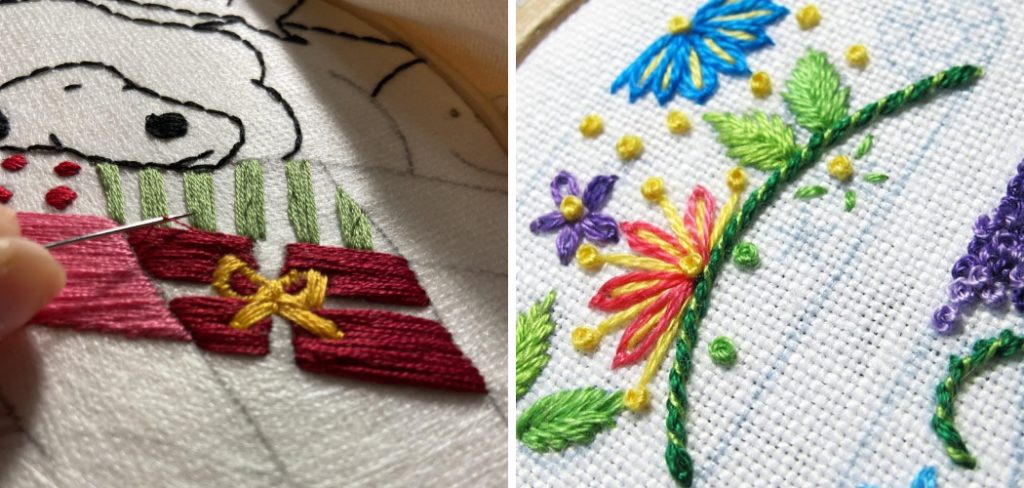
Before attempting any repairs, it’s crucial to examine the affected area thoroughly. Look for frayed threads, loose stitches, or any spots where the embroidery appears to be unraveling. Determine the extent of the damage to understand the necessary steps for fixing it. If the stitches are only slightly loose, you may be able to simply tighten them.
However, if there are larger areas of concern or significant unraveling, you may need to re-stitch sections or reinforce the area. Taking the time to assess the damage will help you create an effective plan for restoration, ensuring that your embroidery is returned to its former glory.
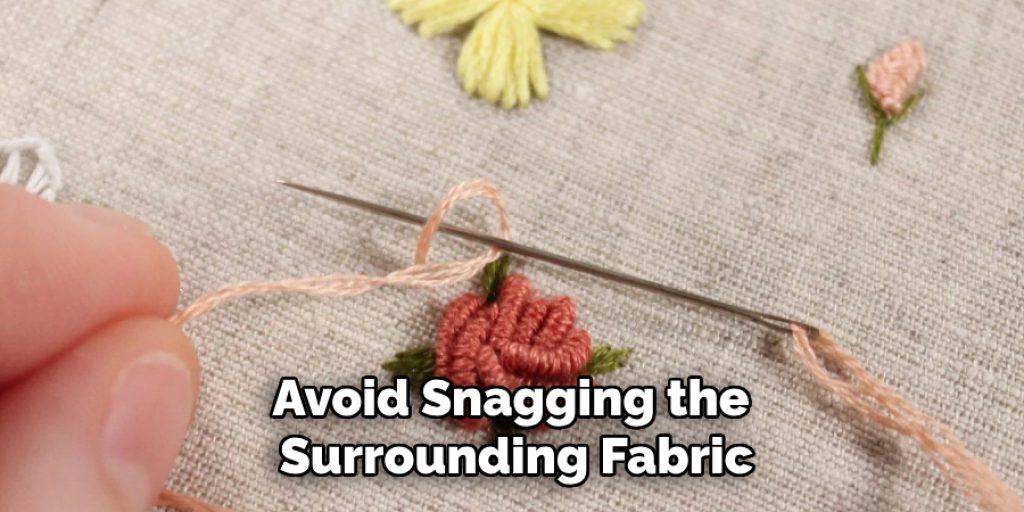
Step 2: Trim Loose Threads
Once you have assessed the damage, the next step is to carefully trim any loose threads that could lead to further unraveling. Use a pair of sharp fabric scissors to avoid snagging the surrounding fabric. Gently pull on the loose threads to identify which ones are disconnected and require trimming.
Be cautious not to cut any threads that are still intact and support the overall structure of the embroidery. After trimming, ensure that you remove any excess threads from the area to prevent them from getting caught in the embroidery during repairs. This step will help create a clean base for the next stages of fixing your embroidery.
Step 3: Tighten Loose Stitches
If the damage is minimal, you may be able to fix it by simply tightening the loose stitches. Use a small needle and thread that matches the color of your embroidery to re-stitch over the loose areas.
Begin by anchoring the thread on one side of the embroidery, then carefully weave in and out along the existing stitches, pulling gently as you go. Be sure not to pull too tightly, as this can cause puckering or distortion in your design. Once you have stitched over the entire area, anchor the thread again and secure it with a knot.
Step 4: Re-stitch Sections
For more significant areas of loose or missing stitches, you may need to re-stitch sections of your embroidery. This process involves using new threads to recreate the original stitches in the affected area. It is essential to match the color and thickness of your existing embroidery as closely as possible for a seamless repair.
Start by anchoring your thread on one side of the damaged area and carefully stitch along the original pattern until you reach the other side. Use small, even stitches to ensure that the newly added section blends in seamlessly with the rest of your design. Once you have completed the re-stitching, secure the thread with a knot and trim any excess.
Step 5: Reinforce Weak Stitches
If you notice that certain areas of your embroidery are prone to constantly coming loose, it may be necessary to reinforce them for added strength. Use extra stitches or knots in these vulnerable areas to provide support and prevent future unraveling.
You can also use a small amount of fabric glue on the backside of your embroidery to hold weak stitches in place. This will help secure them without altering the front design.
Step 6: Patch Up Holes
In cases where loose embroidery has resulted in holes or gaps in the fabric, patching is essential to restore the integrity of the item. Start by selecting a patch fabric that closely matches the original material in terms of color and texture. Cut a piece that is larger than the hole, allowing it to extend beyond the edges for a secure hold.
Position the patch behind the hole and use a needle and thread to carefully stitch around the perimeter, making small, tight stitches to ensure the patch adheres well. You may opt for a zigzag stitch to further secure the patch and prevent fraying. Once the patching is complete, you can gently re-stitch any remaining loose embroidery over the patched area to blend it with the surrounding design, ensuring a cohesive and seamless appearance.
Step 7: Iron and Press
After completing the necessary repairs, it is crucial to iron and press your embroidery to set the stitches and ensure a smooth finish. Use a warm iron on the backside of your embroidery, being careful not to apply too much pressure or heat directly onto the design. This step will help flatten any puckering or distortion caused by re-stitching and reinforce the newly repaired areas.
It is also essential to iron and press your embroidery after each subsequent wash to prevent any loose stitches from reoccurring.
Step 8: Store Properly
To avoid future damage and prolong the lifespan of your embroidery, it is crucial to store it properly. Avoid folding or storing embroidered items in tight spaces that could cause pressure on the stitches. Instead, consider using acid-free tissue paper to wrap the item gently and store it in a flat, dry place. This will help maintain the shape of your embroidery and prevent wear and tear over time.
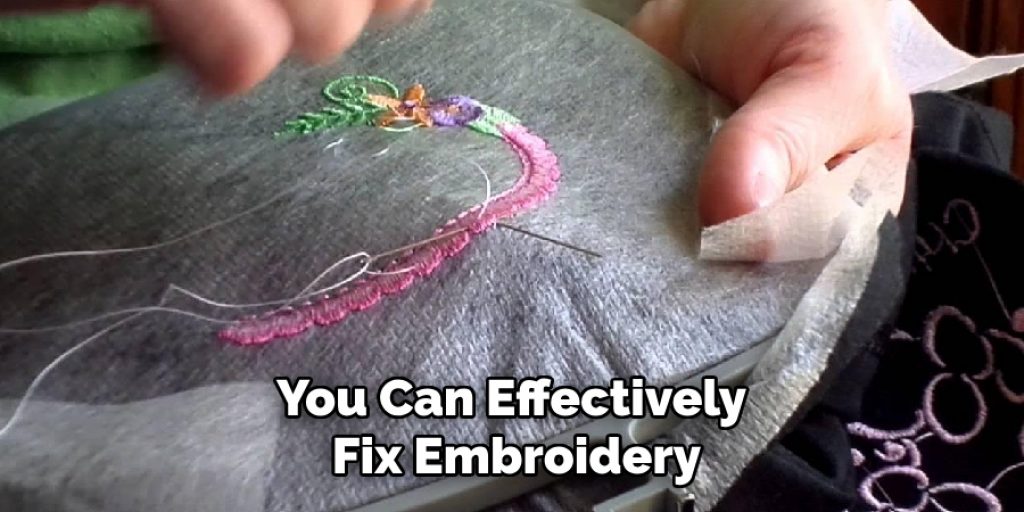
By following these step-by-step guidelines on how to fix embroidery coming loose, you can effectively fix embroidery that has come loose and keep your cherished pieces looking beautiful for years to come. Remember to take the time to assess the damage, trim loose threads, and reinforce weak stitches for a thorough restoration. With patience and care, you can successfully repair your embroidery and enjoy it once again. Happy stitching!
Additional Tips
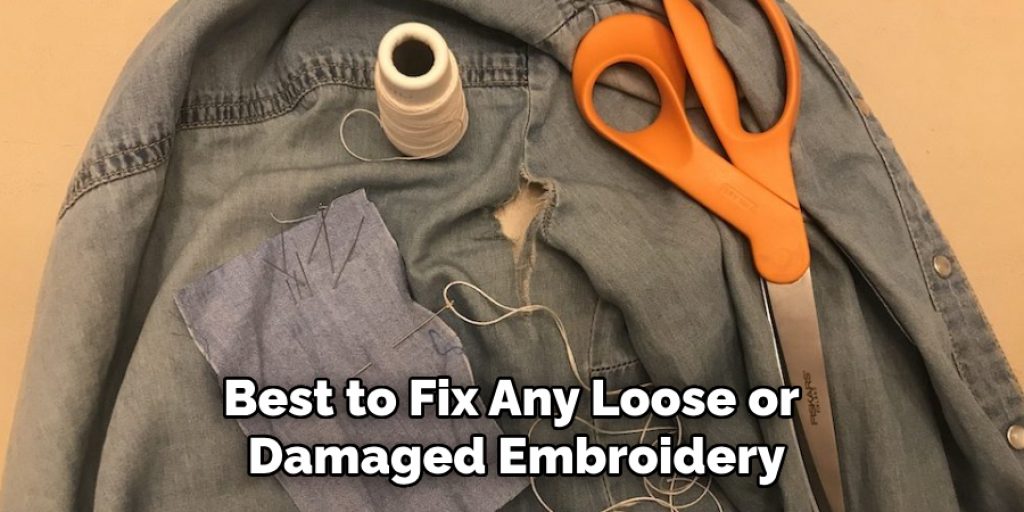
- It is always best to fix any loose or damaged embroidery as soon as possible to prevent further unraveling.
- If your embroidery has intricate and delicate designs, consider using a magnifying glass or daylight lamp to help with precision during the repair process.
- For more complex repairs, it may be necessary to seek professional assistance from a tailor or embroiderer. Remember that some damage may require specialized techniques and equipment to fix properly.
- Regularly inspecting your embroidered items for loose threads and weak stitches can prevent future damage and reduce the need for extensive repairs.
- Always handle your embroidered items with care, especially when washing or storing them, to avoid causing any unnecessary damage.
Frequently Asked Questions
Q: Can I Use a Sewing Machine to Fix Loose Embroidery?
A: While it is possible to use a sewing machine for basic repairs, it may not be suitable for intricate or delicate designs. Hand-stitching allows for more control and precision, resulting in a more seamless repair. However, if you are comfortable and experienced with using a sewing machine, it can be an efficient option for larger areas of loose embroidery. Remember to use the appropriate thread and needle size for your specific embroidery.
Q: What If My Embroidery Thread Color Is Discontinued?
A: You can try to find a similar color from another brand or consider unraveling a small section of your embroidery and re-stitching it in a new thread color that complements the rest of the design. Alternatively, you can opt for contrasting thread colors to create a unique look. In cases where the exact thread cannot be found, creativity and experimentation can lead to beautiful results.
Q: How Can I Prevent My Embroidery From Coming Loose?
A: The best way to prevent loose embroidery is by properly storing and handling your embroidered items, as mentioned in step 8. Regularly inspecting and repairing any weak stitches or loose threads can also help maintain the integrity of your embroidery. Additionally, using high-quality thread and proper stitching techniques during the initial creation of the design can reduce the chances of unraveling over time.
Conclusion
Repairing loose embroidery is a rewarding process that not only restores the beauty of your cherished items but also prolongs their lifespan. By following the outlined steps on how to fix embroidery coming loose, including trimming excess threads, reinforcing weak stitches, patching holes, and properly storing your pieces, you can ensure your embroidery remains vibrant and intact.
Additionally, maintaining regular inspections and employing careful handling techniques will significantly reduce the likelihood of future damage. Embrace the art of embroidery repair with patience and attention to detail, and you’ll not only preserve your creations but also enhance your skills as an embroiderer. Happy stitching!
Elizabeth Davis
Elizabeth is a creative writer and digital editor based in the United States. She has a passion for the arts and crafts, which she developed from a young age. Elizabeth has always loved experimenting with new mediums and sharing her work with others. When she started blogging, she knew that DIYquickly would be the perfect platform to share her tutorials and tips. She's been writing for the blog from the beginning, and her readers love her helpful advice and easy-to-follow instructions. When she's not writing or editing, Elizabeth enjoys spending time with her family and friends.