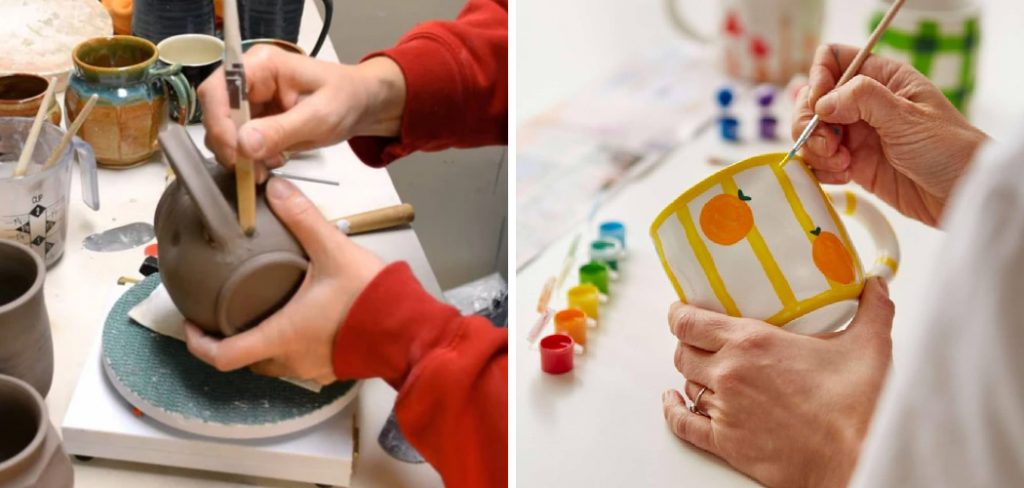
How to Fix a Ceramic Mug
Ceramic mugs are beloved items in many households, often holding coffee or tea and cherished memories. Unfortunately, they can easily become broken or chipped due to accidental drops or rough handling. Repairing these mugs is essential, not just for continued use but also for preserving their sentimental value. In this guide, we will walk you through “how to fix a ceramic mug,” ensuring you can restore your favorite drinking vessel to its former glory. You will learn the necessary steps in assessing the damage, preparing the mug for repair, and executing the repair process carefully.
Materials and Tools Needed
To repair your ceramic mug effectively, gather the following materials: ceramic adhesive or epoxy, fine sandpaper to smooth out rough edges, and paint or touch-up glaze to match the mug’s original color. Essential tools include a small brush or applicator for applying adhesive, a damp cloth for clean-up, and mixing tools for epoxy. Always prioritize safety when working on repairs: wear gloves to protect your hands and work in a well-ventilated area to avoid inhaling any fumes from the adhesive.
Assessing the Damage
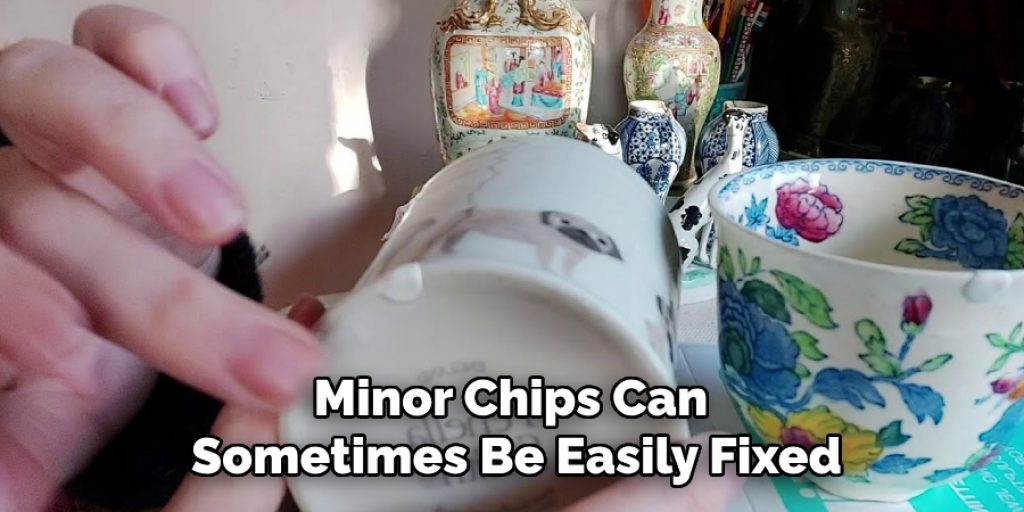
Before you proceed with repairs, take a moment to thoroughly assess the extent of the damage. Identify whether the mug has cracks, chips, or breaks and evaluate how severe these damages are. Understanding the type of damage will help determine the best approach for repair. Minor chips can sometimes be easily fixed, while larger breaks may require a more complex repair process. If the damage is too severe and compromises the mug’s functionality, it may be more prudent to consider replacing it rather than attempting a repair.
Preparing the Mug for Repair
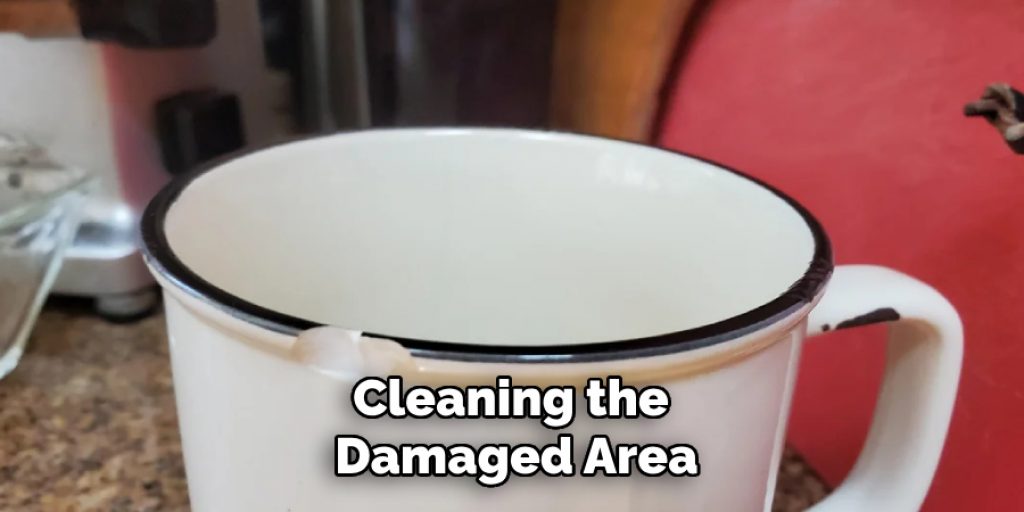
Once you have assessed the damage to your ceramic mug, the next step is to prepare it for repair. Start by cleaning the damaged area thoroughly to remove any dust, debris, or residue that may hinder the adhesion process. Use a damp cloth for this task and ensure it is particles-free. After cleaning, dry the mug completely to prevent moisture from interfering with the adhesive. It’s also essential to prepare your work area by covering surfaces to protect them from spills and gathering all the necessary tools at hand, such as the adhesive, brush, and damp cloth. By ensuring both the mug and the workspace are ready, you set the stage for a successful repair.
How to Fix a Ceramic Mug: Repairing Chips and Cracks
Using Ceramic Adhesive or Epoxy
To repair your ceramic mug, apply a small amount of ceramic adhesive or epoxy directly to the chipped or cracked area. Use a brush or applicator to evenly spread the adhesive, ensuring full coverage for effective bonding. Once the adhesive is in place, gently press the broken pieces together. It’s important to hold them in position until the adhesive begins to set, which usually only takes a few minutes. Any excess adhesive should be wiped away with a damp cloth to avoid unsightly residue after the repair is complete.
Sanding and Smoothing
After allowing the adhesive to dry fully, take a moment to examine the repair work. If there are any rough edges or uneven surfaces, use fine sandpaper to carefully sand the repaired area until it feels smooth to the touch. This step is crucial for achieving a seamless appearance. Focus on creating a flush surface that blends well with the mug’s original contours. Remember, patience is key during this process, as careful sanding helps ensure a polished and professional-looking repair.
Touching Up the Repair
Once the adhesive or epoxy has fully cured and the repaired area is smooth, it’s time to touch up the repair to match the mug’s original color. Begin by selecting a suitable touch-up paint or glaze that closely resembles the mug’s design and finish. Using a fine brush, carefully apply the paint to the repair area, ensuring precise application to avoid overextending onto unaffected sections of the mug.
It’s best to apply thin layers, allowing each layer to dry completely before assessing if additional coats are needed for full-color coverage. Once you are satisfied with the color match, set the mug aside to let the paint or glaze dry completely, typically for at least 24 hours, before it returns to regular use. This final touch enhances the visual appeal of your repair and ensures that the mug looks as good as new.
Testing the Repair
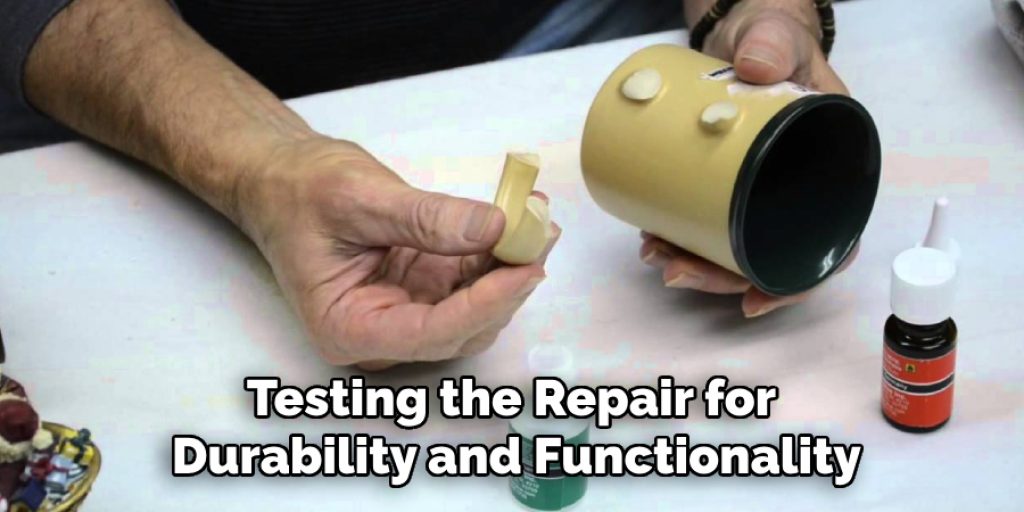
After the touch-up paint or glaze has dried, testing the repair for durability and functionality is essential. Start by examining the repaired area for stability; gently press around the edges to ensure it holds firm without any cracks or movement. Next, conduct a simple test with a small amount of liquid; pour in water or another non-carbonated beverage to check for any leaks. Observe closely for any signs of moisture seeping through the repair. Finally, the aesthetic appearance of the repair in natural light will be assessed; this will help identify any imperfections that may need further attention. Your cherished ceramic mug can confidently rejoin your daily routine if everything meets your standards.
Preventive Measures
To ensure the longevity of your ceramic mug and avoid future damage, handle it with care to prevent accidental drops. It’s wise to avoid exposing the mug to extreme temperatures, as rapid changes can lead to cracks. When storing your mugs, use cushioned materials or dedicated mug racks to prevent them from knocking against others, which could cause chips or cracks. Regularly inspect your mugs for any early signs of wear and tear, such as small chips or hairline cracks, so you can address these issues promptly. By adopting these careful practices, you can significantly extend the lifespan of your cherished mugs.
Common Mistakes to Avoid
When repairing a ceramic mug, several common mistakes can hinder the effectiveness of your repair and compromise the mug’s appearance. One prevalent error is not thoroughly cleaning the damaged area before applying adhesive. Residue can impede adhesion, leading to a weak bond that may fail over time. Another mistake is using too much adhesive; applying excessive amounts can create unsightly blobs that ruin the aesthetic of the mug. It’s essential to use just the right amount and wipe away excess promptly.
Additionally, failing to allow adequate drying time can be detrimental. Rushing the process may cause the repair to break down before it has the chance to set properly. Be sure to follow the manufacturer’s recommendations for drying times. Many DIY enthusiasts also overlook the importance of matching the paint or glaze precisely when touching up their repairs, leading to a noticeable patch that doesn’t blend with the original design. Lastly, neglecting to test the durability of the repair before returning the mug to use can result in leaks or breakage during regular use. By avoiding these pitfalls, you can achieve a more satisfactory and lasting repair for your beloved ceramic mug.
Troubleshooting Common Issues
Even with meticulous care, issues can occasionally arise when repairing ceramic mugs. One common problem is adhesive failure, where the bond doesn’t hold or begins to separate. This can result from inadequate surface preparation or insufficient drying time. To address this, ensure you thoroughly clean the repair area and allow the adhesive to cure fully according to the manufacturer’s instructions.
Another issue may be mismatched colors after touching up the repair. If the touch-up paint doesn’t closely match the original mug, consider blending different shades to find a better match, or consult a professional for advice on custom mixing.
Additionally, if leaks are detected during the testing phase, it’s important to assess whether the adhesive was applied evenly and if there are any gaps. If leaks persist, you may need to reapply the adhesive, ensuring that excess is wiped away to promote a clean finish.
Lastly, if the surface feels rough after sanding, revisit the sanding process using finer sandpaper. A smooth finish will enhance the overall appearance of the repair. Remember that patience and attention to detail play crucial roles in overcoming these common challenges, ensuring that your ceramic mug remains both functional and aesthetically pleasing.
Frequently Asked Questions (FAQs)
1. Can I Use Any Adhesive for Ceramic Mug Repairs?
Not all adhesives are suitable for ceramic repairs. It’s best to use a high-strength epoxy or a glue specifically designed for ceramics. These adhesives provide a strong bond and are often waterproof, ensuring that your repair holds up through regular use and cleaning.
2. How Long Should I Wait Before Using My Repaired Mug?
After completing the repair and allowing the adhesive to cure fully, it’s advisable to wait 24 hours after applying touch-up paint or glaze. This ensures that both the adhesive and the paint have been adequately set, providing the best chance for a durable and long-lasting repair.
3. What if The Repair Area Still Looks Visible After Painting?
If the repair area is still noticeable after the initial touch-up, consider applying additional layers of paint in thin coats. You can also try using a clear glaze to enhance the shine and blend the repair more seamlessly with the surrounding areas of the mug.
4. Is It Safe to Put My Repaired Ceramic Mug in The Dishwasher?
While some adhesives and glazes may be water-resistant, it’s generally best to hand wash repaired ceramic mugs to avoid damaging the repair. High temperatures and harsh dishwasher detergents can compromise adhesive strength and the finish of the touch-up paint.
Conclusion
In this guide, we explored how to fix a ceramic mug, including the necessary materials, repair techniques, and final touches to rejuvenate your favorite drinking vessel. Following the outlined preventive measures and common pitfalls will significantly enhance your success in restoring your cherished mugs. Embrace the benefits of repairing rather than replacing; not only does it save money, but it also preserves the sentimental value attached to your treasured items. Repair with care and enjoy your beautifully restored mug for years to come.
Elizabeth Davis
Elizabeth is a creative writer and digital editor based in the United States. She has a passion for the arts and crafts, which she developed from a young age. Elizabeth has always loved experimenting with new mediums and sharing her work with others. When she started blogging, she knew that DIYquickly would be the perfect platform to share her tutorials and tips. She's been writing for the blog from the beginning, and her readers love her helpful advice and easy-to-follow instructions. When she's not writing or editing, Elizabeth enjoys spending time with her family and friends.