
How to Fix Ripped Jeans on the Bum
Are you tired of throwing away your ripped jeans or constantly buying new ones? Don’t worry, there is a solution! You can quickly fix your ripped jeans on the bum with a few simple steps and give them a new life.
How to fix ripped jeans on the bum can be a practical and rewarding task that extends the life of your favorite pair of denim. Instead of relegating those beloved jeans to the back of the closet, with a few simple techniques, you can restore their function and style. Whether you prefer a quick fix with patches or a more detailed sewing job for a seamless appearance, several methods suit your needs and skill level.

This guide will walk you through various approaches, giving you the confidence to tackle the repair process and ensure your jeans look great for many more wear to come.
What Will You Need?
Before diving into the methods, gathering all the necessary tools and materials is essential. No matter which technique you choose, these are the essential items needed:
- Ripped jeans
- Denim or iron-on patches
- Sewing needle
- Thread in a matching color
- Scissors
- Iron (if using iron-on patches)
You may also want to have a thimble on hand to protect your fingers from the needle when sewing through thick denim.
10 Easy Steps on How to Fix Ripped Jeans on the Bum
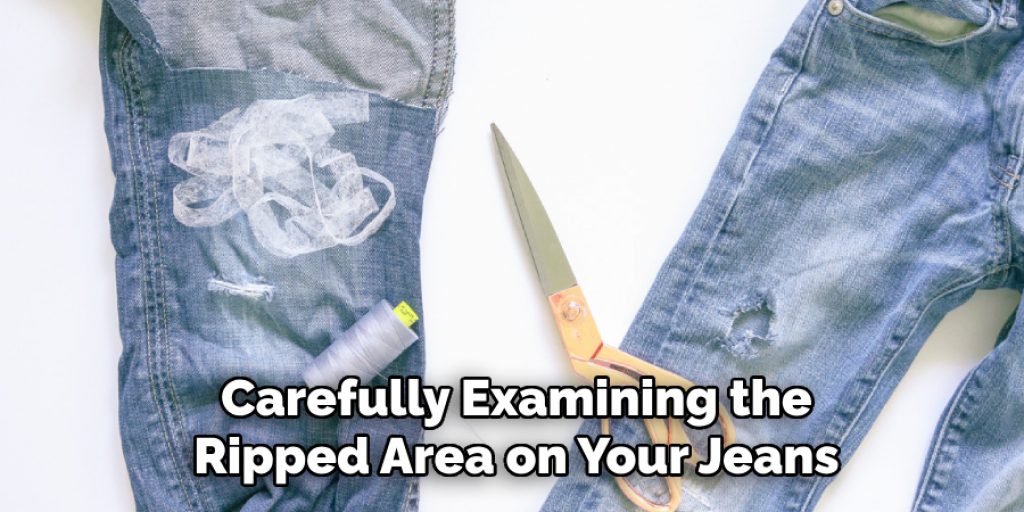
Step 1. Assess the Damage:
Begin by carefully examining the ripped area on your jeans. Determine the size and shape of the rip, as well as any potential fraying edges that may need attention. This assessment will guide your choice of repair method—whether a patch will suffice or if a more intricate sewing technique might be necessary. Look for any other wear and tear in the vicinity that might require future repairs, allowing you to complete all essential fixes at once. By understanding the extent of the damage, you’ll be better positioned to select the most suitable materials and approach for your project, ensuring a successful outcome.
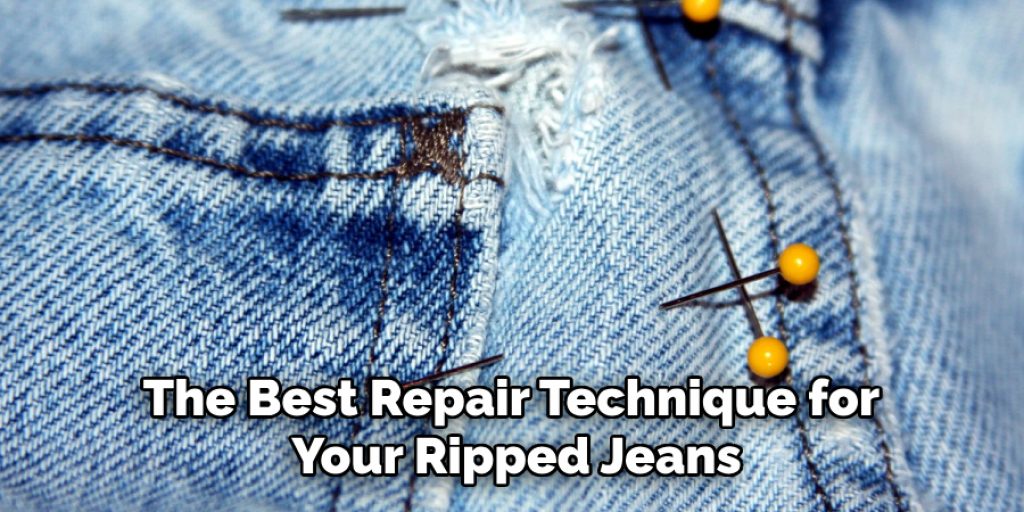
Step 2. Choose Your Repair Method:
Once you’ve assessed the damage, it’s time to decide on the best repair technique for your ripped jeans. An iron-on patch can provide a quick and durable fix if the rip is small and straightforward. Sewing a patch or using a darning technique may be more appropriate for a more polished look. If you’re skilled with a needle, you might even sew the rip using a zig-zag stitch to reinforce the area and prevent further fraying. Your choice will depend on your comfort level with sewing and the desired appearance of the finished repair.
Step 3. Prepare the Area:
Before you begin the repair, it’s essential to clean the area around the rip to ensure that any dirt or residue won’t interfere with the adhesive or stitching. If you’re using patches, gently hand wash the affected jeans using mild soap and water, then allow them to dry completely. If the rip has frayed edges, you may want to trim any loose threads with scissors to create a neater surface for the repair. Depending on your chosen method, this step ensures that the patch adheres well or that the stitching is secure, resulting in a durable repair.
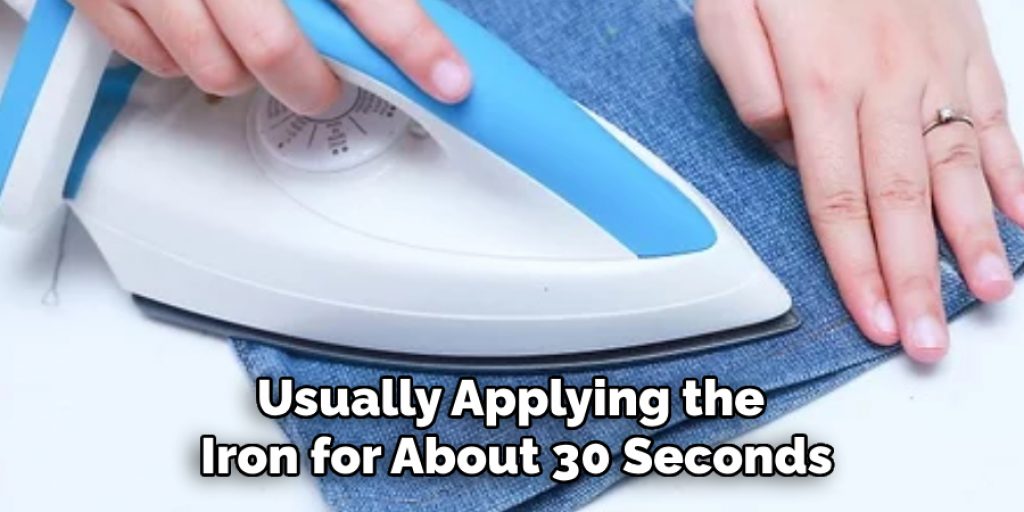
Step 4. Apply Your Chosen Repair Method:
Now that you’ve prepared the area and selected your repair method, it’s time to execute it. If you’re using an iron-on patch, place it over the rip, ensuring it fully covers the damaged area. Follow the manufacturer’s instructions for heat settings and timings, usually applying the iron for about 30 seconds to a minute. To sew, thread your needle and knot the end of the thread. Start stitching from the underside of the fabric for a more discreet look, ensuring your stitches are tight but not too constrictive to allow for some stretch. Use either a straight stitch or zig-zag stitch as per your chosen method, reinforcing the edges to prevent further fraying. Carefully remove any pins or clips as you go, ensuring the fabric lays flat for a seamless finish.
Step 5. Secure the Repair:
Once you have applied your chosen repair method, ensuring the fix is secure and durable is crucial. If you used an iron-on patch, gently tug at the edges to check for any loose areas; if the patch seems to lift, you may need to reapply heat with the iron for a bit longer. For sewn repairs, check the stitches to confirm they are tight and consistent. If necessary, reinforce the stitching by going over the edges again or creating a second layer of stitches. This step will help prevent the rip from re-opening and give you confidence in wearing your repaired jeans.
Step 6. Finish and Clean Up:
After securing the repair, it’s time to clean up the project area. Trim any excess threads from your sewing or patching process, ensuring a neat finish. If you have used an iron-on patch, it’s advisable to wash the jeans inside out on a gentle cycle before wearing them to remove any residual adhesive or debris. Once cleaned and dried, inspect your repair to ensure it meets your expectations. Your repaired jeans should be ready to wear, looking stylish and ready for many more adventures!
Step 7. Test the Repair:
Before fully committing to wearing your repaired jeans, it’s essential to test the repair to ensure its durability. Put on the jeans and gently move around to see how the repaired area holds up under different actions, such as sitting, bending, or walking. This step will help you identify any weak spots that might need further reinforcement. If the repair feels secure and the jeans are comfortable, you can confidently incorporate them into your wardrobe. However, if you notice any lifting or stress on the repair, consider revisiting the repair method or applying additional stitching or a patch for enhanced strength.
Step 8. Style Your Repaired Jeans:
Once you’re satisfied with the repair and have confirmed its durability, it’s time to style your newly fixed jeans. Consider pairing them with various tops to create different looks—an oversized sweater can provide a casual vibe, while a fitted blouse can add a touch of elegance. Accessories like belts, scarves, or statement jewelry can enhance your outfit further. Don’t hesitate to experiment with footwear options, from trainers for a laid-back day out to ankle boots for a night on the town. Your repaired jeans can seamlessly transition into any wardrobe staple, allowing you to express your unique style while enjoying the benefits of sustainability.
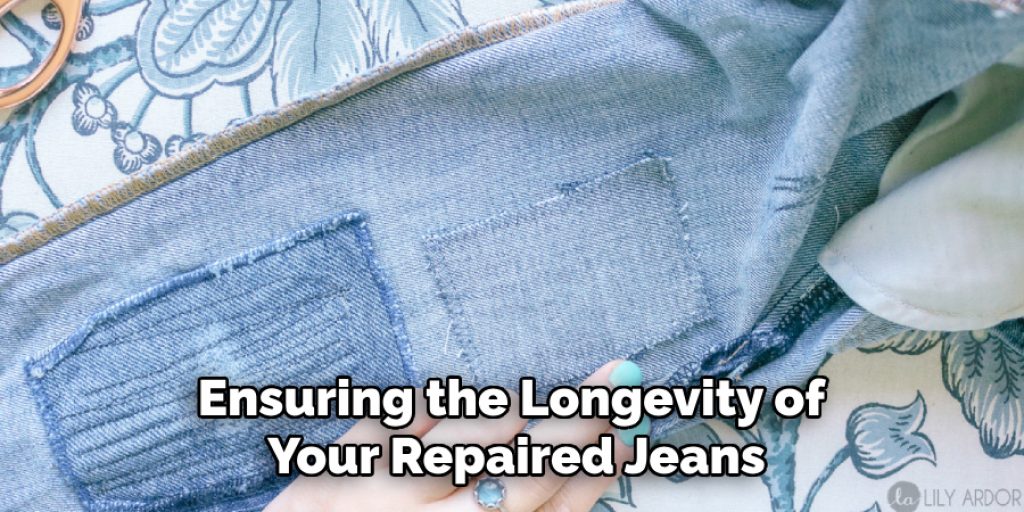
Step 9. Maintain Your Repaired Jeans:
Proper maintenance is key to ensuring the longevity of your repaired jeans. Always wash your jeans inside out to protect the fabric and the repair area. Use cold water and a gentle cycle to prevent excessive wear. Additionally, avoid tumble drying; instead, hang your jeans to air dry, which helps maintain the integrity of the repair. Regularly check the repaired area for any signs of wear, and if you notice any fraying or loosening, address it promptly to prolong the life of your jeans.
Step 10. Store Your Repaired Jeans:
Proper storage is vital to maintain the shape and quality of your repaired jeans. When not in use, fold your jeans neatly to avoid creasing and store them in a cool, dry place away from direct sunlight, which can cause fading. Alternatively, you can hang them on a hook or hanger to help preserve their form. If you’re dealing with multiple pairs, consider using breathable garment bags to protect them from dust while still allowing airflow. Taking these simple steps will help ensure that your repaired jeans remain in great condition for many years to come.
Following these steps, you can successfully repair your ripped jeans while reducing waste and promoting sustainable consumption.
5 Things You Should Avoid
- Skipping the Pre-Wash: Avoid fixing your jeans without washing them first. Washing removes any dirt, oils, or residues that could affect the durability of the repair.
- Using Incorrect Materials: Don’t use materials that are not suitable for your chosen repair method; this could lead to a faulty fix or further damage to your jeans.
- Not Testing the Repair: As mentioned in Step 7, always test the repair before wearing it out to ensure its strength and durability.
- Overlooking Maintenance: Proper maintenance is crucial for prolonging the life of your repaired jeans, so pay attention to regular checks and gentle washing practices.
- Throwing Away Damaged Jeans: Ripped jeans can be easily repaired with time and effort, so instead of tossing them out, consider fixing them and giving them a new lease on life. Plus, it’s a great way to practice sustainable fashion!
By avoiding these common mistakes and following the steps outlined above, you can successfully repair your ripped jeans and contribute to a more sustainable wardrobe.
Conclusion
Repairing ripped jeans, particularly in the bum area, saves you money and contributes to a more sustainable fashion approach.
By following the outlined steps on how to fix ripped jeans on the bum—choosing the appropriate repair method, securing the fix, and ensuring proper maintenance—you can restore your jeans to a wearable condition while showcasing your personal style. Remember to test the durability of your repair before flaunting your newly fixed jeans, and don’t hesitate to get creative with your styling choices.
With a little time and effort, you can extend the life of your jeans and enjoy the satisfaction of wearing a unique piece that reflects your commitment to sustainable living.
Nancy Behan
Nancy is an embroidery artist, fashion blogger and a full time editor at DIY quickly. Nancy edits the fashion section on DIY quickly, focusing on the embroidery and cross stitch articles, alongside with fabric and other costume design elements. She graduated from the University of Michigan with a Bachelor of Arts in Art History. She loves to work on her own projects, read books and watch romantic movies in her spare time.


