How to Starch Crochet Ornaments
Crochet ornaments are beloved for their intricate designs and the personal touch they bring to festive decorations. Their charm lies in the delicate craftsmanship and creativity that goes into each piece, making them cherished items for special occasions. However, to truly showcase their beauty and ensure they maintain their intended shape, it’s essential to starch these ornaments. Starching enhances the crispness of the crochet work and helps preserve its form, allowing these handmade treasures to last for years to come.

In this guide, we will explore how to starch crochet ornaments effectively, detailing each step of the process from preparing the ornaments to applying the starch solution, ensuring your creations remain stunning and structurally sound. With the right technique, you’ll learn how to keep your crochet ornaments looking their best, ready to be admired and enjoyed.
Materials and Tools Needed
To successfully starch your crochet ornaments, you will need a few essential materials and tools to achieve the best results.
Materials:
- Crochet Ornaments: The handmade crochet pieces that you wish to starch.
- Starch Solution: This can be either a commercial starch spray or a homemade solution prepared from cornstarch.
- Water: This is used to dilute the starch solution and prepare homemade starch.
- Pins: To secure the shaped ornaments onto the foam board during drying.
Tools:
- Foam Board: A sturdy surface to pin your ornaments as they dry and assume their desired shapes.
- Plastic Wrap: To cover the foam board and protect it from moisture.
- Spray Bottle: This is for easy application of the starch solution, ensuring even coverage on your crochet work.
- Measuring Cups: To accurately measure out your starch and water when making a homemade solution.
Optional Materials:
- Glitter: This adds a touch of sparkle to your finished ornaments.
- Fabric Stiffener: This is an alternative to starch for a more durable hold.
- White Glue: A PVA glue and water mixture can be used for stiffening effects.
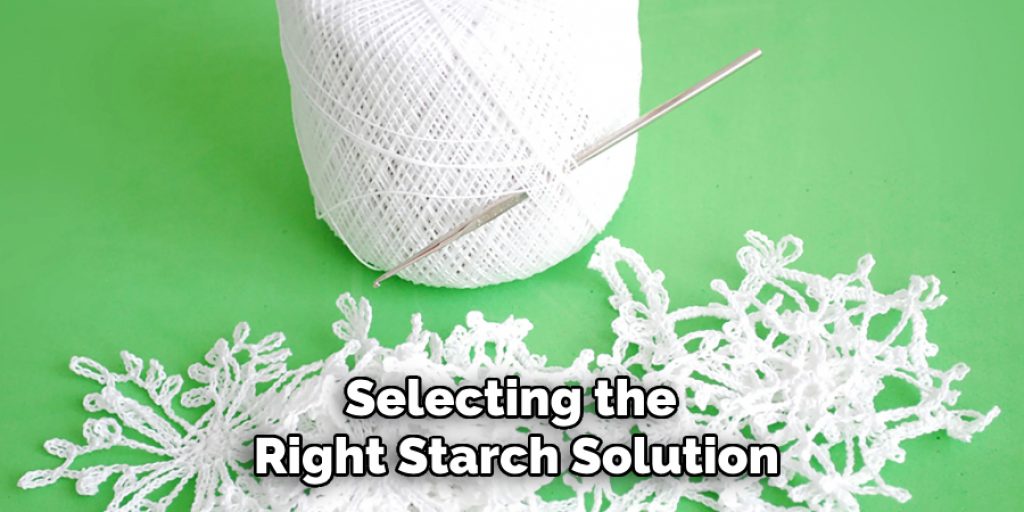
Choosing the Right Starch Solution
When it comes to starching crochet ornaments, selecting the right starch solution is crucial for achieving the desired finish. There are two primary types of starch solutions: commercial starch sprays and homemade starch preparations.
Types of Starch Solutions
Commercial Starch Spray: This ready-to-use product offers convenience and ease of application. It provides consistent results, allowing for even coverage without mixing. However, some commercial sprays may contain chemicals or additives that could affect the texture of your ornaments or contribute to yellowing over time.
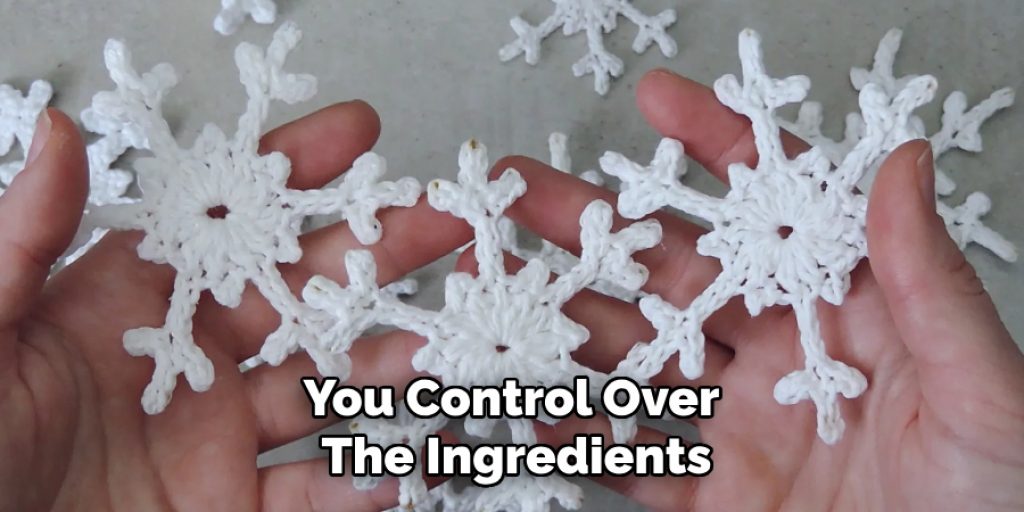
Homemade Starch Solution: Preparing your own solution gives you control over the ingredients, allowing for a more natural alternative. A simple recipe involves mixing cornstarch, water, and a little sugar to enhance stiffness.
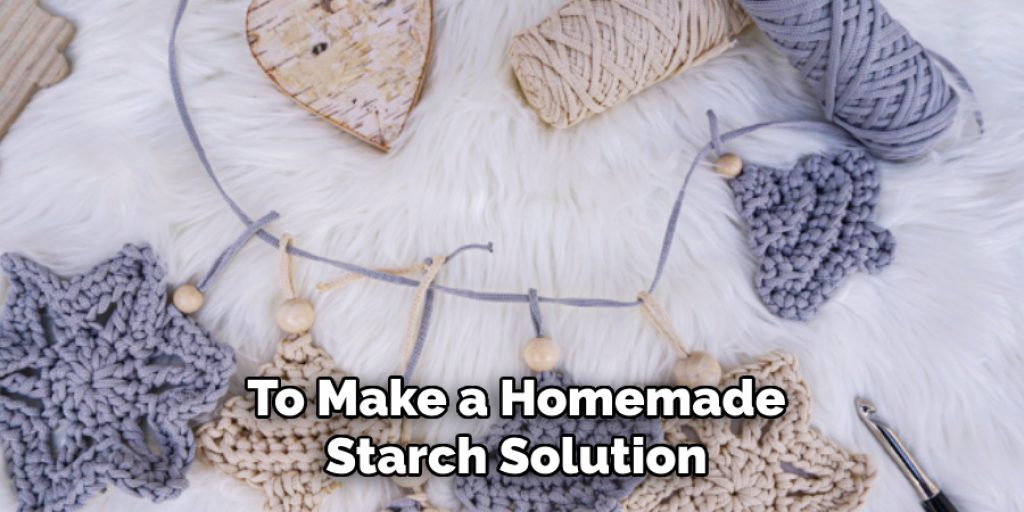
Preparing a Homemade Starch Solution
To make a homemade starch solution, combine 1 tablespoon of cornstarch with 1 cup of water in a saucepan. Stir the mixture over medium heat until it thickens to a syrupy consistency. Optionally, you can add 1 teaspoon of sugar to help strengthen the starch. Allow the mixture to cool before transferring it to a spray bottle for easy application. This method offers a cost-effective option and ensures that your crochet ornaments maintain their beauty and structure without harmful additives.
Preparing the Ornaments
Before you begin the starching process, it’s important to prepare your crochet ornaments properly to ensure the best results. Start by inspecting your ornaments for any signs of dirt or dust; if they appear soiled, take the time to clean them thoroughly. Washing crochet ornaments should be done gently. Use mild soap and lukewarm water, and avoid vigorous scrubbing to prevent damage to the delicate fibers. Once cleaned, rinse the ornaments well to remove any soap residue and allow them to air dry completely on a clean, dry towel.
Once your ornaments are clean and dry, the next step is to shape them before searching. Position your ornaments on a foam board for an ideal setup. Use straight pins to secure each ornament in its desired shape, making adjustments to achieve the desired look. This step is crucial for maintaining your crochet pieces’ intricate designs and shapes. Cover your foam board with plastic wrap to further protect it during the starching process. This barrier will safeguard against moisture from the starch solution, ensuring your foam board remains intact and clean while the crochet ornaments transform into beautifully starched creations.
By meticulously preparing your ornaments, you’ll set the stage for a successful starching process, enhancing both their durability and aesthetic appeal.
How to Starch Crochet Ornaments: Starching the Ornaments
Once your crochet ornaments are prepared and pinned onto the foam board, it’s time to apply the starch solution. There are several methods for applying starch to your ornaments, each with its own advantages—soaking, spraying, and brushing.
Applying the Starch Solution
Soaking: If you wish for a thorough stiffening, soaking could be your best option. Submerge your ornament fully in the starch solution for a few minutes, ensuring it absorbs the solution completely. Once soaked, gently squeeze out the excess liquid without wringing or twisting the ornament, as this can distort its shape.
Spraying: A spray bottle works excellently for a more controlled application. Hold the bottle about 6-8 inches away from the ornament and spray evenly across the surface until it is adequately covered. Pay special attention to crevices and detailed areas, ensuring no strands are left uncoated. This method is particularly effective for delicate pieces that require added care.
Brushing: Another option is to use a soft brush to apply the starch. Dip the brush into the starch solution and gently paint it onto the ornament’s surface. This requires a steady hand but offers precision, especially in areas that may need extra attention.
Regardless of the application method chosen, the key to achieving a stunning finish is to ensure even coverage across the entire surface of the ornament. Hence, take your time to inspect every inch of the crochet work.
While applying the starch, it is essential to handle your fragile crochet pieces with care. Avoid pulling or stretching the fabric, as this can lead to misshaping.
Drying and Shaping the Ornaments
After searching, the next crucial step is letting your ornaments dry completely. Find a suitable place where they can rest undisturbed, ensuring good airflow to facilitate the drying process. Depending on the humidity and thickness of the ornament, drying can take anywhere from a few hours to overnight.
As your ornaments begin to dry, they may shift from their original shapes. It’s important to remain vigilant and gently adjust or reshape them back into their desired form as needed. To keep them secured in place, consider using additional pins to anchor them while they dry. This will help maintain the intricate designs and prevent any sagging or mishaps that could affect their visual appeal.
By carefully starching and allowing the ornaments to dry without interruption, you’ll guarantee a crisp and defined appearance, allowing your crochet creations to shine beautifully.
Alternative Starching Methods
While traditional starch solutions are effective for stiffening crochet ornaments, alternative methods can provide even more durability or a unique finish. One popular option is using fabric stiffener. This product often offers a stronger hold than regular starch, making it ideal for larger or more intricate pieces. Simply apply the fabric stiffener according to the manufacturer’s instructions, ensuring thorough coverage, and allow your ornaments to dry.
Another method is stiffening with a white glue mixture. Combine equal parts PVA glue and water, stirring until well blended. This mixture can provide significant stiffness, making it suitable for heavy or detailed designs. However, it may leave a slight shine or alter the texture of the ornament, which some crafters might find undesirable. Both alternative methods have advantages and disadvantages, and your choice should depend on the desired outcome for your ornaments.
Adding Finishing Touches
After your crochet ornaments have been starched and dried, adding glitter or other embellishments can elevate their visual appeal. Lightly dusting glitter over the surface can create a sparkling effect without overwhelming the delicate fibers. If you wish to hang your ornaments, consider attaching ribbons or hooks, which serve a functional purpose and enhance the overall design. Finally, conduct a thorough inspection, ensuring that each piece retains its shape and stability. Address any areas that may have sagged or distorted during the drying process, ensuring your final creations are both beautiful and durable.

Caring for Starched Crochet Ornaments
Proper storage is essential to ensure your starched crochet ornaments retain their shape and beauty. Avoid crushing or squishing ornaments by storing them in a cool, dry place, preferably in acid-free tissue paper or a padded box, which can help prevent dust accumulation and maintain their form. For cleaning, gently wipe the surface with a soft, dry cloth to remove any dust without disrupting the starch’s hold. If your ornaments start losing shape over time, you can re-starch them by following the initial starching process. Soaking or spraying a fresh starch solution will help restore their rigidity and crispness.
Conclusion
In summary, understanding how to starch crochet ornaments enhances their durability and aesthetic appeal, making them perfect for gifting or decorating during the festive seasons. With each ornament you create and starch, you cultivate a unique touch for various occasions, adding personal charm to your decorations. Embracing this process allows you to celebrate the joy of preserving your handmade treasures, ensuring they bring delight for years to come.
Elizabeth Davis
Elizabeth is a creative writer and digital editor based in the United States. She has a passion for the arts and crafts, which she developed from a young age. Elizabeth has always loved experimenting with new mediums and sharing her work with others. When she started blogging, she knew that DIYquickly would be the perfect platform to share her tutorials and tips. She's been writing for the blog from the beginning, and her readers love her helpful advice and easy-to-follow instructions. When she's not writing or editing, Elizabeth enjoys spending time with her family and friends.