
How to Make Hot Glue Mushrooms
Crafting with hot glue opens up a world of creative possibilities, allowing crafters to express their artistic flair through various projects. One particularly engaging project is creating hot glue mushrooms, which provide a fun, hands-on activity and result in unique and whimsical decorations. Hot glue’s versatility makes it ideal for assembling intricate shapes and combining different materials, sparking innovative ideas for home décor or gifts.
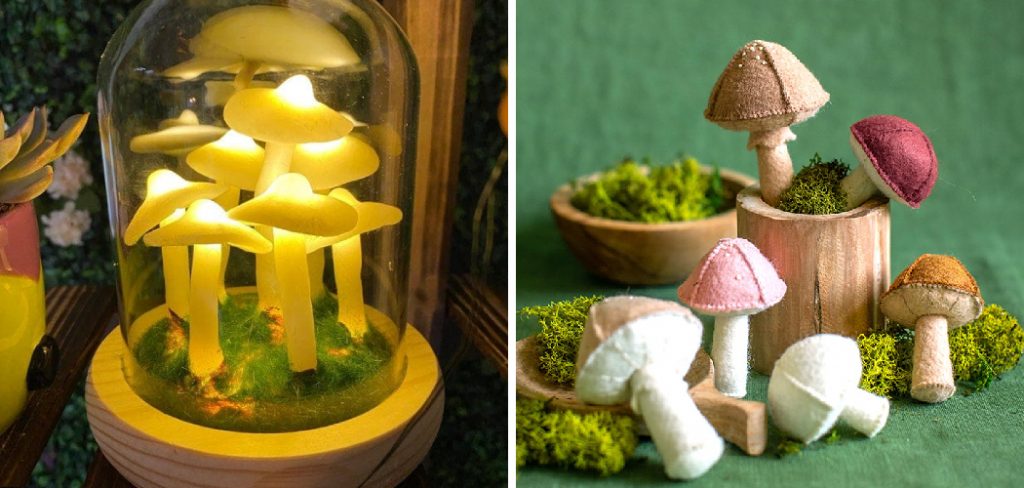
This article aims to guide you through the process of how to make hot glue mushrooms, from gathering the necessary materials to the final touches on your creations. Whether you’re a novice or an experienced crafter, you’ll find step-by-step instructions that will inspire you to explore your creativity while mastering the art of hot glue crafting.
Materials and Tools Needed
To successfully create hot glue mushrooms, you’ll need the following materials:
- Hot glue Sticks: These are essential for forming the mushroom shapes.
- Acrylic Paint: Use it to add color and detail to your mushrooms.
- Clear Varnish: This will protect your painted mushrooms and give them a polished finish.
The tools required include:
- Hot Glue Gun: This is used to melt and apply the glue.
- Silicone Mat: A non-stick surface for crafting.
- Paintbrushes: For applying paint and varnish.
- Scissors: To trim any excess glue or embellishments.
Optional embellishments such as glitter, beads, or tiny faux flowers can add the finishing touches, ensuring that your hot glue mushrooms are as unique as your creative vision.
Preparing Your Workspace
Before you start crafting your hot glue mushrooms, setting up a safe and organized workspace is essential. Choose a well-lit area with ample room to work, and ensure that the surface you’re using is heat-resistant, such as a sturdy table or a dedicated crafting space. Proper ventilation is crucial when working with hot glue, so consider opening a window or using a fan to keep air circulating. Gather all your materials and tools beforehand to streamline the crafting process. Safety precautions are paramount; always use your hot glue gun according to the manufacturer’s instructions, and be cautious of the heated elements to prevent burns. It’s advisable to keep a damp cloth nearby to wipe up any spills or drips promptly. Lastly, consider wearing an apron or old clothing to protect against potential glue splatters.
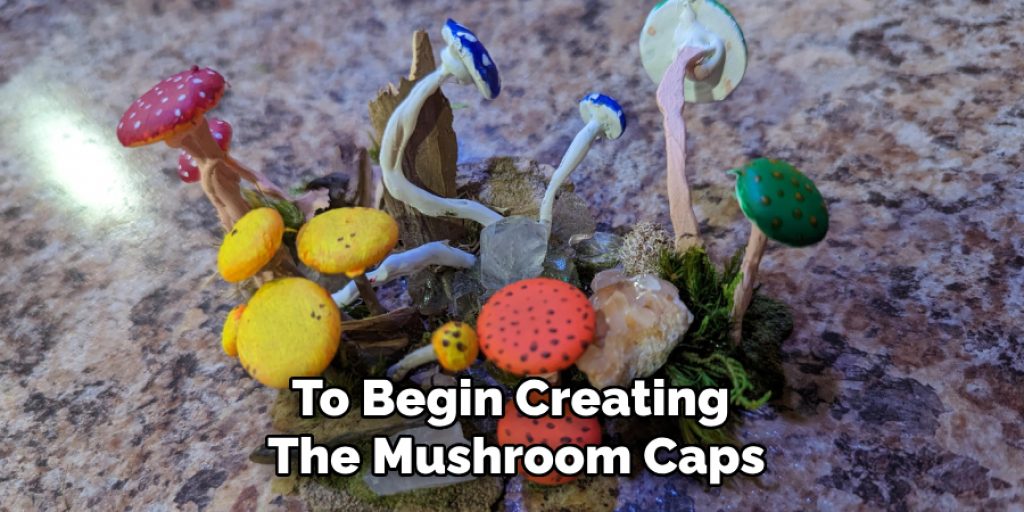
How to Make Hot Glue Mushrooms: Creating the Mushroom Caps
Shaping the Caps with Hot Glue
To begin creating the mushroom caps, plug in your hot glue gun and allow it to heat up. Once ready, take your silicone mat and apply hot glue in a circular pattern, beginning from the center and working outward. Create several overlapping circles to build the glue and gradually shape it into a dome form resembling a mushroom cap. It’s important to apply the glue with steady pressure to ensure an even thickness. As you layer the glue, remember to vary the width of the layers to add dimension. For a smooth and even surface, you can lightly drag a small tool or the back of a spoon across the surface while the glue is still warm, helping to shape it more accurately. Allow the cap to cool completely before moving on to detail work.
Adding Texture and Details
Once your mushroom caps have cooled and hardened, it’s time to add texture and details for realism. Using a toothpick, gently press into the surface of the dried glue to create bumps, ridges, or other organic features that mimic a natural mushroom cap. You can experiment with different tools like forks or even sculpting implements to achieve a variety of textures, adding realism to your creations. Consider varying the depth and angle of your patterns to create an interesting visual effect. If desired, you may also incorporate additional materials, such as small beads, into the texture while the glue is still warm for added flair. After perfecting the texture and details, allow the glue to cool completely again, ensuring that all modifications are securely set before painting or assembling your mushrooms.
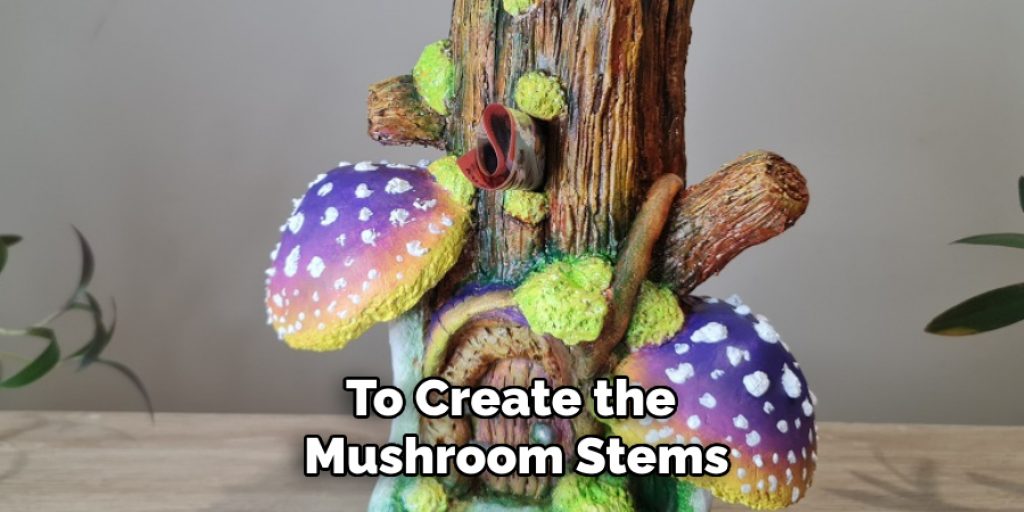
Forming the Mushroom Stems
Shaping the Stems with Hot Glue
To create the mushroom stems, start by heating your hot glue gun. Depending on your desired stem design, place your silicone mat on a stable surface and apply hot glue in a straight line or a spiral pattern. A straight stem works well for a classic mushroom look, while a spiral can add a whimsical touch. Layer the glue in small increments to build up thickness, allowing each layer to cool slightly before adding the next to achieve a sturdy and even stem. You might find it helpful to twist the silicone mat slightly for a more rounded stem shape. For wider or taller mushrooms, consider making two or three stems and attaching them together once cooled. Monitor the glue’s consistency and layer technique to ensure a uniform finish.
Attaching the Stems to the Caps
Once your stems are shaped and completely cool, the next step is to attach them to the mushroom caps. Apply a small amount of hot glue to the top of each stem, ensuring it’s enough to create a secure connection. Carefully press the stem onto the underside of the mushroom cap, adjusting its angle as necessary for a natural look. Hold it in place briefly to allow the glue to set and cool, ensuring a strong bond between the stem and cap.
Painting and Decorating the Mushrooms
Base Coating
With your mushroom shapes assembled, it’s time to bring them to life with acrylic paint. Start by applying a base coat of paint to both the caps and stems, using your chosen color palette. Earthy tones like browns and whites can be effective for a realistic mushroom, while bright colors can transform your mushrooms into playful décor. Use a paintbrush to evenly coat the surfaces, taking care to reach all the crevices where glue may have accumulated. Allow the paint to dry completely before adding additional layers or details; this ensures a smooth finish and vibrant colors.
Adding Details and Embellishments
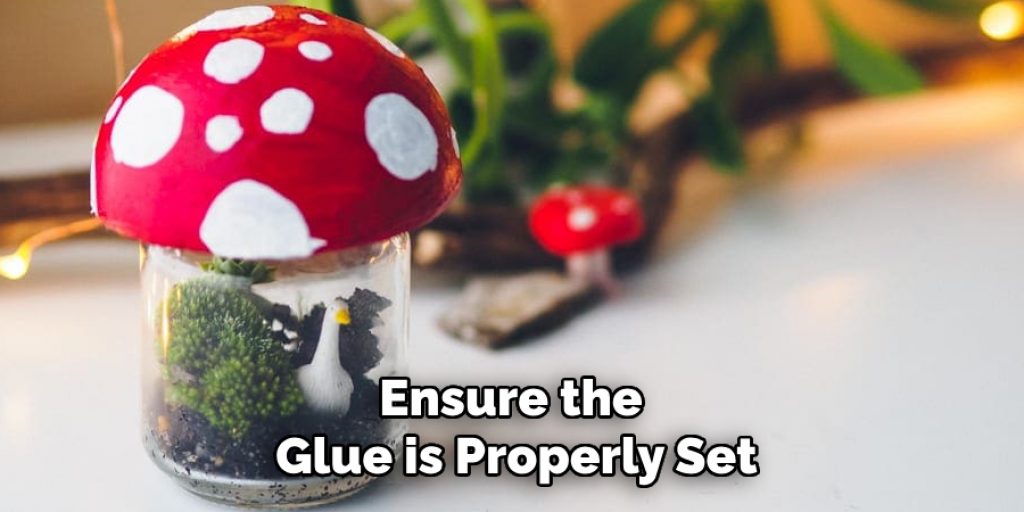
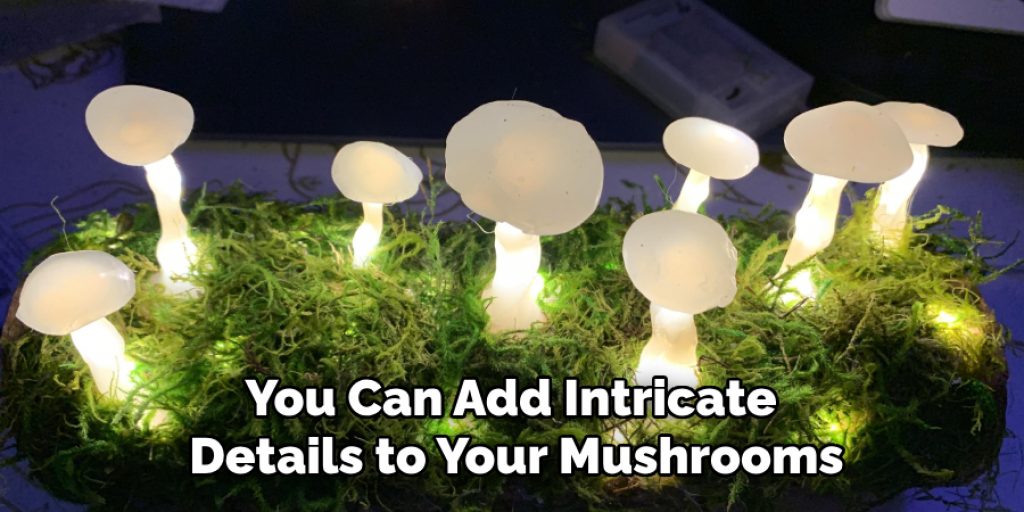
Once the base coat is dry, you can add intricate details to your mushrooms. Consider painting spots, streaks, or other organic details on the caps to enhance their visual appeal. Bright red caps with white spots evoke iconic mushroom imagery, while pastel colors can create a charming garden aesthetic. Consider incorporating embellishments like glitter, beads, or tiny faux flowers to elevate your creations further. These can be added while the paint is still slightly tacky for better adhesion. Finally, seal your mushrooms’ paint and decorations with a layer of clear varnish to protect them, giving your creations a polished and finished look.
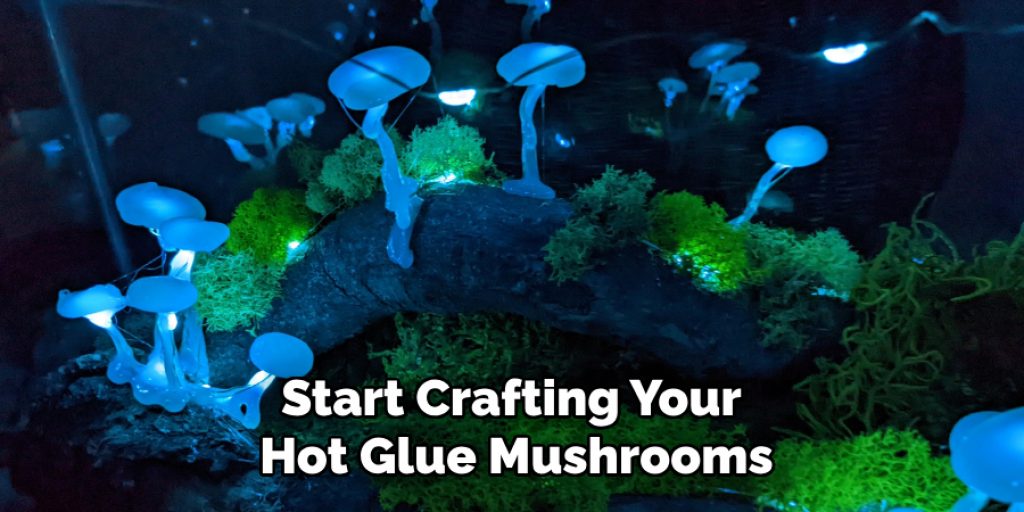
Creating a Display or Arrangement
Once your hot glue mushrooms are complete, it’s time to think about how to display them creatively. One delightful option is to incorporate them into a terrarium, where they can bring a whimsical touch to miniature ecosystems. Simply place the mushrooms amongst succulents or moss for an enchanting effect. Alternatively, you can pot them alongside real or faux plants, creating a playful contrast that brightens any indoor space. For a more fantastical theme, consider integrating your mushrooms into a fairy garden setup, where they can serve as charming little landmarks or magical props.
When arranging multiple mushrooms, aim for a cohesive look by varying their heights and spreading them out at different angles. Mount your mushrooms on a sturdy base, such as a wooden platter or decorative tray. Attaching them securely with additional hot glue can help maintain balance, ensuring your display remains visually appealing.
Final Touches and Adjustments
Before finalizing your display, it’s essential to inspect each mushroom for any imperfections that may have occurred during the crafting process. Take a close look at the paint and decorations; if you notice any uneven spots or areas needing touch-ups, do not hesitate to add additional layers to ensure a uniform appearance. Small adjustments can make a significant difference, enhancing the overall quality of your pieces.
Once you are satisfied with the paint and ornamentation, double-check that all parts of your mushrooms—caps, stems, and embellishments—are securely attached. Use gentle pressure to ensure the glue is properly set, particularly on the connection points. As a final precaution, consider adding a protective layer of clear varnish if they’ll be displayed outdoors or in high-traffic areas. With these finishing touches, your delightful hot glue mushrooms will be ready to charm and captivate anyone who encounters them.
Maintenance and Care Tips
Gentle cleaning is essential to keeping your hot glue mushrooms looking their best. Use a soft cloth or a feather duster to remove dust without damaging the delicate paint or embellishments. When storing, choose a cool, dry area and consider placing them in a padded box or container to prevent crushing or chipping. Always handle your mushrooms carefully, avoiding excessive pressure on the stems and caps to maintain their structure. Regular inspections will help catch any wear or damage early, allowing for timely touch-ups or repairs.
Conclusion
In recap, creating hot glue mushrooms involves a delightful sculpting, painting, and decorating process that offers endless creative possibilities. From varying the shapes of caps and stems to experimenting with vibrant color combinations and embellishments, these whimsical decorations can fit into any home décor theme. As you learn how to make hot glue mushrooms, don’t hesitate to try new designs and styles; the beauty of crafting lies in its limitless potential for personal expression.
Allow your imagination to guide you as you explore different themes, whether whimsical fairy gardens or elegant centerpieces. Crafting not only fosters creativity but also provides a fulfilling and enjoyable experience. So gather your materials, unleash your artistic flair, and enjoy the journey of bringing your unique hot glue mushrooms to life!
Elizabeth Davis
Elizabeth is a creative writer and digital editor based in the United States. She has a passion for the arts and crafts, which she developed from a young age. Elizabeth has always loved experimenting with new mediums and sharing her work with others. When she started blogging, she knew that DIYquickly would be the perfect platform to share her tutorials and tips. She's been writing for the blog from the beginning, and her readers love her helpful advice and easy-to-follow instructions. When she's not writing or editing, Elizabeth enjoys spending time with her family and friends.


