
How to Use a Cricut Mat
A Cricut mat is an essential tool for anyone looking to unleash their creativity with a Cricut machine. Designed to hold materials in place while cutting, the mat ensures precision and accuracy for various projects, from crafting intricate designs to creating personalized items. Understanding how to properly use and maintain your Cricut mat can significantly enhance your crafting experience, ensuring optimal results for all your projects. In this guide, we will explore how to use a cricut mat.
What is a Cricut Mat?
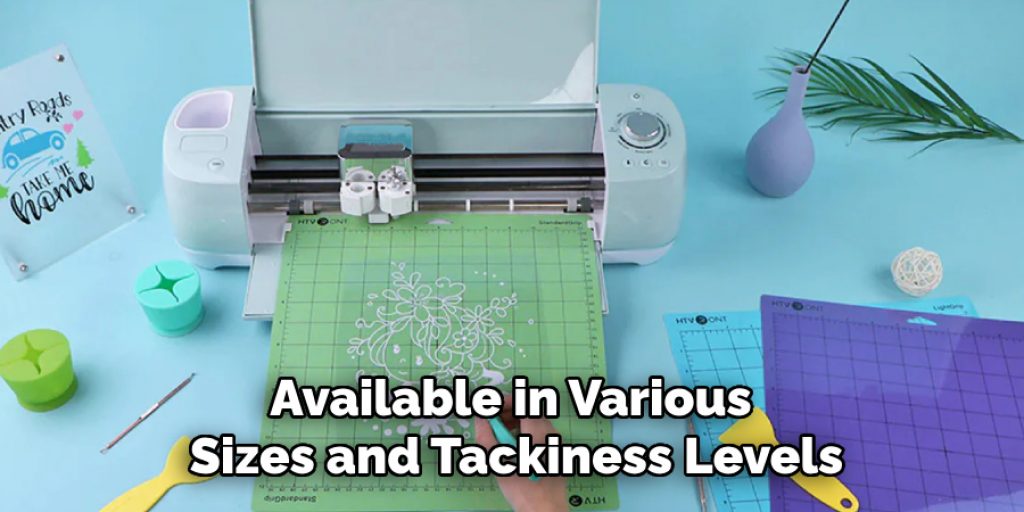
A Cricut mat is a sticky surface specifically designed to hold materials in place while they are being cut by a Cricut machine. Available in various sizes and tackiness levels, these mats accommodate different types of materials, including cardstock, vinyl, fabric, and more. The adhesive surface prevents the material from shifting during the cutting process, which is crucial for achieving precise and clean cuts. Cricut mats are typically made from durable, flexible material that can withstand multiple uses, and they are easily cleanable to extend their lifespan. Properly selecting and maintaining your Cricut mat is vital for ensuring consistent crafting success.
Importance in the Cricut Crafting Process
The Cricut mat plays a pivotal role in the overall crafting process, serving as the foundation for successful projects. By securely holding materials in place, the mat minimizes the risk of misalignment, which can lead to wasted materials and time. This stability allows for detailed designs and intricate cuts, crucial for achieving professional-looking results. Furthermore, the different tackiness levels available in Cricut mats enable crafters to work with a variety of materials—ensuring that each type adheres appropriately without damaging delicate items. Proper maintenance of the mat also contributes to its longevity, allowing crafters to rely on it for numerous projects, thus enhancing their productivity and creativity.
10 Methods How to Use a Cricut Mat
1. Selecting the Right Mat for Your Material
Choosing the appropriate Cricut mat for your material is the first step toward successful crafting. Cricut mats come in different adhesive strengths: LightGrip, StandardGrip, StrongGrip, and FabricGrip. Each type is designed for specific materials. LightGrip mats are perfect for delicate materials like paper and vellum, StandardGrip mats are versatile for cardstock and vinyl, StrongGrip mats are ideal for thicker materials like chipboard and leather, and FabricGrip mats are specialized for fabrics. Using the right mat prevents your material from shifting during the cutting process and ensures clean cuts. Always refer to the Cricut guide or your project instructions to select the correct mat.
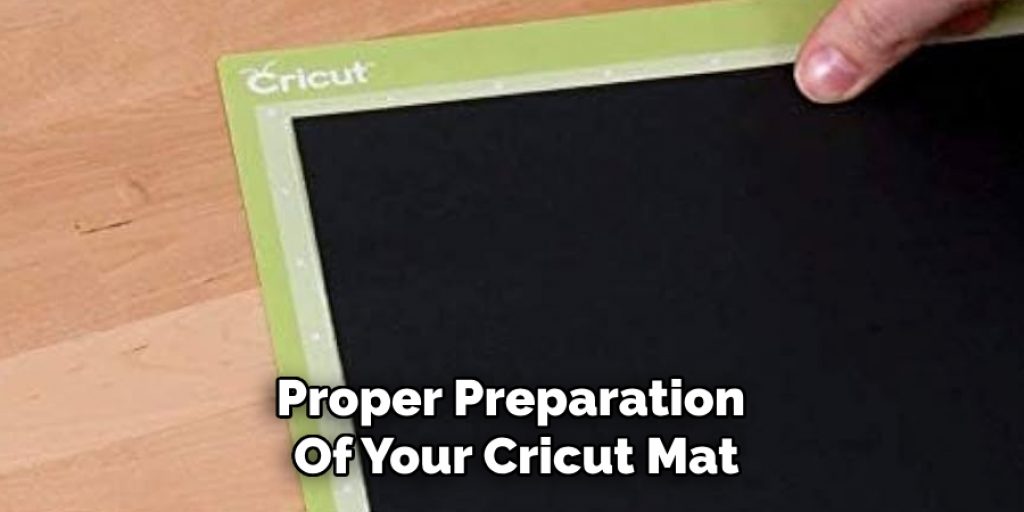
2. Preparing Your Mat for Use
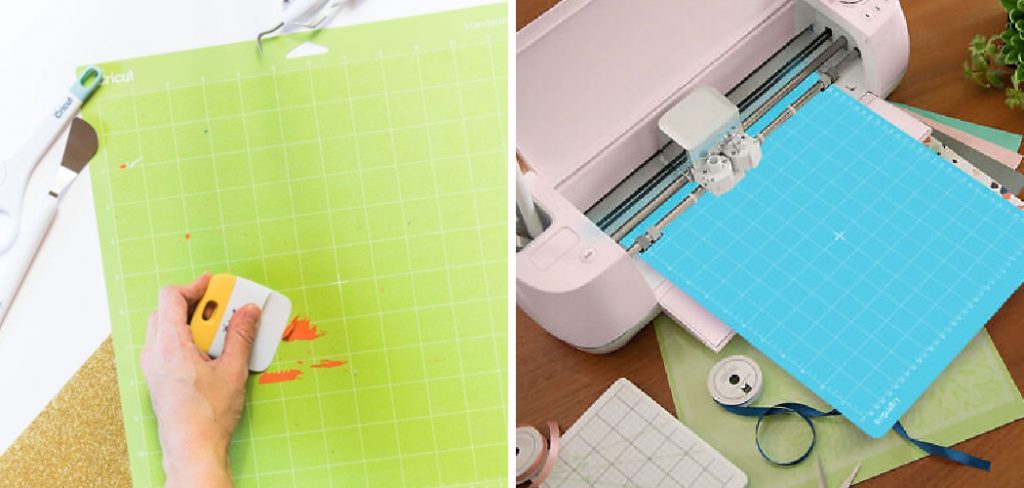
Proper preparation of your Cricut mat is essential for achieving optimal results. Start by ensuring the mat is clean and free of debris. If your mat is new, remove the protective film, which you should keep to cover the mat when not in use. If your mat has lost some of its stickiness, you can clean it with a lint roller or a gentle wash with soap and water to restore its adhesive properties. Avoid using harsh chemicals that could damage the adhesive layer. For fabric projects, ensure the mat is free of any previous material residue to prevent it from affecting your new project.
3. Loading the Mat into Your Cricut Machine
Loading your Cricut mat correctly into the machine is vital for accurate cutting. Align the mat’s edges with the guides on the machine, ensuring it is straight. Press the mat firmly against the rollers and use the load button to feed it into the machine. If the mat is not aligned properly, it can cause skewed cuts or material slippage. Additionally, check that your material is securely adhered to the mat without any wrinkles or bubbles that could disrupt the cutting process. Proper loading ensures the material stays in place and the cuts are precise.
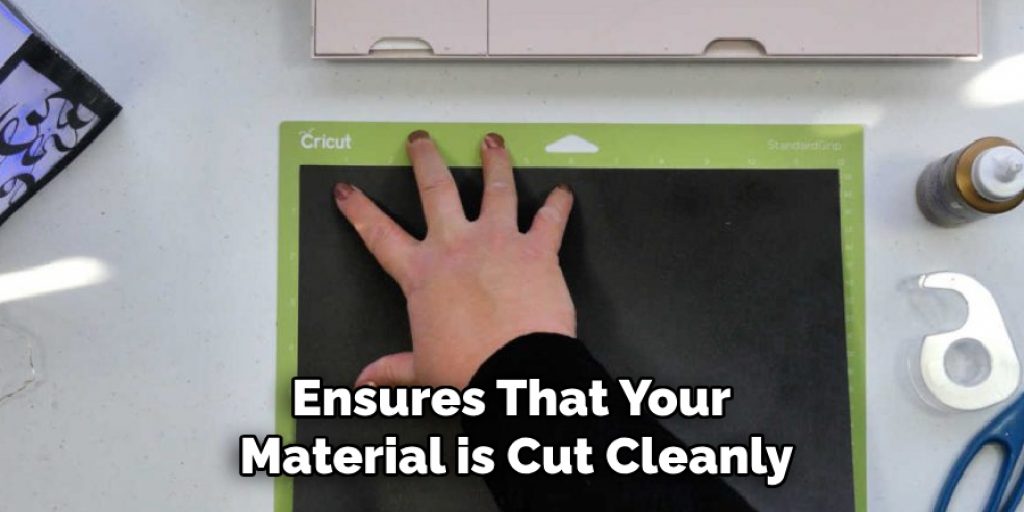
4. Securing Material on the Mat
Securing your material on the Cricut mat is crucial for preventing movement during cutting. Depending on the material, you might need to use additional tape, especially for fabric or thicker materials that might not adhere well to the mat. Use painter’s tape or washi tape along the edges to keep the material secure without leaving a sticky residue. For intricate cuts, ensure the material is evenly pressed onto the mat to avoid any lifting. This step is especially important for achieving detailed and accurate cuts, as any movement can ruin your project.
5. Adjusting Blade Settings for Different Mats
Different Cricut mats and materials require specific blade settings for optimal performance. Always refer to the material settings guide in your Cricut Design Space. For LightGrip mats with delicate materials, use a fine-point blade with a lower pressure setting. For StandardGrip mats, adjust the blade depth and pressure based on the thickness of your material. StrongGrip mats may require a deep-cut blade or knife blade for thick materials. Proper blade adjustment ensures that your material is cut cleanly without tearing or dragging, which is essential for maintaining the integrity of your projects.
6. Removing Material from the Mat
Removing your material from the Cricut mat without damaging it is an important skill. Gently peel the material away from the mat, starting from a corner. For delicate materials, use a Cricut spatula or scraper to lift the edges and avoid tearing. If you’re working with intricate cuts, flip the mat over and peel it away from the material, rather than pulling the material off the mat. This method helps prevent the material from curling or ripping. Proper removal techniques keep your projects looking professional and intact.
7. Reusing Mats for Multiple Projects
Cricut mats are designed to be reusable, but maintaining them properly extends their lifespan. After each use, clean the mat to remove any residual material. For minor debris, a lint roller or scraper works well. For more thorough cleaning, use mild soap and water, followed by air drying. Avoid using strong adhesives or heavy materials that can damage the mat’s surface. Regular maintenance keeps the mat’s adhesive properties intact, allowing for multiple uses and ensuring consistent performance across various projects.
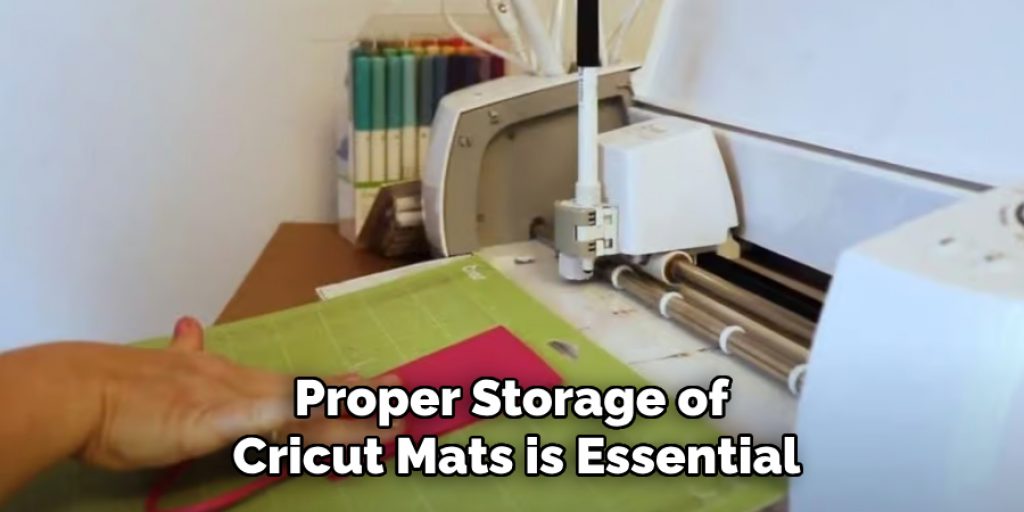
8. Storing Cricut Mats Properly
Proper storage of Cricut mats is essential for preserving their adhesive quality and preventing warping. Always place the protective film back on the mat after each use to protect it from dust and debris. Store mats flat or hang them using the designated holes to avoid bending. Keep mats away from direct sunlight and extreme temperatures, which can degrade the adhesive over time. Organizing your mats by type and usage frequency also helps in quick access and efficient workflow. Proper storage practices extend the lifespan of your mats and ensure they’re always ready for use.
9. Customizing Mat Sizes for Unique Projects
Sometimes, projects may require custom mat sizes. Cricut mats can be cut to fit smaller or unique dimensions using a rotary cutter or sharp scissors. Measure the required size and trim the mat accordingly, ensuring smooth, straight edges. This customization is particularly useful for working on smaller projects or using scrap pieces of material. Always ensure that the trimmed mat can still be securely loaded into the machine. Customizing mat sizes adds versatility to your crafting toolkit, allowing you to maximize material usage and accommodate a variety of project needs.
10. Troubleshooting Common Mat Issues
Encountering issues with your Cricut mat is common, but knowing how to troubleshoot them can save time and frustration. If the mat loses its stickiness, cleaning it can often restore its adhesive properties. For mats that have become too sticky, pressing a piece of fabric or paper onto the mat and removing it can reduce the adhesive strength. If your mat warps, placing it under a heavy, flat object for a few hours can help flatten it. Understanding and addressing these common issues ensures your Cricut mat remains functional and effective for all your crafting projects.
Troubleshooting Common Issues
When using a Cricut machine and mats, various issues may arise that can disrupt your crafting experience. One common problem is inaccurate cutting, which can be caused by misaligned mats or insufficient material adhesion. Ensure that your mat is loaded correctly and that your material is flat against the adhesive surface. If you’re experiencing tearing or dragging during cuts, check that the blade is sharp and set to the appropriate depth for your material. Another frequent issue is the built-up residue on mats that can affect adhesion; regular cleaning with a sticky roller or scraper can mitigate this. If your machine is not recognizing the mat, make sure it’s properly inserted and that the sensors are clean. Familiarizing yourself with these troubleshooting tips can help maintain a smooth crafting process and enhance your overall experience with the Cricut system.
Conclusion
In conclusion, mastering the use of a Cricut mat involves understanding its various types, preparation, maintenance, and troubleshooting. By selecting the right mat for your material, securing it properly, adjusting blade settings, and maintaining the mat through proper cleaning and storage, you can ensure precise and professional results in your crafting projects. Customizing mat sizes and troubleshooting common issues further enhance your versatility and efficiency as a Cricut user. Be sure to follow all instructions on how to use a cricut mat carefully, and always consult an expert when in doubt.
Elizabeth Davis
Elizabeth is a creative writer and digital editor based in the United States. She has a passion for the arts and crafts, which she developed from a young age. Elizabeth has always loved experimenting with new mediums and sharing her work with others. When she started blogging, she knew that DIYquickly would be the perfect platform to share her tutorials and tips. She's been writing for the blog from the beginning, and her readers love her helpful advice and easy-to-follow instructions. When she's not writing or editing, Elizabeth enjoys spending time with her family and friends.


