
How to Make Phone Cases with Cricut
Customizing phone cases with a Cricut machine is an exciting way to express personal style and creativity while ensuring your device stands out. DIY phone cases allow for unique personalization and offer a cost-effective alternative to store-bought designs. Creating your own phone case is relatively straightforward and requires just a few essential tools, including a Cricut machine, vinyl sheets, and transfer tape.
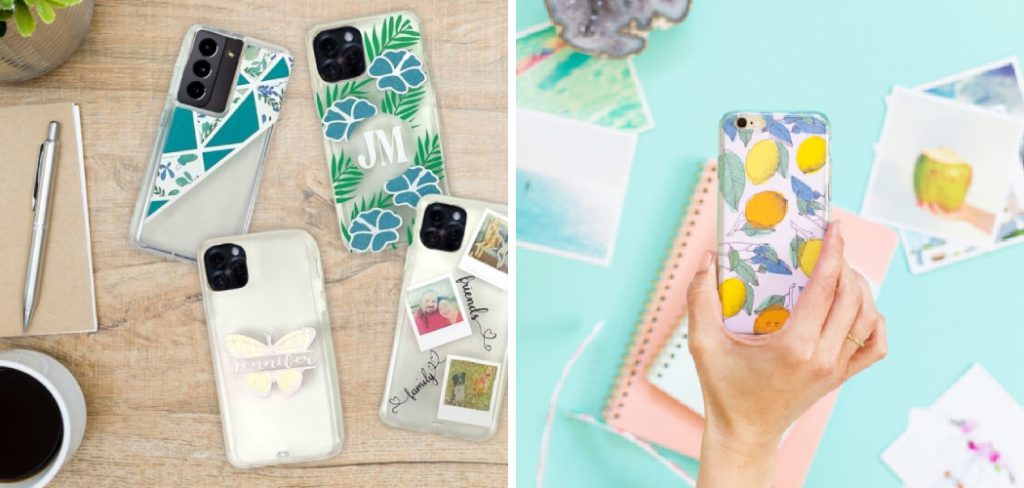
In this guide, you will learn how to make phone cases with Cricut by following a series of steps that cover everything from selecting materials to adding decorative embellishments. With a little patience and creativity, you can transform a simple blank phone case into a stunning reflection of your personality.
Materials and Tools Needed
To successfully create customized phone cases with Cricut, you’ll need the following materials and tools:
Materials:
- Blank Phone Cases: Choose cases that are compatible with your phone model. Materials can vary, including plastic and silicone.
- Vinyl Sheets: Permanent adhesive vinyl is ideal for phone cases, providing durability and vibrant colors.
- Transfer Tape: This tape will help you easily transfer your vinyl design to the phone case without losing its shape.
- Protective Sealant: A sealant ensures your design remains intact and protected from scratches and wear.
Tools:
- Cricut Machine: This is essential for cutting your vinyl designs accurately.
- Weeding Tools: Use these tools to remove excess vinyl from your design post-cutting.
- Scraper: A scraper tool helps adhere the vinyl to the phone case smoothly.
- Cutting Mat: A sticky mat to hold your vinyl in place while it is being cut.
- Heat Press or Iron: If using heat transfer vinyl, a heat press or iron will be needed to properly adhere the design.
Optional Embellishments:
- Consider adding extra flair with glitter, rhinestones, or paint for a personalized touch to your phone case design.
Choosing the Right Vinyl and Phone Case
When it comes to creating custom phone cases, selecting the appropriate vinyl is crucial for achieving the desired result. Permanent vinyl is an excellent choice for phone cases, as it offers durability and resistance to wear, making it perfect for everyday use. Adhesive vinyl can be used for designs that require a strong bond without heat application, while heat transfer vinyl (HTV) is ideal if you plan to heat-press your designs onto more flexible materials.
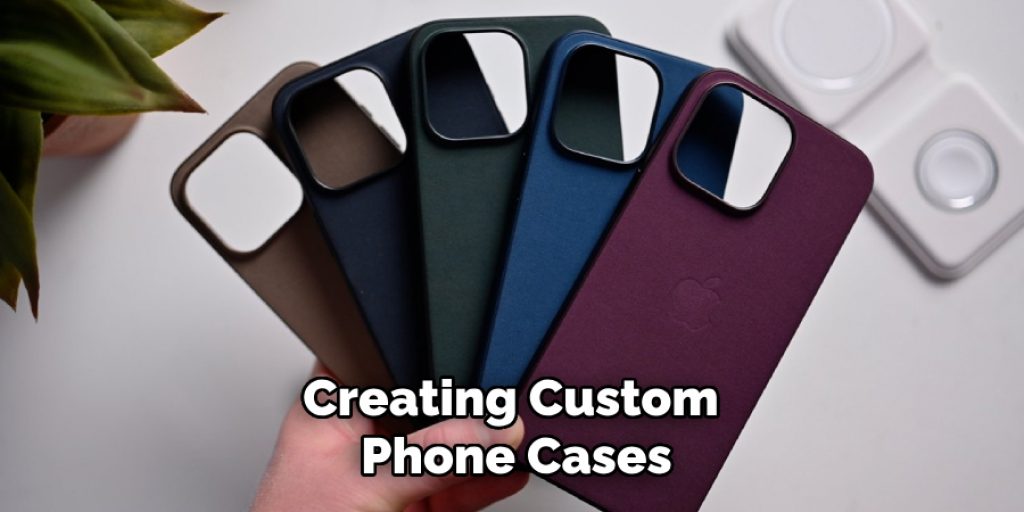
Next, you’ll need to choose a blank phone case that fits your device perfectly. Look for cases made from materials such as plastic or silicone, as these are compatible with most vinyl types. Consider the color of the case, as it will interact with your design; a clear or white case can make vibrant colors pop, while a darker case can create a striking contrast with lighter vinyl.
Finally, ensure that your selected vinyl colors and patterns complement your overall design aesthetic. Whether you want a bold, eye-catching statement or a subtle, elegant look, matching your vinyl options with your chosen case will help create a cohesive and appealing final product.
Designing Your Phone Case
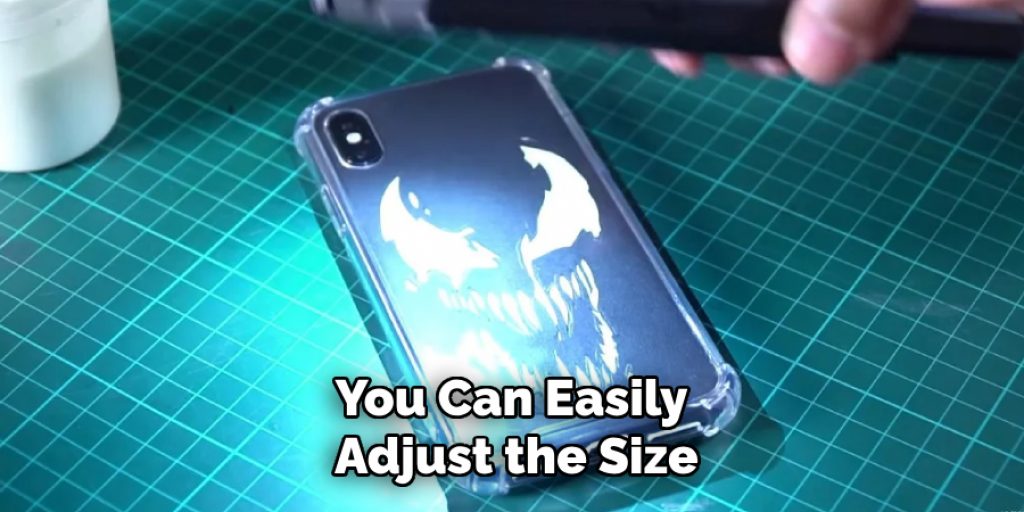
Using Cricut Design Space software is a crucial step in the phone case customization process. This user-friendly application allows you to create original designs or import existing images tailored for your phone case. Launch Design Space and select the appropriate canvas size corresponding to your phone case dimensions. You can easily adjust the size and placement of your design on the canvas, ensuring that it fits perfectly on the surface of your chosen case.
Consider incorporating elements such as monograms, patterns, or images to make your phone case truly unique. Monograms can add a personal touch, making your case feel distinctly yours. Use Design Space’s text tool to quickly create monogram initials, and explore different fonts to find one that resonates with your style. Patterns and images can breathe life into your design; whether you opt for geometric shapes, floral prints, or themed graphics, be sure to select elements that complement each other.
Additionally, it’s essential to maintain a balance in your design. If you choose bold graphics, consider using a more subdued color palette or simpler shapes to avoid overwhelming the visual appeal. Conversely, if your design features intricate details, a mono-color scheme might be best to accentuate those features. Once your design is finalized, you’re ready to cut and apply your vinyl, bringing your creative vision to life.
How to Make Phone Cases with Cricut: Cutting the Vinyl with Cricut
Setting Up the Cricut Machine
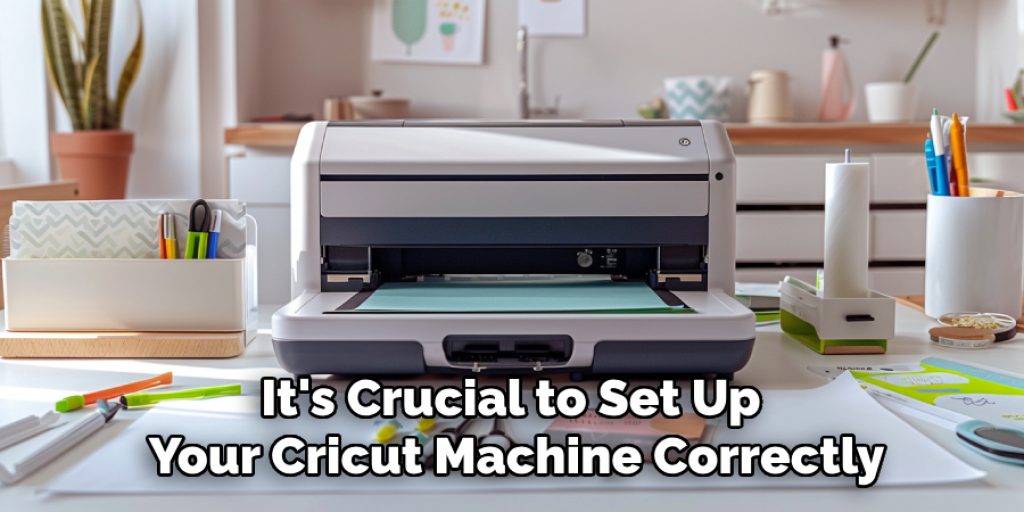
Before you start cutting your vinyl, it’s crucial to set up your Cricut machine correctly to ensure a flawless design. In your Cricut Design Space, select the appropriate settings for your vinyl type. For permanent adhesive vinyl, you generally want to choose the fine point blade with a medium-depth setting for optimal cutting. Check that the machine is connected to your computer or tablet and that the blade is installed securely.
Next, place your vinyl sheet onto the cutting mat, ensuring it is aligned with the grid lines for accurate positioning. It’s a good idea to use a scraper tool to press the vinyl onto the mat, ensuring there are no air bubbles that might cause the vinyl to shift during cutting. Once your vinyl is firmly attached, load the cutting mat into the Cricut machine by pressing the flashing “Load” button. The machine will automatically pull the mat in, ready for the next step.
Cutting the Design
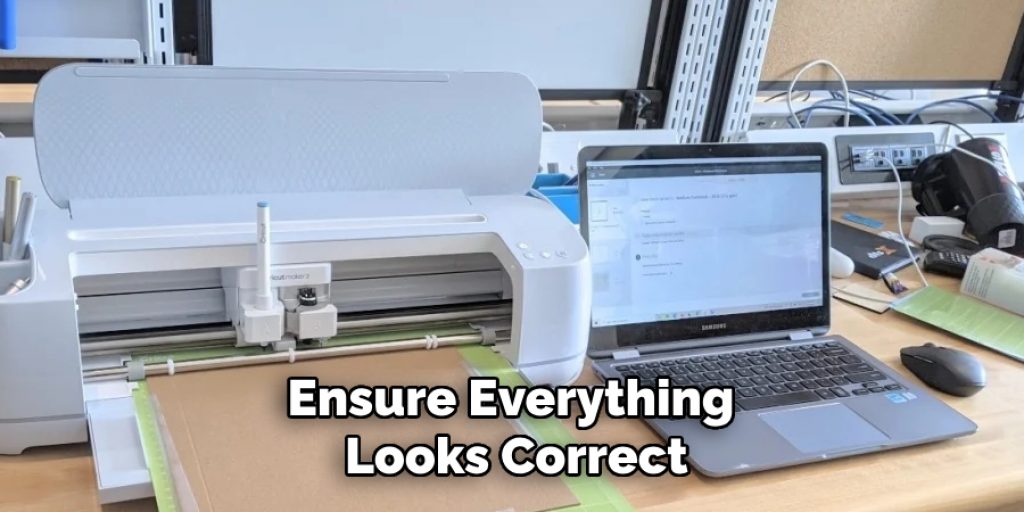
With your design ready to go, it’s time to send it to the Cricut machine. Click the “Make It” button in Design Space to preview how your design will be cut and ensure everything looks correct. After confirming your settings, press the “Go” button to start the cutting process. Throughout the cutting, keep an eye on the machine to monitor the progress, paying close attention to ensure that the blade is cutting cleanly without dragging or tearing the vinyl.
Once the cutting is complete, carefully remove the mat from the machine by pressing the “Unload” button. Gently lift the vinyl off the mat, making sure not to pull or stretch the material. Using weeding tools, carefully peel away the excess vinyl to reveal your design. This step is critical for ensuring your final product looks polished and professional. With your vinyl cut and weeding, you can transfer your design onto the blank phone case.
Weeding and Preparing the Vinyl
Once your design is cut, the next step involves weeding out the excess vinyl to ensure a clean and professional finish. Using weeding tools, such as a tweezers or fine-point pick, carefully remove the parts of the vinyl that are not part of your design. Pay special attention to small details and intricate cuts, as these can sometimes be tricky. Gently lift away excess vinyl while ensuring that the design remains intact on the backing.
After weeding, it’s time to apply transfer tape to your vinyl design, which allows for easy application onto your phone case. Cut a piece of transfer tape slightly larger than your design and peel away the backing. Align the tape over your weeded vinyl, starting from one edge and gradually pressing down to avoid air bubbles. Once the transfer tape is securely adhered to the vinyl, flip it carefully, and burnish the tape with a scraper tool or your fingers to ensure a strong bond. This step is crucial for successfully moving your design onto the phone case without losing any delicate pieces. With your vinyl prepared and ready, you’re one step closer to customizing your phone case!
Applying the Vinyl to the Phone Case
Positioning the Vinyl
Before applying your vinyl design to the phone case, preparing the surface for optimal adhesion is essential. Start by cleaning the phone case with rubbing alcohol or a mild soap solution to remove any dirt, oils, or residue. This ensures a strong bond between the vinyl and the case. After completely drying the case, position your weeded vinyl design on the phone case using the transfer tape. Align the design carefully, considering the overall aesthetic you want to achieve. You can make slight adjustments to the placement before firmly applying it. Once you’re satisfied with the positioning, you can proceed to adhere to the vinyl seamlessly.
Adhering the Vinyl
To adhere the vinyl to the phone case, use a scraper tool or a credit card to press down firmly on the design, starting from the center and working your way outwards. This technique helps eliminate any air bubbles and ensures the vinyl sticks well to the surface. After you’ve secured the design in place, carefully peel back the transfer tape, avoiding lifting the vinyl off the phone case. If any areas of the vinyl start to come up with the tape, lay the tape back down and press it again. Finally, check for any remaining air bubbles and smooth out the vinyl as needed to achieve a flawless finish. Your customized phone case is now complete and ready to showcase your unique style!
Sealing and Protecting the Design
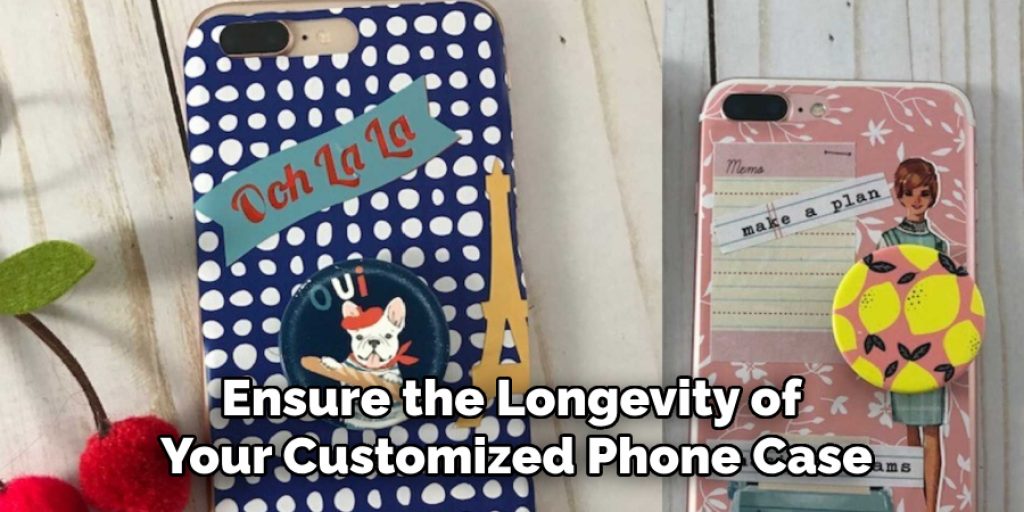
To ensure the longevity of your customized phone case, applying a protective sealant to your vinyl design is a vital step. Once the vinyl is adhered, select a clear sealant suitable for vinyl, such as a spray or brush-on type. Carefully choose a product that offers protection against scratches, moisture, and fading. Applying the sealant is straightforward; hold the spray canister about 6-12 inches away from the design and apply a light, even coat. If you are using a brush-on sealant, use a foam or synthetic brush for the smoothest finish, being cautious not to disturb the vinyl.
After sealing, it is crucial to allow the sealant to dry completely before using the phone case. Follow the manufacturer’s recommendations on drying times, as this can vary by product. A fully cured sealant not only enhances the appearance of your design but also significantly increases its durability, making it resistant to daily wear and tear. With this protective layer in place, your custom phone case will look great and stand the test of time, ensuring that your unique expression remains vibrant and intact through everyday use.
Adding Optional Embellishments
Enhancing your customized phone case with embellishments can elevate its aesthetic appeal and add a personal touch. Consider using glitter, rhinestones, or even acrylic paint to create a unique design. Glitter can be incorporated into the sealant for a shimmer effect, while rhinestones can be carefully placed around the vinyl design using a strong adhesive. For paint, opt for permanent or acrylic options that are compatible with vinyl to ensure durability.
When attaching embellishments, make sure they are securely fastened. Use a strong crafting glue or epoxy to adhere rhinestones and allow ample drying time to ensure they hold firmly. For a cohesive and stylish look, choose embellishments that complement the color scheme and theme of your vinyl design. Mixing textures, such as matte and glossy finishes, can also provide depth to your overall design. Keep balance in mind; avoid overcrowding the space to maintain a clean and appealing appearance.
Final Touches and Quality Check
Once you’ve completed the embellishing process, performing a quality check on your custom phone case is essential. Begin by inspecting the surface for any imperfections, such as bubbles, lifted edges, or misaligned vinyl. Make minor adjustments to ensure the design is perfect if you find any discrepancies. Smooth down any lifted areas and press firmly, making sure the vinyl is securely adhered. A final inspection will help confirm everything is in place, providing a polished look to your personalized creation.
Conclusion
In summary, learning how to make phone cases with Cricut involves several key steps: selecting your design, cutting and weeding the vinyl, applying it to the case, sealing the design, and adding optional embellishments. Don’t hesitate to explore different designs and techniques to make each case unique to your style. The satisfaction of creating personalized phone accessories not only allows you to express yourself but also results in a functional piece that showcases your creativity. Happy crafting!
Elizabeth Davis
Elizabeth is a creative writer and digital editor based in the United States. She has a passion for the arts and crafts, which she developed from a young age. Elizabeth has always loved experimenting with new mediums and sharing her work with others. When she started blogging, she knew that DIYquickly would be the perfect platform to share her tutorials and tips. She's been writing for the blog from the beginning, and her readers love her helpful advice and easy-to-follow instructions. When she's not writing or editing, Elizabeth enjoys spending time with her family and friends.


