How to Sew Bust Darts
Are you looking to add a more tailored and fitted look to your clothing? Bust darts are a great way to do just that!
Sewing bust darts is a crucial technique in garment construction, allowing for a better fit and shape around the bust area. These darts help to accommodate the natural curves of the body, creating a tailored silhouette in dresses, tops, and blouses. Understanding how to sew bust darts not only enhances the overall appearance of your garments but also improves your sewing skills. This guide will provide step-by-step instructions on accurately measuring, marking, and sewing bust darts, ensuring that your finished pieces are flattering and professionally finished.
Whether you’re a beginner or looking to refine your technique, mastering bust darts is an essential component of creating well-fitted garments.
What Will You Need?
To sew bust darts, you will need the following materials:
- Fabric (appropriate for your chosen garment)
- Sewing machine
- Thread
- Scissors or rotary cutter
- Pins
- Marking tool (fabric chalk or disappearing ink pen)
- Ruler or measuring tape
Once you have gathered all the necessary materials, you’re ready to get started!
10 Easy Steps on How to Sew Bust Darts
Step 1. Types and Preparation of Your Fabric
The Type of fabric is significant in how the dart will behave. In this regard, sturdier fabrics like cotton and linen will be the best option, as they are easier to handle on the machine. But if you are using viscose-type fabrics, give extra attention to pinning.
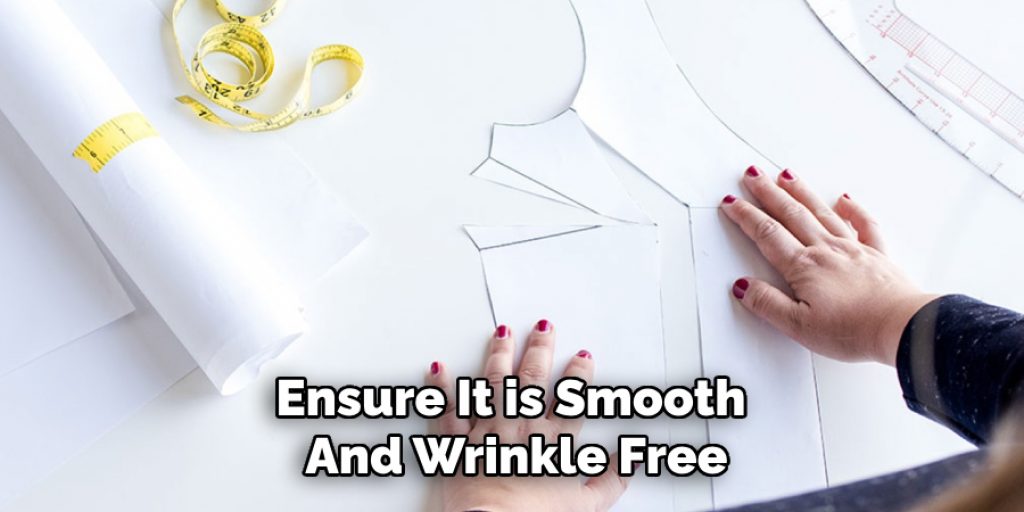
Start by laying out your fabric on a flat surface. Ensure it is smooth and wrinkle-free, as any creases can affect the accuracy of your markings and sewing. If your fabric has a right and wrong side, make sure the right side is facing up. This attention to detail will help in achieving a clean and professional finish for your bust darts.
Step 2. Take Measurements
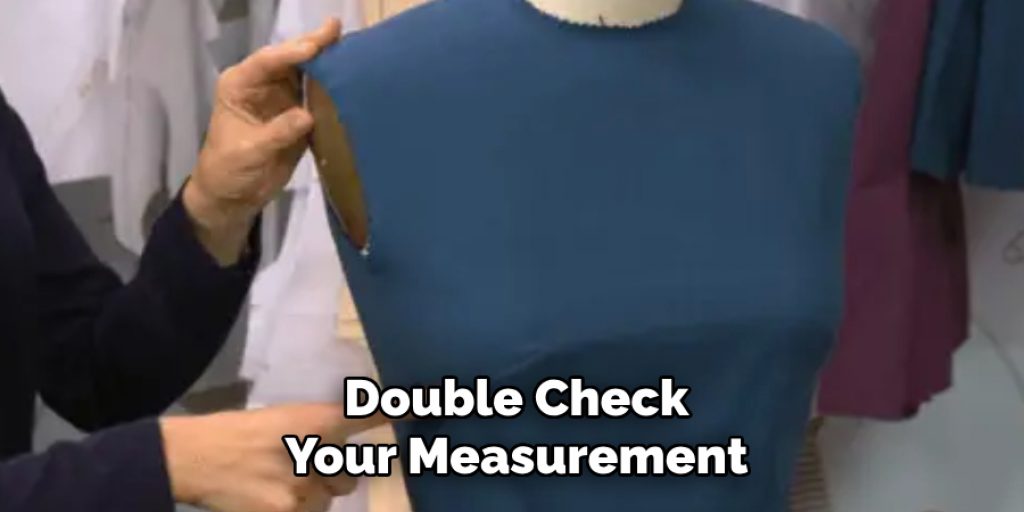
Accurate measurements are key to successfully sewing bust darts. Begin by measuring the fullest part of your bust. Then, determine the desired dart placement, which is typically 1-2 inches from the bust point, depending on the design of your garment. Use a ruler or measuring tape to mark these points on your fabric. This will be the foundation for creating perfectly shaped bust darts that suit your silhouette.
Step 3. Mark the Dart Lines
Once you have determined the dart placement, it’s time to mark the dart lines on your fabric. Using your marking tool, draw straight lines from the dart’s widest point down to the bust point. Typically, the lines will create a triangle shape, with the apex at the bust point and the base at the marked dart width. Ensure that the lines are even and visible. Double-check your measurements before proceeding, as precise markings are essential for achieving a professional-looking dart.
Step 4. Pin the Darts
With your dart lines marked, it’s time to pin the darts to prepare for sewing. You should pin exactly along both sides of your dart line when pinning. Carefully fold the fabric along the dart lines, bringing the two edges together at the bust point. Secure this fold with pins to hold the fabric in place. Make sure the dart is pinched neatly without any puckering at the edges. This step is essential to maintaining the shape of the dart as you sew, ensuring a clean and structured fit in your finished garment.
Step 5. Sew the Darts
Now that your darts are pinned, it’s time to sew them. Using your sewing machine, start at the wide end of the dart and sew along the marked lines, gradually sewing towards the bust point. It’s helpful to use a backstitch at the beginning and end of your seam to secure it. As you approach the bust point, decrease your stitch length to create a smoother finish and avoid any bulk at this critical area. Aim for a precise stitch line, following your markings as closely as possible. Once you reach the bust point, do not sew over it—stop about 1/8 inch before reaching the tip. This will help prevent the end from being too stiff or pointed in the finished garment.
Step 6. Press the Darts
After sewing the darts, the next crucial step is to press them for a polished finish. Begin by carefully removing the pins. Then, using an iron set to the appropriate temperature for your fabric, gently press the dart towards the side of the garment—this helps shape the dart and adds definition. Be cautious not to stretch or distort the fabric while pressing. If needed, use a pressing cloth to prevent any direct contact between the iron and the fabric, especially on delicate materials. Properly pressed darts will ensure your garment maintains a beautiful structured shape when worn.
Step 7. Trim the Dart Excess
After pressing the darts, it’s important to trim any excess fabric for a smoother finish. Using sharp scissors, carefully cut away the excess fabric at the dart’s seam allowance, ensuring you do not cut into the dart stitches. This will help reduce bulk and allow the dart to lay flatter against the body, contributing to a more streamlined fit. If your fabric is thick or bulky, trimming the excess can make a significant difference in the overall appearance of your garment.
Step 8. Finish the Dart Edges
Finish the dart edges to prevent fraying and maintain the integrity of your seams. You can use a serger for a professional look, or if you don’t have one, a zig-zag stitch on your sewing machine will suffice. If using a traditional method, consider pinking shears to reduce bulk while adding a decorative touch. Ensuring the edges are finished will keep your garment looking neat and extend its wearability.

Step 9. Lay Out the Garment
Once your darts are finished and the edges are secured, it’s time to lay out the rest of your garment pieces. Ensure that all pieces are arranged correctly according to your pattern instructions. Pay attention to the grainline and ensure each piece is aligned correctly on the fabric. This step is crucial for achieving a balanced look in your final garment. If your pattern has additional markings, such as notches or registration marks, mark those on your fabric. Proper layout will facilitate a smooth sewing process for the subsequent steps.
Step 10. Assemble the Garment
Now that all your pieces are laid out, you can assemble your garment. Begin by sewing the main seams, incorporating the fitted darts you sewn. Use the appropriate stitch length and tension based on the fabric type to ensure a professional finish. As you sew, keep checking the alignment of your pieces and make any necessary adjustments to maintain consistency. After assembling the garment, take a moment to press the seams open for a crisp look. Your garment is now ready for final touches, such as hems or closures, leading to a beautifully constructed piece.

Following these steps, you can confidently create and sew bust darts that flatter your body shape and add structure to your garment.
5 Things You Should Avoid
- Ignoring Pattern Instructions: Always follow the markings and instructions provided in your pattern. Neglecting these directions can lead to misaligned darts that disrupt the fit and overall appearance of your garment.
- Using Incorrect Fabric Tension: Sewing with too tight or too loose tension can distort your darts. Ensure you have the right tension setting for your fabric to achieve precise and well-shaped darts.
- Not Marking Dart Placement: Skipping this crucial step can lead to uneven or misplaced darts, resulting in an ill-fitting garment. Take the time to mark your dart placement accurately before sewing.
- Rushing Through Pressing: Pressing is a critical step in sewing bust darts that should not be rushed. Taking the time to press each dart properly will contribute to a professional-looking finish and maintain the shape of your garment.
- Neglecting Trimming and Finishing: Trimming away excess fabric and finishing edges may seem like minor steps, but they can significantly impact the appearance and wearability of your garment. Skipping these steps can result in bulky or frayed darts, which can affect the overall fit and look of your final piece.
By avoiding these common mistakes, you can achieve well-constructed and flattering bust darts in your garments.
Conclusion
In conclusion, how to sew bust darts is essential for achieving a well-fitted garment that complements the body’s contours.
By carefully following the outlined steps—from marking and sewing the darts to pressing, trimming, and finishing the edges—you can create structured and flattering lines that enhance the overall silhouette of your piece. Remember to take your time with each stage, as attention to detail will significantly improve the final outcome. By avoiding common pitfalls and applying the techniques discussed, you’ll gain the confidence to sew bust darts that elevate your sewing projects and showcase your skills.
With practice, you’ll find that perfectly executed darts can greatly enhance the fit and aesthetics of your clothing creations. Happy sewing!
You can check it out to Make a Dress Bigger by Adding Fabric
Nancy Behan
Nancy is an embroidery artist, fashion blogger and a full time editor at DIY quickly. Nancy edits the fashion section on DIY quickly, focusing on the embroidery and cross stitch articles, alongside with fabric and other costume design elements. She graduated from the University of Michigan with a Bachelor of Arts in Art History. She loves to work on her own projects, read books and watch romantic movies in her spare time.