How to Gauge Swatch in the Round
Are you a knitter who loves working in the round but struggles with getting your gauge swatch just right? Look no further!
How to gauge swatch in the round is a crucial step for knitters looking to ensure their projects turn out strictly as intended. Unlike flat knitting, where swatches are typically knitted back and forth, working in the round can introduce variables that affect gauge, such as tension and stitch definition. Achieving an accurate gauge swatch allows you to determine the number of stitches and rows per inch, which is essential for achieving the correct fit and overall dimensions of your knitted item.
In this guide, we will explore the techniques and tips for measuring your gauge accurately when working in the round, ensuring your finished projects are as pleasing as the patterns promise.
What Will You Need?
To successfully gauge swatch in the round, you will need:
- Yarn: Choose a yarn similar to what you plan to use for your project. Choose the same weight and fiber content.
- Knitting Needles: Use needles recommended for the yarn or size needed to achieve the pattern’s gauge.
- Stitch Marker: This will help you track where your round begins and ends.
- Measuring Tape: Essential for measuring your gauge accurately.
Once you have all these materials, you are ready to start swatching!
10 Easy Steps on How to Gauge Swatch in the Round
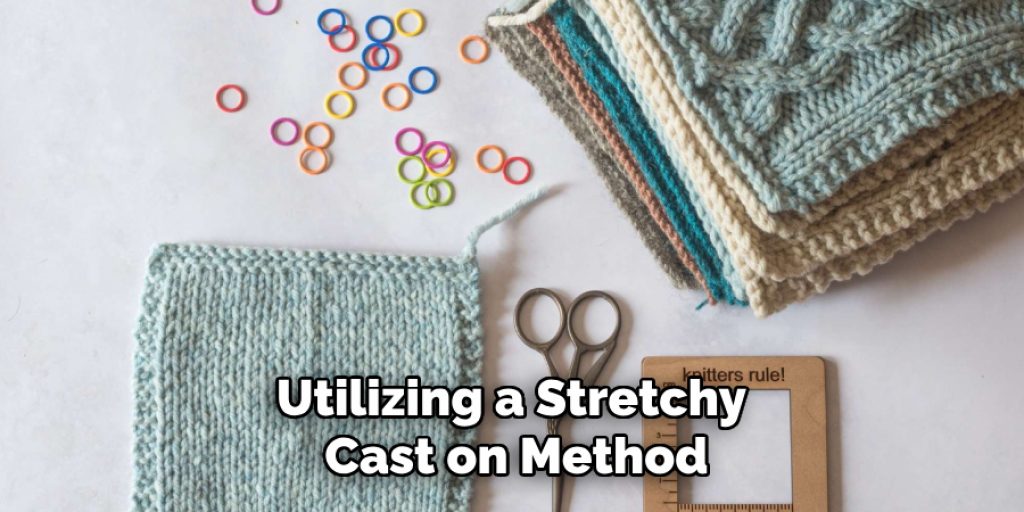
Step 1. Cast On Stitches:
Begin by casting on the recommended number of stitches for your swatch. It’s advisable to cast on more stitches than required for the final project to account for any potential discrepancies in your tension. Utilizing a stretchy cast-on method, such as the long-tail or twisted rib cast-on, can help maintain elasticity, giving a more accurate representation of how your swatch will behave in the completed piece.
Be sure to place a stitch marker at the start of your round to keep track of your beginning and end points as you work. This will facilitate a clear understanding of your knitting as you progress in the round. Once you have cast on your stitches and marked the beginning of your round, you’re set to proceed to the next steps of creating your swatch.
Step 2. Knit in the Round:
Now that you’ve cast on your stitches and placed your stitch marker, it’s time to begin knitting in the round. Using the recommended stitch pattern for your project, continue knitting until your swatch reaches the desired height, typically at least 4 inches for accurate measurement. Ensure consistent tension throughout your work, as variations can impact your gauge results. As you knit, periodically glance at your stitches to ensure they are even; if you notice any inconsistencies, adjust your grip or posture to help create a uniform look.
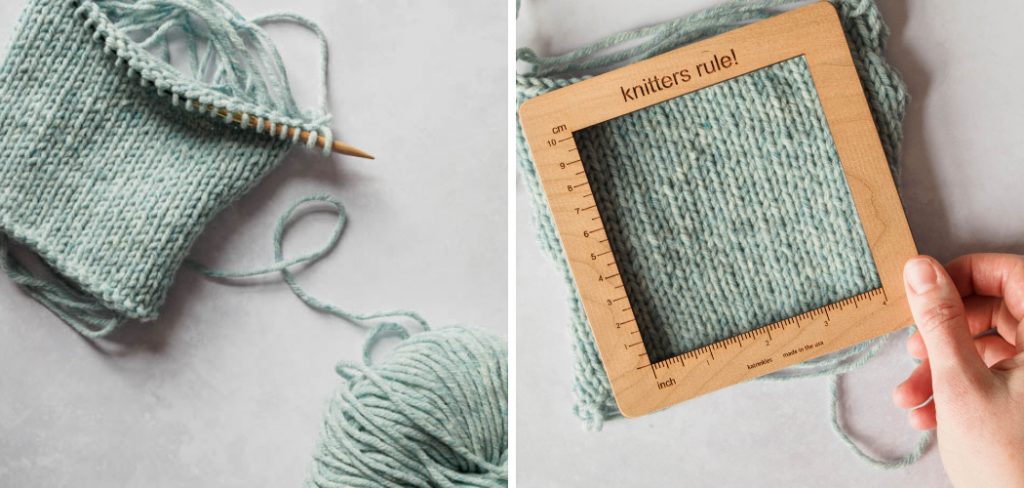
Step 3. Measure Your Gauge:
Once your swatch has reached the desired height, it’s time to measure your gauge. Lay your swatch flat on a surface, ensuring it is not stretched or distorted. Using your measuring tape, count the number of stitches and rows within a 4-inch square. To count stitches, measure a section of your swatch, marking off precisely 4 inches, and note how many stitches fit within that space. Repeat this process for rows by counting how many fall within the same 4-inch length. Taking the time to measure accurately is crucial, as this will determine how your finished project will fit and look. If you find your numbers don’t match the pattern’s gauge, you may need to adjust your needle size or technique and swatch again until you achieve the desired gauge.
Step 4. Block Your Swatch:
After measuring your gauge, it’s a good idea to block your swatch, especially if the final project will be blocked. Submerging your swatch in lukewarm water for about 15 minutes will help set the stitches and reveal how the yarn behaves after washing. Avoid agitating the swatch; simply let it soak. Once soaked, gently squeeze out the excess water without wringing. Lay it flat on a clean towel to absorb moisture, then reshape it to its original dimensions and allow it to air dry. This process can impact the yarn’s drape and appearance, so it’s essential to know how your chosen yarn will respond to blocking before starting your main project. After fully drying your swatch, re-measure it to ensure your gauge remains consistent.

Step 5. Compare with Pattern Gauge:
With your swatch blocked and dried, it’s now time to compare your measurements with the gauge specified in your pattern. Locate the recommended gauge for your project, usually expressed as the number of stitches and rows per 4 inches. If your swatch gauge matches the pattern’s gauge, congratulations! You are ready to proceed with your project. However, if there is a discrepancy, don’t fret. You may need to experiment with a different needle size; switching to a larger needle can loosen your stitches, while a smaller needle can tighten them. Remember to knit another swatch after making needle adjustments to ensure accuracy before starting your actual project.
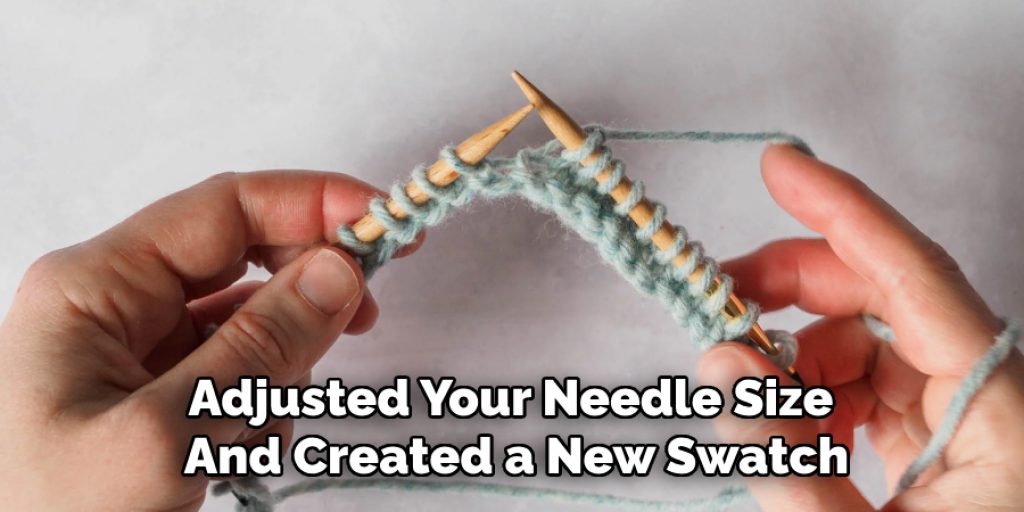
Step 6. Evaluate Your Final Gauge:
Once you have adjusted your needle size and created a new swatch, it’s time to evaluate your final gauge. Repeat the measuring process as described in Step 3 and compare the new stitch and row counts to the pattern’s specifications. Confirm that your measurements align with what is required. Achieving a consistent gauge is vital for ensuring that your finished project fits properly and matches the intended design. If your new swatch still doesn’t match the pattern gauge, don’t hesitate to try further adjustments, such as varying your knitting style or selecting a different yarn type. Remember, finding the right balance for you and your chosen project is the goal.
Step 7. Take Notes:
As you proceed through the swatching and gauging process, taking detailed notes about your findings is essential. Document the needle sizes you used, the stitch pattern, and the results of your measurements. This will help you remember what worked well for this specific project and serve as a valuable reference for future knitting endeavors. If you adjust your technique or materials, record those as well. Having a comprehensive log can save you time and frustration on future projects, allowing you to replicate successful outcomes or learn from any challenges encountered along the way.
Step 8. Prepare for Your Project:
With your final gauge established and notes documented, you are now ready to prepare for your main knitting project. Gather all the necessary materials, including the appropriate yarn, needles, and any additional tools like stitch markers or a row counter that you might need. Before diving into your project, take a moment to read through the entire pattern, noting any special techniques or instructions that may require extra attention. Additionally, ensure a comfortable and well-lit workspace that facilitates your focus and creativity. Setting yourself up for success is key, so take this time to arrange everything you need to remain organized and motivated throughout your knitting journey.
Step 9. Start Your Project:
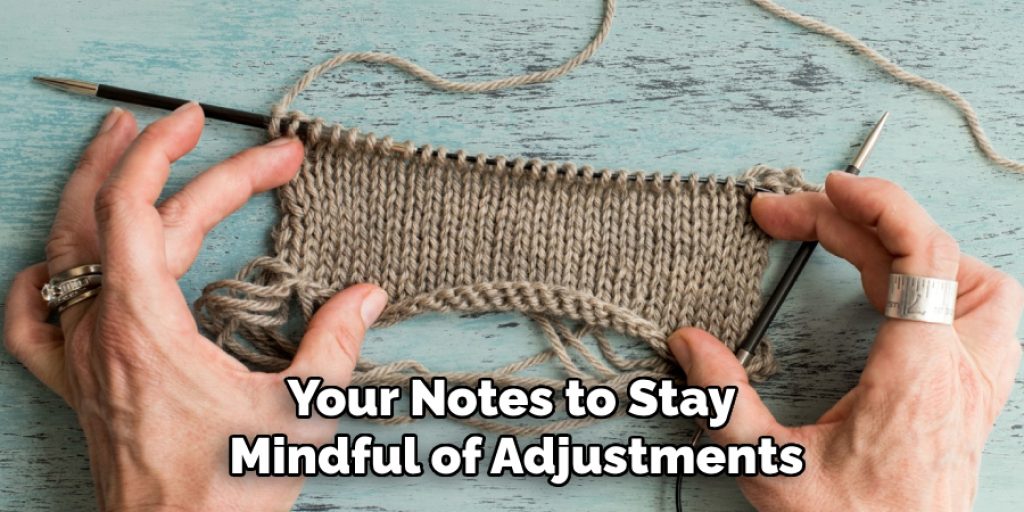
Now that you have all your materials prepared and the necessary gauge has been established, it’s time to cast on and begin your knitting project! Follow the pattern instructions closely, paying attention to any specific stitch techniques or changes in yarn throughout the project. As you knit, refer back to your notes to stay mindful of adjustments you’ve made during the swatching process. Keep your workspace tidy and organized, allowing you to focus on your work without unnecessary distractions. If you encounter any challenges, don’t hesitate to pause and refer to resources or communities for support. Remember, every stitch brings you closer to finishing your beautifully crafted piece!
Step 10. Finish Your Project:
Once you’ve completed your knitting project, it’s time to finish up and prepare it for its final presentation. Begin by weaving in any loose ends; use a tapestry needle to tuck away yarn tails securely, ensuring they won’t come undone over time. Next, if your project is a garment or a piece that will undergo significant use, consider blocking it again to enhance its shape and drape. Light steam blocking can help settle the stitches for knitted items like blankets or scarves. Lastly, give your finished piece a gentle wash to refresh it, and allow it to dry flat. This step enhances the overall appearance and guarantees that your work is ready to be admired and enjoyed!
By following these steps, you can confidently achieve the correct gauge for your knitting projects and create beautiful, professional-looking pieces.
Conclusion
Achieving the correct gauge for projects worked in the round is crucial, ensuring the final piece fits as intended and maintains the desired design elements.
To correctly gauge swatches in the round, begin by casting on the recommended number of stitches as indicated in your pattern. Remember that swatches in the round should typically be worked in a circular manner rather than flat. Use a longer circular or double-pointed needle to avoid any issues with a tight stitch count. After knitting your swatch, measure your stitch and row counts carefully while considering the unique characteristics of working in the round, such as the potential for tighter stitches compared to flat knitting. Adjust your technique, if necessary, and take detailed notes on your process, as these insights will be invaluable for future reference.
Hopefully, the article on how to gauge swatch in the round has provided some useful tips and techniques to help you achieve success in your knitting projects. Happy knitting!
You can check it out to Knit a Crop Top
Elizabeth Davis
Elizabeth is a creative writer and digital editor based in the United States. She has a passion for the arts and crafts, which she developed from a young age. Elizabeth has always loved experimenting with new mediums and sharing her work with others. When she started blogging, she knew that DIYquickly would be the perfect platform to share her tutorials and tips. She's been writing for the blog from the beginning, and her readers love her helpful advice and easy-to-follow instructions. When she's not writing or editing, Elizabeth enjoys spending time with her family and friends.