How to Iron on Chenille Patches
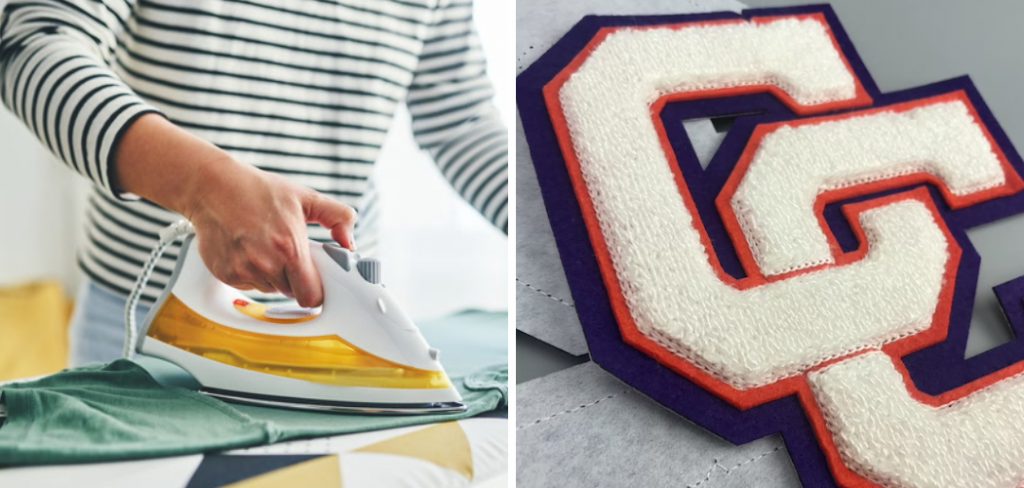
Chenille patches are soft, textured patches often made from yarn, creating a plush and distinctive look that can add personality and flair to various items. They are commonly used to personalize clothing, accessories, and crafts, making them popular for those seeking to express their individuality. The benefits of using iron-on chenille patches are numerous: they are easy to apply, require no sewing skills, and offer durability, ensuring that your customizations last through wear and washing.
In this guide, you will learn how to iron on chenille patches effectively. We will cover everything from selecting the perfect location on your garment to the specific techniques needed for heat application, ensuring that your patches adhere securely and beautifully. By following these steps, you can enhance your items with unique designs that reflect your personal style.
Tools and Materials Needed
To successfully apply chenille patches, gather the following tools and materials:
Tools:
- Iron
- Ironing board
- Clean cloth or pressing cloth
- Scissors
Materials:
- Chenille patches
- Garment or item to apply patches to
- Optional: Fabric adhesive for added security
Preparing the Garment or Item
Selecting the Location
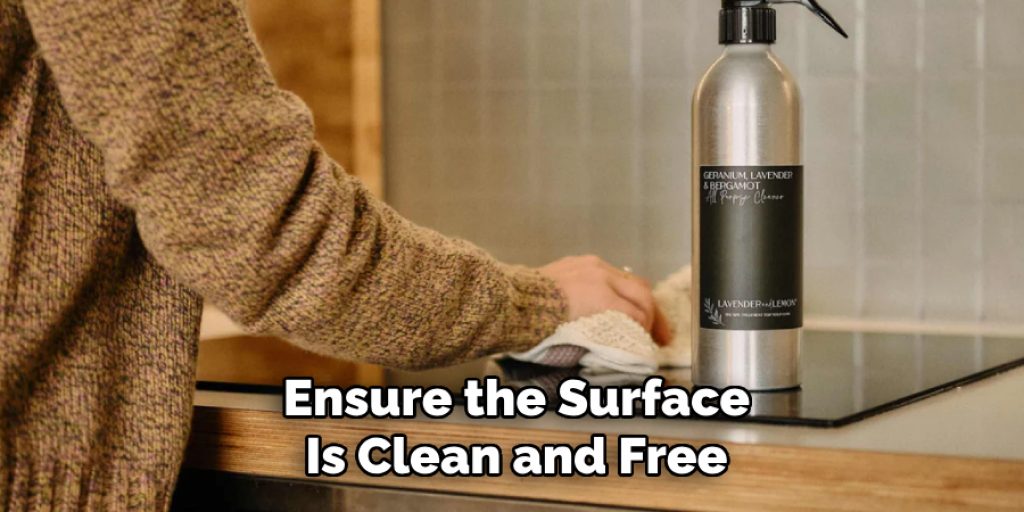
Choosing the ideal spot for your chenille patch is crucial for achieving a polished look. Consider the item’s design and where the patch will be most visible and impactful, such as the chest area of a shirt or the knee of a pair of jeans. Once you’ve selected the location, ensure the surface is clean and free of any debris or wrinkles. A smooth surface helps the patch adhere properly and results in a more professional appearance once applied.
Prepping the Surface
To prepare your garment for the chenille patch, washing and drying the item first is essential. This step guarantees that the fabric is clean and pre-shrunk, reducing the risk of any future dimensional changes. After washing, use an iron to press the area where the patch will be applied. This removes any lingering wrinkles and helps create a flat, smooth surface that enhances adhesion, ensuring that your patch stays securely in place.
Preparing the Chenille Patch
Positioning the Patch
Once you’ve selected the perfect spot for your chenille patch, it’s time to position it correctly. Begin by placing the chenille patch on the designated area of the garment or item, ensuring that it is aesthetically pleasing and practical in terms of wear and visibility. Take a moment to step back and assess the placement from different angles to confirm it looks centered and aligned properly. Proper positioning is essential for achieving a professional finish, as an off-center patch can detract from the overall appearance of the item.
Securing the Patch
It’s advisable to secure the patch temporarily to prevent any shifting during the ironing process. You can use fabric adhesive or temporary fabric tape, carefully applying it around the patch’s edges to hold it in place. This extra step helps ensure that the patch remains exactly where you want it during heat application. Avoid moving or adjusting the patch once you have secured it, as this can lead to misalignment or an uneven application of adhesive, which can compromise the durability of the bond.
How to Iron on Chenille Patches: Ironing on the Chenille Patch
1.Setting the Iron
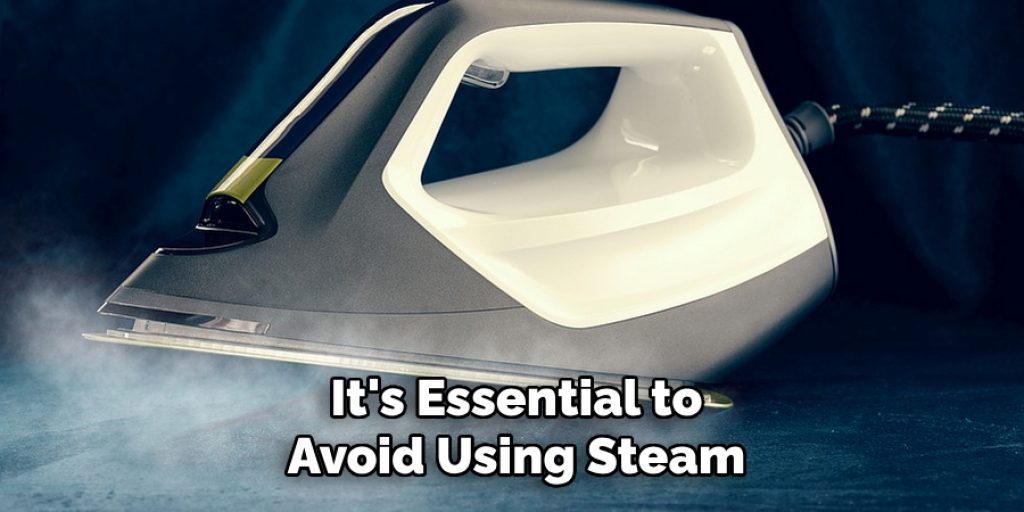
To begin with, you need to set the iron to the appropriate heat setting, typically medium to high heat. It’s essential to avoid using steam, as moisture can interfere with the patch’s adherence. Ensure that the iron is clean and free of any residue, as this can transfer to the patch or garment, potentially ruining your project. A clean iron will provide the best results and help create a smooth, finished appearance.
2.Covering the Patch
Once the iron is set, the next step is to protect both the chenille patch and the garment. Place a clean cloth or pressing cloth over the patch before applying heat. This barrier is vital as it prevents direct contact between the iron and the chenille, safeguarding the patch’s texture and the fabric beneath it from damage. A pressing cloth also helps distribute the heat evenly, ensuring the adhesive can melt properly without scorching.
3.Applying Heat
With the patch covered, you can now apply heat. Firmly press the iron down on the cloth-covered patch for the recommended time, usually between 15 to 30 seconds. It’s important to apply even pressure while holding the iron in place; avoid moving it around, as this can inhibit the adhesive from melting and forming a strong bond.
Allowing the iron to sit undisturbed ensures that the adhesive reaches the necessary temperature and promotes thorough bonding between the patch and the fabric. After the allotted time, carefully lift the iron away, holding the cloth in place for consistency.
4.Cooling and Checking
After the application of heat, allow the patch to cool completely while still covered. This cooling period is crucial as it helps set the adhesive. Once cooled, gently remove the cloth and check that the patch is securely attached to the garment. If you notice any areas where the patch hasn’t adhered properly, simply repeat the heating process, placing the cloth back over the patch and reapplying heat as needed. This step ensures that your chenille patch is not only attractive but also durable and long-lasting.
Final Touches
After successfully applying your chenille patch, it’s time for some final touches to ensure it looks its best and lasts longer. Start by inspecting the edges of the patch for any loose areas. If you spot any, you can apply additional heat, following the earlier steps, to reinforce the bond. For added durability, consider stitching around the edges of the patch. This enhances the patch’s security and adds a custom touch to your item. A simple running or decorative zigzag stitch in a contrasting thread can elevate the overall aesthetic.
Caring for the Patch
Wash and dry your garment gently to maintain your patch’s appearance and adhesion. Turn the item inside out and use a mild detergent, avoiding harsh chemicals that could wear down the patch. When drying, opt for air drying rather than a tumble dryer, ensuring no excessive heat damages the patch or its adhesive. Following these care instructions will keep your chenille patch looking fresh and secure for a long time.

Troubleshooting Common Issues
Patch Not Sticking
If your chenille patch is not adhering properly, it may be due to insufficient heat or pressure applied during the ironing process. Low iron settings can prevent the adhesive from melting adequately, while inadequate pressure might result in poor contact with the fabric. To resolve this, reapply heat with the iron set to a higher temperature, ensuring even pressure throughout the application. Alternatively, consider using a fabric adhesive to strengthen the bond as needed.
Patch Edges Lifting
If you notice that the edges of the patch are lifting, it may indicate improper ironing techniques or movement of the garment during application. To remedy this issue, carefully press the patch’s edges again with the iron, ensuring firm and even pressure is applied for the recommended time. For added security, reinforce the patch by stitching around its edges to prevent any further lifting and enhance durability.
Frequently Asked Questions (FAQs)
1. How Long Will My Chenille Patch Last?
A chenille patch can last many years with proper application and care. Regular checks and maintenance, like ironing and stitching around the edges, will help maintain its integrity.
2. Can I Wash My Garment with The Patch Attached?
Yes, you can wash your garment with the patch attached, but it’s important to turn it inside out and use a mild detergent. Avoid washing in hot water and refrain from using bleach or harsh chemicals.
3. What Should I Do if The Patch Starts to Lift?
If the patch begins to lift, you can reapply heat to the edges using an iron set to the appropriate temperature, ensuring you apply even pressure. Additionally, stitching around the edges can provide extra security.

4. Can I Use a Different Kind of Adhesive Instead of Ironing?
While ironing is the preferred method for attaching chenille patches, you can also use fabric adhesives. However, the bond may not be as strong or lasting as when using heat.
5. Is It Safe to Use an Iron on All Types of Fabrics?
Not all fabrics can withstand high heat; some materials may scorch or melt. Always check the care label on your garment and test the iron settings on a small, inconspicuous area to ensure compatibility.
Conclusion
In summary, successfully applying chenille patches requires careful attention to detail during each process step. First, ensure proper patch placement and secure it with fabric adhesive or tape before ironing. Set the iron to the appropriate heat without steam, cover the patch with a cloth to protect it, and apply even pressure for the designated time. Allow the patch to cool completely before checking its adhesion, and reinforce any loose edges as needed.
By following these outlined techniques on how to iron on chenille patches, you can achieve a professional-looking finish that enhances your garments. Personalizing items with these patches adds a unique touch and showcases your creativity, making your pieces truly one-of-a-kind. Embrace the opportunity to express yourself through customized items, and enjoy the satisfaction of completing your project with style and flair.
Elizabeth Davis
Elizabeth is a creative writer and digital editor based in the United States. She has a passion for the arts and crafts, which she developed from a young age. Elizabeth has always loved experimenting with new mediums and sharing her work with others. When she started blogging, she knew that DIYquickly would be the perfect platform to share her tutorials and tips. She's been writing for the blog from the beginning, and her readers love her helpful advice and easy-to-follow instructions. When she's not writing or editing, Elizabeth enjoys spending time with her family and friends.