How to Sew a Beach Bag
Are you tired of carrying a heavy and bulky bag to the beach? Why not make your own lightweight and stylish beach bag? Sewing a beach bag is a fun and easy project that gives you a sense of accomplishment.
How to sew a beach bag can be a fun and rewarding project that allows for both creativity and practicality. A custom beach bag not only reflects your personal style but also ensures that you have ample space to carry all your essentials, from sunscreen and towels to snacks and a good book. Whether an experienced seamstress or a beginner looking to take on a new challenge, this guide will walk you through the steps needed to create a stylish and functional beach bag.

Prepare to enjoy the sunny days ahead with a bag that is uniquely yours!
What Will You Need?
Before you start sewing, gather all the necessary materials and tools. Here’s a list to help you get started:
- Fabric of your choice (cotton, canvas, or linen are good options)
- Lining fabric
- Sewing machine
- Thread
- Scissors
- Pins
- Iron and ironing board
- Ruler or measuring tape
10 Easy Steps on How to Sew a Beach Bag
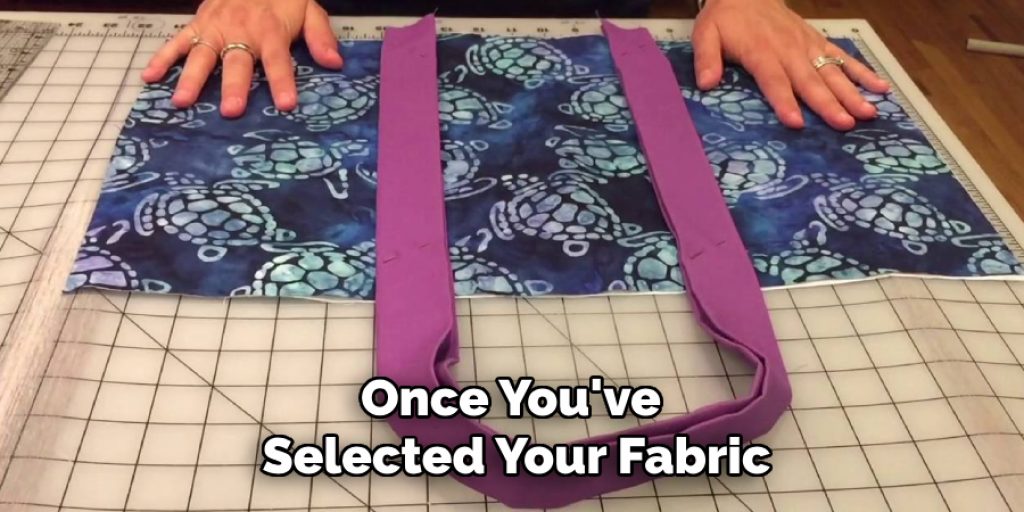
Step 1: Choose Your Fabric and Pattern
The first step is to choose the fabric for your beach bag. Consider using a durable and water-resistant material that can withstand sand, sun, and water. Canvas and cotton fabrics are popular choices for beach bags. You can also opt for a fun patterned fabric to add color and personality to your bag.
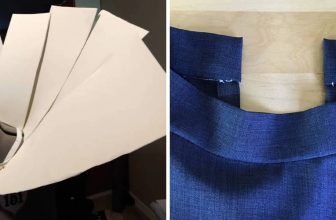
Step 2: Cut Your Fabric
Once you’ve selected your fabric, it’s time to cut it according to your chosen pattern. Start by laying out your fabric on a flat surface, ensuring it is wrinkle-free. Using your ruler or measuring tape, measure the dimensions specified in your pattern for both the outer fabric and the lining. Remember to add seam allowances, typically around ¼ to ½ inch, depending on your sewing technique. Carefully pin the pattern pieces to your fabric, ensuring they are aligned correctly, and then cut them out with scissors. This may include sections for the body of the bag, lining, and any additional pockets. Be sure to label each piece if necessary, as this will simplify the assembly process later.
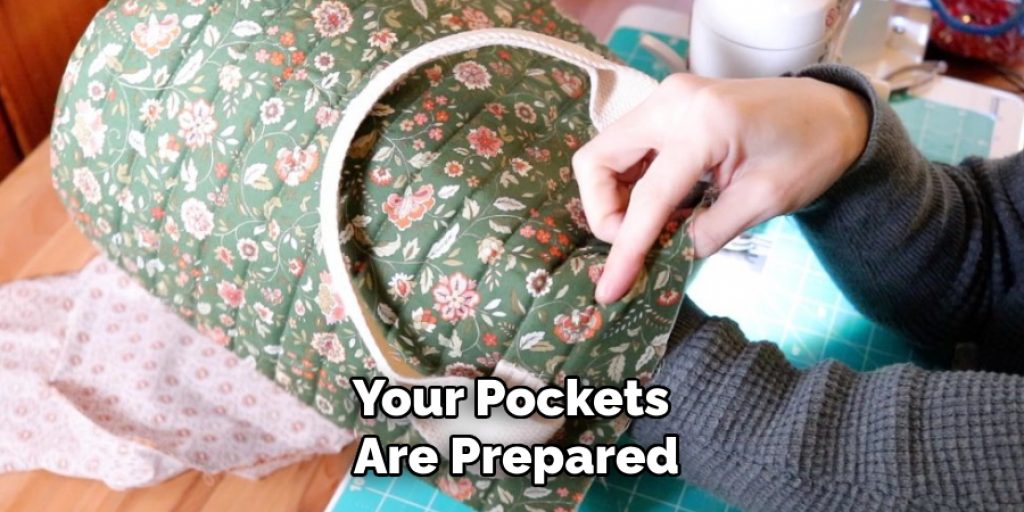
Step 3: Prepare Your Pieces
After cutting out all the fabric pieces, it’s time to prepare them for sewing. Begin by ironing the outer fabric and lining to remove creases and ensure a smooth finish. If you’re adding pockets, now is the time to prepare them. Fold the edges of the pocket pieces over about ¼ inch and press with the iron to create a crisp edge. This will make it easier to sew them onto the bag later. Pin the pockets in place on the outer fabric where you’d like them to be positioned, making sure they are centered and even. Double-check all your pieces to confirm they are ready for assembly before moving on to the next step.
Step 4: Sew the Pockets
Now that your pockets are prepared, it’s time to sew them onto the outer fabric of the beach bag. Start by carefully positioning the pockets where you pinned them, ensuring they are aligned properly. Using a sewing machine, sew along the top edge of each pocket, securing it in place. You can also sew along the sides for added strength if desired. Consider using a straight stitch or a zigzag stitch for a neat finish, depending on your fabric type.
Step 5: Sew the Outer Fabric Together
With the pockets securely attached, it’s time to sew the main body of the beach bag. Take the two pieces of your outer fabric that form the main body of the bag and place them on the right sides together, ensuring the pockets are on the inside. Pin the edges together to hold them in place. Using your sewing machine, sew along the sides and bottom edges with a straight stitch, leaving the top open. Make sure to backstitch at the beginning and end of your seams for added durability. Once you’ve sewn all the sides, trim any excess fabric at the corners to reduce bulk, making it easier to shape the bag when you turn it right side out.
Step 6: Create the Lining
Now it’s time to prepare the lining for your beach bag. Take the two pieces of your lining fabric and place them on the right sides together, just as you did with the outer fabric. Pin the edges similarly, sewing along the sides and bottom, leaving the top open. Remember to backstitch at both ends for added durability. Before moving on, turn the lining right side out and iron it flat to eliminate any wrinkles, ensuring a crisp finish for the interior of your beach bag. This lining will help give structure and a polished look to your finished product.
Step 7: Attach the Lining to the Outer Fabric
After preparing your lining, it’s time to combine it with the outer fabric. Begin by inserting the lining into the outer bag, ensuring that the right sides face each other. Align the top edges of both fabrics, pinning them in place to secure them. This step is crucial for achieving a clean finish. Once everything is pinned, sew along the top edge using a straight stitch, allowing for a seam allowance of about ¼ inch. After sewing, carefully pull the lining out of the bag, turning the entire bag right side out. This will create a polished look at the top of your beach bag, neatly enclosing the seams.
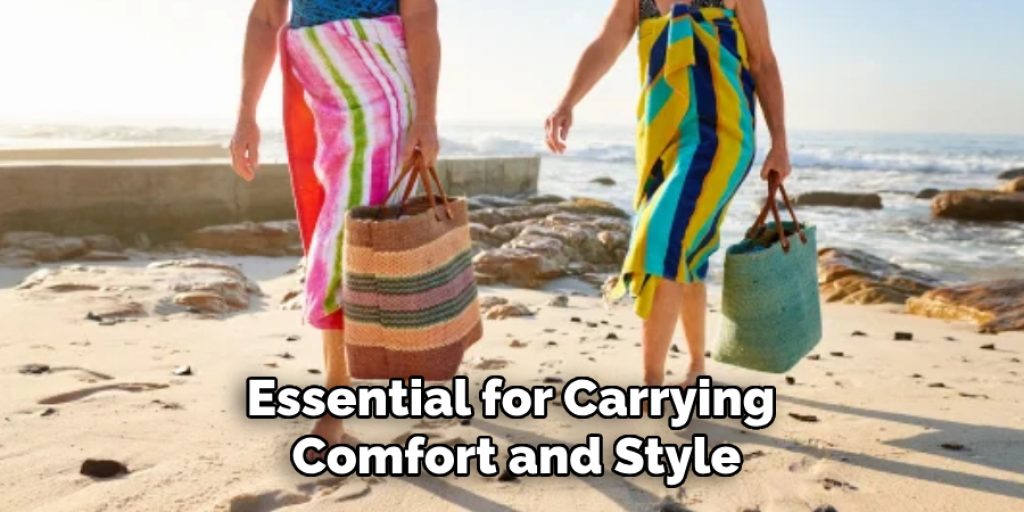
Step 8: Create the Straps
The next step involves making the straps for your beach bag, which are essential for carrying comfort and style. Depending on your design preference, you can create simple fabric straps or opt for more robust options like webbing. If you make fabric straps, cut two long strips of your outer fabric, measuring about 3-4 inches wide and your desired length (usually around 20-24 inches). Fold each strip in half lengthwise, right sides together, and sew along the long edge, leaving the ends open. Then, turn the straps on the right side out, using a safety pin or turning tool for ease. Once turned, iron them flat for a polished finish. For durability, you can sew a square or rectangle at the ends where the straps will attach to the bag, ensuring they are securely fastened.
Step 9: Attach the Straps
Now that your straps are ready, it’s time to attach them to the beach bag. First, decide where you want the straps to be positioned on the bag and mark those points. Typically, straps are placed about 3-5 inches from the side seams. Pin the ends of each strap to the bag’s outer fabric, ensuring that they are evenly placed on both sides for optimal balance. Once pinned, sew the straps in place, using a strong stitch pattern and backstitching at both ends for reinforcement. Make sure to repeat this for both straps, checking that they are secure and evenly aligned.
Step 10: Final Touches
To complete your beach bag, make any final adjustments and finish the edges. Inspect all seams for any loose threads and trim them as needed. Add any personal touches such as embellishments, pockets, or decorative stitching for added flair if desired. Finally, give your bag a good press with the iron for a neat appearance. Your custom beach bag is ready to take on the sun and sand in style! Enjoy your new creation, designed by you for all your summer adventures.
By following these steps and using your creativity, you can make a functional and stylish beach bag that will be the envy of all your beach-going friends.
5 Things You Should Avoid
- Using Non-Waterproof Fabric: Choosing a fabric that isn’t water-resistant can lead to quick wear and tear, especially when exposed to moisture or sand. Opt for materials like canvas or nylon that repel water.
- Ignoring Seams and Stitching Quality: Skipping proper seam finishes can result in fraying and strengthening the structure of your beach bag. Always use reinforced stitching to ensure durability, especially in high-stress areas.
- Neglecting to Add Pockets: Failing to include pockets can make your beach bag less functional. Consider adding small pockets for items like sunscreen and keys to keep everything organized and easily accessible.
- Not Considering the Bag’s Size: Making the bag too small can limit its usability, while an overly large bag can become cumbersome. Aim for an ideal size that accommodates your beach essentials without being excessively heavy.
- Overcomplicating the Design: While choosing intricate patterns and complicated designs might seem appealing, they can add unnecessary difficulty to the sewing process. Stick to a simple, stylish design that is easy to construct and practical for beach outings.

Conclusion
How to sew a beach bag can be a rewarding and enjoyable project, allowing you to create a functional accessory tailored to your needs.
By choosing durable, waterproof materials and ensuring attention to detail in stitching and design, you can produce a beach bag that is both stylish and resilient. Incorporating practical features, such as pockets and the right size, will enhance its usability and organization, making your beach outings more enjoyable.
With the right planning and techniques, you’ll have a personalized bag and the satisfaction of creating something useful with your hands. Happy sewing!
Louis Wein
Louis has always been fascinated by cars. He loves the way they look, the sound of the engine, and how they make him feel when he's driving. He is always keen to learn more about different mechanics of cars and how the engine contributes to other aspects of the car. As an automotive technician with over 10 years of experience, he knew how they worked and loved taking them apart to see how they went back together. He was especially interested in the mechanics of combustion engines and loved finding ways to make them more efficient. He loves to work on cars and help people keep their vehicles running smoothly. As a senior editor, he enjoys contributing to Diy quickly because it allows him to share his knowledge and expertise with others.