How to Alter Crochet Top
Crochet tops are popular and celebrated for their unique styles and handcrafted charm. As fashion enthusiasts increasingly seek personalized clothing, the importance of a proper fit has become paramount. A well-fitting crochet top enhances comfort and reflects individual style, allowing wearers to express their personality through their wardrobe. In this article, we will explore how to alter crochet tops to achieve that perfect fit.
We’ll cover essential steps, from assessing the fit and identifying areas that require alteration to making the necessary adjustments—including length, width, sleeves, and neckline. By understanding these techniques, you’ll learn how to alter crochet tops effectively and create a customized piece you’ll love wearing.
Assessing the Fit
To begin altering your crochet top, it’s essential to try it on and carefully evaluate how it fits your body. Look for common areas that often need adjustments, such as the length, width, sleeve fit, and neckline. As you wear the top, note where it feels tight or loose, and identify any parts that don’t align with your ideal fit. It’s helpful to take measurements during this process; use a measuring tape to record the current dimensions and compare them to your own body measurements.
Jot down the required changes so you have a clear action plan as you proceed with the alterations. This initial assessment will guide you in making thoughtful adjustments, ensuring that your crochet top will be as comfortable and flattering as possible.
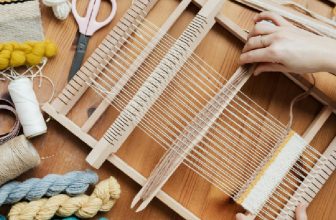
Materials and Tools Needed
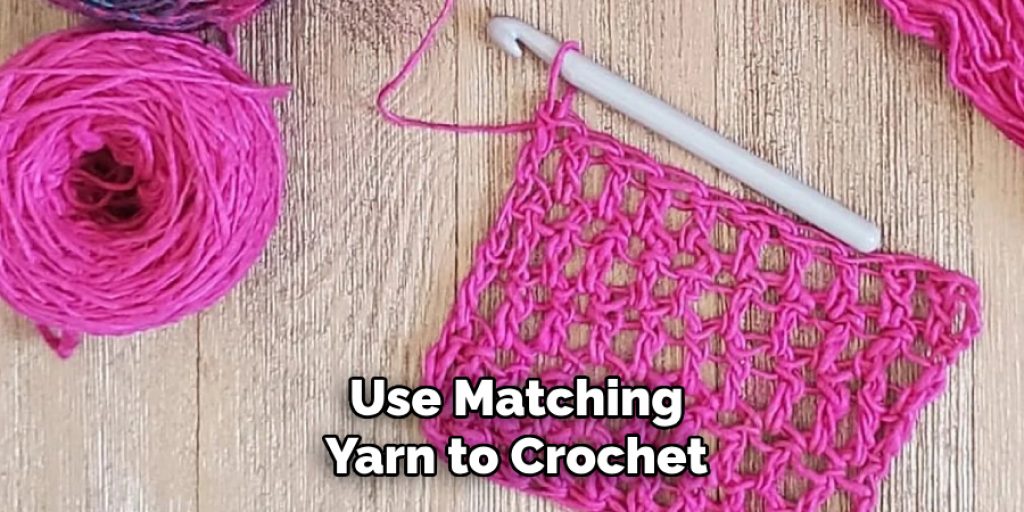
To successfully alter your crochet top, gather the following materials and tools. You will need an additional yarn that matches the original yarn in color, texture, and weight and a matching thread for sewing any seams if necessary. Optional embellishments like buttons or additional decorative elements can further enhance your design.
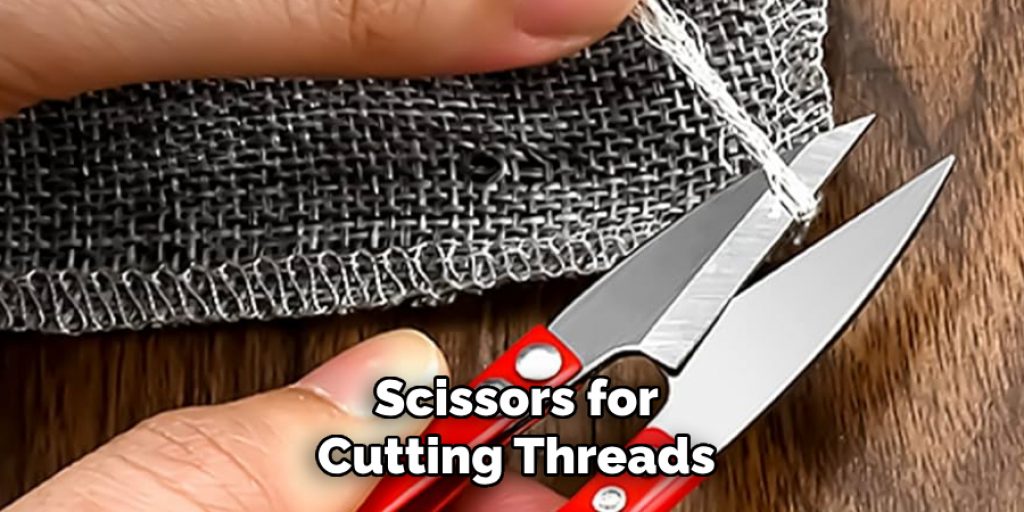
The tools required for the process include a reliable crochet hook—preferably the same size as used in the original piece—a tapestry needle for weaving in loose ends, scissors for cutting yarn, stitch markers to keep track of your work, and a measuring tape for precise measurements. Ensuring that you match your original yarn and tools is crucial for seamless alterations, as it helps maintain the integrity and consistency of the overall design.
How to Alter Crochet Top: Adjusting the Length
1.Shortening the Top
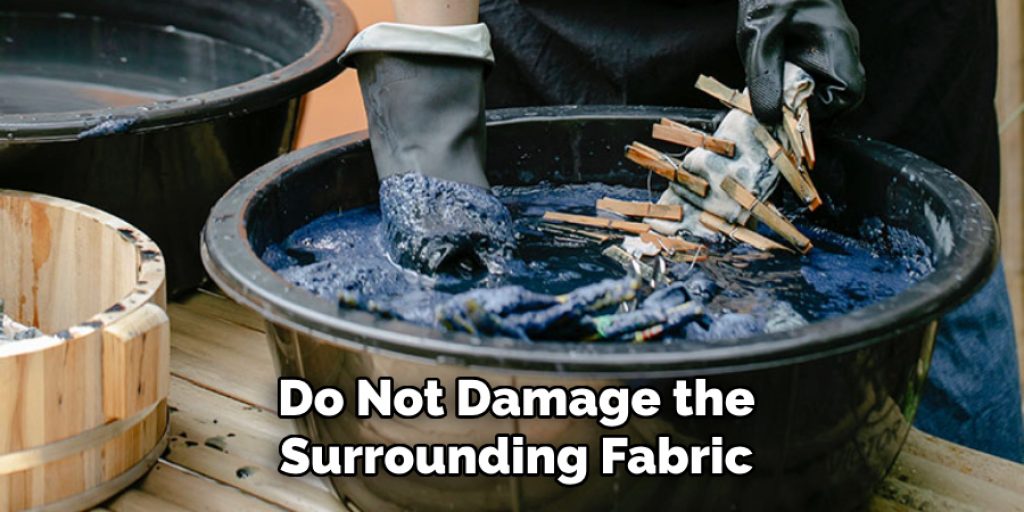
To shorten your crochet top, begin by measuring the desired new length from your shoulder or neckline down. With a careful eye, unravel the rows of stitches to reach your marked length, ensuring that you do not damage the surrounding fabric. It is essential to take your time during this process to maintain the quality of your work. Once you have reached the desired length, re-crochet the edge by creating a neat finish, providing stability and preventing fraying. This technique not only removes excess length but also enhances the overall look of your top.
2.Lengthening the Top
If you wish to lengthen your crochet top, add yarn matching the original piece. Begin crocheting additional rows until you achieve the desired length, making sure to incorporate the same stitch pattern used in the rest of the top for a cohesive appearance. Pay close attention to the consistency of your work throughout this process, as it is vital to maintain the same style and texture. As you extend the body of the top, step back occasionally to assess the overall look, ensuring that the new rows blend seamlessly with the existing design.
How to Alter Crochet Top: Modifying the Width
1.Taking In the Sides
You may need to take in the sides to achieve a more tailored fit for your crochet top. Begin by trying on the top and identifying the areas that require adjustment—typically around the torso. Mark these areas with a fabric marker or pins to create a clear guide for your alterations. Carefully remove the side seams or rows using scissors, ensuring you do not damage the surrounding fabric.
Re-crochet these areas once you’ve unraveled the necessary portions to create a narrower fit. As you crochet the new seams, reinforce them to ensure durability and maintain the integrity of the top. This process will help to create a flattering silhouette that hugs your body comfortably while preserving the original design’s aesthetics.
2.Letting Out the Sides
If your crochet top is too snug, you can let out the sides to provide a looser fit. Start by evaluating the additional room needed and gather matching yarn if required. With the top laid flat, carefully undo the side seams or stitches you created in the previous step. Add extra panels or crocheted stitches to widen the top if more length is necessary.
Be sure to integrate these new sections seamlessly with the original design to maintain an aesthetically pleasing look. Focus on mirroring the stitch patterns and ensuring a smooth transition between the old and new elements. Adjusting the width in this manner allows for a comfortable fit while keeping the overall design intact.
Adjusting the Sleeves
Shortening the Sleeves
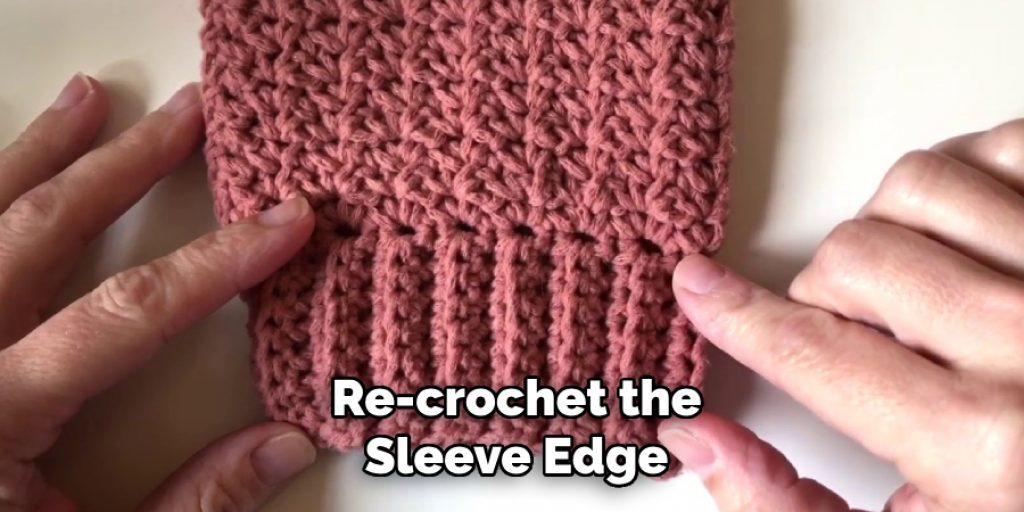
To shorten the sleeves of your crochet top, start by measuring the desired length from the shoulder seam to where you prefer the sleeve to end. Carefully unravel the stitches down to your marked length, not harming the surrounding fabric. Once you reach the desired point, re-crochet the sleeve edge to create a clean finish that will prevent the fabric from fraying. This careful technique ensures that the sleeves maintain their shape while achieving a more tailored look that suits your style.
Lengthening the Sleeves
If you find that the sleeves are too short, lengthening them is an easy fix. Begin by adding yarn that matches the original in color, texture, and thickness. Crochet additional rows until you reach the desired length, starting at the existing sleeve edge. Ensure that you are consistent with the original sleeve pattern throughout this process, maintaining the same stitch type and tension.
Regularly assess the overall appearance, ensuring that the newly added sections blend seamlessly with the original design. By following these steps, you’ll achieve sleeves that enhance both comfort and visual appeal.
Altering the Neckline
Evaluating the Neckline
The neckline is a crucial aspect of your crochet top, influencing both comfort and style. Begin by evaluating your current neckline and identifying the desired changes. Consider whether you wish to make the neckline deeper, higher, or more open and how these adjustments will affect the overall look. Taking measurements is essential; mark where you’d like to adjust the neckline for clarity during the alteration process.
Techniques for Adjusting the Neckline
To alter the neckline, you may need to add or remove stitches. If you want to widen or lower the neckline, carefully unravel the existing stitches around the area, ensuring the integrity of the surrounding fabric. You can re-crochet additional rows or stitches to create a higher neckline, maintaining the original stitch pattern for consistency. After adjustments, be sure to re-crochet the neckline to finish with a clean edge, preventing fraying and ensuring a comfortable fit.
Adding or Removing Decorative Elements
Enhancing your crochet top with decorative elements can add a personal touch. Start by deciding on additional embellishments such as buttons, lace, or edging that complement the existing design. When adding these items, use matching yarn to crochet around the new embellishments or sew them in place carefully.
If you wish to remove certain elements, take your time to gently unpick without damaging the surrounding fabric. Ensuring that these alterations enhance the overall design while maintaining coherence is key to a successful transformation.
Final Touches and Finishing
After completing your alterations, giving your crochet top its final touches is essential for a polished look. Begin by checking all seams and edges for consistency and durability. Inspect each area for any loose threads and ensure that the tension matches the rest of the piece. Next, blocking your crochet top will help to set its shape and fit.
This involves wetting the fabric and laying it flat to dry in the desired dimensions, allowing the yarn to take on its final form. Once the top is dry, perform a final fitting to ensure that all alterations are satisfactory, checking for comfort and ease of movement. This step ensures that your hard work translates into a wearable piece that you will cherish.
Frequently Asked Questions (FAQs)
1. How Do I Know When To Alter My Crochet Top?
Altering your crochet top may be necessary if it feels uncomfortable, restrictive, or doesn’t suit your style anymore. Signs include tightness around the torso or sleeves or a neckline that feels too low or high compared to your preference. Taking the time to assess the fit and how you feel while wearing the piece can guide you on whether alterations are needed.
2. What Materials Will I Need for Making Alterations?
To successfully alter your crochet top, you’ll primarily need a matching yarn to maintain consistency, scissors for cutting threads, a crochet hook appropriate for your project, and fabric markers or pins for marking areas to adjust. A measuring tape and a comfortable workspace are essential for accurate measurements and an easy working process.
3. Can I Alter a Crochet Top without Prior Crochet Experience?
While basic crochet knowledge can certainly help, simple alterations like letting out seams, shortening sleeves, or adjusting a neckline can be done with careful attention to detail. If you’re unfamiliar with crocheting, consider watching tutorial videos or seeking guidance from experienced crafters. With patience and practice, you can enhance your crochet top successfully.
Conclusion
In summary, learning how to alter a crochet top involves several key steps: evaluating the original design, modifying length and width, adjusting the neckline and sleeves, and incorporating decorative elements. Each alteration allows you to create a garment that reflects your personal style and fits perfectly.
Embrace the creative process as you personalize and experiment with your crochet projects, transforming standard patterns into unique treasures. Custom-fitted crochet tops enhance your wardrobe and provide the satisfaction of wearing something crafted just for you. Enjoy the journey of discovering how to alter crochet top techniques and the joy they bring to your crochet experience.
Elizabeth Davis
Elizabeth is a creative writer and digital editor based in the United States. She has a passion for the arts and crafts, which she developed from a young age. Elizabeth has always loved experimenting with new mediums and sharing her work with others. When she started blogging, she knew that DIYquickly would be the perfect platform to share her tutorials and tips. She's been writing for the blog from the beginning, and her readers love her helpful advice and easy-to-follow instructions. When she's not writing or editing, Elizabeth enjoys spending time with her family and friends.