
How to Attach Safety Eyes
Are you a toy maker? Do you need help attaching safety eyes to your amigurumi creations? Look no further! This guide will provide step-by-step instructions on how to attach safety eyes to your handmade toys.
In crafting and sewing projects, adding safety eyes can enhance the appearance of soft toys, dolls, or decorative items while ensuring safety, especially for children. Safety eyes are designed to be securely attached, preventing them from being easily removed, which is crucial in maintaining the toy’s integrity.
In this guide, we will walk you through the steps necessary to attach safety eyes properly, ensuring a lasting bond and a professional finish. Whether you’re a seasoned crafter or a beginner, these simple techniques will help you achieve great project results.
What Will You Need?
Before we begin, gather the following materials:
- Safety eyes (available in various sizes and colors)
- A crochet hook or a sharp-pointed tool
- Scrap yarn for practicing
- Scissors
Once you have these items ready, we can start the process.
10 Easy Steps on How to Attach Safety Eyes
Step 1: Prepare Your Materials
To begin attaching safety eyes, ensure that you have carefully selected the right size and color based on your project. It’s crucial to choose eyes that complement the design of your amigurumi or toy. Next, take your crochet hook or sharp-pointed tool; this will aid in positioning the safety eyes accurately. It’s also advisable to have some spare scrap yarn handy, as it can be helpful for practice and for making adjustments if necessary.
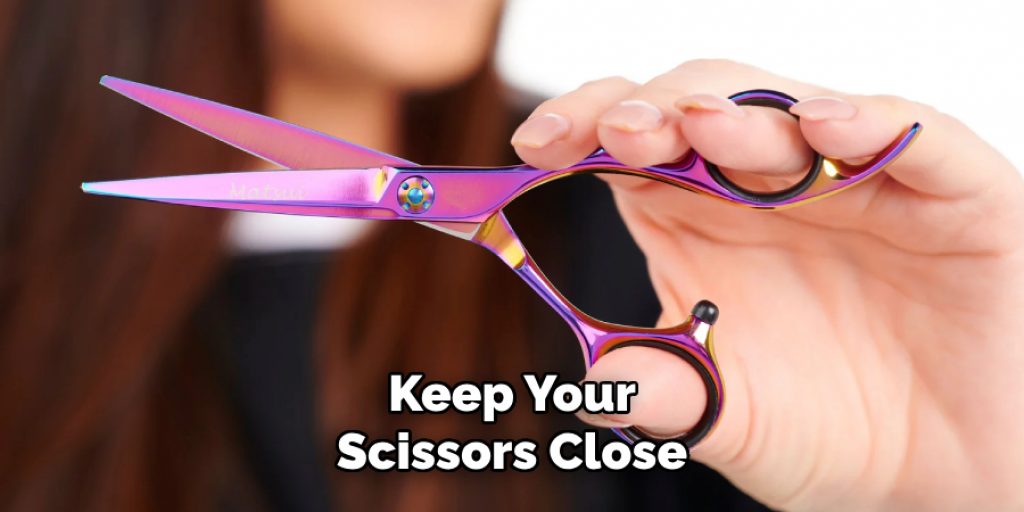
Lastly, keep your scissors close to cut any thread or yarn needed during the process. With your materials ready, you’ll be set to move on to the next steps confidently, ensuring your safety eyes will be attached securely and look fantastic on your handmade creation.
Step 2: Mark the Placement
Once you have prepared your materials, it’s time to determine where to position the safety eyes on your amigurumi or toy. Use a light pencil or a fabric marker to make small dots on the fabric where the eyes will go. This step is essential to ensure even spacing and a symmetrical look.
A good rule of thumb is to place the eyes about one-third of the way down from the top of the head or body, depending on the design. Take a step back and examine the placement; feel free to adjust the marks until you’re satisfied with the positioning.
Step 3: Create Holes for the Safety Eyes
Now that you’ve marked the placement for your safety eyes, it’s time to create holes for them. Using your crochet hook or sharp-pointed tool, carefully pierce the fabric at the marked dots. Make sure to create holes that are just the right size for the safety of the eyes to fit snugly without being overly tight. If you’re working with thick yarn or plush fabric, you may need to twist the tool slightly to enlarge the holes as needed.
Be cautious during this step to avoid damaging the surrounding area of the fabric. Once you’ve created the holes, you can insert the safety eyes into your toy.
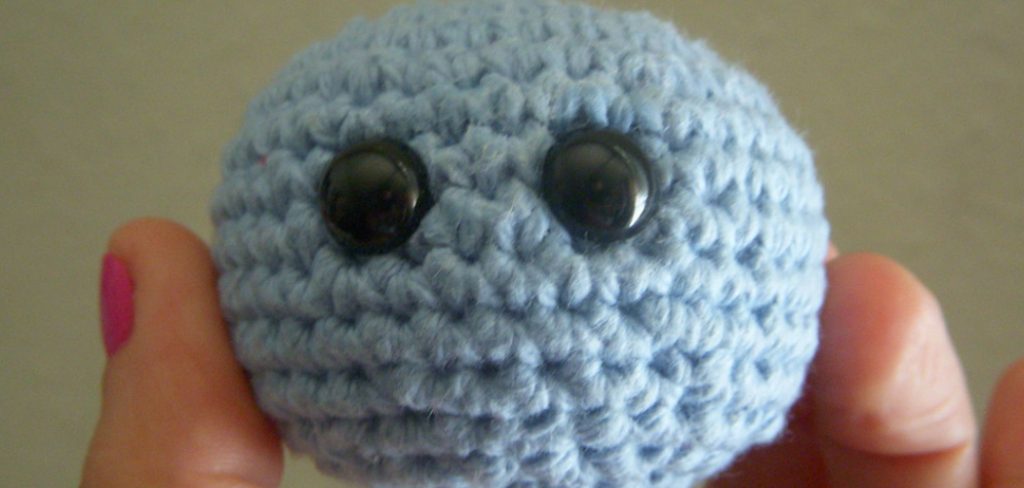
Step 4: Insert the Safety Eyes
With the holes prepared, it’s time to insert the safety eyes. Take one safety eye at a time and push it through the hole from the inside of the toy, ensuring that the eye rests securely on the outer layer of your amigurumi or toy. Make sure the safety washer is ready to be placed on the opposite side.
Once the safety eye is in position, gently pull it through until it sits tightly against the fabric, ensuring it is aligned with your marked placement. Repeat this process for the second eye, ensuring that both eyes are symmetrical and complement your toy’s design.
Step 5: Attach the Safety Washers
After inserting the safety eyes, it’s essential to secure them with the safety washers. Take one washer and slide it over the safety eye post from the toy’s inside. Ensure that it fits snugly and flush against the fabric, as this will keep the eye stable and prevent it from being easily removed.
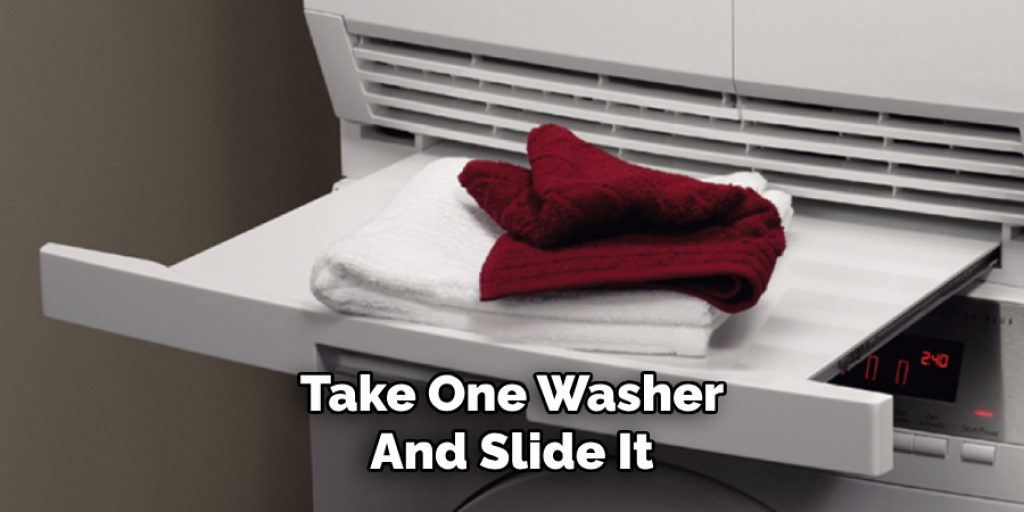
If the washer doesn’t fit tightly, check to see if the hole you created is appropriately sized. Repeat this step for the second eye, carefully ensuring that both washers are securely attached.
Step 6: Test the Security of the Eyes
Once you have attached the safety washers, testing the security of the safety eyes is crucial. Gently tug on each eye to ensure they are firmly in place and do not move or dislodge easily. This step is vital for toys intended for young children; you want to ensure that the safety eyes cannot be removed through regular play. If you find any looseness, double-check the sizing of the holes and the washers to confirm they are appropriate.
If necessary, you may need to remove and reattach the eyes, making adjustments to ensure a secure fit. With the eyes firmly in place, you can feel confident that your amigurumi creation is safe and visually appealing.
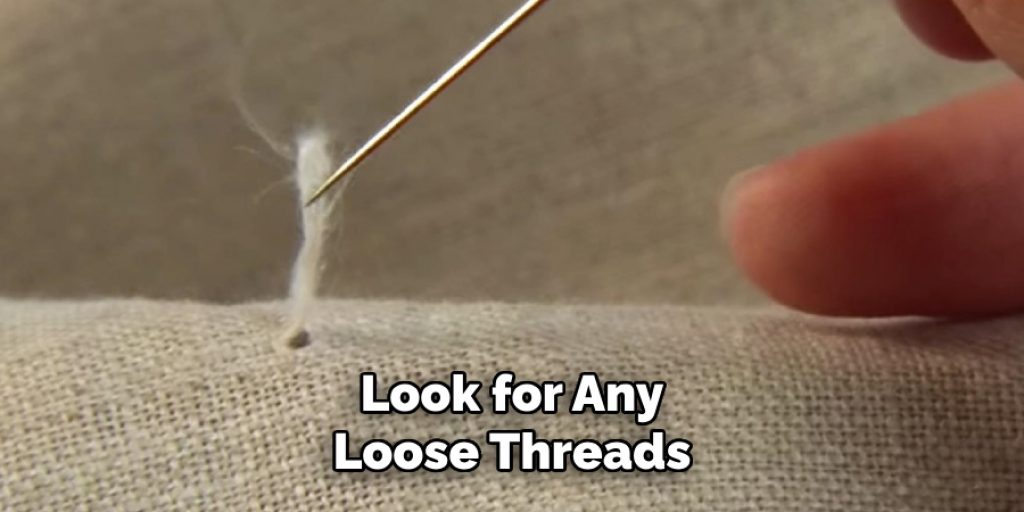
Step 7: Secure Any Loose Threads
After ensuring that your safety eyes are firmly attached, it’s time to tidy up the area around them. Examine the interior of your amigurumi or toy for any loose threads or yarn that may have been pulled during the attachment process. Use your scissors to trim any excess threads carefully, being cautious not to cut the fabric of your toy.
For added security, you can knot any loose ends at the back of the eyes for an extra layer of stability. Taking the time to clean up at this stage will ensure a polished finish for your project and help maintain the overall integrity of your creation.
Step 8: Finish the Look
Now that your safety eyes are securely attached and any loose threads are tidied up, it’s time to add the final touches to your amigurumi or toy. Depending on your design, you can enhance the eyes with a touch of fabric paint or a marker to add highlights, giving them a more lifelike appearance. This can be done by adding small dots or lines that replicate the glimmer of natural eyes.
Additionally, consider embellishing other areas of your creation, such as adding a smile or blushing cheeks using embroidery techniques or felt cutouts. These finishing details enhance the aesthetic appeal and make your project more personal and unique, bringing your creation to life.
Step 9: Final Inspection
With your amigurumi or toy looking polished and complete, it’s time for a final inspection. Carefully examine the entire piece for any missed details or imperfections. Check the placement of the safety eyes to ensure they are symmetrical and aligned with your design vision. Look for any loose threads that may have escaped your earlier trimming and secure them as needed.
Additionally, inspect all embellishments to confirm they are securely attached and hazards-free. This thorough check-up will ensure that your creation meets your standards of craftsmanship before sharing it with its new owner or showcasing it in your collection.
Step 10: Presenting Your Creation
Once your amigurumi or toy has completed its final inspection, it’s time to consider how to present your creation. If you’re gifting the toy, consider wrapping it in a beautiful box or tied it with a ribbon for that extra special touch. Also, include a small card that describes the care instructions or the story behind your creation, making the gift even more meaningful. If you plan to showcase your work online or at a craft fair, take high-quality photographs that highlight the features and craftsmanship of your amigurumi.
A well-lit setting with a clean background will accentuate the colors and textures of your design, attracting potential admirers. Sharing your creation with others, whether through gifting or showcasing, is a rewarding way to celebrate your hard work and creativity.
Following these steps, you can confidently and safely attach safety eyes to your amigurumi or toy creations.
5 Things You Should Avoid
- Using Improperly Sized Eyes: Ensure safety eyes are the correct size for your toy. Oversized eyes can lead to disproportionate features, while undersized ones may not provide the desired aesthetic. Always check the manufacturer’s recommendations for sizing.
- Neglecting the Safety Washers: Skipping safety washers can lead to eyes becoming loose or dislodged over time. Always secure your eyes with washers for added safety, primarily when the toy is intended for young children.
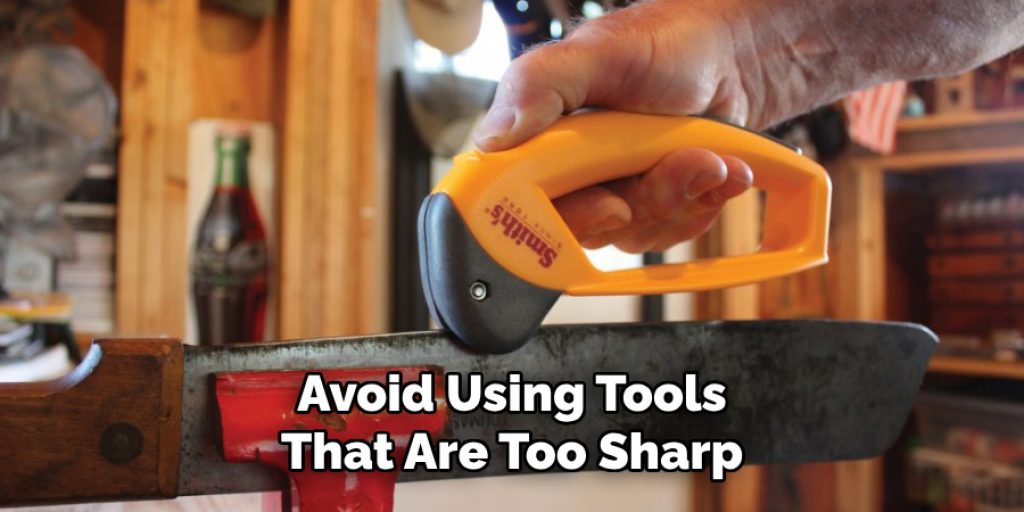
- Using Sharp or Dull Tools: When creating holes for your safety eyes, avoid using tools that are too sharp or dull, as this can damage the fabric and increase the risk of injury. Use a tool specifically designed for making small holes in the fabric, such as a yarn needle or an awl.
- Ignoring Loose Threads: Loose threads can be hazardous if left unattended, especially for young children who may put toys in their mouths. Always take the time to trim any loose threads and secure them before presenting or gifting your creation.
- Skipping the Final Inspection: Rushing through the final inspection could result in missed details or potential hazards in your creation. Take the time to carefully examine every aspect of your toy and make any necessary adjustments before presenting or gifting it.
By avoiding these common mistakes, you can ensure a safe, high-quality finished product when attaching safety eyes to your amigurumi or toy creations.
Conclusion
In conclusion, how to attach safety eyes is a straightforward yet vital process that enhances both the safety and aesthetic of your creation.
By carefully following the outlined steps—from preparing the holes and securing the eyes with washers to conducting thorough inspections—you ensure that your project looks appealing and is safe for play, especially for young children. The finishing touches and thoughtful presentation can transform your handmade item into a treasured gift or an impressive showcase piece.
With practice, you’ll gain confidence in this technique, allowing you to explore more intricate designs and embellishments in future projects. Happy crafting!
Elizabeth Davis
Elizabeth is a creative writer and digital editor based in the United States. She has a passion for the arts and crafts, which she developed from a young age. Elizabeth has always loved experimenting with new mediums and sharing her work with others. When she started blogging, she knew that DIYquickly would be the perfect platform to share her tutorials and tips. She's been writing for the blog from the beginning, and her readers love her helpful advice and easy-to-follow instructions. When she's not writing or editing, Elizabeth enjoys spending time with her family and friends.


