How to Bind a Potholder?
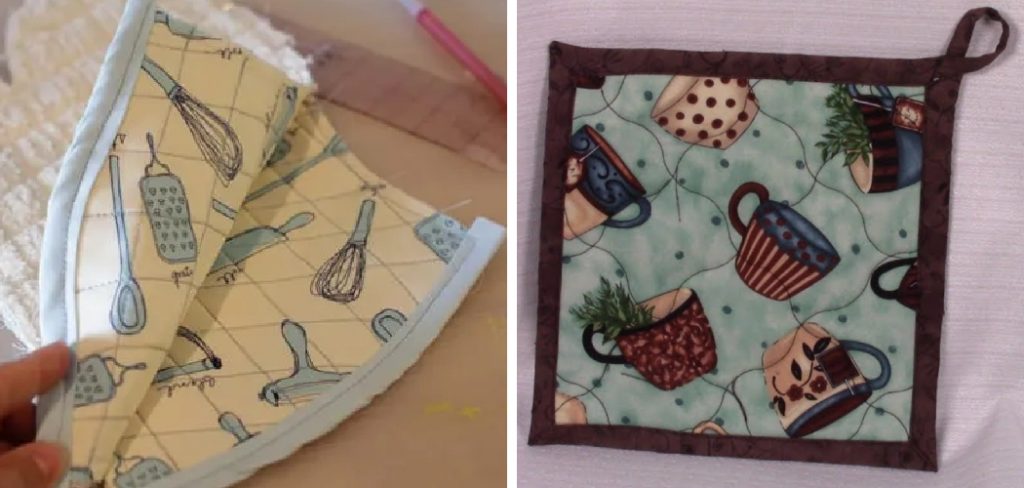
A potholder is actually a mini quilt that keeps the pot safe without letting the heat get through it. It is completely heat resistant and can be made easier with the scraps. You can easily get one of them from your nearest shop, but that can be a bit costly. Well, if you are really going to use them for your regular purpose, why don’t you make one by yourself, it won’t going to charge like those items in the market. It is quite easy and can be made easily from the scraps. The only tricky thing is the binding. Don’t worry; I will show you the exact way to get through this problem. So, leave all the rests and as for me how to bind a potholder.
Honestly, I had faced some complications too. When I first tried to make a potholder, I faced a lot of complications while making it. But after several tries, I figured out the exact ways. So, why not share them with you. Most of us feel complications at the time of making a potholder and stuck, especially while binding them. That’s why I would like to eliminate these complications once and for all. Okay, but first of all, you have to manage these supplies.
Supplies
- A package of ½ inch wide double fold bias tape
- A thread that can be matched with the bias tape
- 7.5-inch square potholder top
- 8-inch square potholder backing
- 8-inch square regular batting
- 8-inch square heat-resistant batting
- Basting pins

How to Bind a Potholder?
As we have already told you, making the vest will only require equipment available at your house. If you are the one who is going to wear it, ask your mom to provide you with the necessary items.

Step 1: Prepare the Layers
Use scraps to cut out the top of a potholder. In this case, you need to trim the edges from 7.5 square inches. Once you have done that, cut the backing, along with the regular and heat resistant batting. Make sure to keep the measurement in 8 square inches, just we have stated above.
If you feel complications while acquiring the accurate measurement, you can simply take the batting and lay the potholder top over it. Then cut with that measurement, you will get the required measurement.
Step 2: Quilt or Trim the Corners
Now, you have to trim the corners. Layer each of the items with the following measurement.
- The backing piece should be layered from the side down
- The heat resistant baking should be layered from the shiny side down
- The regular and potholder top should be layered from the right side up
Once you have layered all of these items, center the potholder top on the other layers. In order to prevent shifting, you can secure them by using the basting pin. Pin them through all layers, and it won’t let the layers slip through. Repeat this process with the second potholder. Place the two halves right sides together, matching up all the edges.
This person is saying that it is helpful to place a pin every two inches when working on a project. This will make the process easier and help to ensure that the final product looks good.
Now, start quilting them as desired. In this case, I prefer to follow the seam lines; it was a bit easy for me. I maintained a particular distance from the seams and then started quilting by following the line. Make sure to start and stop every quilting lines on the batting. Try not to start or stop at the top of the potholder.
Okay, if you have finished quilting it up, you need to cut all layers of the layers. By doing that, you will be able to match it up with your potholder top. After cutting the layers, check if it has taken a square shape or not. If not, they trim it to turn the potholder into a square shape.
When you are trimming paper, try to make the edges slightly rounded. You can simply do this by moving your eyeballs on it, or you can use a plate or jar to ensure the rounded shape. Wondering why we are rounding the edges? Well, rounded edges are way more helpful to bind things properly.
Step 3: Pin Binding
Next, open the binding and start wrapping it around the potholder edge. Now use a pin parallel to the edge. And then push it through the layers of the potholder. Ensure that if the pointed head has gone through every layer or not. Now that you have successfully sewn the binding around the potholder, you are almost done. Just start trimming the excess binding from the backside of the project.
Step 4: Sew Binding
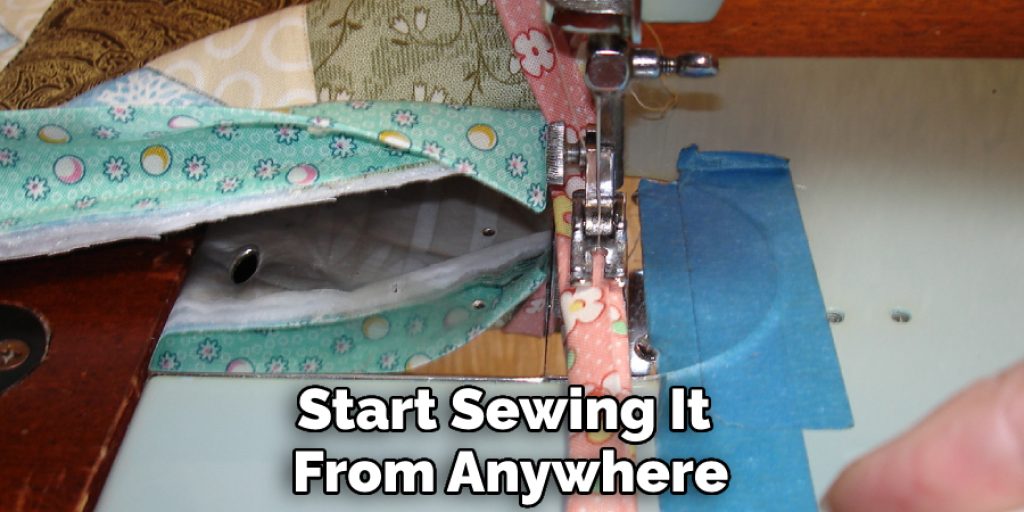
The pins will hold the layers sturdily. Take the advantage and load your sewing machine with thread. You can start sewing it from anywhere you want. There isn’t any specific place for the startup. But make sure to sew by showing the top is facing up. It will show most of the zigzag lines on the bottom side. Only a few amounts of stitching lines will be visible at the top. As a result, the potholder will look more attractive.

Pull the binding tail gently when you reach the overlap section. If you pull too hard, it will make the binding section sharp. That’s why it is recommended to pull it gently.
Step 5: Make the Loop
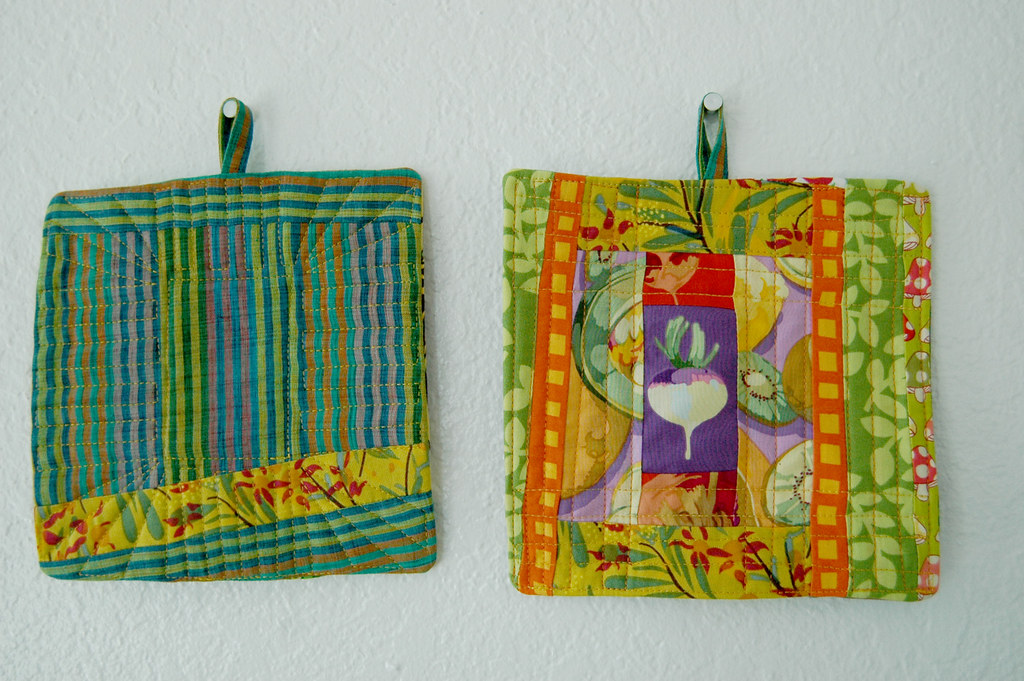
Now take the binding tail and fold it into the inner section. Then give a straight stitch on it to close the binding tail. It will hide the raw ends and give your potholder a clean look. Your potholder is ready now. You can make more such lovely potholders and use them to decorate your kitchen.
Check it out to learn to Bind a Potholder?
Final Thoughts
How to bind a potholder? Have you got your answer now? I have covered the simplest way to bind your DIY potholder. Hopefully, you have enjoyed it. If you need any suggestions to let us know. We are always here to help you


