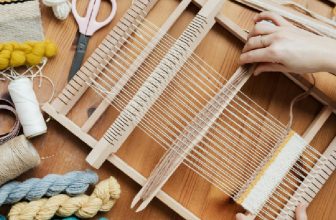
How to Block Cotton Yarn
Blocking cotton yarn is a crucial step in the crafting process, particularly for knitters and crocheters looking to achieve a polished finish. This method helps to set the stitches, enhance the shape of the finished piece, and open up lacework patterns, providing a professional touch to your projects.
Understanding the proper techniques and best practices for blocking can significantly improve the overall look and feel of your cotton creations, ensuring they maintain their intended shape and drape over time. In this guide on how to block cotton yarn, we will explore the various techniques for blocking cotton yarn, the materials needed, and tips to achieve the best results.
Why Block Cotton Yarn?
There are several reasons why blocking cotton yarn is essential in crafting. First and foremost, it helps to set the stitches, which can become distorted during the knitting or crocheting process. Blocking also evens out any inconsistencies in tension, resulting in a more polished and professional finish.
Additionally, cotton yarn has a tendency to hold onto its memory, meaning it can retain the shape of the skein or ball it was wound into. Blocking helps to open up the fibers and relax them, allowing for the stitches to lay flat and create a more fluid drape. This is especially beneficial for lacework patterns, which require blocking to showcase their intricate details fully.
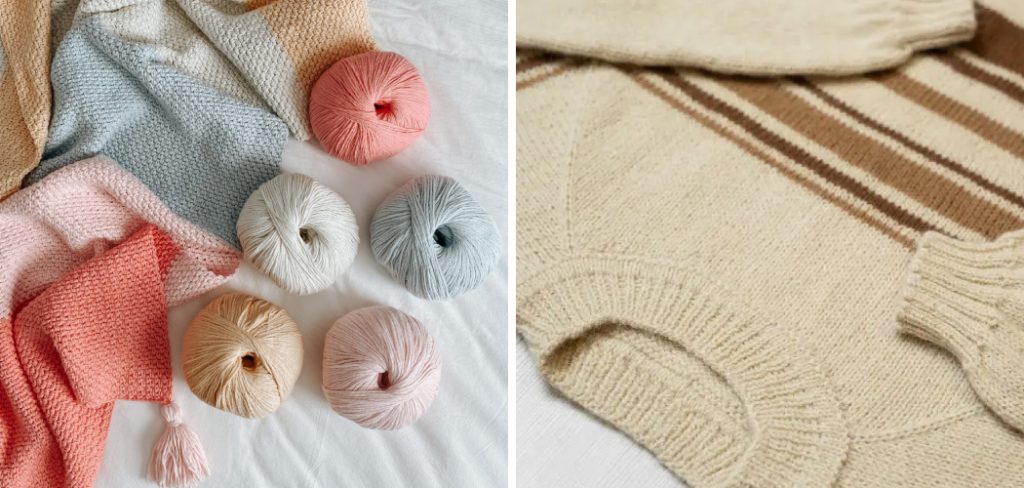
Needed Materials
To block cotton yarn, you will need the following materials:
- Cotton Yarn Project
- Blocking Mats or Towels
- T-pins or Blocking Wires
- Measuring Tape
- Spray Bottle Filled With Water
- Rust-proof Pins (Optional)
- Blocking Combs (Optional)
8 Step-by-step Guidelines on How to Block Cotton Yarn
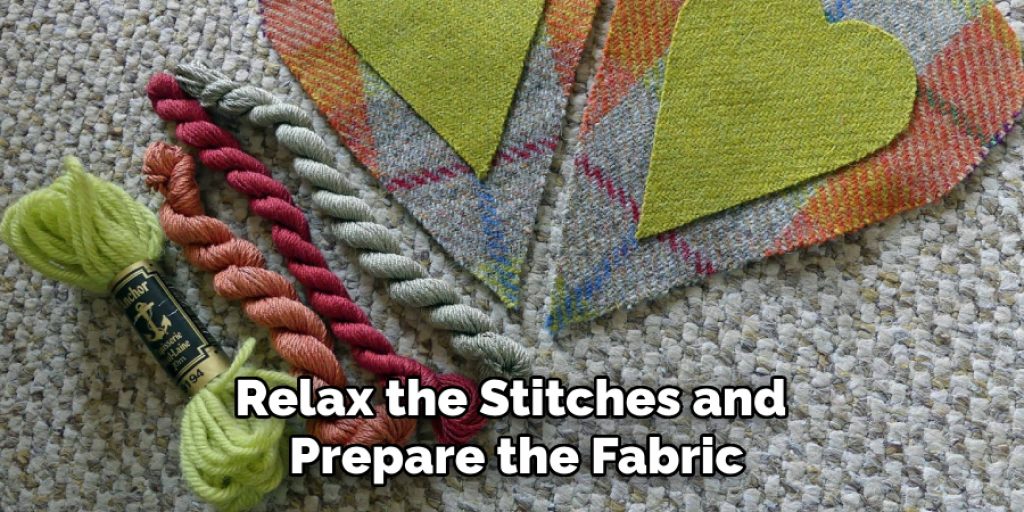
Step 1: Soak the Project in Water
Begin by soaking your cotton yarn project in lukewarm water. Ensure that the entire piece is fully submerged, allowing the fibers to absorb the moisture. It’s advisable to let it soak for about 15 to 30 minutes, which will help to relax the stitches and prepare the fabric for blocking.
Avoid any vigorous agitation to prevent felting or distorting the shape of your work. After soaking, gently press out excess water without wringing or twisting, as this can damage the integrity of your cotton yarn.
Step 2: Prepare the Blocking Surface
After soaking your cotton yarn project and gently removing excess water, it’s time to prepare your blocking surface. Choose a clean, flat area where you can lay out your project without interruptions. If you are using blocking mats, place them on the surface and ensure they are secured and level. If you don’t have blocking mats, you can use a large, clean towel or a sturdy piece of foam for this purpose.
Next, spread the blocking mats or towels out evenly, ensuring there is enough space for your project to be fully laid out without being cramped. If you are attempting to shape specific areas, such as points in lacework, consider laying out a grid to help maintain alignment. Once your surface is prepared, you’re ready to begin the actual blocking process.
Step 3: Stretch and Pin the Project
Carefully lay out your project on the prepared surface, gently pressing and stretching it to the desired shape. If you need to adjust specific areas, such as lacework points or edges, use T-pins or blocking wires to secure them in place.
Ensure that the project is evenly stretched and pinned without excessive tension, which can cause distortion. If necessary, use measuring tape to check for proper dimensions and adjust accordingly.
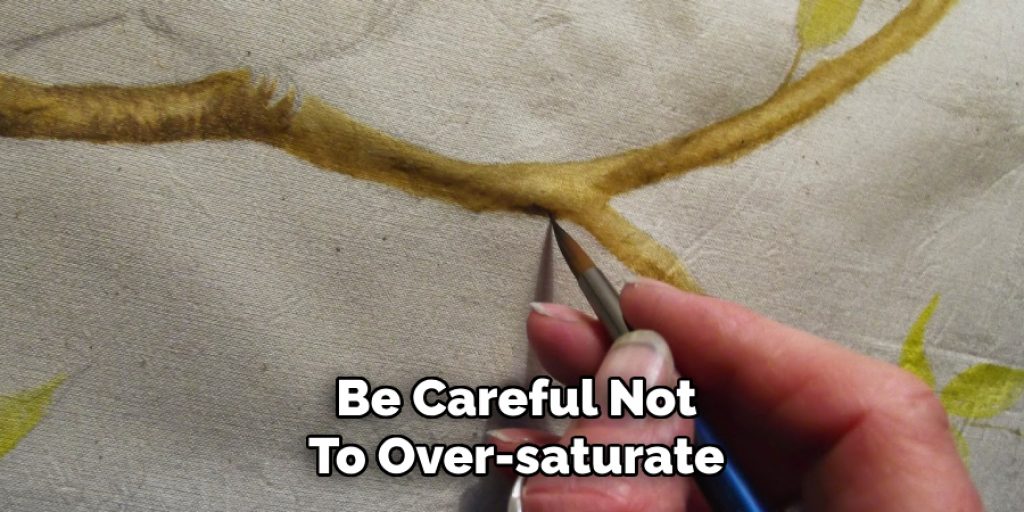
Step 4: Spray with Water
Once your project is stretched and pinned to the desired shape, it’s time to spray it with water. Using a spray bottle filled with water, lightly mist the surface of your project. This additional moisture helps to further relax the fibers and set the stitches in place. Be careful not to over-saturate, as too much water can lead to unwanted stretching or alteration of your work’s shape.
After spraying, go over any areas that might need a bit more attention, particularly lacework sections that benefit from extra moisture to open up. Allow the damp project to sit for a few minutes before moving on to the next step, ensuring the fibers have time to absorb the water and relax into their new form.
Step 5: Optional Blocking Comb
If your project has textured stitches, such as cables or bobbles, you can use a blocking comb to further enhance the stitch definition. Gently comb through the stitches in the direction they are meant to lay, being careful not to disturb the pins or wires. This step is optional but can add an extra level of polish and professionalism to your finished piece.
The comb is also useful for removing any stray fibers or lint that may have accumulated during the soaking and pinning process.
Step 6: Allow to Dry Completely
After completing the previous steps, allow your project to dry completely before unpinning it. Depending on the humidity and airflow in your area, this can take anywhere from a few hours to a full day. Avoid moving or disturbing the project until it is fully dried, as this can cause it to lose its shape.
You can speed up the drying process by placing a fan near your project or using rust-proof pins at strategic points to hold down any edges or corners that may tend to curl while drying.
Step 7: Remove Pins or Wires
Once your project is fully dry, carefully remove the pins or wires and admire your beautifully blocked cotton yarn creation. You’ll notice that the stitches have been set and are now evenly spaced and defined, allowing for a more polished look.
It’s common for the fabric to feel slightly stiff after blocking, but this will soften up with wear and washing. If desired, you can also lightly steam your project to further relax the fibers and enhance its drape.

Step 8: Enjoy Your Finished Project!
Now that your cotton yarn project is blocked and dry, it’s ready to be enjoyed or gifted to a lucky recipient. By following these simple steps on how to block cotton yarn, you have achieved a professional finish that will make your project stand out. With proper care and handling, your blocked cotton yarn creation will retain its shape and beauty for years to come. Happy crafting!
Frequently Asked Questions
Q: Is It Necessary to Block Cotton Yarn?
A: While blocking is not always necessary for every project, it can greatly improve the appearance and drape of cotton yarn. It also helps to set the stitches in place, making the fabric more polished and professional-looking.
Q: Can You Block Cotton Yarn without Pins or Wires?
A: While pins or wires are the most common tools used for blocking, you can still block cotton yarn without them. You can lay your project out on a clean towel and gently stretch it to shape, then use heavy objects like books to hold down any areas that may curl while drying.
Q: How Often Should I Block My Projects?
A: It’s best to block each project individually as needed, depending on the type of yarn and desired outcome. Some projects made with cotton yarn may need to be blocked after every wash, while others may only require occasional blocking to maintain their shape. It’s important to follow the specific care instructions for your yarn and project to determine the best blocking schedule.
Q: Can I Block Other Types of Yarn Using These Steps?
A: Yes, these steps can be used to block other types of yarn as well, such as wool or acrylic. However, it’s important to note that different fibers may require different techniques and precautions when blocking. Always check the care instructions for your specific yarn and project before proceeding with blocking.
Q: How Do I Fix Uneven Blocking?
A: If you notice that your project has turned out uneven after blocking, you can try re-blocking it to even out the stitches. Alternatively, you can use a steam iron on a low setting and lightly press over the areas that need adjustment. Be careful not to apply too much heat or pressure, as this can cause damage to your project. Always test on a small, inconspicuous area first before proceeding with pressing the entire project.

Conclusion
Blocking cotton yarn is a transformative process that elevates your finished project from a mere craft to a polished masterpiece. By investing time in proper soaking, stretching, and drying techniques, you ensure that your work showcases the intricacies of your chosen stitches and patterns. This meticulous attention to detail not only enhances the visual appeal of your item but also improves its overall structure and drape.
Whether you are crafting for yourself or creating a gift, the benefits of blocking will result in a professional finish that enhances the longevity and wearability of your cotton yarn creations. Embrace the art of blocking and enjoy the satisfaction of seeing your hard work come to life in its best form. Thanks for reading this article on how to block cotton yarn.
Elizabeth Davis
Elizabeth is a creative writer and digital editor based in the United States. She has a passion for the arts and crafts, which she developed from a young age. Elizabeth has always loved experimenting with new mediums and sharing her work with others. When she started blogging, she knew that DIYquickly would be the perfect platform to share her tutorials and tips. She's been writing for the blog from the beginning, and her readers love her helpful advice and easy-to-follow instructions. When she's not writing or editing, Elizabeth enjoys spending time with her family and friends.