
How to Cast on Double Pointed Needles
Are you a beginner knitter looking to take your knitting to the next level? Or perhaps you have always been intimidated by double-pointed needles and want to conquer your fear?
How to cast on double pointed needles (DPNs) is an essential skill for knitters looking to create garments or projects that require shaping, such as socks, sleeves, or those with intricate stitch patterns. Unlike traditional straight or circular needles, DPNs allow for the knitting of small circumferences, enabling a seamless finish.
In this guide, we will explore the techniques required to successfully cast on using double-pointed needles, ensuring you’re well-equipped to embark on your next knitting adventure confidently and easily. Whether you’re a beginner eager to learn or an experienced knitter looking to refine your skills, mastering this technique is a fundamental step in expanding your knitting repertoire.
What are the Benefits of Using Double Pointed Needles?
Before we delve into the specifics of casting on with DPNs, let’s first understand why they are a valuable tool for knitters.
- Seamless Knitting: As mentioned earlier, double-pointed needles allow seamless knitting in small circumferences, allowing you to create a perfect finish without any visible seams.
- Versatility: DPNs come in various lengths and gauges, making them suitable for various projects. These needles can handle everything from delicate lace knitting to chunky sweater sleeves.
- Portability: Working with DPNs only requires a set of four or five needles, which makes them easy to transport and knit on the go.
- Time-saving: DPNs allow you to work multiple stitches simultaneously, so you can often complete projects faster than with traditional circular needles.
These are just some of the many benefits of using double-pointed needles. Now, let’s explore how to cast on with them.
What Will You Need?
Before we proceed with the step-by-step instructions, please ensure that you have all the necessary tools and materials to get started.
- Double-oointed Needles: As the name suggests, DPNs come in sets of four or five needles with points on both ends. They are available in various lengths, sizes, and materials such as wood, metal, or plastic. Choose a size appropriate for your yarn weight and project.
- Yarn: Select a yarn that complements your chosen needle size and pattern.
- Stitch Markers: These will help keep track of your stitches when working with multiple needles.
- Scissors: To cut the yarn after casting on.
Once you have all your materials ready, let’s move on to the casting process.
10 Easy Steps on How to Cast on Double Pointed Needles
Step 1. Prepare Your Yarn and Needles:
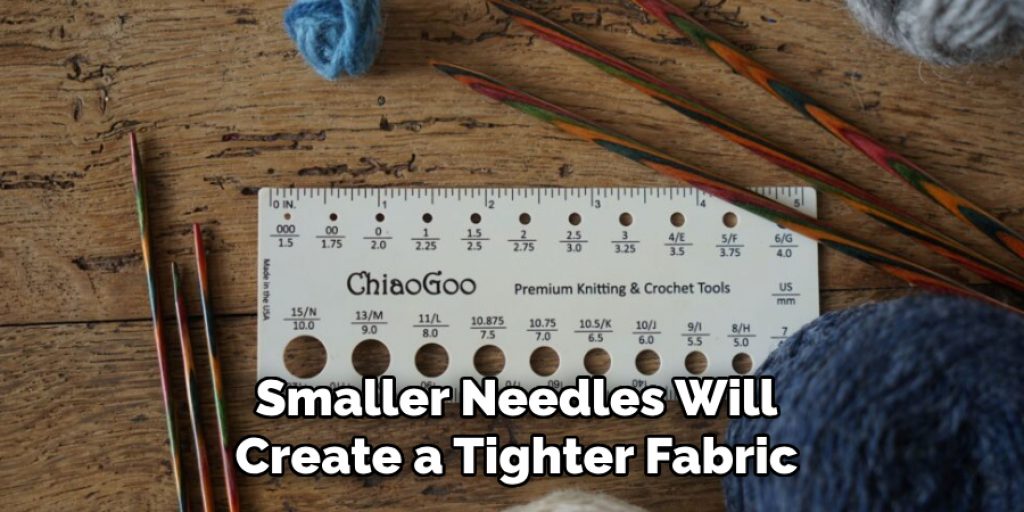
Begin by choosing a comfortable workspace with good lighting. This will make it easier to see your stitches and manage your materials. Place your yarn in a position that allows for easy access while you work. Next, select the appropriate size of double-pointed needles (DPNs) for your project. If you’re working with lighter yarn, smaller needles will create a tighter fabric, while heavier yarn may require larger needles for better drape.
Once you have your yarn and needles ready, create a slipknot, which will serve as your starting point. To do this, loop your yarn around your fingers, then pull the working yarn through the loop to form a knot that can glide along the needle. This slipknot can be placed onto one of your DPNs, marking the beginning of your cast-on process. Remember, the tension of your yarn is crucial; you want it to be snug but not so tight that it becomes difficult to work with. Proper preparation sets the foundation for a smooth casting-on experience.
Step 2. Cast On Stitches:
Now that you have your slipknot secured on one of the double-pointed needles, it’s time to cast on the required number of stitches. Hold the needle with the slipknot in your right hand, and take a second DPN in your left hand. Pick up the working yarn using the left needle and wrap it around the right needle from back to front. Then, pull the yarn through the slipknot, creating a new loop on the right needle. Make sure to keep the tension consistent as you cast on each stitch.
Repeat this process until you have the desired number of stitches cast on; typically, you will want to cast on an even number to make working in rounds easier later. Once you’ve completed this step, you should see a neat row of loops forming on your right needle, ready for the next stage in your knitting journey.
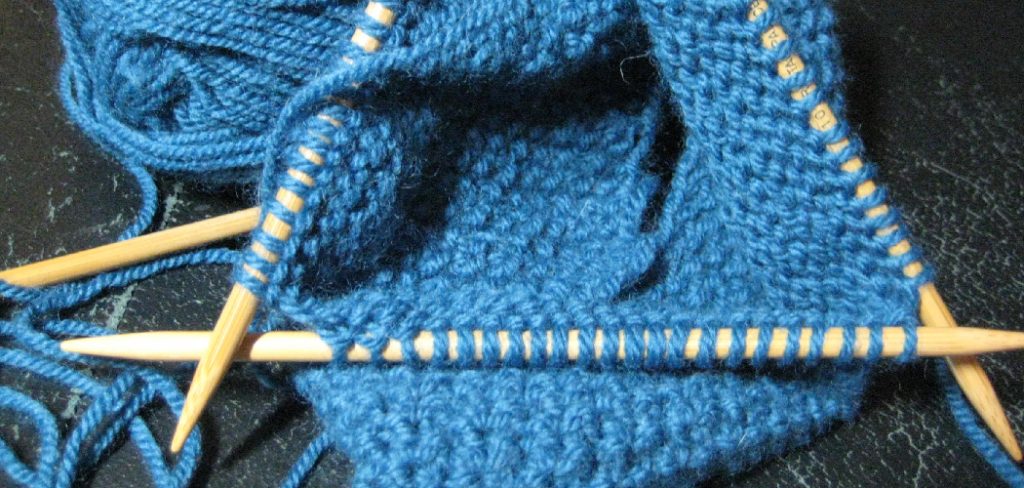
Step 3. Divide Stitches Across Needles:
Once you’ve successfully cast on your stitches, it’s time to prepare your work for knitting in the round. Carefully divide the total number of stitches across three or four needles. For example, if you cast on 12 stitches, you could place 4 stitches on each of the three needles. This helps manage the stitches and makes it easier to knit in the round. Ensure the stitches are evenly distributed to prevent any bunching or unevenness while working.

Step 4. Join in the Round:
With your stitches divided, bring the first needle containing your stitches into your right hand and the last into your left. Avoid twisting your stitches; they should form a smooth circle. To join the round, simply knit the first stitch from the left needle onto the right needle. After knitting the first stitch, you can gently pull the tail of the yarn to tighten the joint. This will secure your first round and ensure no gaps at the beginning of your project.
Step 5. Begin Knitting:
Now that you’ve joined your stitches in the round, you can start knitting! Use the first needle to continue knitting around the project, moving each needle as you complete your stitches. Remember to monitor your tension and maintain a consistent rhythm as you work. This is where your creativity shines, allowing you to expand your knitting patterns and techniques as you progress through your project.
Step 6. Switch Needles:
As you continue knitting around your project, you will eventually need to switch to the next double-pointed needle. Once you complete all the stitches on the first needle, you’ll naturally move on to the second needle. Simply lift the second needle into your right hand while keeping the first needle in your left hand, and continue knitting. It’s essential to keep the stitches on each needle taut and avoid twisting them as you transition between needles.
This step is crucial for maintaining an even tension and a seamless round in your knitting, ensuring your project remains cohesive and aesthetically pleasing. Continue this process, switching needles as needed until you’ve completed your desired length or pattern.
Step 7. Check Your Work:
After several knitting rounds, pausing and checking your work is essential. This step allows you to ensure that your stitches are consistent in size and that there are no accidental twists or gaps in the fabric. Gently lay your project flat, inspecting the tension across each needle. If you notice any uneven stitches or loose areas, take a moment to correct them by adjusting the tension on your working yarn.
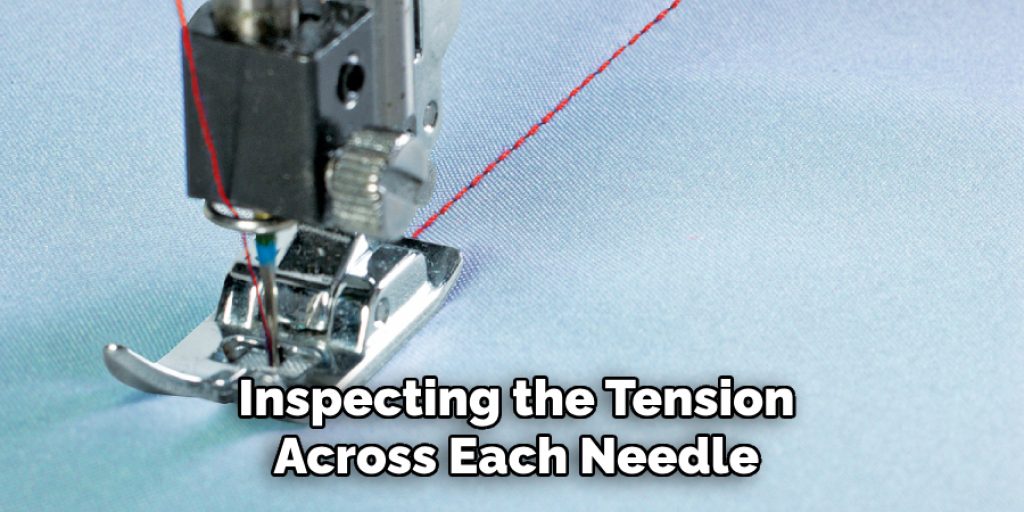
Additionally, this is a great time to review your pattern to ensure you are on track and have understood each stitch. Regularly checking your work helps to prevent more significant issues later in the project, maintaining the quality of your knitting as you progress.
Step 8. Create Rounds:
As your project continues, you’ll want to establish distinct rounds for your pattern. Based on your design, this involves deciding how many stitches you’ll knit in each round. Keep track of your rounds by marking the beginning of each new round with a stitch marker, which can help prevent any confusion as you work. Using a marker ensures that you maintain an even count throughout your project and can help when counting rows or determining where to incorporate different stitches or colors.
Step 9. Increase or Decrease Stitches:
Depending on your pattern requirements, you may need to increase or decrease the number of stitches in your rounds. To improve, you can either knit into the front and back of the same stitch or use a yarn-over technique, depending on the look you’re aiming for. For decreasing, methods such as knitting two stitches together (K2tog) or using slip slip knit (SSK) are standard. Be mindful of the stitch count as you make these adjustments to ensure your project stays on track.
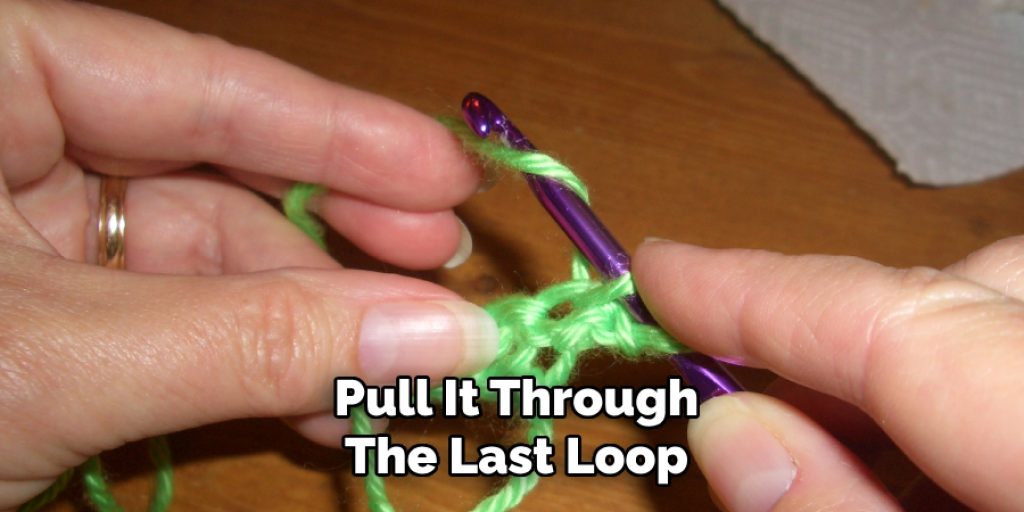
Step 10. Finishing Your Project:
It’s time to finish your project once you’ve reached the desired length or completed your pattern. To bind off, knit a stitch from your first needle, then knit the next stitch and pull the first stitch over the second one and off the needle. Continue this process across the row. Once you reach the end, cut your yarn, leaving a tail, and pull it through the last loop to secure it. Weave in any loose ends with a tapestry needle to give your project a polished finish. Congratulations on completing your knitting project!
Following these steps, you can knit in the round using double-pointed needles.
Conclusion
How to cast on double pointed needles may initially seem challenging, but with practice and attention to detail, it can become a straightforward process.
Following the steps outlined—from casting on to completing your project—you will develop a solid foundation for knitting in the round. Remember to keep your stitches even, check your work regularly, and take time during the joining process to avoid twists. Once you’re comfortable with these techniques, you’ll find that double-pointed needles open up a world of creative possibilities for your knitting projects, allowing you to easily explore intricate designs and patterns.
Hopefully, this guide has been helpful in teaching you how to use double-pointed needles. We wish you all the best on your knitting journey! Happy knitting!
Elizabeth Davis
Elizabeth is a creative writer and digital editor based in the United States. She has a passion for the arts and crafts, which she developed from a young age. Elizabeth has always loved experimenting with new mediums and sharing her work with others. When she started blogging, she knew that DIYquickly would be the perfect platform to share her tutorials and tips. She's been writing for the blog from the beginning, and her readers love her helpful advice and easy-to-follow instructions. When she's not writing or editing, Elizabeth enjoys spending time with her family and friends.


