How to Clean an Incubator
Are you looking for an effective way to clean your incubator and ensure it is in top condition? If so, you’ve come to the right place. Cleaning an incubator can be daunting, especially if you have never done it before – but don’t worry! We are here to guide and help you every step of the way.
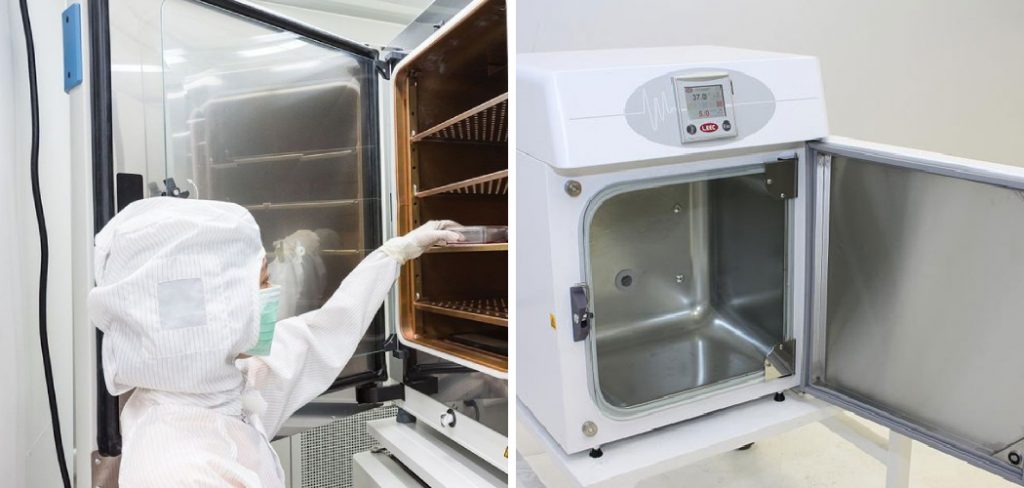
Incubator cleanliness is crucial to the success of your experiments and research. A clean incubator not only ensures accurate and reliable results but also prevents contamination issues. In this guide, we will cover everything you need to know about how you can clean an incubator.
In this blog post, we will provide detailed instructions on how to clean an incubator safely and efficiently! So what are you waiting for? Let’s get started!
Why is It Important to Clean an Incubator?
As mentioned earlier, keeping your incubator clean is essential for the accuracy and reliability of your experiments. Maintaining a clean incubator also reduces the risk of contamination, which can negatively affect your research results.
Moreover, regular cleaning of an incubator helps to prolong its lifespan. Over time, dirt, grime, and bacteria can build up inside the incubator if not cleaned regularly. This can lead to a decrease in performance and eventually damage the incubator.
What Will You Need?
Before we dive into the cleaning process, make sure you have all the necessary supplies handy. These include:
- Warm water
- Mild detergent or disinfectant
- Microfiber cloth or sponge
- Clean towels/paper towels
- Gloves and protective gear (if handling potentially hazardous material)
Now that you have all the necessary supplies let’s move on to cleaning.
10 Easy Steps on How to Clean an Incubator
Step 1. Unplug the Incubator:
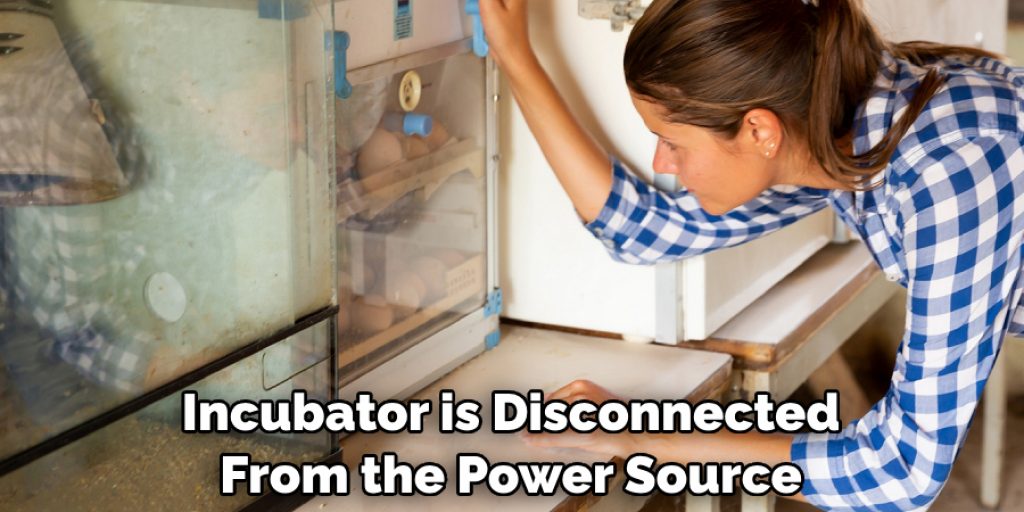
Before you begin, ensure the incubator is disconnected from the power source. This is for your safety and to protect the machine from any unforeseen damage. Remember, safety always comes first!
Step 2. Remove the contents:
Carefully remove all the contents from inside the incubator. This includes trays, water pans, or any other removable parts. This is important to ensure thorough cleaning and to avoid damaging any internal components of the incubator.
Step 3. Clean the Removed Parts:
After removing the internals of the incubator, it’s time to give them a proper clean. Wash the trays, water pans, and other parts with warm water and a mild detergent. Ensure they are scrubbed thoroughly to remove any dirt or grime. Once cleaned, rinse them thoroughly to ensure no soap residue is left. Allow these parts to dry completely before reinserting them into the incubator.
Step 4. Clean the Interior of the Incubator:
Now, it’s time to focus on the interior of the incubator. Use warm water and a mild detergent or disinfectant to clean the inside. It’s advisable to use a microfiber cloth or sponge for this process. Ensure you reach every corner and crevice, as bacteria and grime can build up in these areas.
Avoid using abrasive cleaners or scrubbers, which could scratch or damage the incubator’s interior surfaces. Once you’ve thoroughly cleaned the interior, wipe it down with clean towels or paper towels to remove any excess water or soap residue.
Step 5. Clean the Exterior of the Incubator:
After cleaning the interior, it’s time to clean the exterior of the incubator. Wipe the outer surfaces with a cloth dampened in warm water and mild detergent. Pay special attention to areas like knobs, handles, and buttons that are frequently touched. After cleaning, dry all areas thoroughly to prevent moisture buildup, which can lead to bacterial growth and corrosion.
Step 6. Inspect the Incubator:
Once you’ve cleaned both the interior and exterior, inspect the incubator thoroughly. Look for any signs of damage, wear and tear, or potential issues that could affect its performance. This could include cracks, loose parts, or malfunctioning controls. If you spot any issues, it’s best to address them immediately to prevent further problems.
Step 7. Reassemble the Incubator:
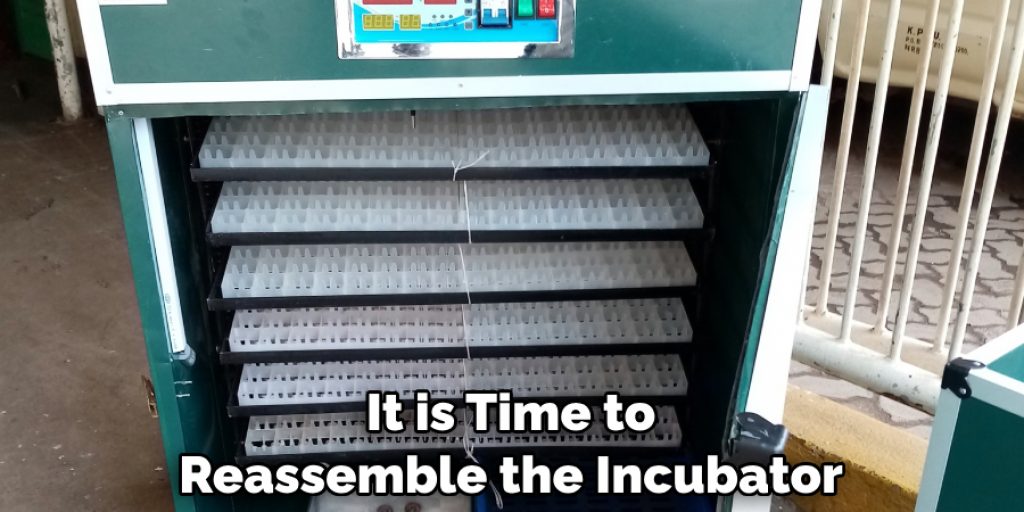
After ensuring everything is clean and dry, it is time to reassemble the incubator. Carefully put the trays, water pans, and other removable parts back in their respective places. Make sure everything fits correctly and securely. Check that all controls, knobs, and buttons function correctly after reassembly.
Step 8. Reconnect the Incubator:
Now that the incubator is reassembled, it’s time to reconnect it to the power source. Ensure that all wires and cords are properly secured, and no loose connections exist. Keep the incubator away from water sources to avoid any potential electrical hazards.
Step 9. Conduct a Functionality Test:
After reconnecting, it’s essential to conduct a functionality test. Turn on the incubator and allow it to run for a few hours, monitoring the temperature and humidity levels to ensure they are stable and within the desired range. This step is crucial to verify that the incubator is functioning correctly after cleaning.
Step 10. Record the Maintenance:
Finally, record the cleaning date and any observations or issues noted during the cleaning process. This log will help maintain a regular cleaning schedule and monitor the overall performance and condition of the incubator. Routine cleaning and maintenance are crucial to ensuring the longevity and reliability of your incubator.
By following these simple steps, you can ensure your incubator remains clean and functioning correctly. It is recommended to clean your incubator at least once a month or more frequently if it is heavily used.
5 Additional Tips and Tricks
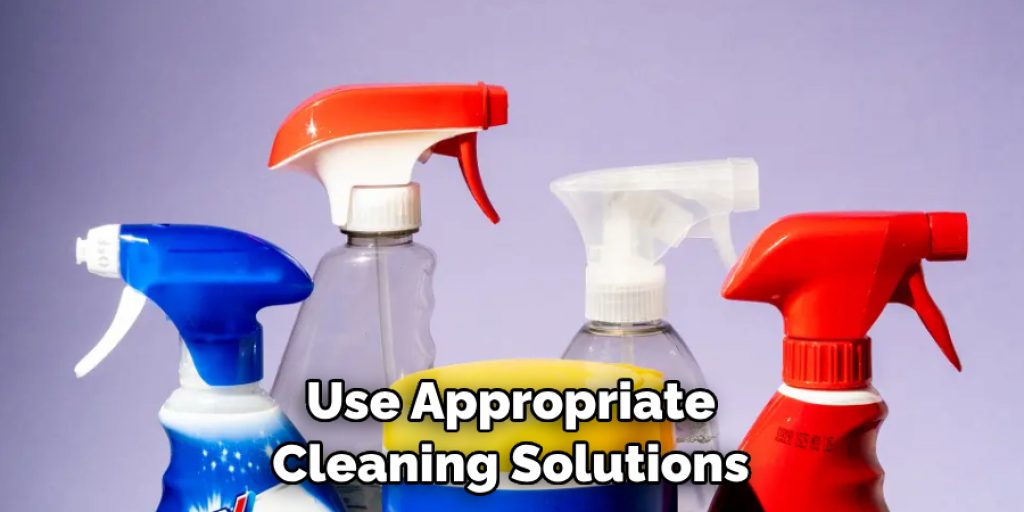
- Use Appropriate Cleaning Solutions: Avoid using harsh chemicals when cleaning your incubator. Instead, opt for mild, non-toxic cleaners, which minimize the risk of damaging the incubator parts or harming the embryos.
- Regular Maintenance: Schedule regular cleaning sessions, ideally after each usage. This habit not only ensures the incubator’s longevity but also prevents contamination that might affect the development of the embryos.
- Dry Thoroughly: After cleaning, make sure to dry the incubator thoroughly. Any remaining moisture can create a conducive environment for mold or bacteria growth.
- Examine Components Regularly: Regularly check the incubator for any signs of wear and tear. Damaged components can affect the incubator’s performance and might need to be replaced.
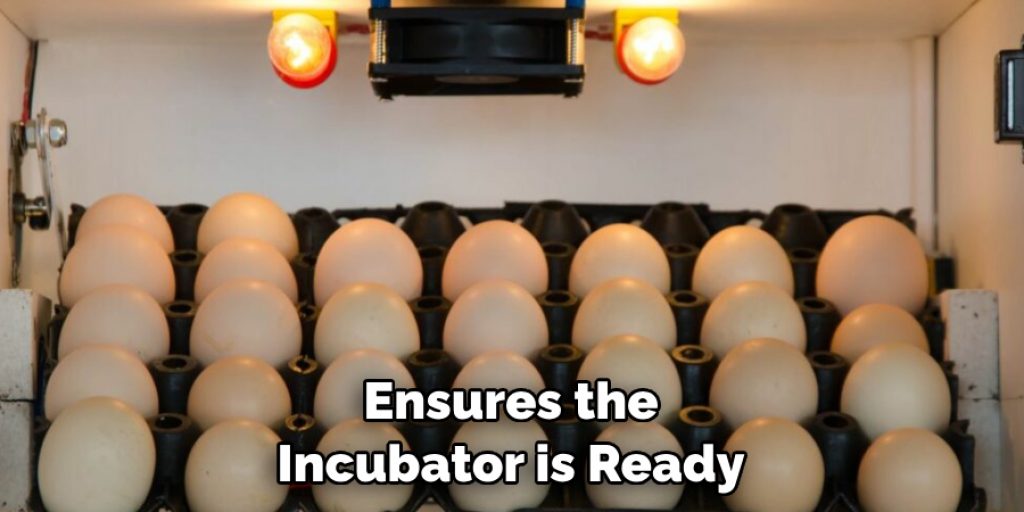
- Maintain Proper Temperature: After each cleaning session, allow the incubator to reach its required operating temperature before placing any embryos inside. This ensures the incubator is ready and safe for use.
Following these additional tips and tricks ensures your incubator remains clean, safe, and in good working condition.
5 Things You Should Avoid
- Avoid Using Abrasive Tools: Avoid using abrasive sponges or steel wool to clean the incubator. These can cause scratches where bacteria can hide and multiply.
- Don’t Rush the Drying Process: Let the incubator dry naturally and thoroughly after cleaning. This is crucial. Avoid speeding up the process with heating devices, as they can damage the incubator’s components.
- Don’t Neglect the Small Parts: The minor components of an incubator, like the fan and water tray, can often be overlooked during cleaning. These parts are necessary to avoid bacterial growth.
- Avoid Frequent Temperature Fluctuations: Temperature changes can affect the incubator’s performance. Avoid placing the incubator near windows or air conditioning vents to maintain a stable temperature.
- Don’t Ignore the Manufacturer’s Instructions: Always refer to the manufacturer’s instructions before cleaning or maintaining your incubator. Ignoring these guidelines can damage the device or poor hatching results.
By avoiding these common mistakes, you will be able to maintain the cleanliness and efficiency of your incubator, leading to successful hatches.
What is the Best Disinfectant for Incubators?
The best disinfectant for your incubator would be a mild, non-toxic cleaner. Avoid harsh chemicals, as they can damage the incubator’s components and potentially harm the developing embryos.
Some popular options include diluted bleach solutions or specialized incubator cleaners designed explicitly for incubation use. Follow the manufacturer’s instructions and dilution ratios for any cleaning solutions used. It is also essential to thoroughly rinse and dry the incubator after disinfecting to ensure no chemicals that could harm the embryos remain.
Overall, maintaining a clean and well-maintained incubator is crucial for the successful development of embryos. Remember to use appropriate cleaning solutions, schedule regular maintenance, and avoid common mistakes for a clean and efficient incubator.
Conclusion
It’s clear that keeping an incubator clean and maintained is critical for any successful breeding or hatching project. With the right tools and knowledge, users can keep their incubators in great shape for years. Experts recommend a complete disinfection every month, along with regular monitoring of temperature and monitoring the air vents for dust. These steps will help ensure that your incubator runs reliably and your eggs hatch successfully.
Hopefully, this guide on how to clean an incubator has provided valuable insight into the importance of cleaning and maintaining an incubator, along with some helpful tips and tricks to make the process easier.
So don’t forget to take care of your incubator – it may be the equipment that keeps your next big project alive! Be proactive and invest in good quality cleaning supplies so you’ll always be prepared for a thorough breakdown when needed. Good luck and happy hatching!


