
How to Crochet a Beach Bag
Crocheting a beach bag is not only a fun and creative way to spend your time, but it also results in a stylish and practical accessory for your summer outings. Whether you’re heading to the shore, the pool, or simply enjoying a day in the park, a handmade beach bag allows you to showcase your personal style while providing ample space for all your essentials.
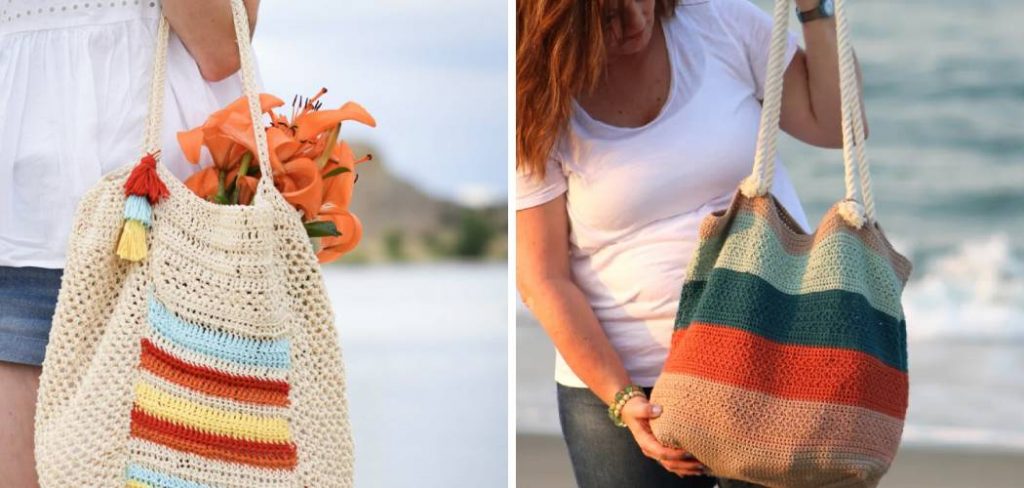
In this guide on how to crochet a beach bag, we will walk you through the steps to create your very own beach bag, from selecting the right materials to mastering basic stitches, ensuring that you have everything you need to make a beautiful and functional piece. Let’s dive in!
Why Crochet a Beach Bag?
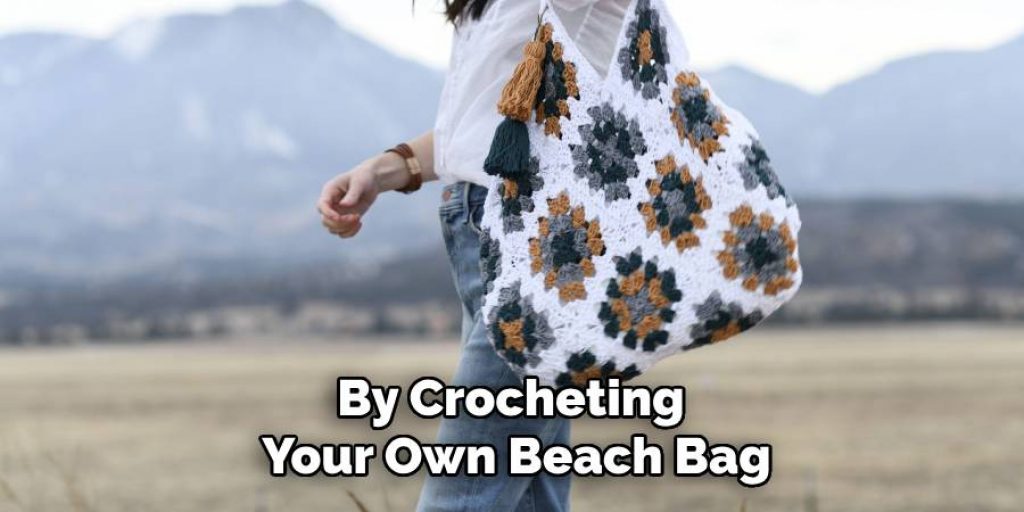
Crocheting your own beach bag has many benefits, including:
Customization:
By crocheting your own beach bag, you have the freedom to choose the colors and patterns that best suit your personal style.
Sustainability:
Creating something by hand is not only fulfilling, but it also helps reduce waste and supports sustainable living.
Cost-effective:
Crocheting a beach bag is a cost-effective alternative to buying one, as it allows you to use inexpensive materials and customize your design without spending a fortune.
Relaxation:
Crocheting has been proven to reduce stress and promote relaxation. So why not combine this hobby with creating something useful?
Materials Needed
To get started on your crochet beach bag, you will need the following materials:
- 1 Skein of Cotton Yarn (Approximately 400 Yards)
- Crochet Hook (Size H/8-5.00mm)
- Scissors
- Tapestry Needle
Optional materials:
- Beads or Buttons for Embellishment
- Fabric Lining
- Sewing Needle and Thread
8 Step-by-step Guidelines on How to Crochet a Beach Bag
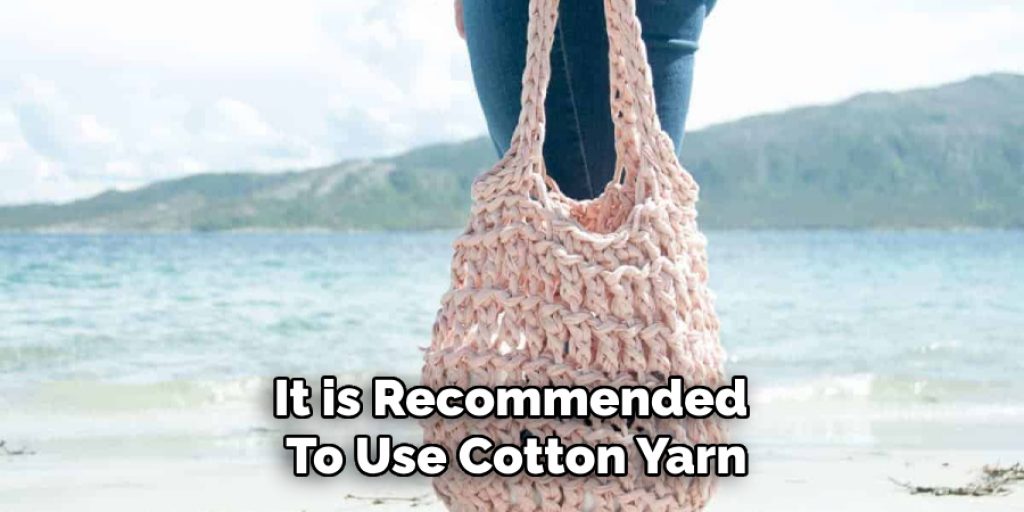
Step 1: Choose Your Yarn
Selecting the right yarn is crucial for both the appearance and durability of your beach bag. For optimal results, it is recommended to use cotton yarn, as it is lightweight, strong, and has a natural resistance to water, making it perfect for beach outings. Consider choosing a color that complements your summer wardrobe or a design that reflects your personal style.
If you wish to add a unique touch, look for yarn with interesting textures or subtle patterns. Remember to check the yarn weight;
medium-weight cotton yarn is ideal for a sturdy yet flexible beach bag.
Step 2: Create a Foundation Chain
Once you have chosen your yarn, the next step is to create a foundation chain, which serves as the base for your crochet beach bag. Begin by making a slip knot on your crochet hook. The size of your foundation chain will determine the width of your bag, so decide how wide you want it to be—typically, a chain of about 30 to 40 stitches works well for most beach bags.
To create the foundation chain, yarn over and pull through the slip knot to complete your first chain stitch. Continue this process until you have reached your desired length. Ensure that your foundation chain is not too tight, as this can make it difficult to work into later. Once you have your foundation chain ready, you are set to move on to the next step!
Step 3: Work in Single Crochet
Single crochet is one of the most basic and essential stitches in crocheting. This stitch creates a tight and solid fabric, making it perfect for creating the base of your beach bag.
To work in a single crochet, insert your hook into the second chain from the hook, yarn over, and pull through both loops on your hook. Repeat this process for each chain stitch until you reach the end of the row. Once you have completed a row in single crochet, make sure to turn your work and continue working on each stitch below.
Step 4: Increase Stitches
To shape your beach bag and create a base with more depth, you’ll need to increase your stitches as you progress. Increasing stitches involves adding extra single crochet stitches into a single stitch from the previous row. Start by working in single crochet just as you did in the last step, but when you reach the last stitch of the row, add two single crochet stitches into that same stitch.
This method not only expands the width of your bag but also gives it a more rounded bottom, making it ideal for holding beach essentials. Continue this process for the next few rows, ensuring that you’re adding increases evenly to maintain a balanced shape. Keep track of how many increases you add so that you can maintain symmetry as you crochet further.
Step 5: Create the Handles
Your beach bag needs handles for easy carrying, so now it’s time to create them. To do this, start by making a slip knot on your crochet hook and attaching it to one side of your bag where you want the handle to begin. Next, work in single crochet stitches across that side until you reach the center of the bag’s width.
Chain enough stitches (depending on how long you want your handle to be), then skip over a few stitches and attach them with a slip stitch to the next single crochet stitch to form a loop. Continue working in single crochet for the rest of that row. Repeat this process for the other side of your bag to create the second handle.
Step 6: Add Embellishments (Optional)
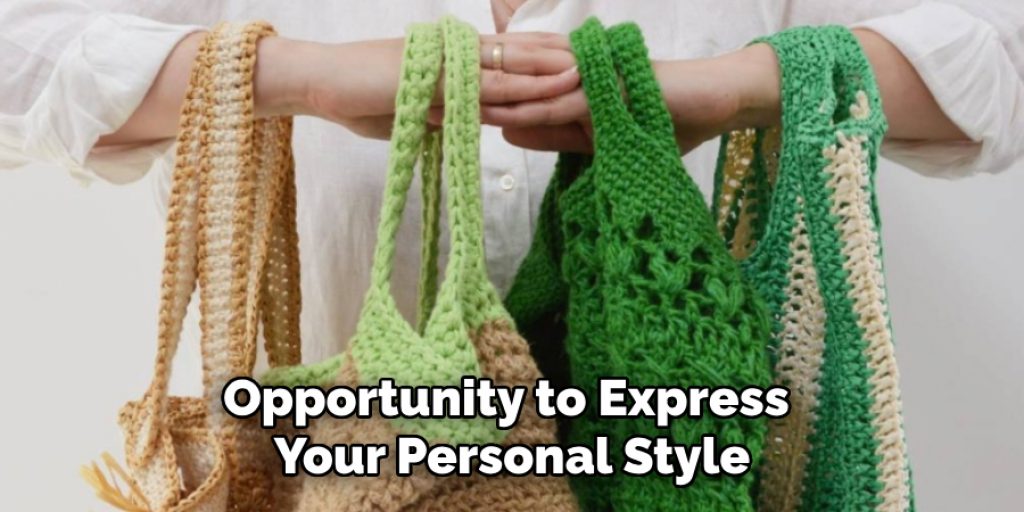
Once you have completed the main structure of your beach bag, it’s time to get creative with embellishments. Adding unique touches can elevate the overall appearance and make your bag truly one-of-a-kind. Consider using beads or buttons to decorate the handles or the body of the bag; simply thread them onto your yarn before or during the crochet process.
You can also incorporate other textures by attaching fabric patches, creating crocheted flowers, or even sewing on pockets for extra functionality. If you choose to line the bag with fabric, select a vibrant pattern that complements your crochet design, ensuring both style and practicality. Remember, embellishments are an opportunity to express your personal style, so have fun and let your creativity shine!
Step 7: Finish Off
After you have completed your beach bag and added any desired embellishments, it’s time to secure your work and finish off. To do this, cut the yarn, leaving a tail of about six inches. Pull the tail through the last loop on your hook to create a secure knot. Next, use your tapestry needle to weave in any loose ends from your yarn, ensuring they are tucked away neatly inside the bag to prevent unraveling.
This step is crucial for achieving a polished finish; not only does it enhance the durability of your bag, but it also keeps it looking tidy. Once all ends are woven in and your bag is finished, you can admire your handiwork and prepare for your next beach outing!
Step 8: Share and Enjoy!
Now that you have successfully crocheted your very own beach bag, it’s time to show it off and put it to good use! Whether you’re gathering with friends for a day at the beach or heading out on a solo adventure, your handmade bag is sure to turn heads.
Not only is it stylish and functional, but creating something with your own two hands also brings a sense of satisfaction and accomplishment. So go ahead, pack your sunscreen, towel, and favorite book into your new crochet beach bag and enjoy the sunny days ahead!
Following these simple steps on how to crochet a beach bag, you can easily create a personalized and unique beach bag that will serve as your perfect companion for many summers to come.
Additional Tips
- If you’re new to crocheting, start with a simple pattern and practice your stitches before attempting a more complex design.
- Experiment with different yarns, colors, and stitch patterns to create unique variations of the basic beach bag.
- Don’t be afraid to make mistakes; they are a natural part of the learning process. Just unravel and try again!
- Consider making matching accessories such as a coin purse or sunglasses case, to complete your beach ensemble.
- Crochet bags also make great gifts for friends and family. Customize them according to their preferences for an extra special touch.
Frequently Asked Questions
Q: How Long Does It Take to Crochet a Beach Bag?
The time taken to crochet a beach bag varies based on the individual’s skill level and pattern complexity. It can take anywhere from a few hours to several days, depending on the size and design of the bag. Factors such as breaks, interruptions, and embellishments can also affect the overall time taken.
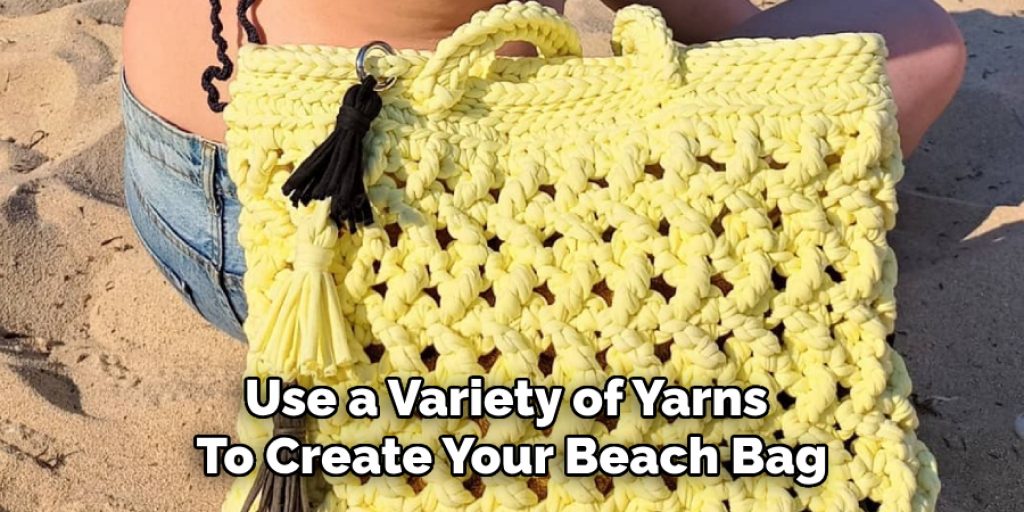
Q: Can I Use Different Types of Yarn for My Beach Bag?
Yes, you can use a variety of yarns to create your beach bag; however, it’s essential to keep in mind that different yarns have varying thicknesses and textures, which may affect the final appearance of your bag. It’s best to experiment with swatches before starting your project to ensure you’re happy with the results.
Q: How Do I Care for My Crochet Beach Bag?
To keep your crochet beach bag looking its best, handwash it using mild detergent and cold water. Avoid wringing or twisting the bag to prevent stretching and shape distortion. After washing, gently squeeze out excess water and lay flat to dry. If desired, you can also use a fabric protector spray to help protect your bag from stains and spills while at the beach.
Conclusion
Congratulations on completing your crochet beach bag! With each stitch, you have not only crafted a practical accessory but also embraced creativity and personal expression. Whether you choose to use it for beach days, picnics, or casual outings, your handmade bag is a testament to your skills and dedication.
Remember, the journey of crocheting is filled with opportunities to learn and innovate, so continue experimenting with new patterns, techniques, and embellishments. As you enjoy your new creation, don’t hesitate to share your experience and inspire others to embark on their crochet adventures. Thanks for reading this article on how to crochet a beach bag.
Elizabeth Davis
Elizabeth is a creative writer and digital editor based in the United States. She has a passion for the arts and crafts, which she developed from a young age. Elizabeth has always loved experimenting with new mediums and sharing her work with others. When she started blogging, she knew that DIYquickly would be the perfect platform to share her tutorials and tips. She's been writing for the blog from the beginning, and her readers love her helpful advice and easy-to-follow instructions. When she's not writing or editing, Elizabeth enjoys spending time with her family and friends.


