How to Crochet a Strawberry Cow
Crocheting a strawberry cow is a delightful and whimsical project that combines the charm of farm life with the sweetness of fruit. This unique creation not only serves as a fun decorative piece but also makes for a perfect gift for friends and family who appreciate handmade items.
In this guide on how to crochet a strawberry cow, we will walk you through the essential materials, techniques, and step-by-step instructions to bring your strawberry cow to life. Whether you’re an experienced crocheter or a beginner looking to try something new, this project is sure to inspire creativity and joy.
Why Crochet a Strawberry Cow?
There are several reasons why crocheting a strawberry cow is a popular project among crafters. Here are a few of them:
Unique and Adorable:
A crochet strawberry cow is a unique and adorable addition to any home decor or collection. Its bright colors, cute design, and playful expression make it stand out from other crocheted items.
Fun and Engaging:
Crocheting can be an enjoyable hobby in itself, but creating something as fun and engaging as a strawberry cow takes it to the next level. This project allows you to experiment with different techniques, stitches, and colors while making something that brings joy.
Great for Gifting:
Handmade gifts hold a special place in the hearts of both the giver and receiver. A crocheted strawberry cow is a thoughtful and personal gift that shows your love and effort. Plus, who wouldn’t want to receive such a charming and unique item?
Materials Needed
To crochet a strawberry cow, you will need the following materials:
- Yarn (Pink, White, Brown, Green)
- Crochet Hook (Size G/4 Mm or as Desired for Your Yarn Weight)
- Scissors
- Tapestry Needle
- Polyester Fiberfill Stuffing
- Safety Eyes (Optional)
8 Step-by-step Guidelines on How to Crochet a Strawberry Cow
Step 1: Start with the Head
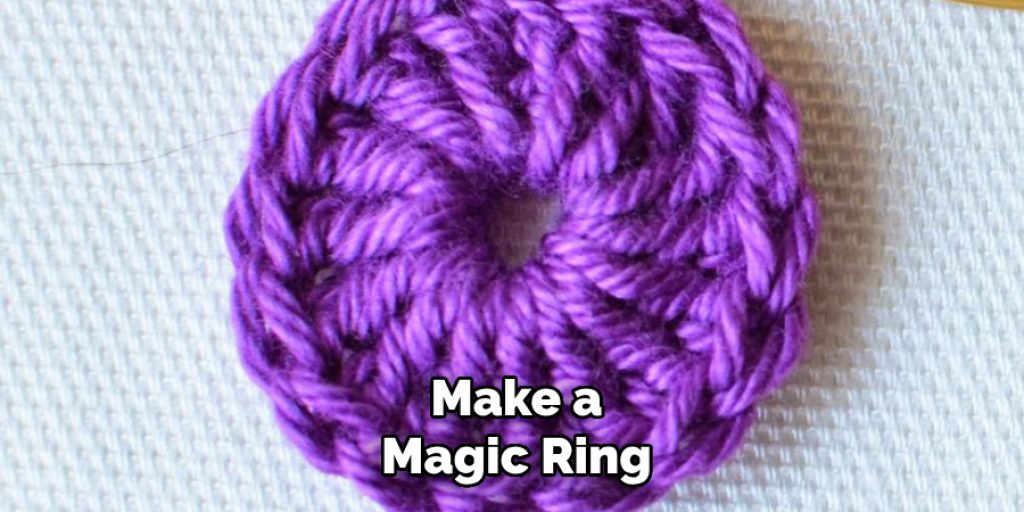
To begin crocheting your strawberry cow, you’ll want to create the head, as it sets the foundation for the rest of your project. Start by using pink yarn for the head. Make a magic ring and work 6 single crochets (sc) into the ring to form the base. This will give you a nice rounded shape. After completing the first round, continue with increases in subsequent rounds—work 2 single crochets in each stitch around for a total of 12 stitches in the second round.
Progressively increase the number of single crochets between increases in each round until you reach the desired size for the head, usually around 24 stitches. Remember to stuff it lightly with polyester fiberfill as you go to give it structure and shape. Once you have finished the head, you can secure the end and set it aside for the next steps.
Step 2: Make the Body
Once you have completed the head, it’s time to crochet the body of your strawberry cow. Begin by using pink yarn and create another magic ring, this time working 6 single crochets into the ring for the base. As with the head, gradually increase the number of stitches in each subsequent round. For the second round, work 2 single crochets in each stitch, resulting in a total of 12 stitches.
Continue increasing the stitch count by working 2 single crochets in one stitch every other round until you reach approximately 36 stitches. As you crochet, remember to stuff the body lightly with polyester fiberfill for added stability. When you reach the desired height, finish off the last round and leave a long tail to attach the head later. Set the body aside while you prepare the other components of your strawberry cow.
Step 3: Create the Ears
The strawberry cow’s ears are an essential detail that adds character and cuteness to your project. To make them, start by using white yarn and creating a magic ring. Work 4 single crochets into the ring for the base round. In the following rounds, work 2 single crochets in each stitch until you have a total of 8 stitches.
Once you reach the desired size, fasten off and leave a long tail to attach later. Repeat this process to create another ear, then set them both aside for now.
Step 4: Form the Horns
To crochet the horns, use brown yarn and make a magic ring, working 4 single crochets into it for the first round. In subsequent rounds, work an increase in each stitch until you reach a total of 8 stitches. As you continue to work on the horns, stuff them lightly with polyester fiberfill for shape and stability.
When you have completed both horns, secure the ends and set them aside until later.
Step 5: Craft the Leaves
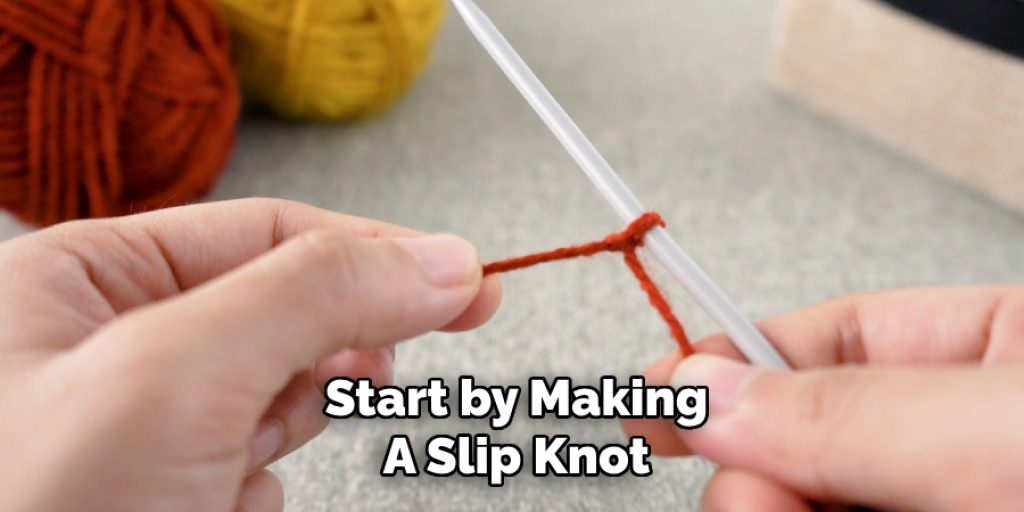
The leaves are a delightful addition to your strawberry cow, adding a pop of color and enhancing its overall charm. To crochet the leaves, you will use green yarn. Start by making a slip knot and chain 5. Then, in the second chain from the hook, work a single crochet, followed by a half double crochet in the next chain. In the next chain, work two double crochets to give your leaf a nice rounded shape.
Finally, work a half-double crochet in the next chain and finish with a single crochet in the last chain. This will create a small leaf shape. Fasten off and leave a long tail for attachment. Create a second leaf in the same manner, and set both aside until you’re ready to assemble your strawberry cow.
Step 6: Construct the Face
To bring your strawberry cow’s face to life, you will need some black yarn and a tapestry needle. Using the black yarn, embroider two eyes onto the head using a satin stitch or French knots. If preferred, you can also use safety eyes instead.
Next, take a small amount of pink yarn and create a triangle for the nose using either an embroidery technique or by sewing on a small felt triangle. Finally, use brown yarn to embroider on small spots for the nostrils.
Step 7: Assembling Your Strawberry Cow
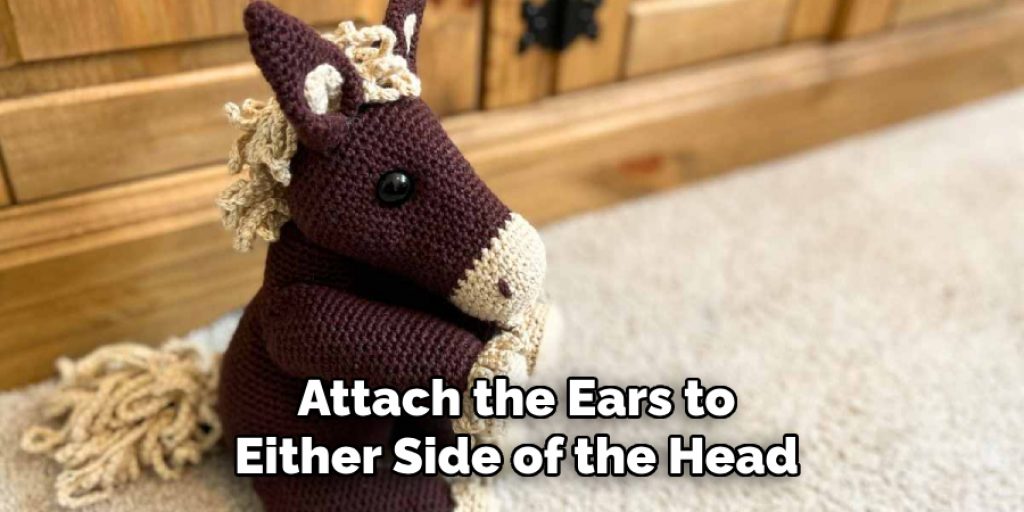
Now that you have completed all components of your strawberry cow, it’s time to assemble them! Take your head and attach it to the body using the long tail left from the last round. Attach the ears to either side of the head, and then add on the horns slightly above them.
Next, attach the leaves onto either side of the head, just above the ears. Finally, sew or glue on a small piece of green yarn as a bow tie for added flair if desired. The placement and attachment of these components are entirely up to you, so feel free to get creative!
Step 8: Finishing Touches
Congratulations! You have successfully crocheted a strawberry cow! To finish off your project, you can trim any excess tails or secure them with some fabric glue. You can also add any additional details or embellishments as desired.
Following these simple step-by-step guidelines on how to crochet a strawberry cow, you can create your very own adorable strawberry cow to add to your collection or give as a gift. Have fun experimenting with different yarn colors and adding personalized touches to make each one unique. Happy crocheting!
Additional Tips and Ideas:
- If you’re new to crocheting amigurumi (small stuffed toys), it is recommended that you practice basic crochet stitches and techniques before attempting this project.
- To create a larger or smaller strawberry cow, simply adjust the size of your crochet hook and use thicker or thinner yarn accordingly.
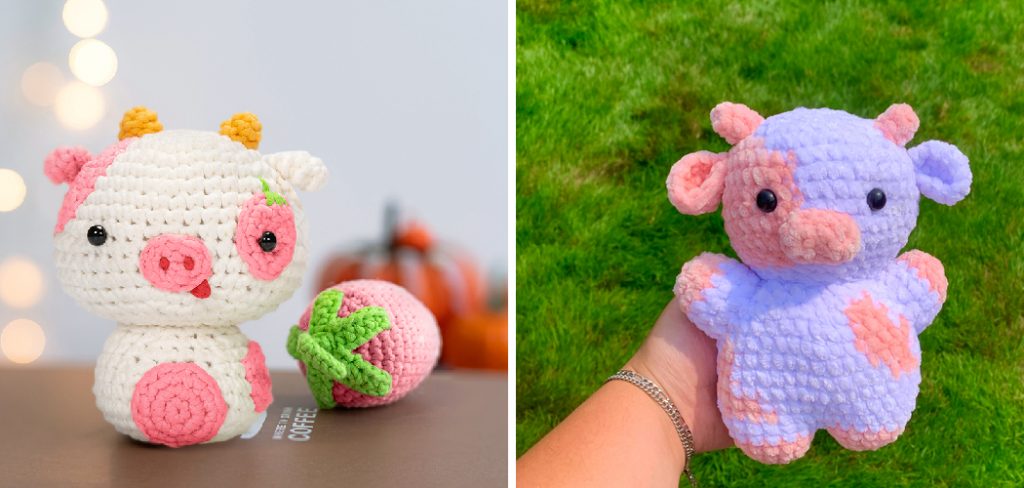
- Experiment with different color combinations to make unique-looking strawberry cows. For example, you could use blue yarn instead of pink for a “blueberry cow” or white yarn for a “vanilla cow.”
- You can also add a cute smile using black embroidery thread on the face of your strawberry cow, or even attach small beads for eyes instead of embroidering them.
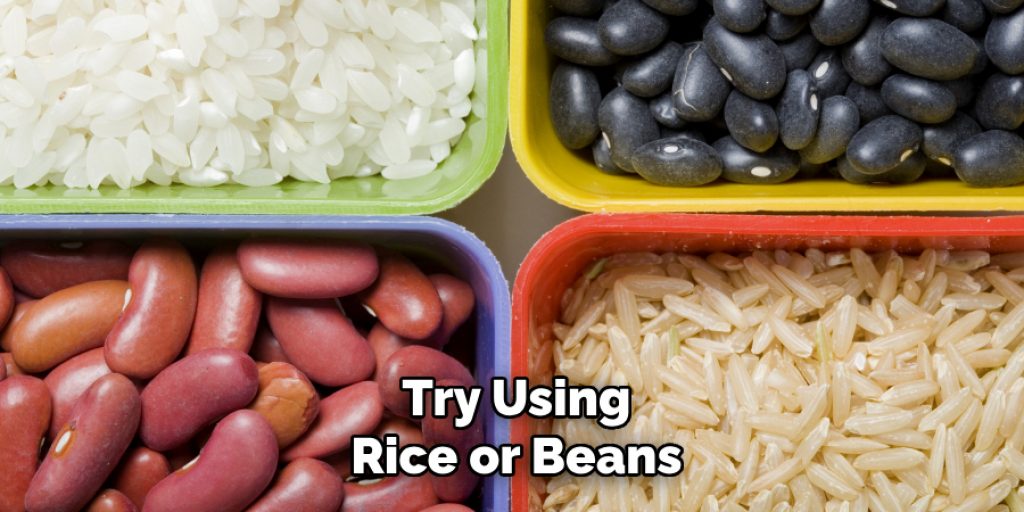
- Instead of traditional stuffing, you can try using rice or beans to fill your strawberry cow for added weight and stability. Just be sure to secure the opening tightly to prevent any spills.
- Don’t limit yourself to just strawberries! You can use the same techniques and patterns to create a variety of amigurumi animals, fruits, or even fictional creatures. Let your imagination run wild! Overall, have fun with this project and enjoy creating your very own adorable strawberry cow. Happy crocheting!
Conclusion
In conclusion, crocheting a strawberry cow is not only a delightful project but also a wonderful way to enhance your crochet skills and express your creativity. By following the detailed steps on how to crochet a strawberry cow outlined above, you can create a charming and unique stuffed toy that is perfect for gifts, décor, or simply adding to your collection.
Remember, the beauty of crocheting lies in the endless possibilities; feel free to experiment with different colors, sizes, and adaptations to make your strawberry cow truly one-of-a-kind. Enjoy the process, embrace any challenges, and, most importantly, have fun bringing your whimsical creation to life! Happy crocheting!
Elizabeth Davis
Elizabeth is a creative writer and digital editor based in the United States. She has a passion for the arts and crafts, which she developed from a young age. Elizabeth has always loved experimenting with new mediums and sharing her work with others. When she started blogging, she knew that DIYquickly would be the perfect platform to share her tutorials and tips. She's been writing for the blog from the beginning, and her readers love her helpful advice and easy-to-follow instructions. When she's not writing or editing, Elizabeth enjoys spending time with her family and friends.