How to Crochet an Edging
Crocheting an edging is a wonderful way to add a finishing touch to your projects, whether it’s a blanket, a tablecloth, or even a simple scarf. This technique not only enhances the aesthetic appeal of your work but also reinforces the edges, preventing fraying and giving your piece a polished look.
In this guide, we will explore how to crochet an edging, from delicate lace to bold, chunky patterns, providing you with step-by-step instructions to master this art. Whether you’re a beginner or an experienced crocheter, you’ll find inspiration and tips that will elevate your crochet creations to the next level.
Understanding Crochet Edging
Crochet edging serves as both a decorative and functional element in various projects. It allows you to showcase your creativity while providing a clean finish to your work. Edgings can range from straightforward designs to intricate lace patterns, and they can be made using different yarns and hooks to achieve varied effects.
Understanding the fundamentals of crochet edging is essential for any crafter; it involves not just the stitches used, but also the importance of tension, gauge, and how different edgings can complement or contrast with the main fabric. With a few techniques under your belt, you can transform ordinary items into beautifully finished pieces that highlight your personal style and skill.
Types of Edging
When it comes to crochet edgings, the variety is vast, allowing you to choose a style that complements your project perfectly. Here are some popular types of edging you can explore:
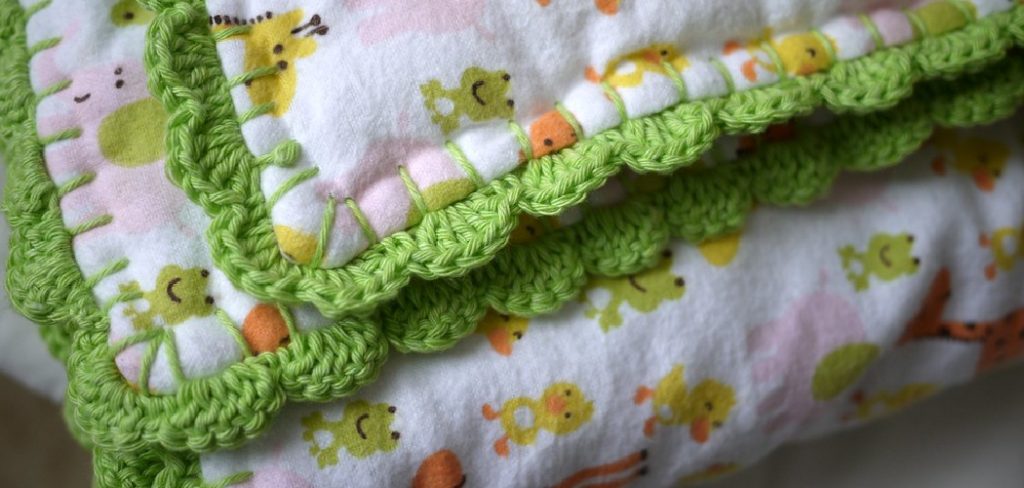
- Scalloped Edging: This charming design features a series of rounded shapes that create a wave-like effect. Scalloped edgings are particularly effective for blankets, shawls, and skirts, offering a soft and feminine touch.
- Shell Edging: Shell edgings consist of a series of double crochets grouped together to form a shell shape. This bold and textured style adds depth and drama, making it ideal for borders on bags or pillows.
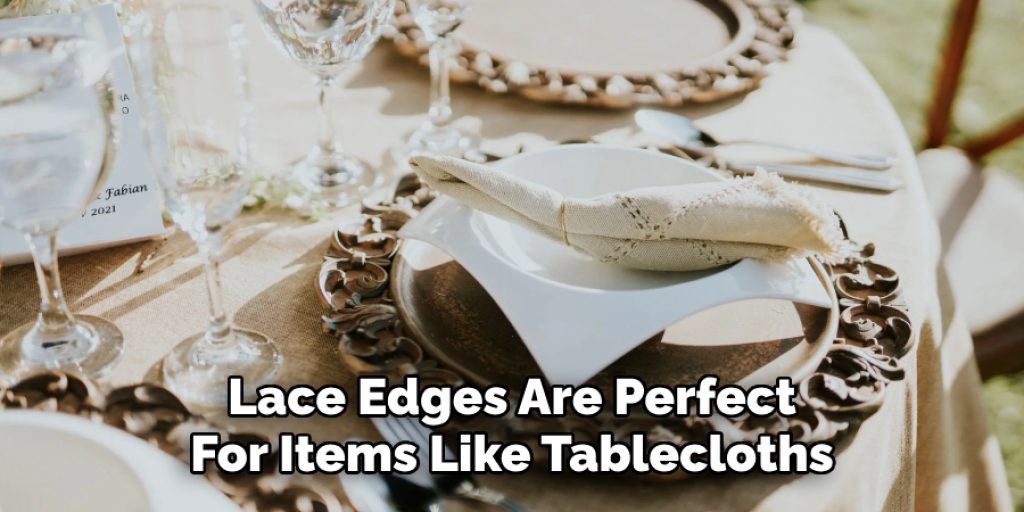
- Lace Edging: For a delicate finish, lace edgings incorporate intricate stitches that create airy patterns. Lace edges are perfect for items like tablecloths and doilies, where an elegant touch is desired.
- Picot Edging: Featuring small loops or points, picot edgings provide a playful and whimsical detail. This type of edging works well on garments, hats, and accessories, adding a unique flair.
- Straight Edging: Sometimes a simple finish is all that’s needed. Straight edgings can be created using single crochet or slip stitches, offering a neat and tidy border that suits a variety of projects.
10 Methods How to Crochet an Edging
1. Simple Single Crochet Edging
The single crochet edging is one of the most basic and versatile edgings, suitable for beginners and experienced crocheters alike. To begin, attach your yarn to the edge of your project using a slip stitch. Insert your hook into the first stitch, yarn over, and pull through both loops on your hook. Continue to single crochet evenly around the entire perimeter of your project, ensuring you place one single crochet stitch in each stitch or space along the edge.
When you reach a corner, place three single crochet stitches in the corner stitch to turn smoothly. This simple technique creates a clean, solid edge that is perfect for baby blankets, dishcloths, or any item requiring a straightforward finish.
2. Shell Stitch Edging
The shell stitch edging adds a delicate, decorative touch to any project. To create this edging, attach your yarn and single crochet around the edge of your project first to provide a base. In the next round, work a shell stitch by placing five double crochet stitches into one stitch, skip two stitches, and single crochet in the next stitch.
Repeat this pattern around the entire edge. When you reach the corners, you can adjust the number of stitches skipped or the number of double crochets in your shell to make the corner turn smoothly. This edging is particularly lovely for blankets, shawls, and scarves.
3. Picot Edging
The picot edging is characterized by its small, decorative loops, which give a lacy and elegant finish to your crochet projects. Begin by single crocheting around the edge of your project. For the next round, chain three, then slip stitch into the first chain to form a picot. Single crochet into the next stitch and repeat this pattern around the edge.
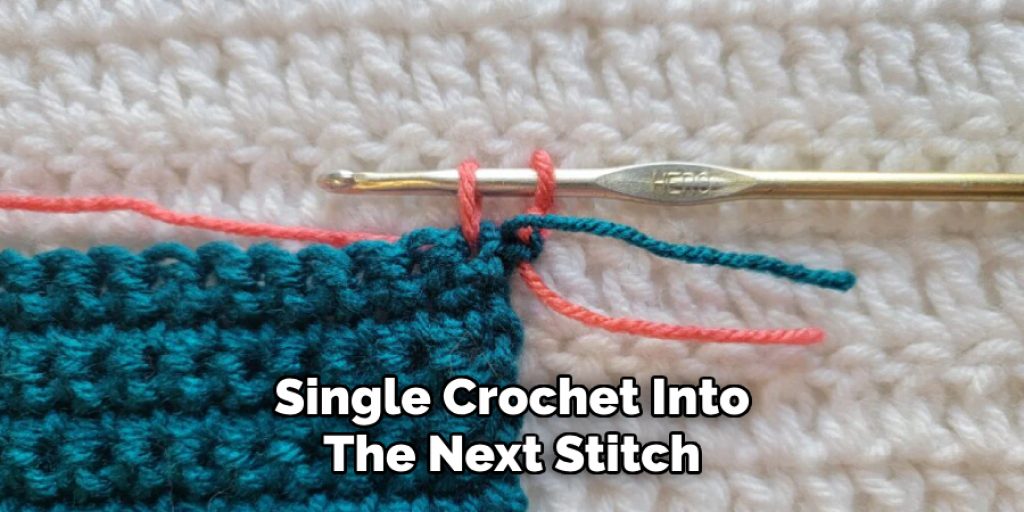
For corners, you may need to adjust the placement of your picots slightly to ensure the edging lies flat. This method works beautifully on doilies, tablecloths, and baby garments.
4. Reverse Single Crochet (Crab Stitch) Edging
The reverse single crochet, also known as the crab stitch, creates a tightly twisted, rope-like edge. To start, attach your yarn and chain one. Instead of working from right to left, as is usual in crochet, you will work from left to right. Insert your hook into the next stitch to the right, yarn over, and pull through both loops on your hook.
Continue this reverse single crochet around the entire edge. This technique can be a bit challenging at first but provides a sturdy and unique finish perfect for bag straps, rug edges, or any project needing a firm border.
5. Scalloped Edging
The scalloped edging is a classic choice that adds a touch of vintage elegance to any project. Begin by attaching your yarn and single crocheting around the edge. For the next round, skip two stitches and work five double crochets into the third stitch, skip two stitches, and single crochet into the next stitch.
Repeat this pattern to create the scalloped edge. In corners, you may need to place additional double crochets to ensure the scallops form correctly. This edging is ideal for blankets, table runners, and lacy shawls.
6. V-Stitch Edging
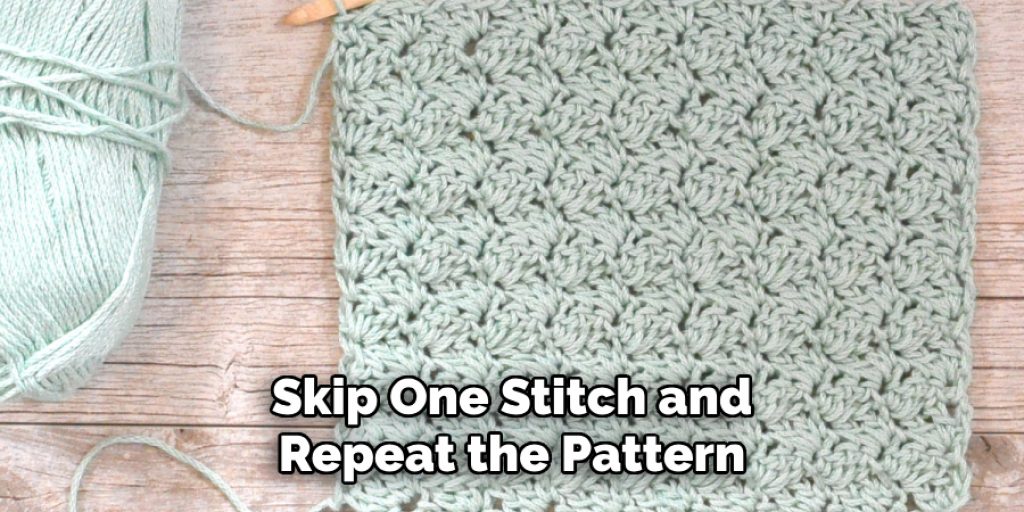
The V-stitch edging creates an open, airy border that complements many different projects. Start by attaching your yarn and single crocheting around the edge. For the next round, chain one, skip one stitch, and work one double crochet, chain one, and another double crochet into the next stitch. This forms a V-shape. Skip one stitch and repeat the pattern around the edge. At corners, you may need to add an extra V-stitch to help the corner turn neatly. This method is perfect for summer garments, lacy blankets, and lightweight scarves.
7. Puff Stitch Edging
The puff stitch edging adds a textured, three-dimensional border to your projects. Begin by attaching your yarn and single crocheting around the edge. For the next round, yarn over and insert your hook into the next stitch, yarn over again and pull through (you should have three loops on your hook), yarn over, insert your hook into the same stitch, and pull through again (you should have five loops on your hook).
Yarn over and pull through all five loops. This forms a puff stitch. Single crochet into the next stitch and repeat the pattern. Adjust the spacing of puff stitches as needed for corners. This edging works well for cozy blankets, warm hats, and chunky scarves.
8. Bobble Edging
The bobble edging is a fun and playful option that adds little bobbles or balls along the edge of your project. Attach your yarn and single crochet around the edge. For the next round, yarn over and insert your hook into the next stitch, yarn over and pull through (three loops on hook), yarn over and pull through two loops (two loops on hook). Repeat this process three more times in the same stitch. You should have five loops on your hook.
Yarn over and pull through all five loops. Single crochet into the next stitch and repeat the pattern. Adjust spacing as needed for corners. This method is great for baby blankets, playful garments, and fun accessories.
9. Lace Edging
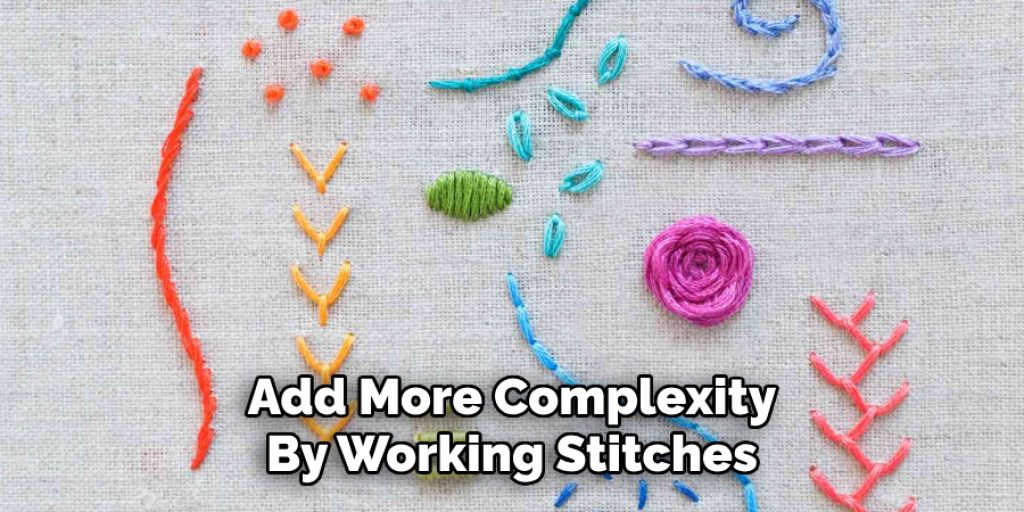
Lace edging adds a delicate and intricate border that is perfect for elegant projects. Begin by attaching your yarn and single crocheting around the edge. For the next round, chain five, skip two stitches, and single crochet into the next stitch. This creates a loop. Repeat this pattern around the edge. For the following round, you can add more complexity by working stitches into the loops created, such as double crochets, treble crochets, or additional chain loops. Adjust the pattern as needed for corners. Lace edging is perfect for tablecloths, lacy shawls, and vintage-style garments.
10. Fringe Edging
Fringe edging adds a playful and bohemian touch to any project. Attach your yarn and single crochet around the edge. Cut lengths of yarn twice the desired length of the fringe. Fold each length in half and use a crochet hook to pull the loop through a stitch on the edge, then pull the ends through the loop to secure the fringe. Repeat this process around the edge, spacing the fringe as desired. Trim the ends to even out the fringe. This edging is ideal for blankets, scarves, and home decor items like pillows and throws.
Conclusion
Each of these edging methods offers a unique way to enhance the look and functionality of your crochet projects. Whether you prefer the simplicity of a single crochet border or the intricate detail of lace or bobbles, these techniques can be adapted to suit your personal style and the needs of your project. Thanks for reading, and we hope this has given you some inspiration on how to crochet an edging!

