How to Crochet Button Holes
Are you tired of sewing buttons to your crocheted garments? Learning how to crochet button holes can save you time and give your projects a professional finish.
Crocheting buttonholes is a valuable skill that can elevate your crafting projects, allowing for a professional finish to garments, bags, and accessories. Whether you are looking to secure buttons on a sweater or create functional openings in a bag, mastering crochet button holes can enhance the aesthetics and usability of your creations.
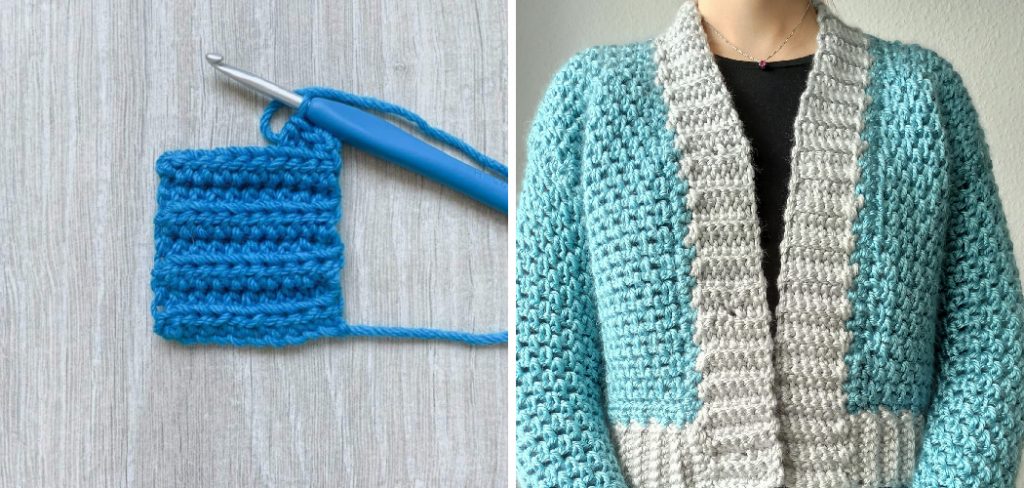
This guide will take you through the step-by-step process of creating various types of buttonholes, ensuring you can confidently add this technique to your crochet repertoire. With a bit of practice, you’ll find that buttonholes are easy to make and a perfect way to showcase your unique style in your crochet work.
What Will You Need?
To crochet button holes, you will need the following supplies:
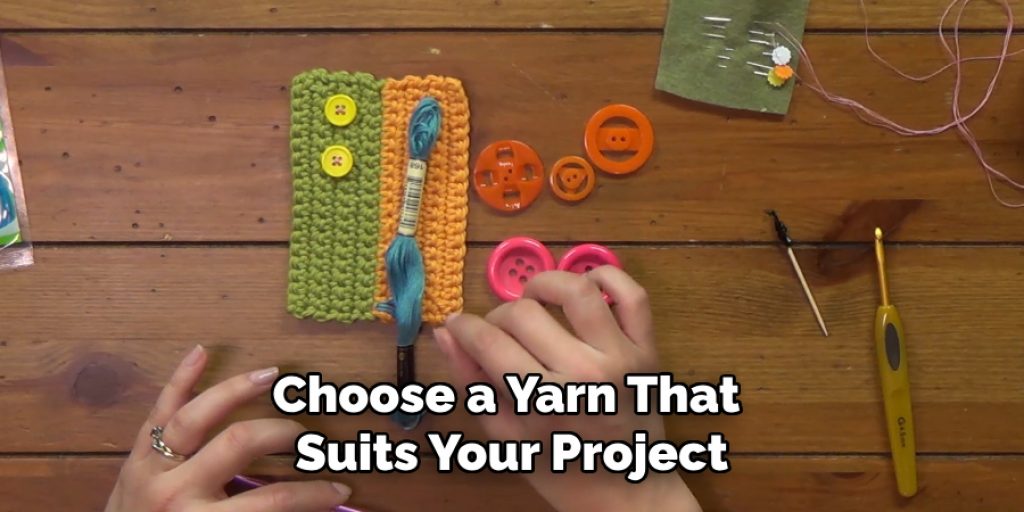
- Yarn: Choose a yarn that suits your project and works well with your chosen crochet stitch. For example, consider using a lightweight cotton or silk yarn if you are making a delicate lace garment. If you are cropping a bulky sweater, opt for thick wool or acrylic yarn.
- Crochet Hook: Use an appropriately sized hook to match the weight of your yarn. The hook size will also depend on the type of stitch you are using.
- Scissors: A good pair of scissors will be useful when trimming excess yarn.
- Stitch Markers: These can help you keep track of your stitches and ensure that your button holes are placed evenly.
- Buttons: Choose buttons that fit the size of your button holes and complement the color and style of your project.
Once you have gathered your supplies, it’s time to get started!
10 Easy Steps on How to Crochet Button Holes
Step 1: Choose Your Stitch and Placement
Before you begin creating your buttonholes, it’s essential to determine the stitch pattern you will use and where the button holes will be placed in your project. The placement of buttonholes can vary greatly depending on the design and functionality of your garment or accessory. For instance, if you add buttonholes to a cardigan, consider placing them along the front opening. In contrast, for a bag, you should position them on the flap or closure area.
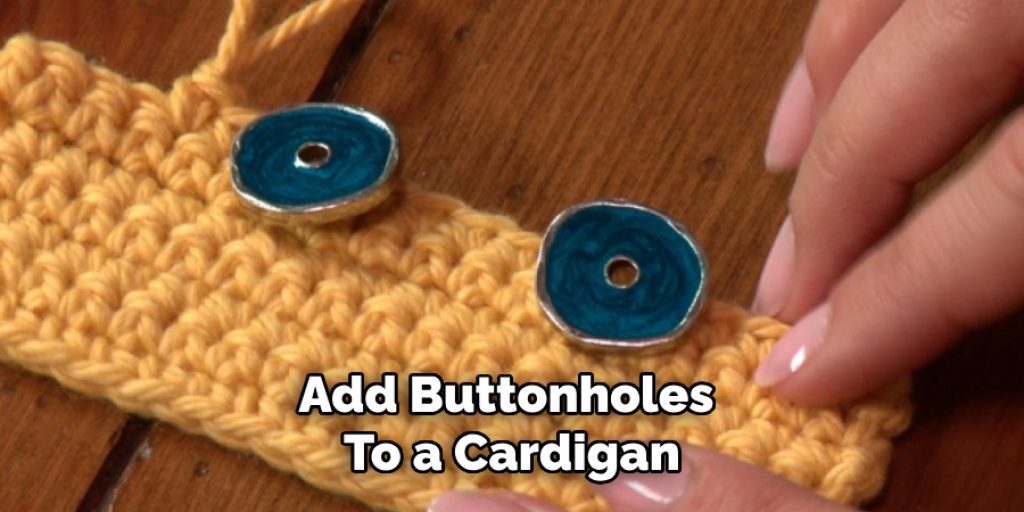
Selecting the right stitch is equally essential, as it will influence the overall appearance of the button holes. Common stitches used for buttonholes include single and double crochet, but you can also experiment with more intricate stitches for a decorative touch. To visualize your design, lay your project flat and mark the desired placement with stitch markers.
Step 2: Create a Foundation Chain
Once you have determined your buttonholes’ placement and stitch type, the next step is to create a foundation chain where your buttonholes will go. Start by making a slip knot and chaining the appropriate number of stitches according to your pattern. For button holes, creating a chain that is a few stitches longer than the width of the buttons you selected is common. This extra length allows for the buttonhole to be functional and secure. After chaining the necessary stitches, double-check that the foundation chain aligns with the placement markers you set in Step 1, ensuring that your buttonholes will be positioned perfectly within your project.
Step 3: Work the Button Hole
Once your foundation chain is in place, it’s time to work the buttonhole. Begin by determining the number of stitches you will skip before forming the buttonhole. It’s commonly recommended to skip one or two stitches, depending on the size of the button. Yarn over and insert your hook into the skipped chain stitch, then yarn over again and pull up a loop. Next, yarn over and pull through the first two loops on your hook, creating one-half of the buttonhole. Continue this process by yarning over and pulling through the remaining two loops on your hook, completing the stitch. For added reinforcement, you can chain one or two stitches after creating your buttonhole to ensure it holds its shape.
Step 4: Secure the Button Hole
After you have worked the buttonhole, it’s crucial to secure it so that it maintains its shape and structure. To do this, you can incorporate a slip stitch around the edges of the buttonhole. Begin by inserting your hook into the first stitch adjacent to the buttonhole. Yarn over and pull up a loop, then pull this loop through the loop already on your hook to create a slip stitch. Repeat this process around the buttonhole, placing a slip stitch in each stitch along the edges.
Step 5: Create Additional Button Holes
If your project requires more than one buttonhole, repeat Steps 1 through 4 for each additional buttonhole. Make sure to maintain consistent spacing between the button holes, which will ensure a professional and polished look for your finished piece. You can use stitch markers to help measure the distance between each buttonhole or refer back to your initial placement plan. As you progress, check that each buttonhole is uniform in size to provide functionality and aesthetic appeal. After securing all your button holes, take a moment to admire your work and ensure they align perfectly with your buttons.
Step 6: Finishing Touches
Once all of your buttonholes are completed and secured, it’s time to add the finishing touches to your project. Begin by trimming excess yarn and weaving in the ends to prevent unraveling. This will give your work a clean and polished look. Next, gently block the piece if necessary, particularly for more intricate designs or if you are using lighter yarns. Blocking helps to even out the stitches and can enhance the overall shape of your garment or accessory. Finally, attach the buttons by sewing them into place and aligning them with the button holes you’ve created.
Step 7: Test the Fit of the Buttons
Now that your buttonholes are complete and the buttons are attached testing the fit is essential to ensure functionality. Start by carefully pushing each button through its corresponding buttonhole to check for ease of entry and exit. The buttons should fit snugly but not be so tight that they are challenging to maneuver. If any adjustments are needed, consider loosening or tightening the button holes slightly by working with the surrounding stitches or adding an additional chain stitch for extra space.
Step 8: Final Inspection
With the buttons securely in place and tested, it’s time for a final inspection of your project. Look over the button holes and the surrounding stitches to check for any irregularities or inconsistencies. Ensure that the button holes’ edges are neat and the stitches are uniform. If you notice any loose ends or areas that require reinforcement, address them now to enhance the durability of your work.
Step 9: Care Instructions
Before concluding your project, consider adding care instructions if it’s a gift or for sale. Depending on the materials used, include details on how to wash, dry, and store the item to maintain its shape and structure. Highlight specific precautions, mainly if delicate yarns or special embellishments were utilized.
Step 10: Enjoy Your Creation
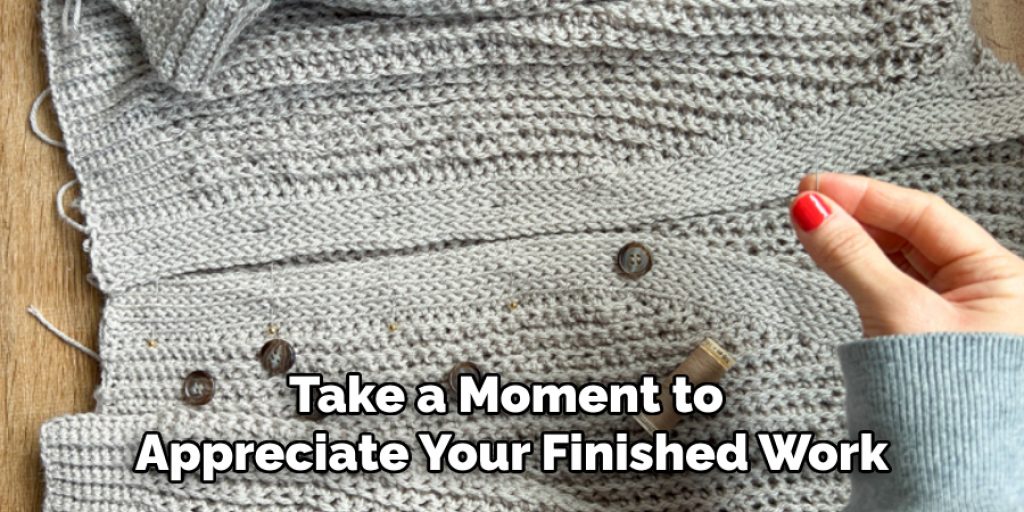
Finally, take a moment to appreciate your finished work! Whether you’ve made the piece for yourself or someone else, be proud of the skill and creativity that went into every stitch. Show off your project to family and friends or share it on social media to inspire others in crochet!
By following these simple steps, you can easily add button holes to any crochet project and elevate its functionality and aesthetic appeal.
5 Things You Should Avoid
- Skipping Gauge Swatching: Failing to check your gauge before starting can lead to discrepancies in size. Always create a swatch to ensure your stitches are consistent with your intended buttonhole size.
- Miscounting Stitches: It’s easy to lose track of your stitch count, especially when working multiple button holes. Always double-check your counts and use stitch markers to help maintain accuracy throughout the process.
- Neglecting Button Size: Avoid creating button holes without considering the size of your buttons. Make sure to try the buttons on for size as you work, creating buttonholes that are both tight enough and tight enough.
- Rushing the Securing Process: Skipping the step to secure the button holes properly can lead to them stretching or losing shape over time. Take the time necessary to smooth and secure each buttonhole for longevity.
- Ignoring Fabric Type: Different yarns and fabrics can react differently when creating button holes. Be mindful of your material, as some may require special techniques or extra reinforcement to ensure functionality and durability.
Conclusion
In conclusion, how to crochet button holes is an essential skill that can significantly enhance your crochet projects.
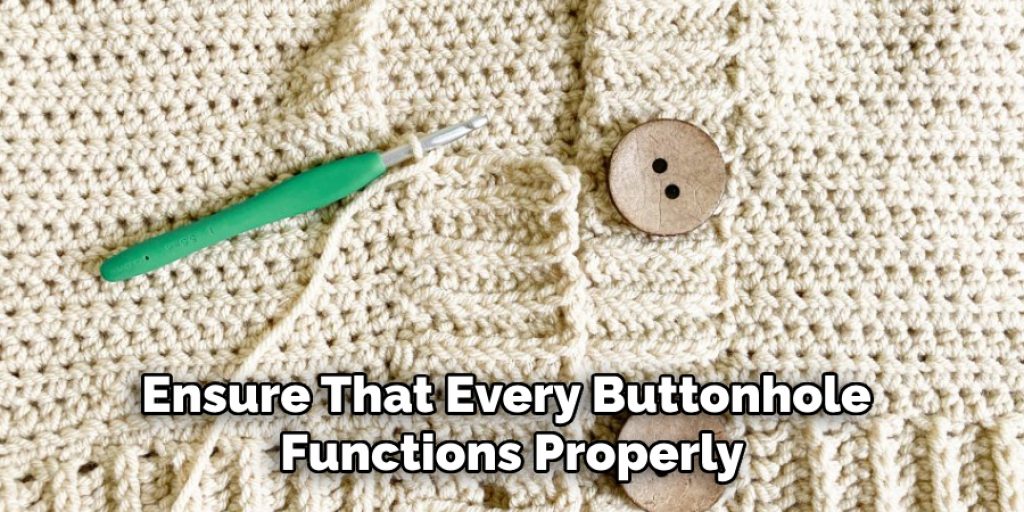
By following the steps outlined above, from measuring and creating the initial buttonhole to securing and testing its fit, you can ensure that every buttonhole functions properly and adds a polished aesthetic to your work. Remember to take your time with each step, making adjustments as needed, and always consider the size of your buttons concerning the holes you create.
With practice and attention to detail, you can confidently incorporate button holes into any crochet design, allowing for greater versatility and style in your handmade creations. Enjoy the process and satisfaction of finishing a beautifully crafted piece!

