
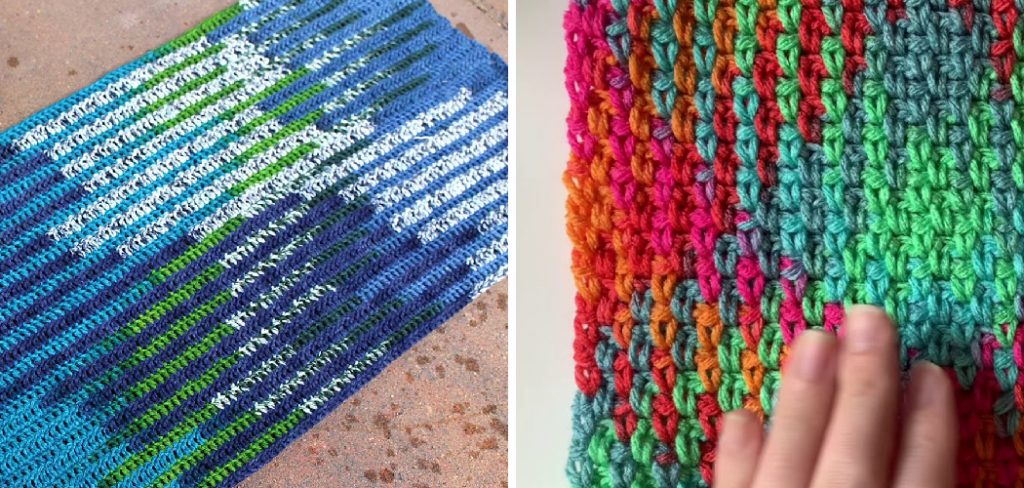
How to Crochet Color Pooling
Crochet color pooling is a captivating technique that allows crafters to create striking patterns using variegated yarn. This method involves strategically manipulating stitches to form beautiful designs that emerge as you crochet, resulting in stunning visual effects without the need for complex charting or planning. Ideal for both beginners and experienced crocheters, color pooling offers a fun way to explore color theory, express creativity, and produce unique handmade items.
In this guide on how to crochet color pooling, we will walk you through the essentials of color pooling, including the materials needed, foundational skills, and tips for achieving the best results.
Why Choose Color Pooling?
Color pooling is an exciting choice for crocheters looking to add vibrancy and uniqueness to their projects. One of the primary reasons to embrace this technique is its flexibility; the same skein of variegated yarn can yield different patterns based on the stitch count and tension used, allowing for endless creative possibilities.
Additionally, color pooling requires minimal planning, making it accessible for those who may find complex patterns intimidating. This technique also helps crafters better understand how color interplay works in textiles, fostering a deeper appreciation for yarn and design. Ultimately, choosing color pooling can enhance your crocheting experience, making it a delightful and rewarding skill to master.
Necessary Materials
To get started with color pooling, you will need the following materials:
Variegated Yarn:
The star of the show, variegated yarn, is a multi-colored yarn that features two or more colors in a single strand. For best results, choose a yarn with long color repeats and high-contrast hues. While you can use any weight of yarn for color pooling, thicker weights like worsted or aran are easier for beginners to work with.
Crochet Hook:
Selecting the right hook size depends on the yarn you choose. To determine the best hook size, check the label of your variegated yarn for recommended hook sizes and adjust accordingly based on personal tension.
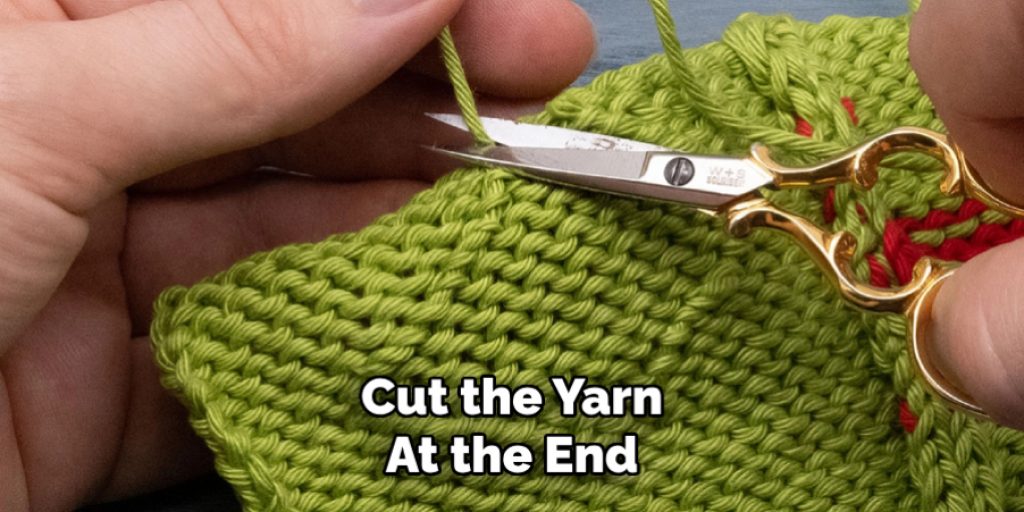
Scissors:
You will need scissors to cut the yarn at the end of each row or change the color.
8 Step-by-step Guidelines on How to Crochet Color Pooling
Step 1: Choose Your Yarn
The first step in crocheting with color pooling is selecting the right variegated yarn. Look for yarns that have long color repeats, as they will allow the colors to position themselves more effectively into distinct patterns. High-contrast hues can create more striking designs, so consider how the colors will interact with each other.
Before finalizing your choice, it’s a good idea to crochet a small swatch to see how the colors pool and to ensure that the yarn works well with your selected crochet hook. This initial test can help you understand the visual effects you can achieve with the specific yarn you have chosen.
Step 2: Determine the Best Stitch Count for Your Yarn
The stitch count refers to the number of stitches you will need in each row to create a consistent pattern. To determine the best stitch count, try crocheting a small swatch with different stitch counts until you find one that creates a visually appealing pattern with your variegated yarn. For beginners, a simpler stitch like single crochet or half double crochet is recommended.
It’s important to note that the stitch count may vary depending on factors such as yarn weight, hook size, and personal tension. So, don’t be afraid to experiment with different combinations until you find the right one for your project.
Step 3: Adjust Tension
Once you have determined the best stitch count, it’s time to adjust your tension. Tension plays a crucial role in color pooling as it determines how tightly or loosely your stitches work, ultimately affecting how the colors pool in your project.
In general, a looser tension will result in larger pools of color, while a tighter tension will lead to smaller pools. Experiment with different tensions until you achieve the desired look for your project.
Step 4: Start Crocheting
Now that you have selected your yarn and determined the stitch count and tension, it’s time to start crocheting! Begin by chaining the required number of stitches for your chosen stitch count. Then, follow the pattern for each row, making sure to maintain consistent tension throughout.
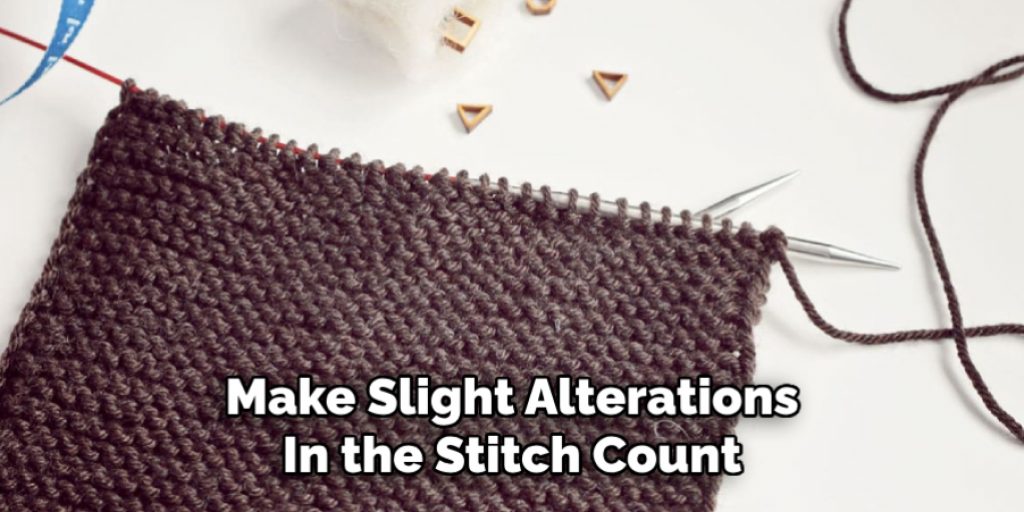
As you crochet, pay attention to how the colors are pooling and adjust your tension if necessary. You may also need to make slight alterations in the stitch count as you progress to maintain the desired pattern.
Step 5: Change Colors
When changing colors, cut the yarn at the end of each row and join the new color by tying a knot. It’s essential to ensure that both ends of the knot are on the same side of your work to maintain a clean and consistent look.
You may also find it helpful to keep track of which color you used for each row, especially if you plan on making adjustments later on in the project.
Step 6: Continue Crocheting Until Desired Length
At this point, you should continue crocheting, maintaining the same stitch count and tension you’ve established. As you progress, observe how the colors continue to pool and evolve within your work. It’s essential to keep an eye on the overall length of your project, ensuring that you are weaving in any ends as you go to keep your project neat.
If you notice that the color patterns begin to change unexpectedly, feel free to make minor adjustments to your stitch count or tension to maintain your desired effect. Continue this process until your project reaches the length you envision, whether it’s a scarf, blanket, or any other creative piece. Remember to enjoy the journey and let your creativity flow as you work!
Step 7: Finish Off
Once you have reached your desired length, it’s time to finish off your project. Begin by cutting the yarn, leaving a tail of about six inches. Then, pull the working yarn through the last loop on your hook to secure it, creating a neat edge. Next, you’ll need to weave in any loose ends using a yarn needle. This step is crucial for ensuring a polished finish and longevity of your piece. Gently thread the yarn needle with the tail and weave it back through several stitches on the inside of your project, moving in different directions to secure it firmly. Trim any excess yarn, and your color-pooling project is now complete, ready to be admired or gifted!
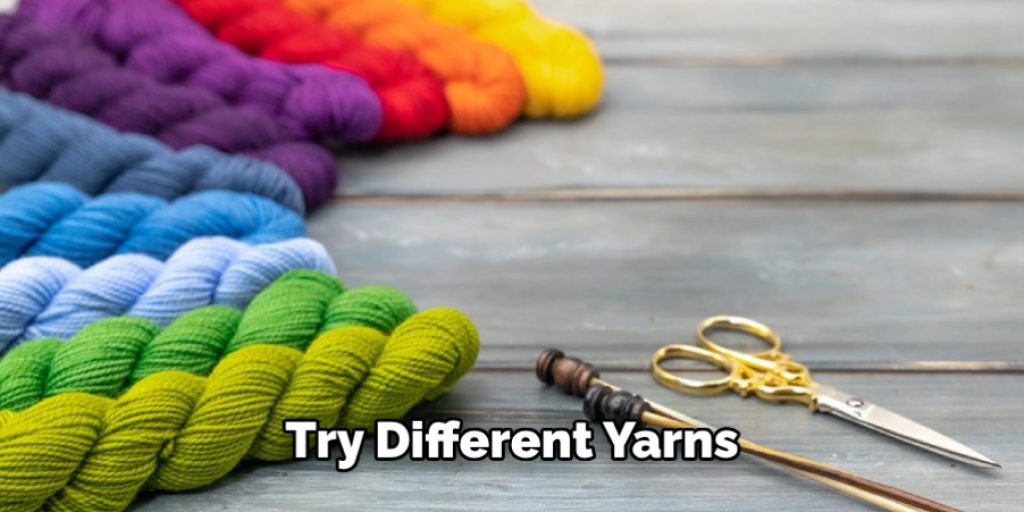
Step 8: Experiment and Have Fun!
As with any crocheting project, remember to have fun and experiment with color pooling. There are no strict rules, so feel free to try different yarns, stitches, or tension levels to create unique and personalized designs. The beauty of color pooling is that each project will be one-of-a-kind and a reflection of your creativity as a crafter.
Continue exploring and learning new techniques to elevate your color-pooling skills. Don’t be afraid to push the boundaries and mix things up – you never know what stunning results may arise! Remember, the most important thing is enjoying the process and creating something beautiful with your own hands. Happy crochetin!
Additional Tips
Practice Makes Perfect:
If you’re new to color pooling, don’t hesitate to make multiple swatches. The more you practice, the better you’ll understand how different yarns and tensions affect the patterns.
Keep a Journal:
Document your yarn choices, stitch counts, and tensions in a crafting journal. This will help you recall what works best for future projects and inspire new ideas.
Consider the Light:
The way light interacts with your finished piece can change how the colors appear. Try to view your work in different lighting conditions to appreciate its full beauty.
Use a Stitch Marker:
If you’re working with intricate patterns or multiple colors, use a stitch marker to help keep track of stitch counts and changes, reducing the chance of errors.
Explore Different Patterns:
Don’t limit yourself to one type of stitch. Experiment with different crochet techniques, like granny squares or shells, to add variety to your color-pooling projects.
Join Online Communities:
Engage with fellow crocheters on social media or crafting forums. Sharing your progress and seeking advice or inspiration can enhance your skills and spark creativity.
Embrace Mistakes:
Remember that every mistake can lead to a creative solution. If a color doesn’t pool as expected, consider incorporating it into your design rather than starting over. Happy crocheting!

Following these steps and tips on how to crochet color pooling, you can confidently embark on your color pooling journey and create stunning and unique crochet projects. So what are you waiting for? Grab your yarn and hook, and let the colors pool! A new world of creativity awaits. Happy crafting!
Frequently Asked Questions
Q: What is Color Pooling in Crochet?
A: Color pooling in crochet is a technique where variegated yarn is used to create distinct patterns and designs by manipulating the colors to align in specific ways as they are crocheted. This results in a unique color pattern that can be seen throughout the project.
Q: Do I Need Special Yarn for Color Pooling?
A: While certain types of variegated yarn may work better for color pooling, there is no specific “color pooling yarn.” It’s more important to look for yarns with long color repeats and high-contrast hues to achieve the desired effect.
Q: Is Color Pooling Difficult?
A: With some practice and experimentation, color pooling can become an enjoyable and straightforward technique. The most crucial factors to consider are selecting the right yarn, determining stitch count and tension, and staying consistent throughout your project.
Q: Can I Use Color Pooling in Other Crochet Projects?
A: Absolutely! While color pooling is often used for items such as scarves and blankets, there is no limit to where you can incorporate this technique. It can add a unique touch to sweaters, hats, or even home decor items like pillows or rugs.

Conclusion
In conclusion, color pooling in crochet opens up a world of creative possibilities, allowing crafters to experiment with various yarns, stitches, and techniques. By understanding the essential steps on how to crochet color pooling, selecting the right yarn, adjusting your tension, and maintaining consistency throughout your project, you can create stunning and unique pieces that showcase your craftsmanship.
Embrace the process, enjoy every moment of crocheting, and let your imagination guide you to produce beautiful works of art. Remember, each project is an opportunity to learn and grow in your skills, so keep trying new things and have fun with your crochet journey!
Elizabeth Davis
Elizabeth is a creative writer and digital editor based in the United States. She has a passion for the arts and crafts, which she developed from a young age. Elizabeth has always loved experimenting with new mediums and sharing her work with others. When she started blogging, she knew that DIYquickly would be the perfect platform to share her tutorials and tips. She's been writing for the blog from the beginning, and her readers love her helpful advice and easy-to-follow instructions. When she's not writing or editing, Elizabeth enjoys spending time with her family and friends.


