How to Crochet Eyes with Yarn
Crocheting eyes with yarn can be a delightful and creative way to add personality to your handmade projects. Whether you’re crafting adorable amigurumi figures, embellishing clothing, or enhancing home décor items, well-crafted eyes can bring your creations to life. In this guide, we’ll explore how to crochet eyes with yarn, as well as tips for incorporating them into your designs.

With just a few simple stitches, you’ll discover how to make expressive eyes that captivate and charm. Let’s dive into the world of crochet and start creating!
What are Crochet Eyes?
Crochet eyes are small, often circular embellishments made using yarn and crochet techniques, designed to mimic the appearance of real eyes. They can vary in size, colour, and style, ranging from simple black dots to intricate designs featuring multiple colours and textures. These eyes serve as crucial features in amigurumi and other crochet creations, infusing them with character and expression.
By learning to crochet eyes, crafters can enhance the personality of their projects, making them more engaging and lifelike. Whether used in plush toys, decorative items, or unique gifts, crochet eyes play an essential role in the overall aesthetic and emotional appeal of handmade designs.
Why Crochet Your Own Eyes?
Crocheting your own eyes allows for a level of creativity and personalization that store-bought options simply cannot match. By custom-making eyes, you can choose specific colours, sizes, and styles that perfectly complement your projects, ensuring a unique finish that reflects your artistic vision. Additionally, crocheted eyes add a handmade touch, enhancing the charm of your creations and giving them an authentic character that mass-produced items lack.
This process also empowers crafters to showcase their skills, turning a simple detail into a statement feature that captures attention. Finally, crocheting your own eyes can be a cost-effective solution, especially for large projects, as it allows you to create precisely what you need without the added expense of purchasing specialty items.
10 Methods How to Crochet Eyes with Yarn
1. Simple Circle Eyes
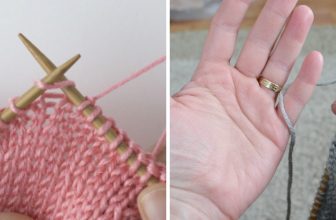
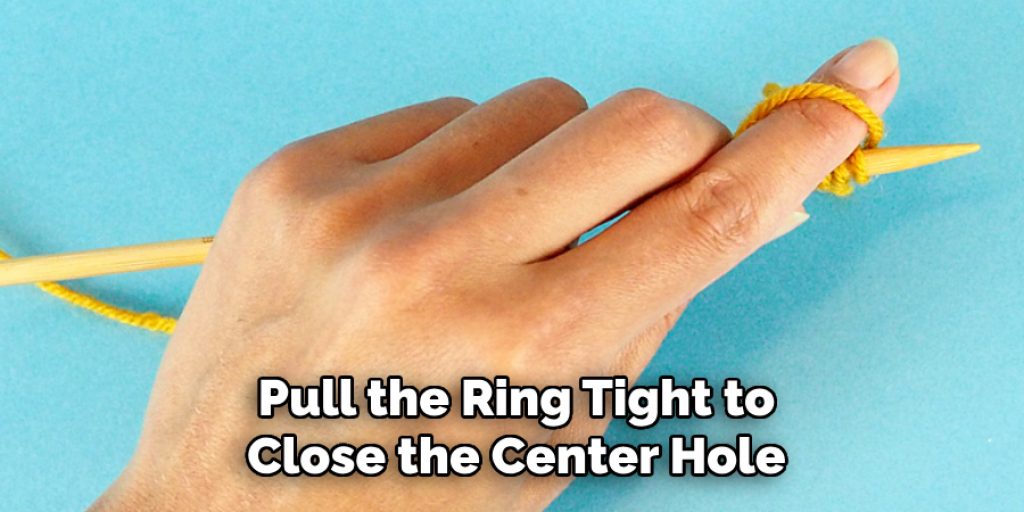
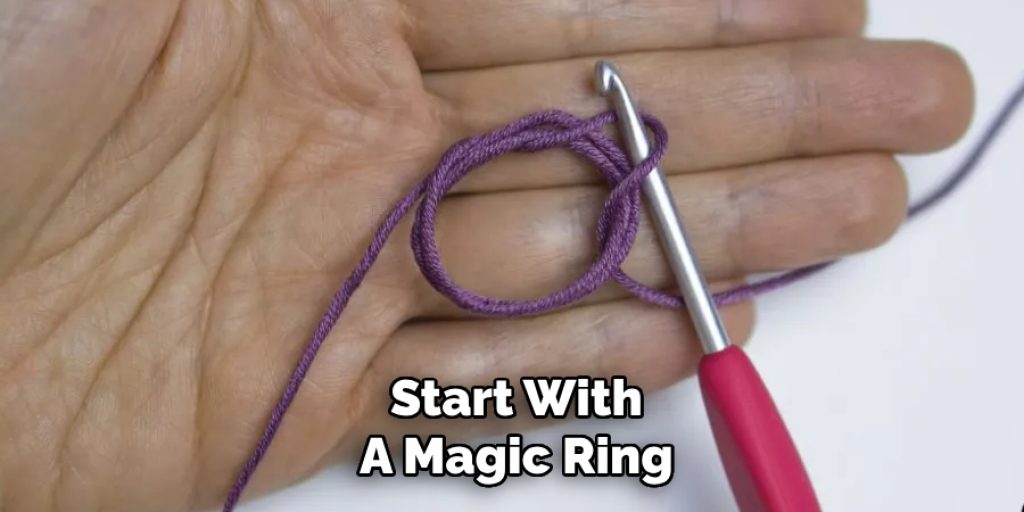
One of the most straightforward methods to crochet eyes is by creating simple circles. To start, make a magic ring and crochet a specified number of single crochets (sc) into the ring—typically six. Pull the ring tight to close the center hole. Continue to crochet in rounds, increasing the number of stitches in each round to form a flat circle. For example, in the second round, crochet two single crochets into each stitch, resulting in twelve stitches.
This method can be easily adjusted to make the eyes larger or smaller by adding more rounds and increases. Simple circle eyes are versatile and can be used for various crochet projects, providing a solid foundation for more complex designs.
2. Oval Eyes
To create oval eyes, start with a chain of desired length, typically four to six chains. Work around the chain to form an oval shape. Begin with a single crochet in the second chain from the hook, continue to sc in each chain until the end, then work additional stitches in the last chain to turn the work and crochet along the other side of the chain. This usually involves two to three single crochets in the last chain.
Continue working in rounds, increasing at the ends to maintain the oval shape. Oval eyes are ideal for projects requiring a more elongated eye shape, adding variety to your amigurumi or crochet dolls.
3. Layered Eyes
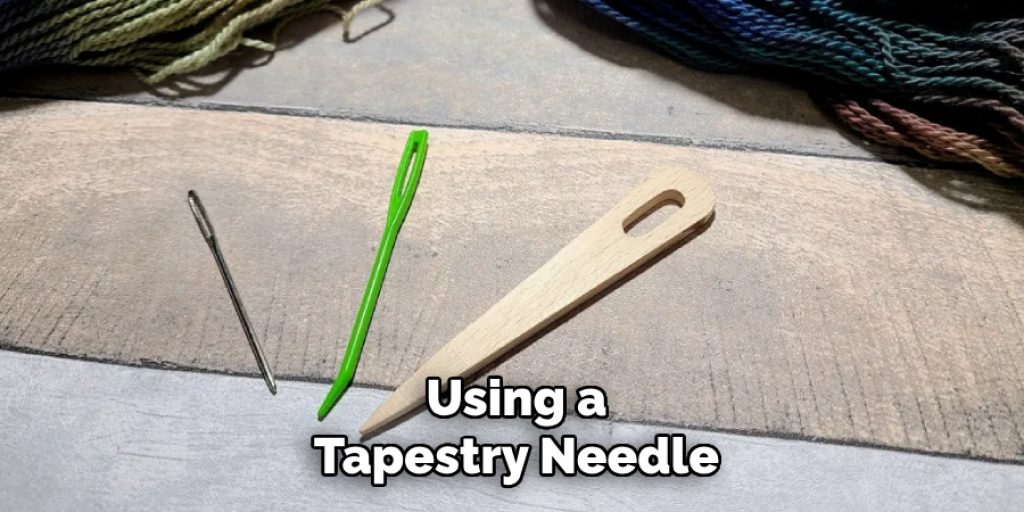
Layered eyes involve crocheting multiple circles of different sizes and colors to create a more detailed and realistic appearance. Start by crocheting a small black circle for the pupil using the simple circle method. Then, crochet a slightly larger white or colored circle for the iris, and a larger white circle for the sclera (the white part of the eye). Attach the smaller circles onto the larger one using a tapestry needle and yarn.
This method allows for a more complex and visually appealing eye, perfect for adding depth and character to your crochet creations.
4. Safety Eyes with Crocheted Eyelids
Using safety eyes with crocheted eyelids is a practical and safe option, especially for toys intended for children. Begin by inserting the safety eye into your crochet project and securing it with the provided washer. Then, crochet a small half-circle or oval shape to create an eyelid. This is typically done by making a chain and working single crochets along one side. Attach the eyelid above the safety eye using a tapestry needle and yarn.
This method adds an extra layer of detail and ensures the eyes are securely attached, enhancing the overall appearance and safety of your crochet project.
5. Embroidered Eyes with Yarn
Embroidered eyes can add a unique and artistic touch to your crochet projects. Using a tapestry needle and yarn, embroider eyes directly onto your crochet piece. Start by outlining the shape of the eye with backstitches, then fill in the shape using satin stitches or other embroidery techniques. You can create simple round eyes or more complex shapes, such as almond-shaped eyes with eyelashes.
This method allows for a high level of customization and can be used to create expressive and detailed eyes, adding personality to your amigurumi or crochet dolls.
6. Crocheted Eyes with Eyelashes
To crochet eyes with eyelashes, start with the simple circle or oval eye method. Once you have your base eye shape, use a contrasting yarn to add eyelashes. Thread a tapestry needle with the yarn and insert it through the edge of the eye. Make small stitches along the edge to create individual eyelashes, ensuring they are evenly spaced and of similar length. This method adds a playful and whimsical touch to your crochet projects, making the eyes more expressive and lifelike.
7. Amigurumi Eyes with Color Changes
Creating amigurumi eyes with color changes involves switching yarn colors while crocheting the eye. Start with a magic ring and single crochets in the desired color for the pupil. After a few rounds, switch to a different color for the iris, then to another color for the sclera. To change colors, complete the last yarn-over of the final stitch with the new color. This method allows for seamless color transitions and creates a detailed and multi-colored eye, adding complexity and visual interest to your amigurumi creations.
8. Embellished Eyes with Beads
Adding beads to crocheted eyes can create a sparkling and decorative effect. Begin with a simple circle or oval eye, then sew small beads onto the eye using a tapestry needle and thread or yarn. You can arrange the beads in a circular pattern to mimic the iris or scatter them randomly for a whimsical look. This method adds a touch of glamour and texture to your crochet eyes, making them stand out and catch the light, enhancing the overall appearance of your project.
9. Glow-in-the-Dark Eyes
For a fun and unique twist, create glow-in-the-dark eyes for your crochet projects. Use glow-in-the-dark yarn or thread to crochet simple circle or oval eyes. You can find glow-in-the-dark yarn in various colors, allowing you to create eyes that shine brightly in the dark. This method is especially appealing for children’s toys or Halloween decorations, adding an element of surprise and excitement. Ensure the glow-in-the-dark yarn is charged by exposing it to light before displaying your finished project in the dark.
10. Crocheted Eyes with Eyebrows
Adding eyebrows to your crocheted eyes can enhance the expressiveness of your amigurumi or dolls. Start by crocheting simple circle or oval eyes. Once the eyes are complete and attached to your project, use a contrasting yarn to embroider or crochet small eyebrow shapes above each eye. For embroidered eyebrows, use a tapestry needle and yarn to create small stitches in the desired shape.
For crocheted eyebrows, make a small chain and attach it above the eye using a tapestry needle and yarn. This method allows you to add emotions and character to your crochet creations, making them more lifelike and engaging.
Common Mistakes to Avoid
When creating eyes for your crochet projects, there are several common mistakes that can detract from the overall look and functionality. One frequent error is using the wrong size safety eyes; it’s essential to select eyes that are proportional to your project to maintain a cohesive appearance. Another mistake is failing to secure the safety eyes properly, which can pose a safety risk, especially for toys intended for children.

Additionally, not counting stitches accurately can lead to uneven eyes, so always double-check your work as you go. Avoid using too thin or flimsy yarn for eyes, as this can result in eyes that lack definition.
Conclusion
Crocheting eyes with yarn offers endless possibilities for customization and creativity. By experimenting with these ten methods—simple circle eyes, oval eyes, layered eyes, safety eyes with crocheted eyelids, embroidered eyes with yarn, crocheted eyes with eyelashes, amigurumi eyes with color changes, embellished eyes with beads, glow-in-the-dark eyes, and crocheted eyes with eyebrows—you can create a wide variety of eye styles to suit any crochet project. Thanks for reading, and we hope this has given you some inspiration on how to crochet eyes with yarn!
Elizabeth Davis
Elizabeth is a creative writer and digital editor based in the United States. She has a passion for the arts and crafts, which she developed from a young age. Elizabeth has always loved experimenting with new mediums and sharing her work with others. When she started blogging, she knew that DIYquickly would be the perfect platform to share her tutorials and tips. She's been writing for the blog from the beginning, and her readers love her helpful advice and easy-to-follow instructions. When she's not writing or editing, Elizabeth enjoys spending time with her family and friends.