How to Cross Stitch Onto Clothes
Cross stitching is a delightful and versatile craft that allows you to add a personal touch to your clothing and accessories. This embroidery technique involves creating small, X-shaped stitches on a fabric background to form intricate designs. Whether you’re looking to embellish a simple t-shirt, personalize a jacket, or create unique gifts, cross stitching onto clothes opens up a world of creative possibilities.
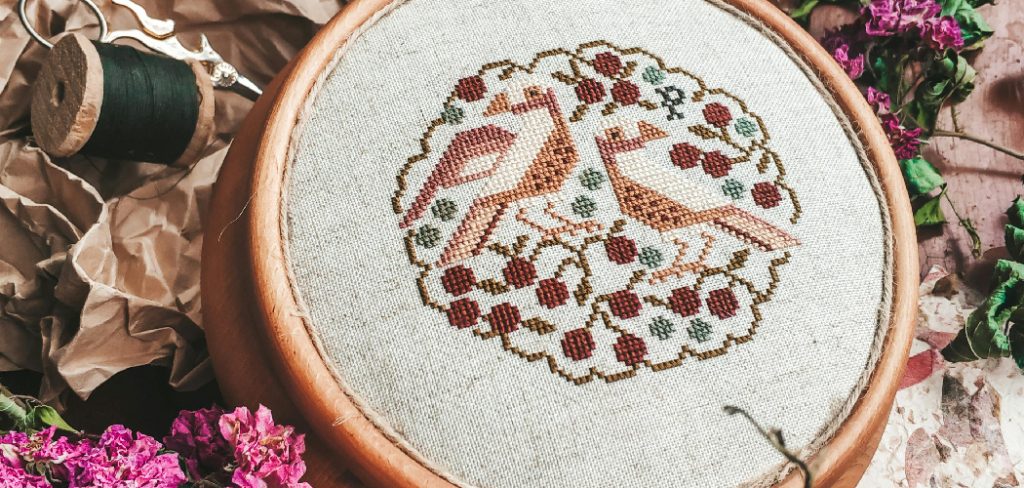
In this guide on how to cross stitch onto clothes, we’ll explore the essential tools, techniques, and tips needed to successfully incorporate cross stitch into your wardrobe, giving your clothing a one-of-a-kind flair.
Why Cross Stitch Onto Clothes?
Cross stitching onto clothes is a great way to express your personal style and add a handmade touch to your wardrobe. It also allows you to repurpose old or plain clothing into unique pieces that reflect your creativity and individuality. Additionally, cross stitching onto clothes can be a fun and relaxing activity, making it an excellent hobby for people of all ages.
It’s also a budget-friendly way to upgrade your clothing and accessories without breaking the bank. Instead of purchasing expensive embroidered pieces, you can use basic cross-stitch supplies to create your own designs on any fabric surface.
Tools and Materials Needed
To get started with cross-stitching onto clothes, here are the essential tools and materials you’ll need:
Embroidery Floss:
This is the thread used to create the X-shaped stitches in cross stitch. It comes in a wide range of color options and is made up of six strands that can be separated for different thicknesses.
Embroidery Needles:
These needles have a large eye to accommodate multiple strands of embroidery floss. They also have a sharp point that easily pierces through the fabric.
Fabric:
Choose a sturdy and even-weave fabric, such as Aida or linen, for your cross-stitching project. These fabrics have evenly spaced holes, making it easier to create uniform stitches.
Hoop or Frame:
A hoop or frame helps keep the fabric taut while you stitch, preventing puckering and ensuring consistent tension.
Pattern:
Select a pattern that fits your desired design and size. You can purchase patterns online or create your own using graph paper.
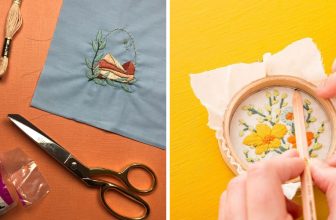
Scissors:
A pair of sharp scissors is essential for cutting embroidery floss and trimming excess fabric.
7 Step-by-step Guidelines on How to Cross Stitch Onto Clothes
Step 1: Prepare Your Fabric
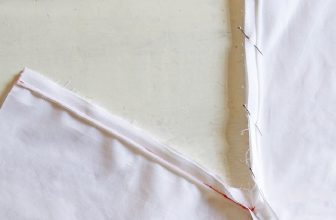
Before you begin cross stitching, it’s important to prepare your fabric properly. Start by washing and ironing the garment you plan to embellish, ensuring it is clean and free of any wrinkles. This will not only help the fabric sit flat while you work but also prevent any potential shrinkage or distortion once your design is complete.
Next, lay the fabric out on a flat surface and use a ruler to mark the area where you intend to stitch. You can lightly draw guidelines with a fabric pencil or use washable fabric markers to create an outline. This preparation step sets a solid foundation for your design and ensures that your stitching is centered and aligned.
Step 2: Secure the Fabric in a Hoop or Frame
Place the marked fabric onto your embroidery hoop, ensuring it is taut and centered. Tighten the hoop by twisting the screw until there are no wrinkles on the fabric and it feels secure. Alternatively, you can use a frame to keep your fabric stretched while you work.
You can also add a layer of interfacing or stabilizer between the fabric and hoop for added support, especially if you’re stitching on delicate or stretchy materials.
Step 3: Thread Your Needle
Once your fabric is secured in the hoop or frame, it’s time to thread your needle. Start by cutting a length of embroidery floss, about 18 inches long, to prevent tangling while you stitch. Separate the number of strands you wish to use; typically, two or three strands are ideal for cross-stitching on fabric.
Thread the chosen strands through the needle’s eye, pulling them through until you have a loop at one end. To secure your thread, tie a small knot at the loose end. This ensures that your stitches will hold firmly in place as you create your design. With your needle threaded and ready, you can move on to the actual stitching process!
Step 4: Begin Stitching
Cross stitching follows a simple pattern of creating diagonal stitches in an X shape. Start by bringing your needle up from the back of the fabric at the bottom right corner of one square on your design. Then, push the needle down through the top left corner of that same square to create a small diagonal stitch. Bring the needle back up through the bottom left corner and then down through the top right corner to complete your first X-shaped stitch.
Continue stitching in this manner, following your pattern’s guidelines for color changes and direction, until you’ve completed all desired stitches in that area.
Step 5: Change Colors
If your design requires multiple colors, you’ll need to know how to change colors while stitching. To do this, complete your final stitch with the first color and leave a small tail at the back of your fabric. Then, pick up your next color and start stitching with it in the same manner as before.
When you reach the end of your new thread, secure it by making two or three stitches over it with your needle before continuing on.
Step 6: Finishing Touches
Once you have completed all your cross stitches, it’s time to add the finishing touches that will ensure the longevity and quality of your work. Begin by carefully inspecting your design for any loose threads or unfinished ends. Trim any excess thread at the back, being cautious not to cut your stitches. If needed, use a small amount of fabric glue to secure any areas where the floss may be prone to fraying.
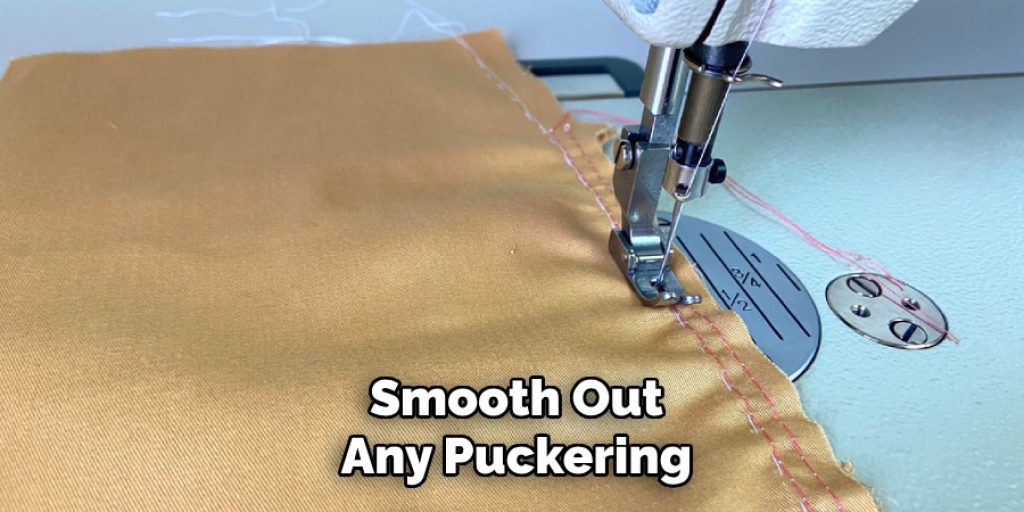
Next, it’s essential to remove any guidelines you may have drawn previously. If you use a fabric pencil or washable marker, gently wash or dab the marked area with a damp cloth to eliminate any visible lines. Once everything is clean, consider giving your garment a light press with an iron on a low setting, placing a clean cloth between the iron and the fabric to protect your stitches. This step will help smooth out any puckering and give your cross-stitched design a polished look. Finally, enjoy your beautiful creation, and don’t hesitate to show off your unique style!
Step 7: Care for Your Cross-Stitched Clothes
To ensure the longevity of your cross-stitched clothes, it’s essential to care for them properly. When washing, turn the garment inside out and use a gentle cycle with mild detergent. Avoid using bleach or harsh chemicals as they can damage the fabric and your stitches. After washing, lay the garment flat to dry instead of putting it in a dryer, which can cause shrinkage and distort your design.
By following these simple steps on how to cross stitch onto clothes, you can enjoy wearing your personalized cross-stitched clothes for years to come!
Frequently Asked Questions
Q: Can I Cross Stitch Onto Any Type of Fabric?
A: While it is possible to cross stitch on a variety of fabrics, some are better suited for this craft than others. Generally, natural fibers such as cotton and linen work well for cross-stitching as they have a stable weave that allows for easy needle insertion and even tension. Fabrics with a higher thread count, such as Aida cloth, are also commonly used for cross-stitching. However, it’s always best to test your fabric first before beginning your project.
Q: Do I Need Special Tools or Equipment?
A: While there are specific tools and equipment designed explicitly for cross stitching, you can easily start with basic supplies like an embroidery hoop, needle, floss, and fabric. As you become more experienced and invest in more complex projects, you may want to consider purchasing additional items such as a needle threader, fabric markers/pencils, and specialized scissors.
Q: How Can I Create My Own Cross Stitch Design?
A: Creating your own cross stitch design can be a fun and rewarding experience. You can start by sketching your design on graph paper, with each square representing one stitch. Alternatively, you can use online programs or apps that allow you to upload an image and convert it into a cross stitch pattern. Just remember to consider the size of your fabric and choose appropriate colors for your design.
Conclusion
Cross stitching onto clothing is not only a creative outlet but also a wonderful way to personalize your wardrobe. By following the steps outlined in this guide on how to cross stitch onto clothes, from preparing your fabric to applying the finishing touches, you can create unique pieces that express your individual style. Remember, practice makes perfect, so don’t be discouraged if your first attempts aren’t flawless.
With patience and dedication, your skills will improve, and each project will become a cherished addition to your collection. Enjoy the journey of crafting and the satisfaction that comes with wearing your handmade designs!
Elizabeth Davis
Elizabeth is a creative writer and digital editor based in the United States. She has a passion for the arts and crafts, which she developed from a young age. Elizabeth has always loved experimenting with new mediums and sharing her work with others. When she started blogging, she knew that DIYquickly would be the perfect platform to share her tutorials and tips. She's been writing for the blog from the beginning, and her readers love her helpful advice and easy-to-follow instructions. When she's not writing or editing, Elizabeth enjoys spending time with her family and friends.