How to Cut Acrylic Sheets with Cricut
Cutting acrylic sheets with a Cricut machine opens up a world of creative possibilities for crafters and DIY enthusiasts. This versatile material can be used for a variety of projects, including custom signs, home decor, and intricate designs. However, working with acrylic requires some specific techniques and tools to ensure clean, precise cuts without damaging the material.
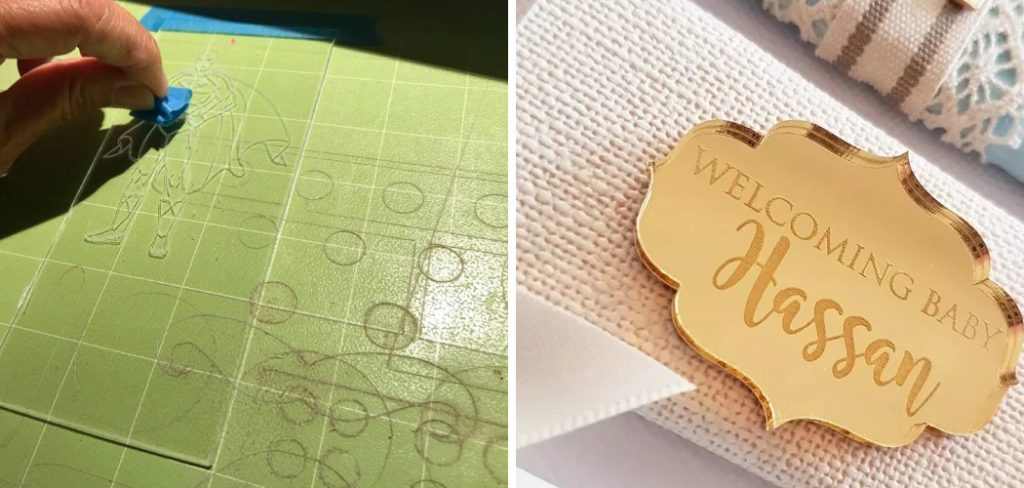
In this guide, we will explore the step-by-step process for how to cut acrylic sheets with cricut, along with tips and tricks to achieve professional results. Whether you are a seasoned crafter or a beginner, this tutorial will empower you to tackle your acrylic projects with confidence.
The Versatility and Popularity of Acrylic Sheets in Crafting
Acrylic sheets have gained immense popularity among crafters due to their remarkable versatility and ease of use. Available in a wide range of colours and finishes, including transparent, frosted, and mirrored options, acrylic can be tailored to suit any creative vision. Its lightweight nature and durability make it an ideal choice for both indoor and outdoor projects, from eye-catching displays to functional items like storage solutions.
Additionally, acrylic is easy to shape, allowing for intricate designs and customisation that can elevate any project. As more crafters discover the possibilities of acrylic, it continues to be a go-to material for innovative creations across various genres of crafting.
Materials and Tools Needed
To successfully cut acrylic sheets with your Cricut machine, you’ll need the following materials and tools:
- Acrylic Sheets: Choose the thickness and colour that best suits your project. Common thicknesses range from 1/16″ to 1/8″.
- Cricut Machine: Any model that can cut materials thicker than cardstock, such as the Cricut Maker or Cricut Explore series.
- StrongGrip Cutting Mat: Recommended for holding acrylic securely in place during the cutting process.
- Fine Point Blade or Deep Point Blade: Depending on the thickness of the acrylic, a fine point blade may suffice, but a deep point blade is better for thicker sheets.
- Transfer Tape: Useful for transferring your designs once they’re cut, ensuring precise placement on your project.
- Ruler and Craft Knife: For measuring and making any adjustments needed before cutting.
- Protective Gear: Safety glasses and gloves are advised to protect your eyes and hands while handling acrylic.
Gathering these materials and tools before you start will help streamline your crafting process and ensure the best results for your acrylic projects.
10 Methods How to Cut Acrylic Sheets with Cricut
Method 1: Choosing the Right Acrylic Sheet
Selecting the appropriate acrylic sheet is crucial for successful cutting with a Cricut machine. Acrylic sheets come in various thicknesses, typically ranging from 1/16 inch to 1/8 inch for most Cricut machines. For Cricut Maker models, which can handle thicker materials, you might consider sheets up to 1/8 inch thick. When choosing your acrylic sheet, consider the project’s requirements and the machine’s cutting capabilities.
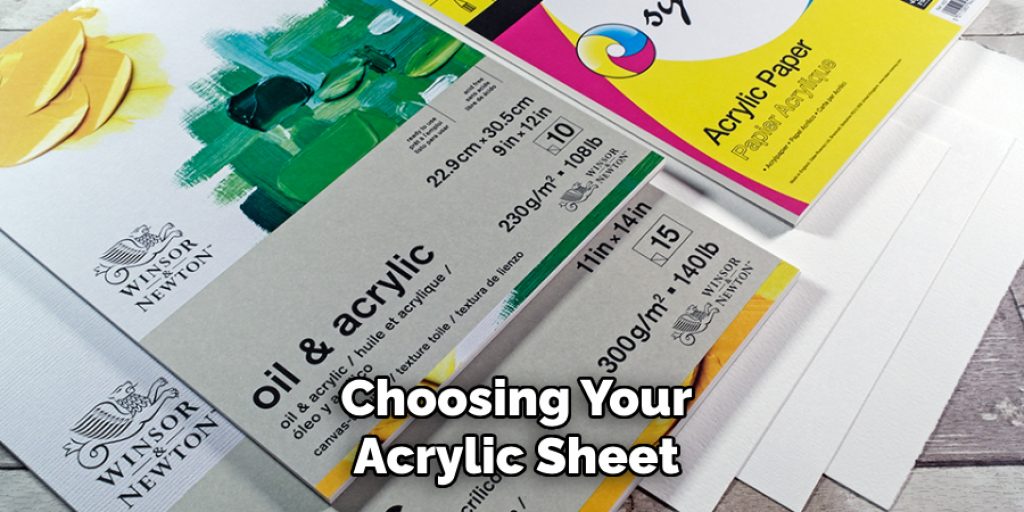
Opt for clear or colored acrylic sheets based on your design needs. Clear acrylic provides a transparent finish, ideal for creating items like custom displays or etched glass effects. Colored acrylic sheets, on the other hand, can add vibrancy and contrast to your projects. Ensure that the acrylic sheet is free from scratches or defects, as these imperfections can affect the quality of the cut and the overall appearance of the finished product.
Method 2: Preparing Your Cricut Machine
Proper preparation of your Cricut machine is essential for accurate and clean cuts. Start by ensuring that your Cricut machine is in good working condition and that all components are functioning correctly. Update your Cricut software to the latest version to ensure compatibility with any new features or materials.
For cutting acrylic sheets, use a Cricut Maker or Cricut Explore Air 2 with a suitable cutting blade. The Cricut Maker’s rotary blade is designed for cutting a variety of materials, including acrylic, while the Cricut Explore Air 2 can cut thinner acrylic sheets with the fine-point blade. Make sure to set your machine to the appropriate cutting mode for acrylic sheets, and calibrate the blade settings if necessary.
Method 3: Using the Correct Cutting Blade
The choice of cutting blade is critical when working with acrylic sheets. For Cricut Maker models, use the Knife Blade, which is specifically designed for cutting thicker and denser materials like acrylic. The Knife Blade requires multiple passes to ensure a clean cut, so be prepared for a longer cutting time.
For Cricut Explore Air 2, you can use the Fine-Point Blade for cutting thinner acrylic sheets. Ensure that the blade is sharp and in good condition to avoid any issues with the cutting process. If you notice any dullness or jagged cuts, replace the blade to maintain the quality of your cuts.
Method 4: Adjusting the Cut Settings
Adjusting the cut settings on your Cricut machine is crucial for achieving clean and precise cuts on acrylic sheets. Open the Cricut Design Space software and select the appropriate material settings for acrylic. For Cricut Maker, choose the “Acrylic” material setting, which is optimized for cutting thicker sheets.
For Cricut Explore Air 2, select the “Custom” setting and input the thickness of your acrylic sheet. It’s important to adjust the cut pressure to ensure that the blade cuts through the material cleanly without causing any damage. Test cut a small sample piece before proceeding with your full design to verify that the settings are correct and make any necessary adjustments.
Method 5: Using a StrongGrip Mat
A StrongGrip Mat is essential for holding acrylic sheets securely during the cutting process. Place the acrylic sheet onto the mat, ensuring that it is aligned properly and that the surface is clean and free of debris. Use a brayer or rolling pin to press down on the acrylic sheet to ensure a firm and even grip.
If the acrylic sheet is not adhering well to the mat, you can use painter’s tape or masking tape along the edges to secure it in place. This additional step helps to prevent any shifting or movement during the cutting process, which can result in uneven or inaccurate cuts.
Method 6: Ensuring Proper Alignment
Proper alignment of the acrylic sheet on the Cricut mat is crucial for accurate cuts. Before starting the cut, double-check that the acrylic sheet is positioned correctly and aligned with the grid lines on the mat. This ensures that your design will be cut precisely as planned.
In Cricut Design Space, use the alignment tools to position your design accurately on the mat preview. Verify that the design fits within the dimensions of the acrylic sheet and make any necessary adjustments to ensure that the entire design will be cut within the material’s boundaries.

Method 7: Performing a Test Cut
Performing a test cut is a crucial step in ensuring that your settings and blade are optimized for cutting acrylic sheets. Select a small, inconspicuous section of your design and perform a test cut to verify that the blade settings and pressure are correct. Inspect the test cut to ensure that it is clean and precise.
If the test cut reveals any issues, such as incomplete cuts or excessive force, adjust the settings accordingly. Perform additional test cuts if necessary to fine-tune the settings and ensure that the final cuts will be accurate and clean.
Method 8: Cutting Multiple Sheets
If you need to cut multiple acrylic sheets, consider cutting them in batches to streamline the process. Stack the sheets carefully and use a StrongGrip Mat to hold them securely. Ensure that each sheet is aligned properly and that the cutting settings are adjusted for the combined thickness.
Method 9: Post-Cutting Finishing
After cutting acrylic sheets, you may need to perform some post-cutting finishing to achieve a polished look. Remove any remaining pieces or debris from the cut area and inspect the edges for any roughness or imperfections. Use a fine-grit sandpaper or a polishing pad to smooth out any rough edges or blemishes.
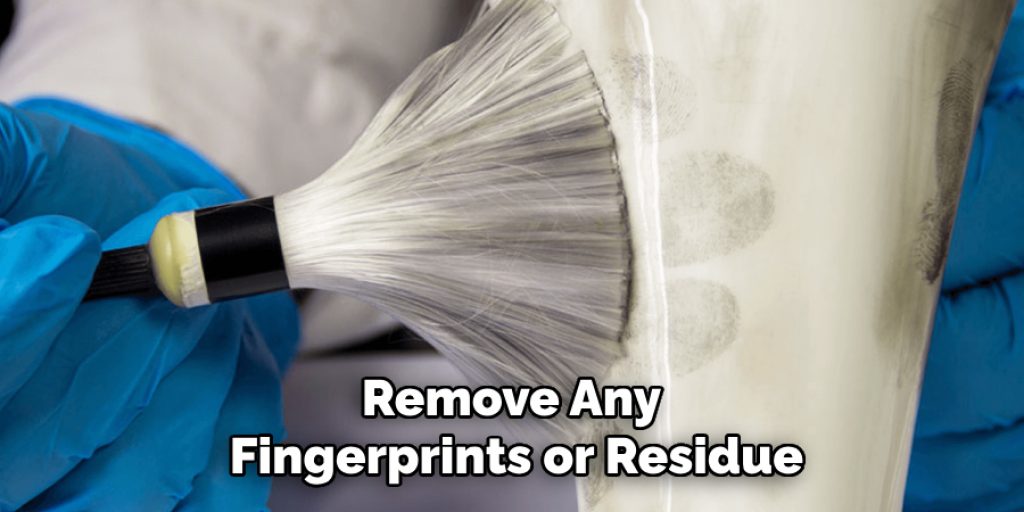
For designs with intricate details or delicate cuts, consider using a craft knife or precision tool to carefully trim away any excess material. Clean the acrylic sheet with a gentle cleaner and a soft cloth to remove any fingerprints or residue left from the cutting process.
Method 10: Storing and Handling Acrylic Sheets
Proper storage and handling of acrylic sheets are essential to maintaining their quality and ensuring that they are ready for future projects. Store acrylic sheets in a cool, dry place away from direct sunlight to prevent warping or discoloration. Use protective covers or sheets to shield the acrylic from dust and scratches.
Conclusion
Cutting acrylic sheets can be a rewarding endeavor when approached with the right techniques and tools. By selecting the appropriate cutting blade, adjusting settings, and ensuring proper alignment, creators can achieve clean and precise results. Employing methods such as using a StrongGrip Mat, performing test cuts, and implementing post-cutting finishing techniques will further enhance the quality of your projects. Thanks for reading, and we hope this has given you some inspiration on how to cut acrylic sheets with cricut!


