
How to Cut Fake Flowers
Are you tired of buying expensive fresh flowers that last only a few days? Or maybe you want to add some greenery to your home but don’t have the time or patience to take care of real plants?

How to cut fake flowers is a valuable skill for anyone looking to create stunning floral arrangements for home decor or special events. Unlike their natural counterparts, artificial flowers require a different approach to trimming and styling, ensuring they maintain their aesthetic appeal while fitting perfectly into your chosen vessel.
In this guide, we’ll explore the best techniques and tools for cutting faux blooms, allowing you to craft beautiful displays that can last a lifetime. Whether preparing for a major occasion or simply looking to refresh your living space, mastering the art of cutting fake flowers opens up a world of creative possibilities.
What Will You Need?
Before diving into the cutting process, gathering all the necessary tools and materials is critical. Here are some essentials you’ll need to get started:
- Artificial flowers of your choice
- A pair of sharp scissors or wire cutters
- Floral tape (optional)
- Floral foam or a vase for arranging (optional)
Once you have these items, you’re ready to begin!
10 Easy Steps on How to Cut Fake Flowers
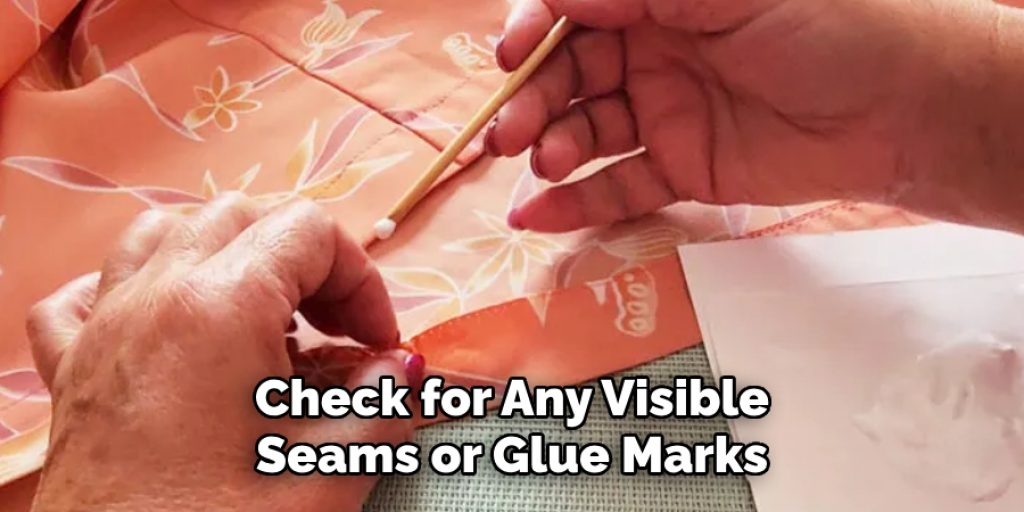
Step 1: Choose High-Quality Faux Blooms
The key to achieving realistic-looking fake flower arrangements is selecting high-quality blooms. Look for artificial flowers made from silk, polyester, or latex materials as they mimic real flowers more convincingly. Additionally, check for any visible seams or glue marks that may give away their artificial nature.
Step 2: Prepare Your Tools
Before you start cutting, you must ensure that your tools are in optimal condition. Sharp scissors or wire cutters will provide a clean cut, which is crucial for maintaining the integrity of the artificial flowers. Take a moment to inspect your scissors; if the blades are dull or damaged, consider sharpening them or using a replacement. Having a clean, flat workspace will also help streamline the process, allowing you to arrange your materials quickly and avoid any accidents.
Additionally, if you plan to use floral tape or foam, have them readily accessible to facilitate a smooth transition from cutting to arranging your flowers. Once everything is prepared, you’ll be ready to make precise cuts that enhance the overall appearance of your floral arrangements.
Step 3: Measure and Mark the Stems
Once you’ve chosen your faux blooms and prepared your tools, it’s time to measure the stems. Determine how tall you want your arrangement to be and hold the flower next to your vase or floral foam to gauge the appropriate length. It’s often helpful to err on caution, cutting a little longer than you think you’ll need, as you can always trim further if necessary. Use a marker or remember where you plan to cut, ensuring you’re ready to create an arrangement that complements your space perfectly.
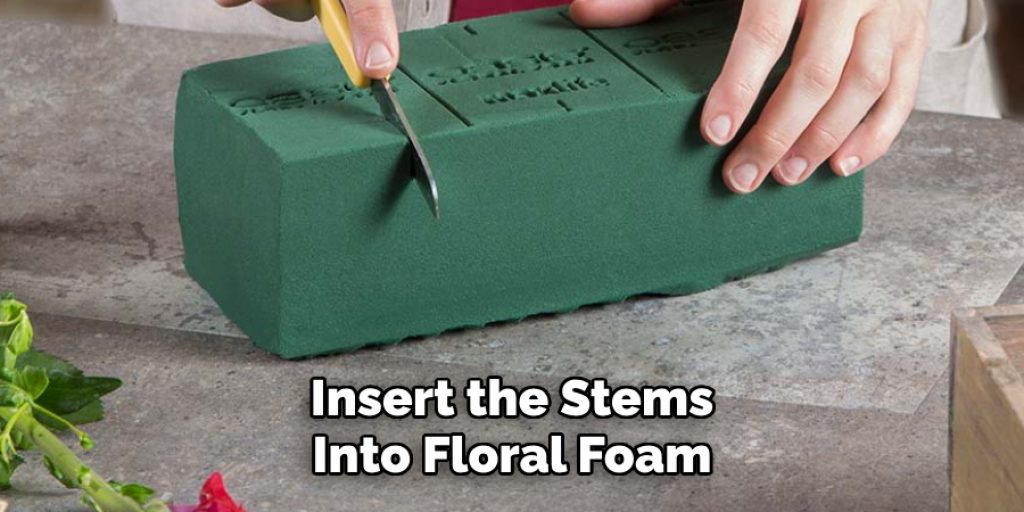
Step 4: Cut the Stems
With your measurements in mind, cut the stems of your artificial flowers. Use your sharp scissors or wire cutters to make a clean cut at a 45-degree angle. This angle helps create a sharper end, which can help insert the stems into floral foam or vases. Take your time with each cut to ensure precision, as this will improve the overall look of your arrangement.
Step 5: Remove Excess Leaves
If your faux flowers have excess leaves or foliage that may detract from the overall design, consider removing them. Gently pull or cut away any leaves positioned too low on the stem or obscure the floral arrangement. This step will help streamline your design and ensure the focus remains on the blooms.
Step 6: Arrange Your Flowers
Once your flowers are cut and any unwanted foliage is removed, it’s time to arrange them in your chosen vase or floral foam. Start by placing the most enormous blooms first, creating a foundation for your design. Gradually add smaller flowers, adjusting their positions until you achieve a balanced and visually appealing arrangement. Don’t be afraid to experiment with different placements; sometimes, moving a flower just slightly can make a significant difference.
Step 7: Secure with Floral Tape (if needed)
If you use floral foam, secure your flowers with floral tape to ensure stability. Wrap the tape around the base of the stems within the foam or vase to keep everything in position. This step is beneficial if you plan to transport your arrangement or display it in a setting with potential disturbances.
Step 8: Final Adjustments
After securing your arrangement, take a step back and assess the overall look. Make any necessary adjustments to the positioning of the flowers to enhance visual balance and symmetry. This is your opportunity to modify any areas that may appear sparse or overcrowded.
Step 9: Add Decorative Elements (optional)
Consider adding decorative elements such as ribbons, seasonal accents, or even faux greenery to elevate your floral arrangement. These additions can provide depth and texture, adding to the overall aesthetic of your design. Be mindful to balance the additional elements with the flowers to maintain harmony. As with the flowers, feel free to experiment with placement until you achieve your desired look.

Step 10: Enjoy Your Beautiful Creation!
Once you’re satisfied with your design, it’s time to display and enjoy your beautiful creation. Admire how the carefully cut faux blooms come together in a stunning display that adds beauty and life to any space. With these easy steps, you can now confidently cut fake flowers for all your floral needs, whether for special occasions or everyday decor.
Happy crafting! Cutting counterfeit flowers is a simple yet essential skill for any DIY enthusiast or avid home decorator. With some practice and attention to detail, you can create stunning arrangements that will fool you.
By following these ten easy steps, you can create beautiful and realistic-looking floral arrangements using fake flowers.
5 Different Use Cases for Fake Flowers
- Wedding Decorations: Artificial flowers are an excellent alternative to natural blooms for wedding decorations. They can be customized to match the color scheme and theme of the event and provide a long-lasting option that won’t wilt or fade.
- Home Decor: Fake flowers are a great way to add color and life to any room in your home. They require minimal maintenance, making them ideal for those who need more time for frequent watering and pruning.
- Special Occasions: From birthdays to baby showers, fake flowers are versatile enough to decorate any special occasion. They can be easily incorporated into centerpieces, bouquets, and other arrangements.
- Seasonal Decor: Artificial flowers are perfect for seasonal decor like holiday wreaths or table centerpieces. They can be reused year after year, making them a cost-effective option.
- Outdoor Spaces: Fake plants and flowers are an ideal way to add beauty to outdoor spaces without worrying about weather damage. They can withstand harsh elements and provide a low-maintenance solution for those who want to spruce up their garden or patio.

Overall, fake flowers offer endless possibilities for adding beauty and charm to various settings.
5 Things You Should Avoid
- 1. Using Dull Tools: Avoid cutting artificial flowers with dull scissors or wire cutters. This can lead to uneven cuts, making the flowers look less realistic. Always ensure your tools are sharp to achieve clean and precise cuts.
- 2. Rushing the Measuring Process: Take time when measuring the stems. Rushing can result in incorrect lengths that affect the overall look of your arrangement. Measure twice and cut once to ensure your flowers fit perfectly in your chosen vase or floral foam.
- 3. Overcrowding the Arrangement: Avoid leaving your floral arrangement open with only a few flowers. This can make it look cluttered and unappealing. Aim for a balanced design that highlights each bloom and allows breathing space.
- 4. Neglecting to Remove Unwanted Foliage: Leaving excess leaves or foliage on the stems can detract from the beauty of your flowers. Continually assess your blooms and trim away any unnecessary parts to focus attention on the flowers themselves.
- 5. Forgetting to Secure the Arrangement: If using floral foam, don’t skip securing your flowers with floral tape. Failing to do so can lead to instability and shifting plants, which may compromise the integrity of your arrangement over time.
Following these tips, you can avoid common mistakes and create stunning fake flower arrangements that impress your friends and family.
Conclusion
In conclusion, how to cut fake flowers is a straightforward task that can significantly enhance the appearance of your floral arrangements.
By using sharp tools, taking accurate measurements, and trimming just the right amount from each stem, you can achieve clean cuts that will help your artificial blooms look more lifelike. Remember to remove any excess foliage and be mindful of the overall balance of your arrangement to ensure that each flower shines.
With these techniques, you can create beautiful, well-proportioned arrangements that bring lasting beauty to your space. Enjoy the creative process, and don’t hesitate to experiment and personalize your designs!
Elizabeth Davis
Elizabeth is a creative writer and digital editor based in the United States. She has a passion for the arts and crafts, which she developed from a young age. Elizabeth has always loved experimenting with new mediums and sharing her work with others. When she started blogging, she knew that DIYquickly would be the perfect platform to share her tutorials and tips. She's been writing for the blog from the beginning, and her readers love her helpful advice and easy-to-follow instructions. When she's not writing or editing, Elizabeth enjoys spending time with her family and friends.


