How to Cut Vinyl without Cricut
Vinyl crafting has surged in popularity over the years, captivating both hobbyists and professionals alike with its versatility and creative possibilities. Whether for home decor, personalized gifts, or custom apparel, vinyl offers a vibrant medium for artistic expression. While Cricut machines have made cutting vinyl easier, not everyone has access to this technology.
Understanding how to cut vinyl without cricut is essential for those who want to embrace the world of vinyl crafting without relying on expensive equipment. Several alternative methods and tools can facilitate vinyl cutting, such as scissors, craft knives, and stencils.
These techniques empower creators to produce stunning designs and encourage innovation and resourcefulness in their projects. With the right materials and a bit of practice, anyone can master the skills needed to achieve professional-looking vinyl creations without the use of a Cricut machine.
Materials and Tools Needed
When embarking on your journey to cut vinyl without a Cricut, it’s essential to gather the right materials and tools to ensure a successful outcome. Here’s a comprehensive list:
Materials:
- Vinyl Sheets: Choose between permanent, removable, or heat transfer vinyl based on your project needs.
- Transfer Tape: This helps to transfer your cut designs to surfaces seamlessly.
- Cutting Mat: A self-healing mat provides a safe surface for cutting, protecting your work area and tools.
Tools Required:
- Scissors: Ideal for cutting simple shapes and vinyl sheets.
- Craft Knife: Perfect for intricate and detailed cuts, providing precision.
- Ruler: Essential for straight cuts and accurate measurements.
- Cutting Board: A sturdy surface to protect your blades and maintain safety while cutting.
- Pencil: Useful for marking designs and measurements before cutting.
Optional Tools:
- Stencils: Great for replicating designs consistently.
- X-Acto Knife: An alternative to craft knives for fine detail work.
- Self-Healing Mat: Extends the life of your blades while protecting your work surface.
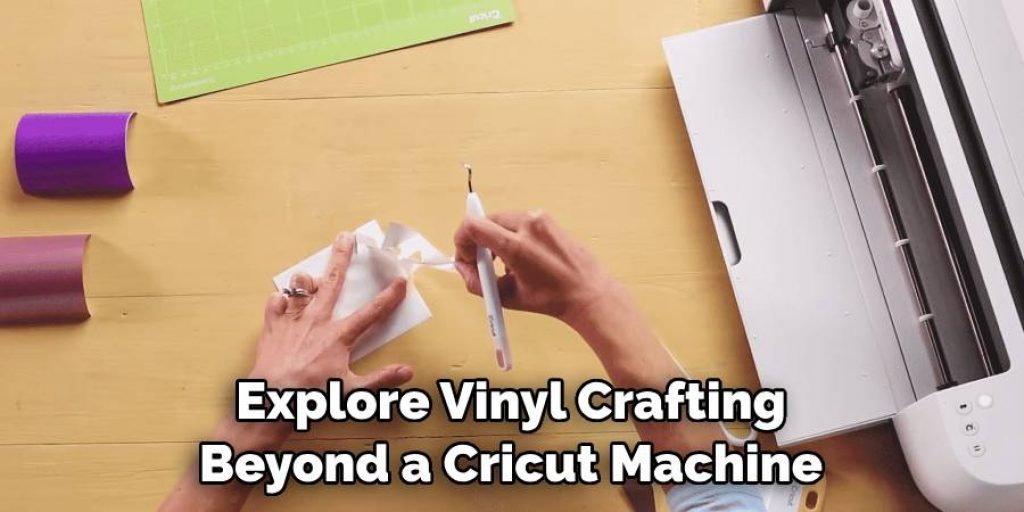
With these materials and tools, you can explore vinyl crafting beyond a Cricut machine.
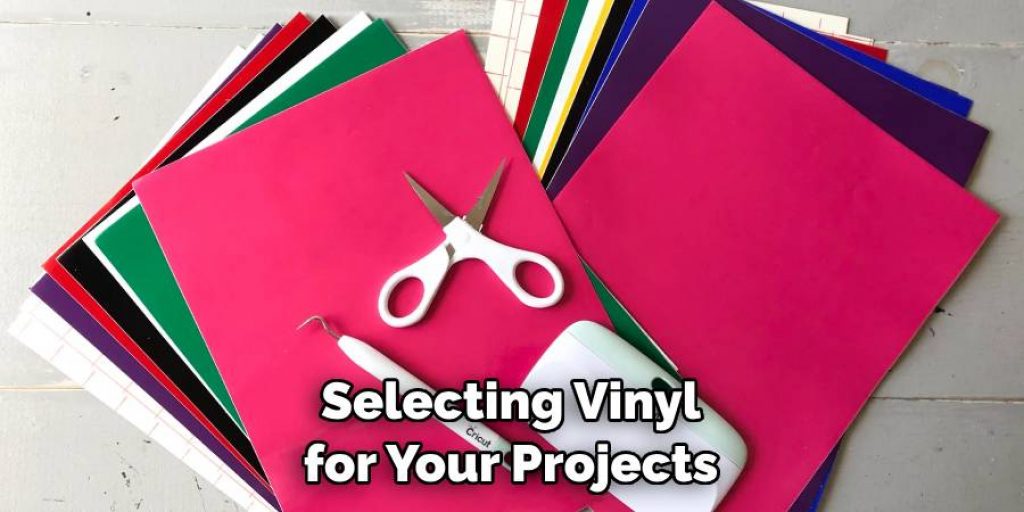
Choosing the Right Vinyl
Selecting the right type of vinyl is crucial for the success of your project, as different vinyl types cater to specific applications. The three main types of vinyl are:
Permanent Vinyl:
Ideal for outdoor signs, decals, and projects that require durability, this vinyl is resistant to water and fading, making it suitable for long-lasting applications.
Removable Vinyl:
Removable vinyl can be peeled off cleanly without leaving residue, which is perfect for temporary designs, such as wall decals and seasonal decorations. This flexibility allows users to frequently change their designs without damaging the underlying surface.
Heat Transfer Vinyl (HTV):
Used primarily for clothing and fabric projects, HTV is applied using heat. It adheres to the fabric and becomes a part of it, ensuring lasting designs that withstand washing.
When selecting vinyl for your projects, consider the surface you’re adhering to, the expected lifespan of your design, and its intended usage. To purchase high-quality vinyl, look for reputable brands and check customer reviews to ensure you get materials that cut and adhere well. Additionally, consider buying samples or starter packs to test different types before committing to larger quantities.
Preparing Your Design
Creating a successful vinyl project begins with careful design preparation. First, consider the dimensions of your final product and the limitations of the cutting tools you have chosen. Whether you opt for hand-drawing or designing on software, your design should be clear and have clean lines to ensure precision during cutting.
If you’re using design software such as Adobe Illustrator or free alternatives like Inkscape, make sure to set up your canvas to match the size of the vinyl sheet. This way, you can visualize how your design will fit within the constraints of the material.
When hand-drawing your designs, use a pencil to allow for adjustments before committing to ink. Remember that intricate designs may require more time and patience to cut accurately by hand. Additionally, it’s essential to verify that your design elements are connected or that there are no unnecessary gaps, as these can complicate the cutting process. Once finalized, review your design to ensure it’s suited for hand-cutting and leaves enough space for you to hold and navigate the vinyl.
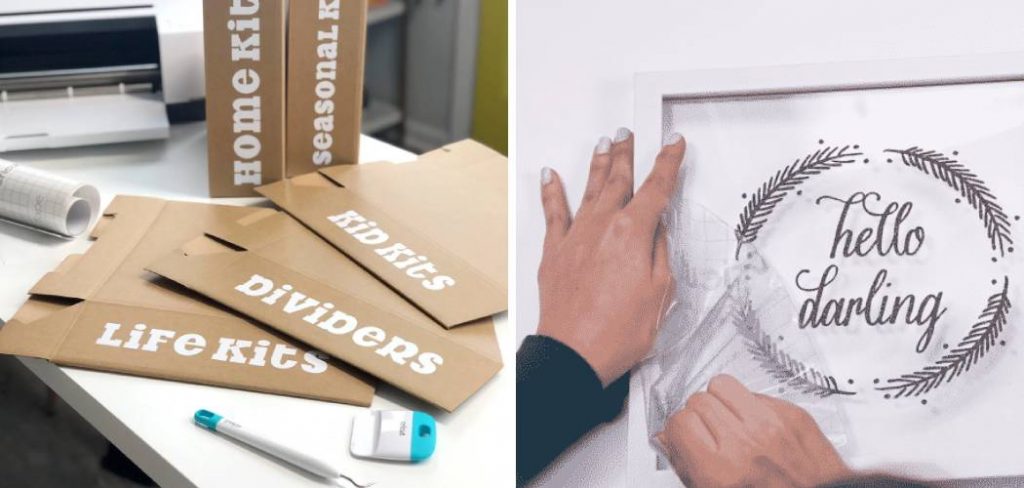
Transferring Your Design to Vinyl
There are several effective methods for transferring your design to the vinyl, such as tracing or using carbon paper. For tracing, simply place your original design beneath the vinyl and carefully outline it using a pencil or fine-point marker, ensuring accuracy and alignment. Alternatively, carbon paper can be placed underneath your design, allowing the lines to transfer directly onto the vinyl as you trace over them. This ensures that your design remains proportional and precise, making your cutting process more efficient and effective.
How to Cut Vinyl Without Cricut: Cutting the Vinyl by Hand
Mastering hand techniques is crucial when cutting vinyl without a Cricut. This section will guide you through using scissors, craft knives, and stencils to achieve precise and professional results.
Using Scissors
Scissors are a fantastic tool for cutting simple shapes and designs from vinyl. Use sharp fabric scissors specifically designed for this type of material to ensure precise cutting and avoid jagged edges. It’s essential to cut slowly and steadily, maintaining an even pressure as you guide the blades through the vinyl.
For curves and intricate details, consider using smaller scissors, such as embroidery or detail scissors, that allow for better maneuverability. Additionally, keep the vinyl taut while cutting, as this prevents it from shifting and helps maintain control over the cuts, making it easier to achieve smooth lines.
Using a Craft Knife
A craft knife is an invaluable tool for achieving detailed vinyl cuts. The benefits of using a craft knife include increased control and the ability to create intricate designs that might be challenging with scissors.
To ensure steady and accurate cuts, use a ruler as a guide, pressing down the knife firmly and moving it smoothly along the edges. It’s important to keep your blade sharp, as a dull blade can lead to tearing rather than clean cuts. Utilizing a cutting mat is also essential, as it protects the surface underneath and allows for deeper cuts without damaging the blade.
Using Stencils
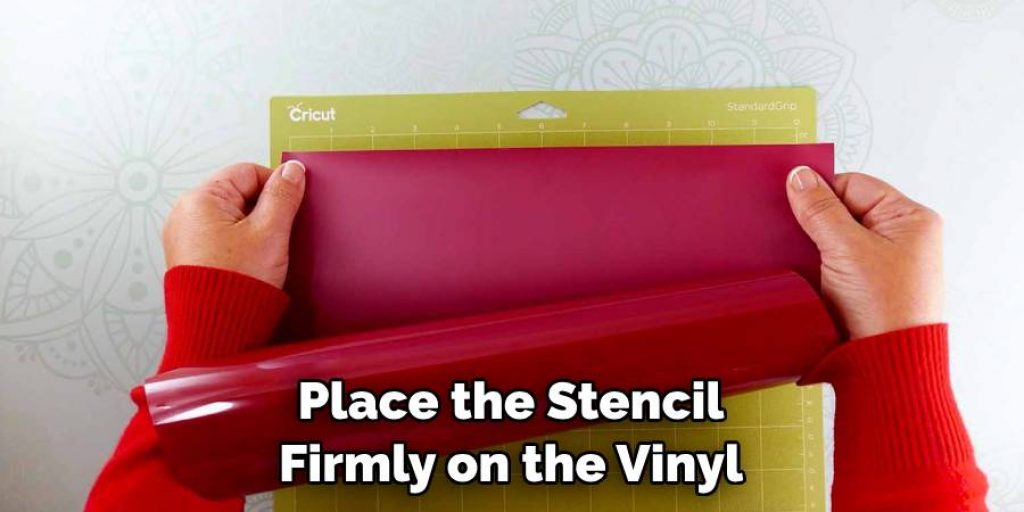
Stencils can simplify the vinyl cutting process, especially for repeated designs. You can either create your own stencils using thinner plastic sheets or purchase pre-made stencils that match your desired patterns. When preparing to cut, place the stencil firmly on the vinyl and secure it using removable adhesive or tape to prevent shifting.
Using a sharp craft knife, carefully cut around the edges of the stencil to ensure a clean and consistent result. Once you’ve finished cutting, gently remove the stencil to reveal your perfectly shaped design, ready to be applied wherever you choose. This method saves time and guarantees uniformity across multiple projects, making it a fantastic technique for crafting enthusiasts.
Applying the Vinyl
Applying vinyl to your chosen surface is an exciting step in your project. To start, it’s crucial to prepare the surface properly. Begin by cleaning it thoroughly with rubbing alcohol or a mild detergent to remove any dirt, grease, or dust. This ensures that the adhesive sticks effectively. Next, make sure the surface is smooth. If necessary, gently sand it to eliminate any bumps or imperfections that may interfere with adhesion.
Once your surface is prepped, it’s time to use transfer tape. Cut a piece of transfer tape slightly larger than your vinyl design and carefully place it over the design, smoothing out any wrinkles with a squeegee or credit card. When you’re ready to apply, peel the backing off the vinyl and position it on the surface, employing firm pressure to ensure adhesion. To avoid air bubbles or wrinkles, apply starting from one edge and moving across while pushing out any air. If you do encounter bubbles, gently lift the vinyl and reposition it, using a squeegee to push the air out.
Troubleshooting Common Issues
During the vinyl application process, a few common issues may arise. Misaligned cuts can result from inaccurate design preparation or application, so double-check your alignment before securing the vinyl. Air bubbles are another frequent problem; if they appear, gently lift the vinyl’s corner and press them out with a squeegee. Tearing can occur if you apply too much pressure during cutting; therefore, make sure your blade is sharp and your cutting technique is steady.
To prevent these issues, ensure your design is clear and well-defined before cutting. Use high-quality vinyl and a controlled cutting speed to achieve clean cuts. Always test on a smaller surface before committing to larger projects, which will help you identify potential pitfalls in your application process.
Tips and Tricks for Hand-Cutting Vinyl
Incorporating a few tips and tricks can enhance your results significantly when learning how to cut vinyl without a Cricut. First, using a self-healing cutting mat helps extend the life of your cutting tools by providing a forgiving surface that absorbs blade wear.
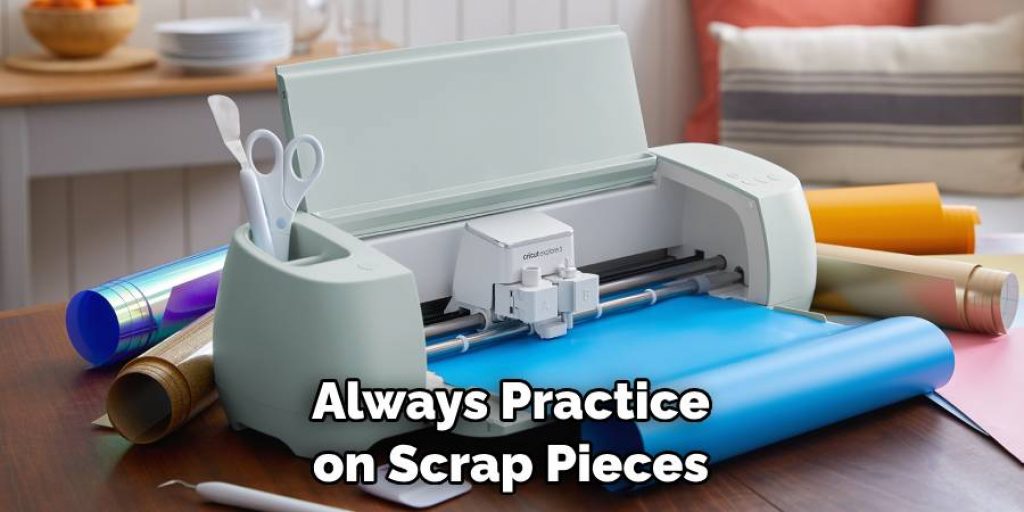
Second, employing a ruler ensures straight lines and precise measurements, giving your designs a professional look. Finally, always practice on scrap pieces of vinyl before cutting your final designs; this allows you to refine your technique and reduce mistakes, making the final outcome more successful.
Conclusion
In summary, cutting vinyl without a Cricut involves several key steps, including preparing your design, selecting the right cutting tools, and applying the vinyl effectively. Practicing and experimenting with different cutting techniques is essential to build confidence and skill. Remember, DIY vinyl projects provide a fantastic opportunity for creativity and personal expression, allowing you to create unique pieces that reflect your style. Embrace the process, and enjoy the satisfaction that comes from mastering how to cut vinyl without cricut!
Elizabeth Davis
Elizabeth is a creative writer and digital editor based in the United States. She has a passion for the arts and crafts, which she developed from a young age. Elizabeth has always loved experimenting with new mediums and sharing her work with others. When she started blogging, she knew that DIYquickly would be the perfect platform to share her tutorials and tips. She's been writing for the blog from the beginning, and her readers love her helpful advice and easy-to-follow instructions. When she's not writing or editing, Elizabeth enjoys spending time with her family and friends.