How to Decorate a Skeleton for Halloween
Decorating a skeleton for Halloween is an artful way to add a spooky touch to your October festivities. Whether you’re aiming for a bone-chilling scene in your front yard or looking to create a ghastly centerpiece for your Halloween party, a well-decorated skeleton can serve as the perfect prop.
This guide on how to decorate a skeleton for halloween will walk you through various creative ideas and tips to transform a plain skeleton into a masterpiece of horror. From choosing the right materials to thematic inspirations, get ready to make your skeleton the star of the show this Halloween season.
What is a Skeleton?
A skeleton is the framework of bones that supports the body of an organism. In humans, it forms the basic shape and structure of our bodies, allowing us to stand upright and move around. However, in Halloween decorations, skeletons are used for their dramatic and eerie appearance. These plastic or foam replicas can be easily found at party supply stores or online retailers.
You can also opt for more realistic-looking skeletons made of resin or PVC, which may come with movable joints and detailed features. These are usually more expensive but can add a touch of authenticity to your Halloween decor.
The most common type of skeleton used for Halloween decorations is a human skeleton, but you can also find animal skeletons such as cats, dogs, birds, and even dinosaurs.
Why Decorate a Skeleton for Halloween?
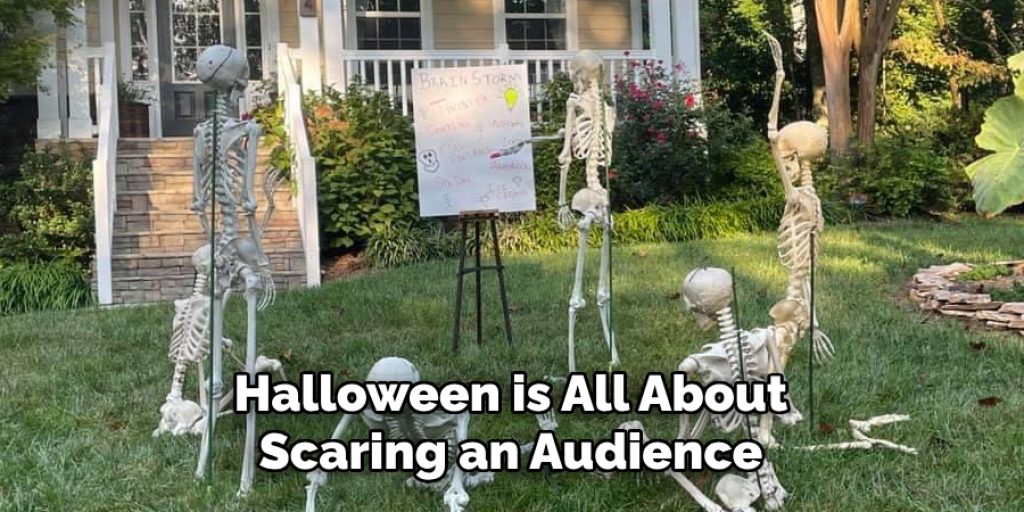
Halloween is all about scaring an audience and creating a spooky atmosphere. Skeletons, with their bony structure and eerie appeal, are the perfect prop for achieving this goal. They can evoke feelings of fear, mystery, and even nostalgia for classic horror films.
Moreover, decorating a skeleton allows you to get creative and express your own unique style. You can choose to make your skeleton look comical or terrifying, depending on your personal preferences. It’s a fun and engaging activity that can bring family and friends together to celebrate the Halloween season.
It’s also a cost-effective way to decorate, as you can reuse the same skeleton year after year and simply change up the decorations or theme.
Needed Materials
Before you begin decorating your skeleton, make sure you have all the necessary materials on hand. Here’s a list of items that will come in handy while bringing your spooky creation to life:
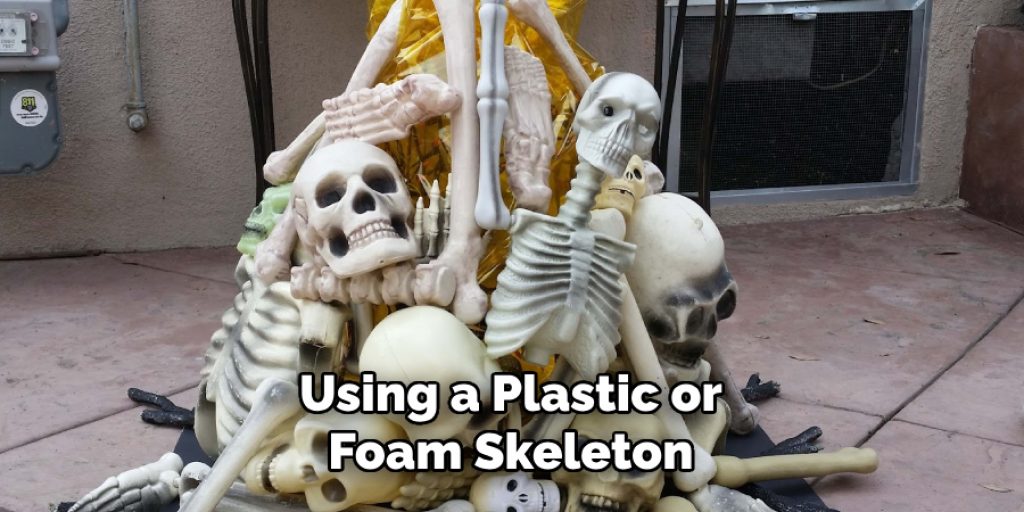
A Plastic or Foam Skeleton:
First things first, you’ll need a skeleton to decorate! You can find plastic or foam skeletons at most Halloween stores or online retailers. Alternatively, you can also create your own skeleton using PVC pipes and chicken wire. This option allows for more customization and creativity.
Paint:
Acrylic paint is the best choice for adding color to your skeleton’s bones. You can find a variety of colors at your local craft store or online. Black, white, and gray are common shades used for skeletons, but feel free to get creative with different hues.
Glue:
A strong adhesive is essential when it comes to attaching decorations onto your skeleton. Hot glue guns work best for heavier items, while super glue is suitable for smaller details.
Decorative Materials:
The possibilities for decorating your skeleton are endless, so it’s best to have a variety of materials on hand. Here are some ideas to get you started:
- Fabric scraps (for clothing or draping)
- Fake spider webs
- Plastic spiders or insects
- Faux leaves and branches
- Glow-in-the-dark paint or stickers
- Halloween-themed props (such as miniature pumpkins or witch hats)
11 Step-by-step Guidelines on How to Decorate a Skeleton for Halloween
Step 1: Choose a Theme
Before diving into decorating, it’s helpful to have a theme in mind. This will guide your decisions on which materials and colors to use. Popular themes for skeleton decorations include:
- Classic Halloween (think black and orange with pumpkins and spooky creatures)
- Haunted Mansion (using cobwebs, candlesticks, and dusty fabrics)
- Day of the Dead (using bright colors and intricate patterns)
- Zombie Apocalypse (with faux blood and ripped clothing)
Step 2: Prepare the Skeleton
If you’re using a plastic or foam skeleton, make sure it’s clean and free of any dust or debris. If you’ve created your own skeleton, make sure all the pieces are securely connected. You can also add extra reinforcement with duct tape if needed. But remember, a little wear and tear can add to the spooky effect! The choice is yours.
The skeleton can be assembled, disassembled or left as is. It is your possibility to express creativity. You can also use this space to embellish the bones with paint and other materials. You could add a bit of moss or spider webs to give it that aged, eerie look.
Step 3: Paint the Bones
Using acrylic paint, give your skeleton a base coat of white or off-white for a more realistic look. Let it dry completely before moving on to the next step. The paint will also help prime the surface for any additional layers of paint or decorative materials. It’s okay if the paint is not completely even – it adds to the spooky effect. You can also use spray paint for a quicker and more even coverage. The choice is yours!
Step 4: Choose a Focal Point
Decide which part of the skeleton you want to draw the most attention to. This could be the face, hands, or ribcage. The focal point will determine where you place your most intricate decorations and can also help guide the placement of other decorations around the skeleton. Also, keep in mind that the focal point can change depending on your chosen theme. It’s all up to you!
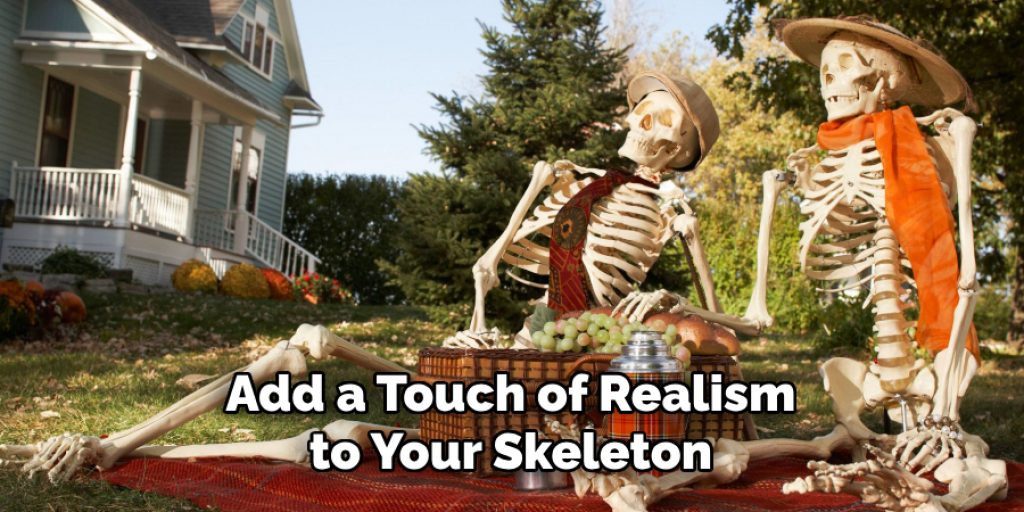
Step 5: Add Clothing or Drapery
To add a touch of realism to your skeleton, consider adding clothing or draping using fabric scraps. This could be a tattered dress for a female skeleton or ripped pants for a male skeleton. You can also use fabric to create a cape, hood, or shroud for a more mysterious look. You can glue the fabric onto the skeleton or use safety pins to secure it in place. It’s a good idea to lightly distress the fabric with scissors or sandpaper to give it an aged and worn appearance.
Step 6: Glue on Decorations
Now comes the fun part – decorating your skeleton! Using hot glue or super glue, attach your chosen decorations onto the skeleton. This could include plastic spiders or insects crawling on the bones, faux leaves and branches, or even miniature pumpkins. Be sure to consider your chosen theme and focal point when placing decorations. You can also layer different decorations for a more detailed and dynamic look.
Step 7: Add Detail with Paint
To enhance the overall effect of your decorated skeleton, use paint to add detail and depth. This could include shading around the eyes for a more sunken look or using a dry brush technique to make the bones appear aged and weathered. You can also use paint to add patterns or designs onto clothing or fabric draping. The possibilities are endless, so don’t be afraid to get creative!
Step 8: Incorporate Lighting
For an extra eerie touch, consider incorporating lighting into your skeleton decoration. You can use small battery-operated lights to illuminate certain areas of the skeleton, such as the eyes or ribs, or use string lights to create a spooky glow around the entire skeleton. This can add an extra level of spookiness and make your decoration stand out. It’s also a good idea to test the lighting beforehand to make sure it creates the desired effect. But remember, a dimly lit skeleton can be just as creepy!
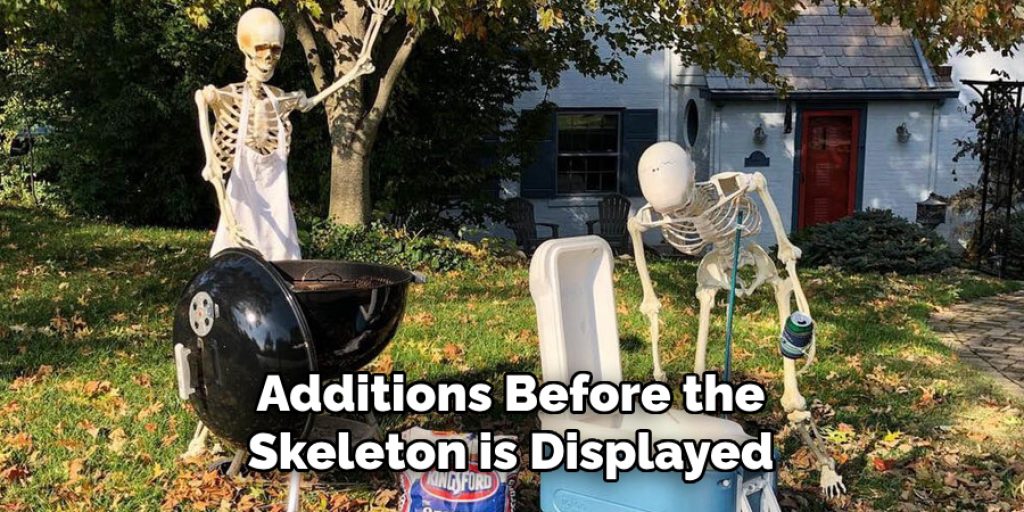
Step 9: Add Final Touches
Take a step back and assess your decorated skeleton. Are there any areas that need a little more detail or decoration? Does anything feel out of place? This is your chance to make any final adjustments or additions before the skeleton is displayed. You can also add finishing touches such as faux cobwebs, plastic spiders or bats, and even fake candles for a haunted mansion theme. It’s all about personal preference and creativity.
Step 10: Display Your Skeleton
Find the perfect spot to display your decorated skeleton. This could be indoors or outdoors, depending on your chosen materials and decorations. Make sure to secure the skeleton in place to prevent it from falling or being knocked over. You could use a stand, hang it on a wall, or prop it against furniture. Consider the lighting and background when choosing a display location to enhance the overall effect.
Step 11: Have Fun!
The most important step in decorating a skeleton for Halloween is to have fun! Don’t be afraid to experiment, try new techniques, and let your creativity run wild. Halloween is all about embracing the spooky and supernatural, so let your decorated skeleton be a reflection of that. It’s also a great opportunity to involve friends and family in the decorating process, making it a fun and memorable activity for everyone.
You can even use this as an opportunity to involve others and have a skeleton decorating party. It’s a fun and creative activity that everyone can enjoy together. And the best part is, you’ll have a unique and eye-catching decoration to show off during the Halloween season. So go ahead and get started on creating your own spooky, decorated skeleton – the possibilities are endless!
Following these steps on how to decorate a skeleton for halloween and using your own imagination and creativity, you can create a one-of-a-kind decorated skeleton that will surely spook and impress all who see it. Happy decorating!
Tips for Success
- Start with a clean and sturdy skeleton to ensure your decorations stay in place.
- Use hot glue or super glue for a secure hold, but be careful not to burn yourself.
- Don’t be afraid to mix and match different decorations to create a unique look.
- Test out lighting beforehand to make sure it creates the desired effect.
- Consider using materials such as spray paint, fabric scraps, and faux foliage for a more realistic look.
- Have fun and get creative! There’s no right or wrong way to decorate a skeleton. So, let your imagination run wild.
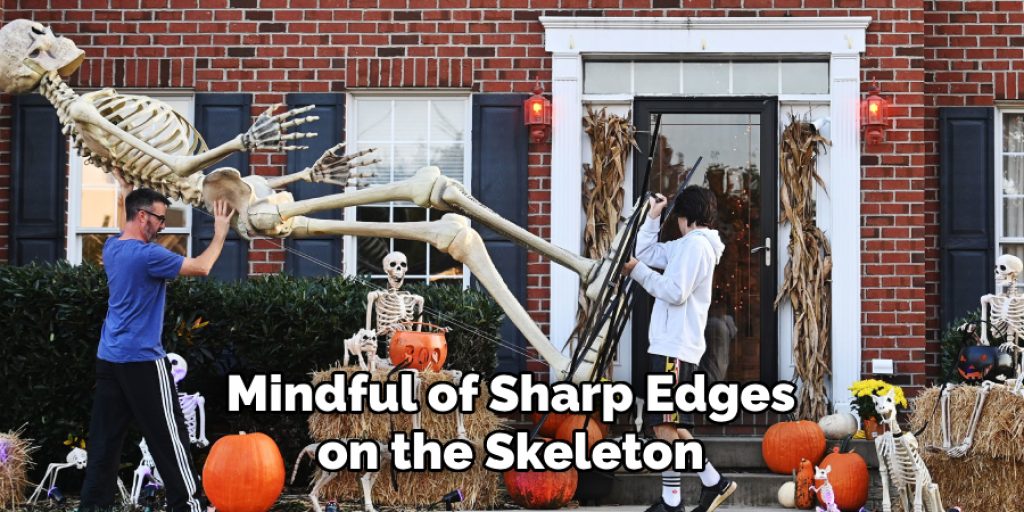
Safety Considerations
As with any craft or DIY project, it’s important to prioritize safety. When decorating your skeleton, be sure to use caution when handling hot glue or superglue to avoid burns. If using spray paint or acrylic paint, be sure to do so in a well-ventilated area and take necessary precautions such as wearing a mask and gloves. Be mindful of sharp edges on the skeleton and use caution when distressing fabric or handling any decorative materials. And of course, always have fun but be safe!
You can also consider using alternative methods such as fabric glue or tape, if you prefer to avoid using hot glue. Parental supervision is recommended for children participating in the decorating process. And remember, it’s okay to make mistakes and have imperfections – it adds to the charm and character of your decorated skeleton. Enjoy the process and have a spooktacular Halloween!
Enjoying Your Spooky Skeleton Decor
Once your decorated skeleton is complete, it’s time to sit back and enjoy the spookiness! You can use it as a unique centerpiece at a Halloween party, display it on your front porch to greet trick-or-treaters, or even incorporate it into a haunted house or scary movie night.
And when Halloween is over, you can store your skeleton safely and bring it out again for future spooky seasons. Creating a decorated skeleton is not only a fun and creative activity, but it also allows you to have a one-of-a-kind decoration that will surely impress and spook your friends and family.
You can even continue to add decorations or make changes to your skeleton year after year, making it a fun tradition and a way to get into the Halloween spirit. So go ahead and give this DIY project a try – you won’t be disappointed! Happy haunting!
Frequently Asked Questions
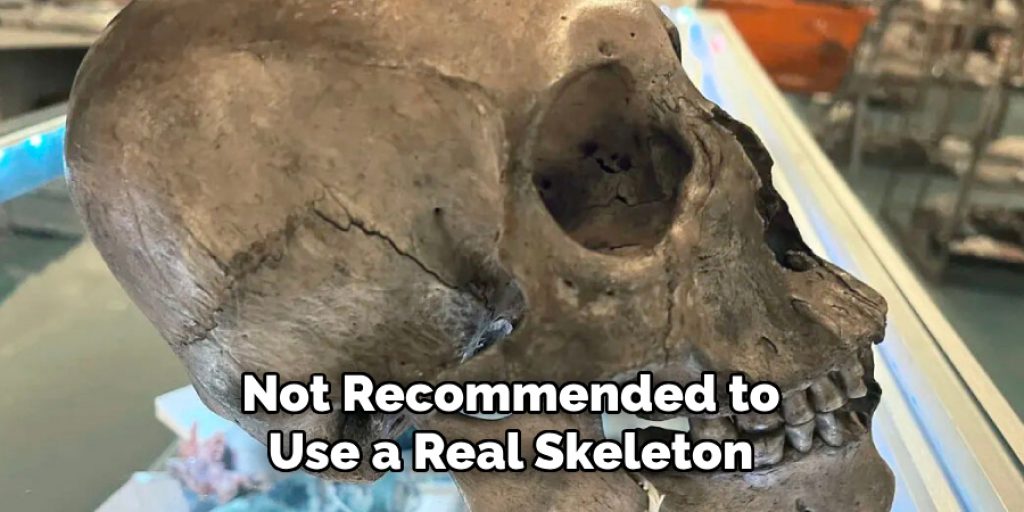
Q: Can I Use a Real Skeleton for This Project?
A: It is not recommended to use a real skeleton as it may be difficult to obtain and could potentially pose health risks. It is also more ethical and sustainable to use artificial or creative alternatives. You can easily find plastic or foam skeletons at Halloween stores or online, and they are specifically designed for decoration purposes. It’s also a lot safer and easier to decorate them without worrying about damaging real bones.
Q: Do I Need Special Materials or Skills for This Project?
A: No, this project can be done with basic materials such as paint, glue, and decorations that can be found at most craft stores. It does not require any special skills – just some creativity and patience. You can also use everyday household items like old fabric or fake leaves for a more budget-friendly option. But if you do want to take it to the next level, you can use more advanced techniques and materials such as airbrushing or sculpting.
Q: How Long Will This Project Take?
A: The time it takes to decorate your skeleton will depend on your chosen level of detail and materials. It could take anywhere from an hour to several hours, so make sure to give yourself enough time before Halloween to complete the project. You can also break the process into smaller steps over a few days if needed. You can also involve friends or family in a fun group activity and make it into a Halloween tradition.
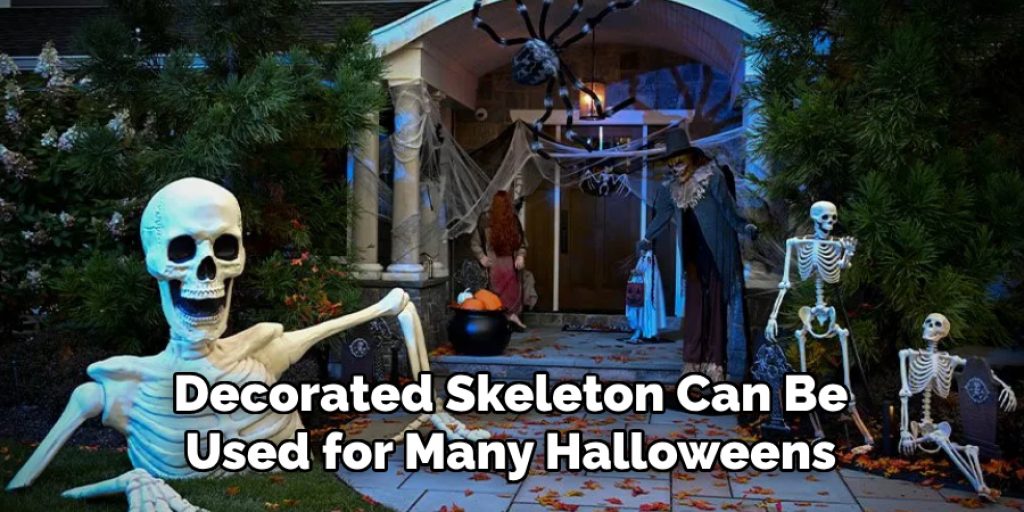
Q: Can I Use This Decoration Year After Year?
A: Yes, with proper care and storage, your decorated skeleton can be used for many Halloweens to come! Make sure to clean it after each use and store it in a dry place to prevent any damage. You can also make adjustments or add new decorations each year to give it a fresh look. With some creativity and maintenance, your decorated skeleton can become a staple in your Halloween decor collection. So have fun with this project and let your imagination run wild!
Q: Is There a Specific Theme or Style I Should Follow for Decorating My Skeleton?
A: Not necessarily! You can choose any theme or style that you prefer. Some popular options include classic spooky, haunted mansion, Day of the Dead, and even pop culture references. The key is to be creative and have fun with it.
However, if you want your skeleton decoration to fit in with the rest of your Halloween decor, you can try to incorporate similar colors and elements. But there are no rules when it comes to decorating a skeleton – so let your imagination guide you! So go ahead and get started on creating your own spooky, decorated skeleton – the possibilities are endless!
Conclusion
Decorating a skeleton for Halloween is a fun and creative project that allows you to add your own unique touch to this traditional spooky decoration. By following these steps on how to decorate a skeleton for halloween, you can transform a plain plastic or foam skeleton into a creepy and eye-catching decoration that will impress your friends and neighbors. Remember to have fun, experiment with different techniques and materials, and make it your own! Happy Halloween!
Angela Ervin
Angela is the executive editor of DIY quickly. She began her career as an interior designer before applying her strategic and creative passion to lifestyle and home. She has close to 15 years of experience in creative writing and online content strategy for housekeeping, home decorations as well as other niche efforts. She loves her job and has the privilege of working with an extraordinary team. She lives with her husband, two sons, and daughter in Petersburg. When she's not busy working she spent time with her family.