
How to Decorate Ceramic Ornaments
The holiday season is upon us once again. While you’re busy putting up twinkling lights, trimming the tree, and baking dozens of cookies, remember to decorate those ceramic ornaments you collected throughout the year – they add personal touches to your home’s festive displays. Whether you prefer intricate patterns or simple silhouettes, ornament customization is a fun and creative craft that the whole family can enjoy.
In this post, I’ll share some of my favorite DIY techniques for transforming plain balls and figurines into unique holiday art pieces, from basic paint jobs to intricate embossing. By the time we get to stringing the popcorn and cranberries, your one-of-a-kind ornaments will be ready to take center stage on the tree and light up the whole room with their handcrafted style. Let’s get started on how to decorate ceramic ornaments!
Necessary Items
Before we dive into the creative process, here are the basic supplies you’ll need to decorate your ceramic ornaments:
- Ceramic Ornaments: You can find these at any craft store or online. They come in various shapes and sizes, so feel free to mix and match to add variety to your collection.
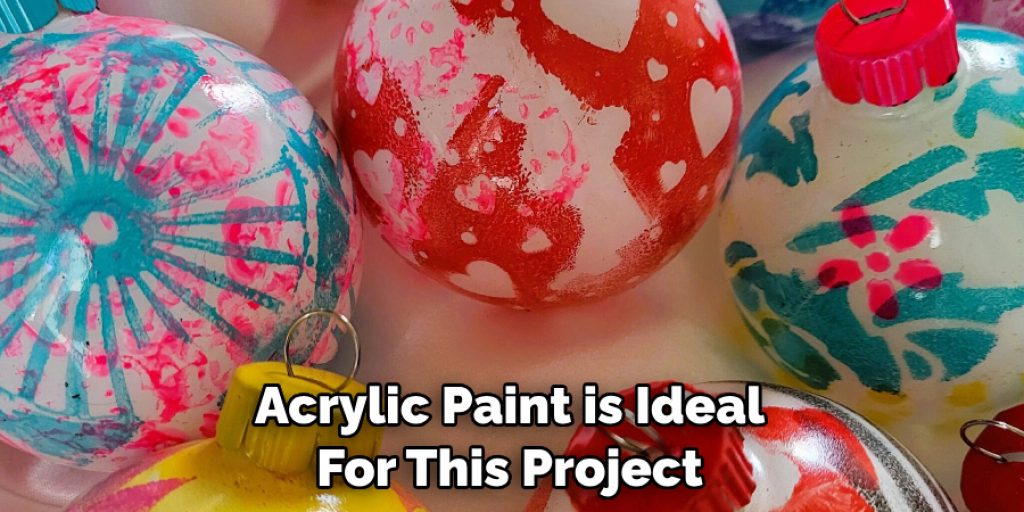
- Paint: Acrylic paint is ideal for this project since it adheres well to ceramic surfaces and dries quickly. You can choose from various colors, including metallics, for extra shine.
- Brushes: Have at least two meetings on hand – one with a fine tip for detailed work and another with more extensive information for broader strokes.
- Embossing Powder: This special powder adds texture and dimension to your ornaments. It comes in various colors, but gold and silver work well for the holiday season.
- Embossing Ink: This sticky ink is used to adhere the embossing powder to your ornaments. You can find it at any craft store or even online.
- Heat Gun: A heat gun melts the embossing powder, giving your ornaments a raised and shiny look. A hairdryer can work in a pinch if you don’t have one.
10 Steps on How to Decorate Ceramic Ornaments
Now that our supplies are ready, it’s time to start decorating! Here are some techniques you can try with your ceramic ornaments:
Step 1: Basic Paint Job
This is the most straightforward and most versatile technique. Simply choose your desired colors and use the brushes to paint directly onto the ceramic surface. You can paint the entire ornament one color or create different patterns and designs. Let them dry completely before moving on to the next step.
Step 2: Dipped Ornaments
Try dipping your ornaments in paint instead of brushes for a more modern look. You can dip them halfway or fully for an ombre effect. Hold them carefully and let the excess paint drip off before placing them on a paper to dry.
Step 3: Splatter Paint
This is a fun technique that adds a playful touch to your ornaments. Dip a brush into the paint, hold it over the decoration, and use your finger or another brush to tap on the bristles. This will create a splatter effect on the trim. You can use different colors for a vibrant look.
Step 4: Stenciling
If you want more precise designs, stenciling is the way to go. You can find stencils at any craft store or make your own by cutting out shapes from cardboard or paper. Lay the stencil over the ornament and apply the paint with a sponge or brush. Lift the stencil carefully and let the paint dry.
Step 5: Use Masking Tape
Use masking tape to create clean lines on your ornaments for a geometric design. You can crisscross the videotape for a plaid effect or create stripes with varying widths. Once you’ve applied the tape, paint over it and let it dry. Peel off the tape to reveal your design.
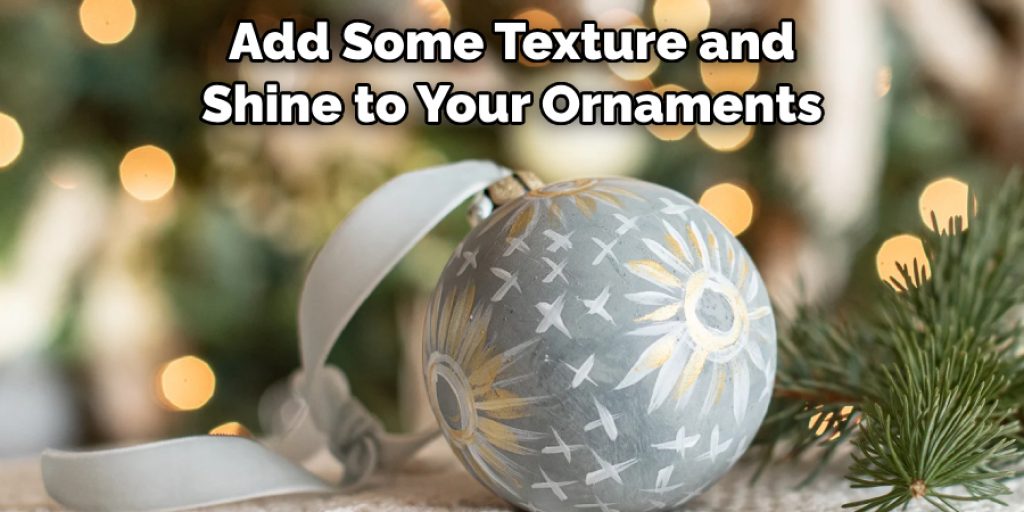
Step 6: Embossing
Now it’s time to add some texture and shine to your ornaments! Using a brush, apply embossing ink onto the ceramic surface where you want the embossing powder to stick. Sprinkle the powder generously over the ink, ensuring all areas are covered. Shake off the excess and use a heat gun to melt the powder.
Step 7: Layering
To add depth to your ornaments, you can layer different techniques together. For example, you can paint a design onto your ornament and then stencil over it with a different color. Or you can use embossing on top of a painted background. Get creative and see what combinations you can come up with!
Step 8: Personalize with Names or Messages
Consider adding names or short messages using a paint pen or permanent marker to make your ornaments extra special. This is a great way to give personalized gifts or add a personal touch to your decorations.
Step 9: Add Details with Glitter
For some added shimmer, use glitter to add details to your ornaments. You can use a glue pen or brush on some adhesive before sprinkling the glitter, or mix the glitter in with the paint for an all-over sparkle.
Step 10: Seal and Hang
Finally, once your ornaments are completely dry and happy with their appearance, seal them with a clear acrylic spray to protect the designs. Then, use a string or ribbon to hang them on your tree or around your home.
Decorating ceramic ornaments is a fun and easy way to add a personal touch to your holiday decor. Don’t be afraid to experiment with different techniques and colors – the possibilities are endless! And remember, these ornaments don’t have to be limited to the holiday season. You can create personalized ceramic ornaments for any occasion, making them a unique and meaningful gift for your loved ones.
6 Things to Avoid
As you decorate your ceramic ornaments, here are some common mistakes to avoid:
1. Using Too Much Paint
Be mindful of how much paint you use; too many layers can make the ornament appear bulky and heavy. It’s better to start with less and add more if needed.
2. Not Letting Paint Dry Completely
Patience is vital when it comes to painting ceramic ornaments. If the paint isn’t dried thoroughly, it can easily smudge or blend when you add a new layer or technique.
3. Using the Wrong Type of Paint
As mentioned earlier, acrylic paint works best for ceramic surfaces. Avoid using oil-based or watercolor paints, as they won’t adhere well and may cause the design to chip or fade over time.
4. Skipping the Sealing Step
Remember to seal your ornaments once you’re done decorating them. This will protect your designs and give them a glossy finish.
5. Neglecting to Clean the Surfaces
Before painting or adding embellishments, clean the ceramic surfaces thoroughly with soap and water. Any dirt or oils can prevent the paint from adhering correctly.
6. Not Using Heat-Safe Ink
If you’re using a heat gun for embossing, make sure to use ink that is specifically labeled as heat-safe. Regular inks can bubble or burn when exposed to high temperatures.

6 Additional Tips
Here are a few more tips to keep in mind as you decorate ceramic ornaments:
1. Use Light Colors for a Classic Look
Lighter colors, such as white or pastel shades, give off a classic and elegant vibe when used on ceramic ornaments. Consider using them for a timeless look.
2. Experiment with Different Textures
Don’t limit yourself to just painting – try incorporating different textures into your designs, such as lace or fabric, for a unique look.
3. Draw Inspiration from Nature
Nature is full of beautiful patterns and colors that can serve as inspiration for your ceramic ornament designs. Take a walk outside and see what inspires you!
4. Add a Personal Touch with Handwriting
Instead of stencils or stamps, write names or messages on your ornaments by hand for a more personal and authentic touch.
5. Use Metallics for an Elegant Touch
Metallic paints or markers can add an elegant and sophisticated touch to your ceramic ornaments. Consider using gold, silver, or copper for a festive feel.
6. Remember to Have Fun!
The most important tip of all is to have fun with the decorating process! Let your creativity flow, and enjoy making unique and personalized ornaments for yourself and others.

Frequently Asked Questions
Can I Use Other Types of Paint Besides Acrylic on Ceramic?
While other paints may work, acrylic is the best option for painting on ceramic surfaces as it adheres well and has a smooth finish. Other types of paint may adhere better and could lead to chipping or peeling over time.
Can I Hang My Ceramic Ornaments Outside?
While ceramic ornaments can be hung outside, they are more delicate than other holiday decorations and may not withstand harsh weather conditions. It’s best to keep them indoors for longevity.
How Do I Clean My Paintbrushes After Painting with Acrylic Paint?
To clean your paintbrushes, rinse them thoroughly with soap and water. If the paint has already dried on the brush, you can soak it in warm, soapy water before rinsing. It’s essential to clean your brushes after each use to prolong their lifespan.
Can I Only Use Ceramic Ornaments for Christmas?
No, ceramic ornaments are versatile and can be used for any occasion. Consider making personalized ornaments for birthdays, weddings, or other special events. The possibilities are endless!
Conclusion
In conclusion, decorating ceramic ornaments is a delightful and fulfilling activity that can bring joy to your home during the holiday season. With these tips and tricks on how to decorate ceramic ornaments, you can create unique and stunning decorations that will impress your family and friends.
Let your creativity run wild, and experiment with different techniques and materials. The possibilities are endless, whether you paint, decoupage, or use glitter. Remember to incorporate personal touches and make each ornament truly special. Now grab those plain ceramic ornaments, unleash your imagination, and let the magic of the holidays fill your home with wonder!
Angela Ervin
Angela is the executive editor of DIY quickly. She began her career as an interior designer before applying her strategic and creative passion to lifestyle and home. She has close to 15 years of experience in creative writing and online content strategy for housekeeping, home decorations as well as other niche efforts. She loves her job and has the privilege of working with an extraordinary team. She lives with her husband, two sons, and daughter in Petersburg. When she's not busy working she spent time with her family.


