How to Decorate the Top of a Hutch
Are you looking to add some personality and style to your cabinet? Decorating the top of a cabinet is an easy way to make a statement in your space.
How to decorate the top of a hutch can be a delightful way to infuse your space with personal style and creativity. The hutch, often a focal point in dining rooms or kitchens, provides an excellent canvas for showcasing decorative items, adding both height and interest to your room. Whether you’re aiming for a modern, minimalist look or a cozy, rustic vibe, the top of the hutch can be styled in various ways to complement your overall decor.
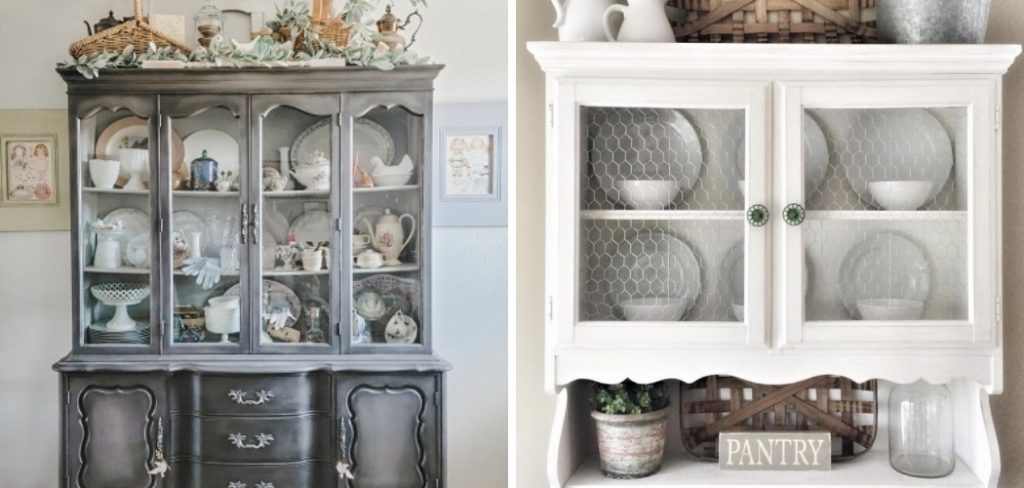
In this guide, we’ll explore tips and ideas for curating a beautiful display that reflects your personality while enhancing the aesthetic appeal of your home.
What Will You Need?
Before you begin decorating, gather all the necessary items. Here are some essentials that will come in handy:
- A variety of decorative objects such as vases, candle holders, sculptures or figurines
- Greenery or flowers for a touch of nature and freshness
- Books or magazines to add height and texture
- Trays or baskets to corral smaller items and create a cohesive look
- Personal mementos or sentimental pieces to make it truly your own.
Now that you have everything you need, let’s dive into decorating the top of your cabinet.
10 Easy Steps on How to Decorate the Top of a Hutch
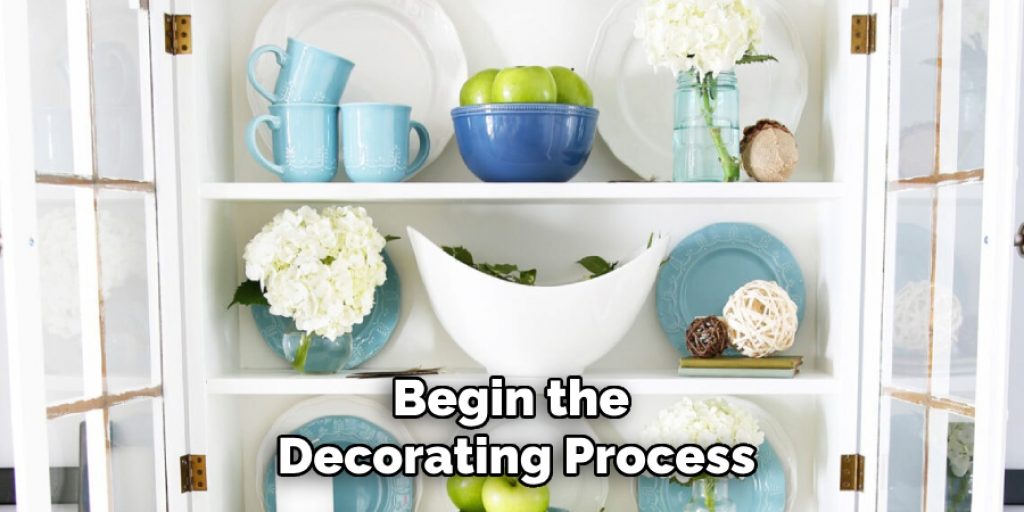
Step 1. Start with a Blank Canvas
To begin the decorating process, it’s essential to clear the top of your hutch completely. This blank canvas lets you visualize how each piece you plan to incorporate will fit into the overall design. Cleaning the surface also provides an opportunity to assess the cabinet and its surroundings, ensuring no distractions. Consider the height and depth of the cabinet’s top – this space can often feel vast, so don’t shy away from considering larger pieces that can act as statement items. Remove all items, dust the surface, and take a moment to decide on a theme or visual strategy that reflects your style. This preparation phase is crucial, as it sets the groundwork for making thoughtful decisions about each subsequent decorative element you introduce.
Step 2. Choose a Focal Point
Once you have your blank canvas, the next step is to select a focal point for your display. This can be a larger decorative piece, such as a striking vase, an interesting sculpture, or even a statement clock. The focal point should be eye-catching and establish the theme for the rest of your arrangement. Place this item at one end of the hutch or slightly off-center, creating a more dynamic and visually engaging display. Remember the height of your focal point; it should not overwhelm the space but should also be tall enough to stand out.
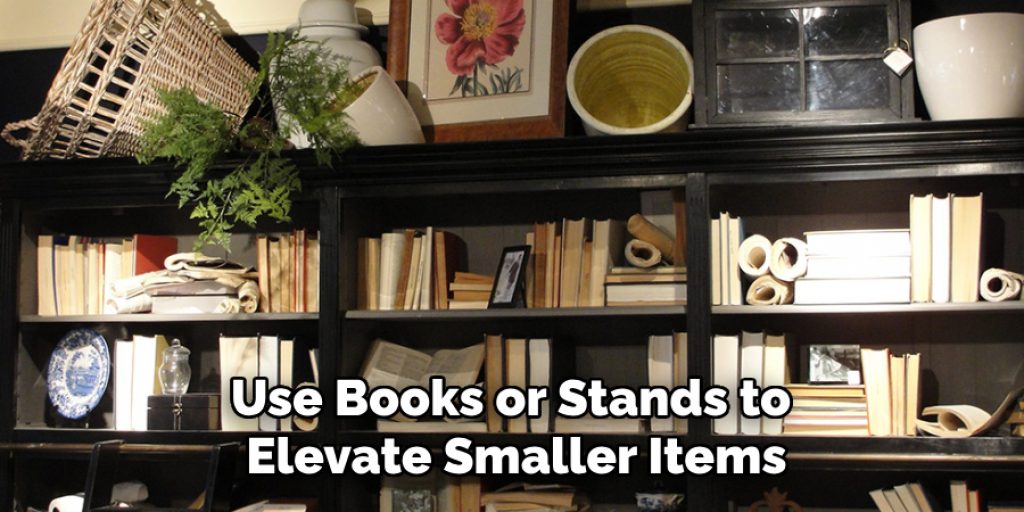
Step 3. Add Layering with Varying Heights
Incorporate items of various heights around your focal point to add depth and visual interest to your arrangement. Use books or stands to elevate smaller items, such as candle holders or figurines, creating a tiered effect. This layering draws the eye across the display and makes the arrangement feel more curated. Aim for a balanced mix of tall, medium, and short items, ensuring they complement each other without competing for attention.
Step 4. Incorporate Greenery
Bringing in some greenery is a fantastic way to enhance the decor on top of your cabinet. Use plants or flowers in decorative pots or vases to introduce a refreshing touch of nature. Consider incorporating live and faux plants, depending on your maintenance preference and the amount of sunlight available in the space. Position these greenery items strategically as accents, filling gaps and adding softness to hard surfaces.
Step 5. Use Trays for Organization
To achieve a cohesive look, consider grouping smaller items on trays or in baskets. This not only helps to create organization but also adds texture to your display. Choose a tray that fits the style of your decor—wooden trays for a rustic feel or metallic ones for a modern touch. Arrange your decorative objects within the tray, allowing them to work together as a collective unit while offering their unique charm.
Step 6. Personalize with Mementos
Adding personal touches to your hutch decor can create a meaningful and curated space. Incorporate personal mementos, such as travel souvenirs, family photos in decorative frames, or heirlooms. These pieces showcase your personality and can become conversation starters for guests. Place them thoughtfully within the arrangement, ensuring they complement the overall aesthetic without overwhelming the other decorative elements.
Step 7. Consider the Colour Scheme
When decorating, keep your color scheme in mind to ensure a harmonious look. Coordinate the hues of your decorative objects with the existing colors in your room. Selecting a few key colours or a specific palette that reflects your style while maintaining a sense of cohesion can be effective. Mixing textures—such as smooth ceramics, rustic wood, and polished metals—can also enhance visual interest within the colour scheme.

Step 8. Step Back and Assess
After arranging your items, take a moment to step back and assess the overall composition. If possible, walk around the room and view the hutch from different angles to ensure that your arrangement appears balanced and visually pleasing from all perspectives. This reflection allows you to make any necessary adjustments, ensuring that no area feels cluttered or empty.
Step 9. Final Touches
It’s time for the finishing touches once you are satisfied with the arrangement. Consider adding lighting elements, such as string lights or small lamps, to create a warm ambiance in the space. You may also want to incorporate decorative books or seasonal items that can be swapped out as the year progresses. These final details can enhance the aesthetic and keep your décor fresh and inviting.
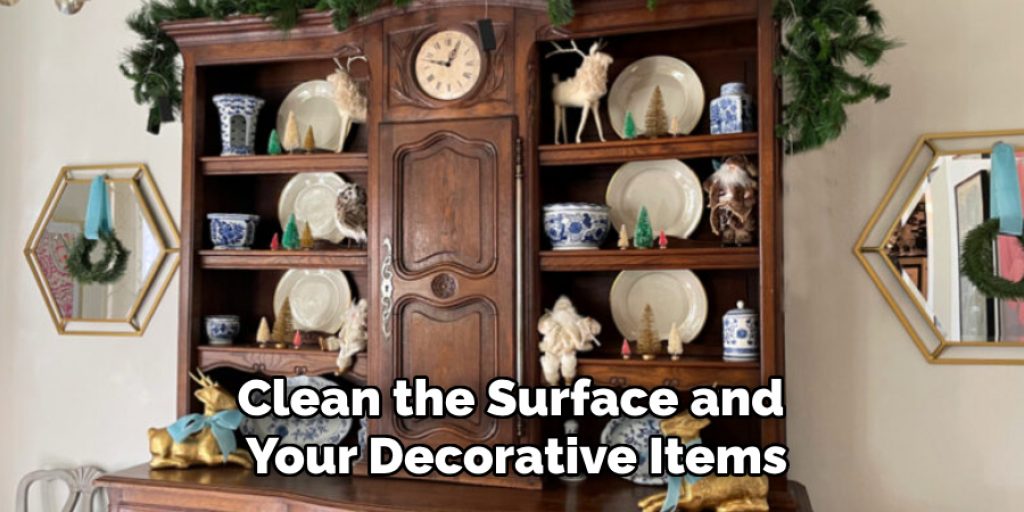
Step 10. Maintain and Refresh
After completing your hutch decoration, don’t forget about maintenance. Regularly dust and clean the surface and your decorative items to keep them looking their best. Additionally, consider refreshing your display occasionally; swapping out seasonal decorations or rearranging pieces can breathe new life into your space and keep your cabinet looking dynamic and engaging. Enjoy the process of curating and showcasing your style on top of your cabinet!
By following these ten steps, you can create a stunning and personalized display on top of your hutch. Remember to have fun with the process and let your style shine through.
5 Different Theme Ideas for Hutch Decor
- Rustic Farmhouse: Incorporate wood, greenery, and vintage-inspired items to create a cozy and charming display.
- Modern Minimalist: Keep the arrangement clean and simple with neutral colors and sleek accents for a contemporary and sophisticated look.
- Bohemian Chic: Mix different textures, patterns, and colors to create a free-spirited and eclectic display with a global influence.
- Coastal Retreat: Bring elements such as shells, rope, and shades of blue to create a relaxed, beachy atmosphere.
- Elegant Glam: To achieve a glamorous and opulent look on top of your hutch, use metallic accents, luxurious fabrics, and elegant decorative pieces.
Endless possibilities exist when it comes to decorating the top of your cabinet. Consider these themes or use them as inspiration to create your unique style that reflects your personality and taste.
5 Things You Should Avoid
- Overcrowding the Space: It can be tempting to fill every inch of space with decorative items, but overcrowding can lead to a chaotic and cluttered appearance. Aim for a few well-chosen pieces that allow each item to stand out rather than compete for attention.
- Ignoring Scale and Proportion: Be mindful of the size of your decorative items in relation to the hutch. Placing oversized pieces or tiny trinkets can make the arrangement feel imbalanced. Ensure that the heights and widths of your items are proportionate to one another and the space itself.
- Using Outdated or Unrelated Themes: While a personal touch is essential, incorporating items that don’t fit your current decor theme can create a disjointed look. Stay consistent with your decor style and color palette to maintain visual harmony.
- Neglecting Accessibility and Functionality: If the cabinet is in a space where functionality matters, such as a kitchen or dining area, avoid placing items that are difficult to reach or that obstruct access to other uses of the cabinet. Prioritize accessibility to ensure your decor doesn’t interfere with the cabinet’s purpose.
- Forgetting About Lighting: Proper lighting can significantly enhance your display. Avoid placing the hutch in poorly lit areas, where your carefully arranged items will go unnoticed. Incorporating ambient lighting can add warmth and highlight the beauty of your decor.
By avoiding these mistakes, you can create a curated and polished look on top of your hutch that reflects your style while still maintaining balance and functionality.
Conclusion
In summary, how to decorate the top of a hutch is an opportunity to showcase your personal style while enhancing the overall look of your room.
By incorporating personal mementos, considering color schemes, and maintaining balance, you can create a visually appealing and cohesive display. Embrace different themes to reflect your taste, and remember to avoid common pitfalls such as overcrowding or neglecting lighting. With these guidelines, your hutch can serve as a stunning focal point that invites admiration and creates a warm, welcoming atmosphere in your home.
Enjoy the creative process and let your unique personality shine through in your decor!
Angela Ervin
Angela is the executive editor of DIY quickly. She began her career as an interior designer before applying her strategic and creative passion to lifestyle and home. She has close to 15 years of experience in creative writing and online content strategy for housekeeping, home decorations as well as other niche efforts. She loves her job and has the privilege of working with an extraordinary team. She lives with her husband, two sons, and daughter in Petersburg. When she's not busy working she spent time with her family.