How to Decorate Tumblers
Decorating tumblers is a creative and enjoyable way to personalize your drinkware, making it unique to your style or an ideal customized gift for friends and family. This guide explores various methods and techniques for adorning tumblers, from simple DIY projects using materials like vinyl decals and paint to more advanced techniques such as epoxy resin art.
Whether you’re looking to express your personality, support a favorite cause, or simply add a splash of color to your daily hydration routine, this guide will provide you with the inspiration and instructions on how to decorate tumblers you need to get started on your tumbler decorating journey.
What is a Tumbler?
A tumbler is a type of drinkware that typically has a cylindrical shape and no handle. It can be made from various materials, including plastic, glass, stainless steel, or ceramic. Tumblers are commonly used for drinking water, coffee, tea, smoothies, and other beverages on the go.
You can find tumblers in different sizes, shapes, and designs to suit your needs and preferences. They often come with a lid and straw for easy sipping and to keep your drink contained while you’re on the move.
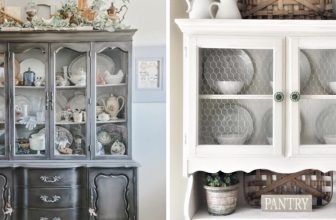
The smooth surface of a tumbler provides an excellent canvas for decoration, making it a popular choice for DIY projects. Plus, decorating your own tumbler is not only fun but also practical as it helps to differentiate your drinkware from others and prevent mix-ups.
Why Decorate Tumbler?
There are many reasons why you may want to decorate your tumbler, including:
Personalization:
Adding your own touch and style to your tumbler makes it uniquely yours.
Customization:
You can use decorations to reflect your interests and passions or even promote a cause or business.
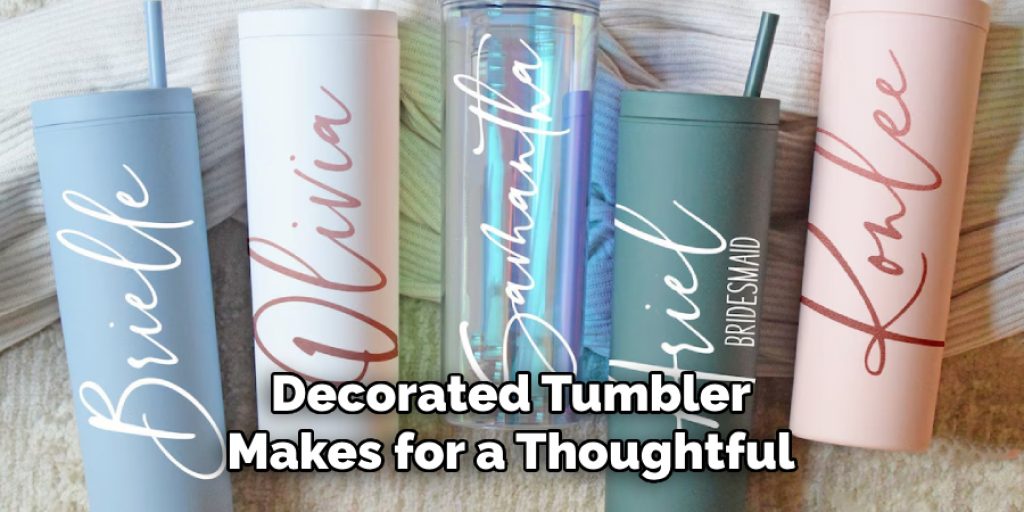
Gift-giving:
A decorated tumbler makes for a thoughtful and practical gift for friends, family, or colleagues. You can customize it to their liking and make it a truly one-of-a-kind present.
Creativity:
Decorating tumblers allows you to express your creativity and experiment with different techniques and designs.
Materials Needed
Before you get started on decorating your tumbler, here are some of the essential materials you will need:
Tumbler:
Choose a tumbler made from the material you prefer and in the size and shape that suits your needs.
Vinyl Decals:
These are adhesive stickers that come in various colors, designs, and patterns. They are perfect for adding personalized messages or illustrations to your tumbler.
Paint:
Acrylic or enamel paint works well on most tumbler materials and can be used to create unique designs and patterns.
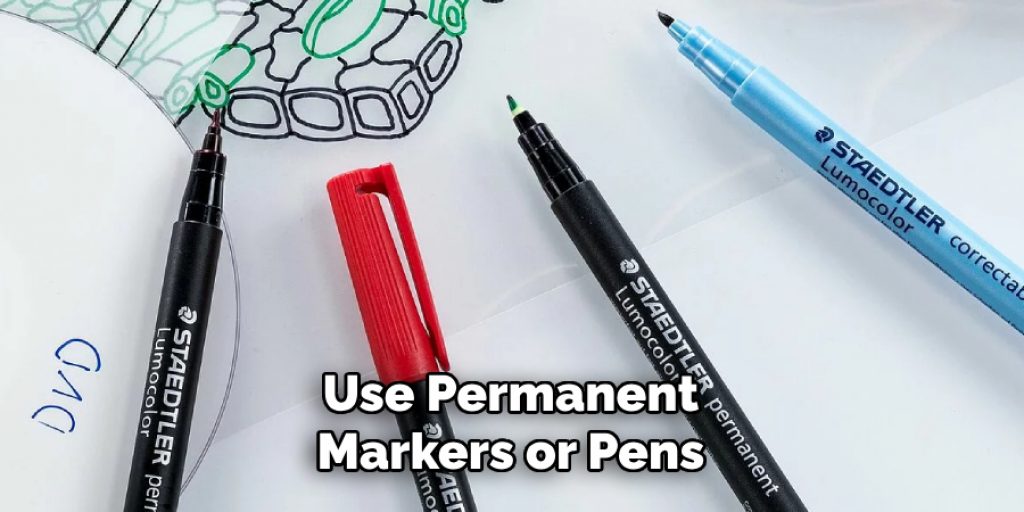
Markers/Pens:
For a more intricate design, you can use permanent markers or pens that are suitable for the material of your tumbler.
Epoxy Resin:
This is a popular material for creating a glossy, durable coating on tumblers. It can be mixed with pigments and glitter to create vibrant, eye-catching designs.
Brushes:
Make sure you have a variety of brushes in different sizes to help you apply paint or resin to your tumbler.
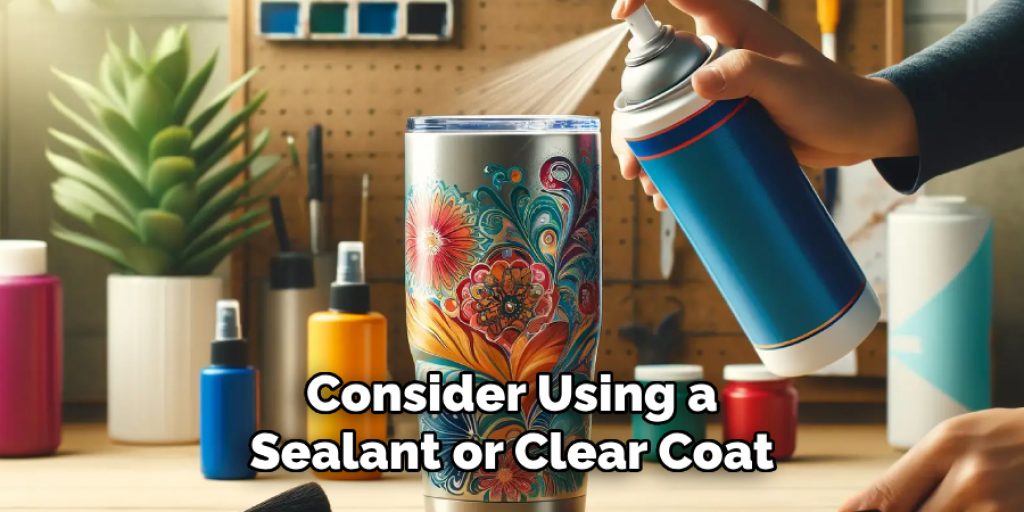
Sealer:
To protect your decorations and make them last longer, consider using a sealant or clear coat that is compatible with the materials you are using.
11 Step-by-step Guidelines on How to Decorate Tumblers
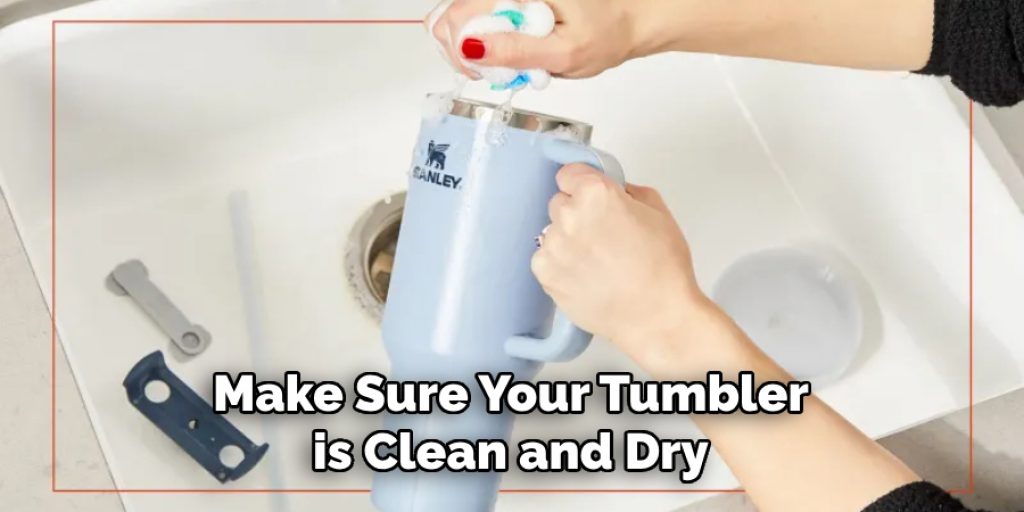
Step 1: Prepare Your Tumbler
Before you start decorating, make sure your tumbler is clean and dry. Remove any labels or stickers on the surface that you do not want to include in your design. If you are using a stainless steel tumbler, you may need to sand it lightly with fine-grit sandpaper to create a rough surface for better adhesion of decorations.
But be careful not to damage the material. It’s also a good idea to cover the bottom and top rims of your tumbler with masking tape to protect them from getting painted or coated.
Step 2: Choose Your Design
Decide on the design or message you want to include on your tumbler. You can sketch it out on paper first or use stencils or templates to help guide your design. It’s also helpful to plan out where you want to place your decorations on the tumbler. But don’t be afraid to mix and match different techniques and designs to create a unique look. The possibilities are endless! But remember to keep your design simple if you’re just starting.
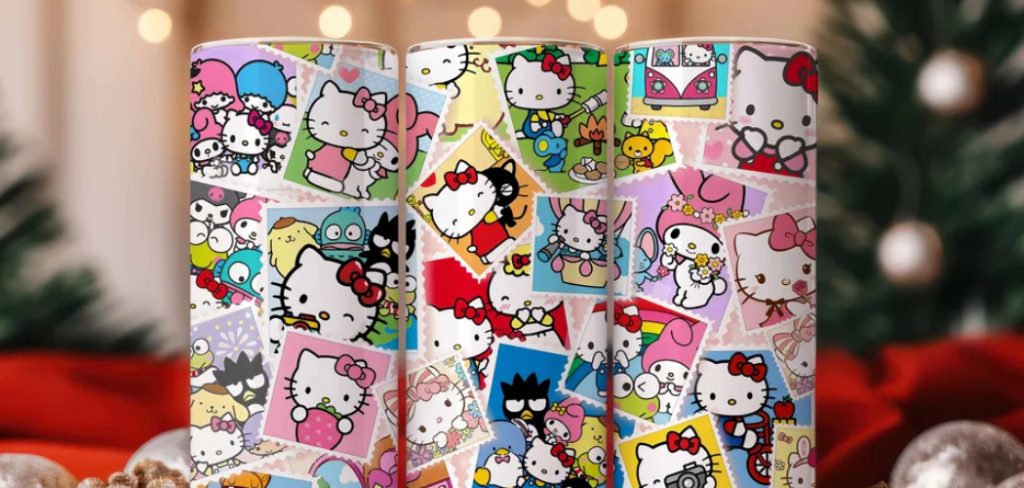
Step 3: Apply Vinyl Decals
Vinyl decals are an easy and quick way to add designs, words, or images to your tumbler. Simply peel off the backing and stick them onto your tumbler, smoothing out any air bubbles or creases with a credit card or scraper. You can also layer different decals for a more complex design. You can find vinyl decals at craft stores or online, or you can make your own using a vinyl cutting machine. But make sure to let the decals sit for at least 24 hours before moving on to the next step.
Step 4: Paint Your Tumbler
You can use acrylic or enamel paint to create unique designs on your tumbler. Use a brush to apply the paint directly onto the surface or use stencils for more intricate designs. You can also use a sponge, toothbrush, or other tools to create interesting textures and patterns. Let each layer of paint dry completely before adding another one to prevent smudging or mixing of colors. But if you do make a mistake, don’t worry! Acetone or rubbing alcohol can help remove paint from the surface before it dries.
Step 5: Use Markers/Pens
If you want more control over your design, you can use permanent markers or pens that are suitable for the material of your tumbler. These come in a variety of colors and tip sizes, allowing you to create precise lines and details. You can also use them to add accents or touch-ups on top of paint or vinyl decals. It’s best to let the markers dry completely before handling the tumbler or adding a sealant. You can also use a clear coat to protect the markers from fading or smudging.
Step 6: Mix and Apply Epoxy Resin
If you want to give your tumbler a smooth, glossy finish and protect your decorations from wear and tear, you can use epoxy resin. Follow the instructions of the product carefully before mixing equal parts of resin and hardener in a disposable container. Mix them slowly and avoid creating air bubbles. Then pour the mixture onto your tumbler, making sure to cover it completely. You can also add pigments or glitter to the resin for a more vibrant look. Let it dry undisturbed for at least 24 hours.
Step 7: Remove Masking Tape
Once your tumbler is completely dry, carefully remove the masking tape from the bottom and top rims, if you used any. If there are any rough edges on the design, use sandpaper to smooth them out gently. It’s also a good idea to wash your tumbler with soap and water before using it, especially if you use any chemicals in the decorating process. You can also run it through the dishwasher, but hand washing is recommended to preserve the design.
Step 8: Add Final Touches
After your tumbler is fully decorated and coated, you can add any final touches such as adding glitter or gems with adhesive, tying a ribbon around the straw hole, or attaching charms or keychains. These little details can make your tumbler even more unique and personalized. You can also experiment with different techniques and materials to create even more elaborate designs. If you make a mistake or want to change the design, remember that you can always start over by removing all decorations with acetone or rubbing alcohol.
Step 9: Apply Sealer
To protect your decorations and make them last longer, consider using a sealant or clear coat that is compatible with the materials you use. You can find sealants specifically made for tumblers at craft stores or online. Follow the instructions carefully and apply it in thin, even coats. Let it dry completely before using the tumbler. But be aware that some sealants may alter the appearance of your decorations, so test it on a small area first.
Step 10: Enjoy Your Personalized Tumbler
Now that you have put all the hard work and creativity into decorating your tumbler, it’s time to enjoy using it! Show off your unique design at work, school, or on the go. Your personalized tumbler can also make a great gift for friends and family. Plus, you can always add more decorations or change the design in the future if you feel like it.
Step 11: Share Your Creation
Don’t forget to take pictures of your finished tumbler and share them with others! You can inspire others to create their own personalized tumblers or even start a small business selling them. You can also join online communities or social media groups dedicated to tumbler decorating and get tips and ideas from fellow enthusiasts.
Share your experiences, challenges, and successes with others and continue to improve your skills in tumbler decorating. Remember, the possibilities are endless and there is always room for creativity and experimentation! So have fun and keep creating!
Following these steps on how to decorate tumblers, you can easily create a personalized tumbler that reflects your style and personality. Don’t be afraid to try new techniques or combine different methods to make your tumbler truly unique. And don’t forget to enjoy the process and have fun with it! Happy decorating!
Care and Maintenance
Taking care of your decorated tumbler is just as important as the decorating process itself. Here are some tips to help you maintain the quality and appearance of your custom tumbler:
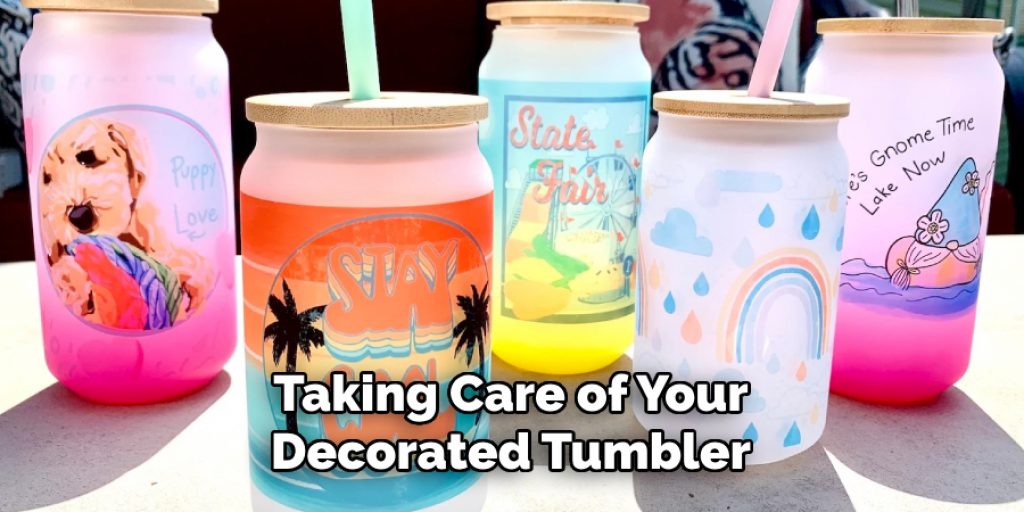
- Hand wash with mild soap and water instead of using a dishwasher.
- Avoid using abrasive materials or harsh chemicals on the surface.
- Do not expose the tumbler to extreme temperatures or direct sunlight for extended periods.
- If using epoxy resin, do not use the tumbler for hot beverages as it may affect the resin’s durability.
- Check and reapply sealant every few months to protect the decorations from wear and tear.
- Avoid dropping or mishandling the tumbler to prevent damage to the decorations.
- If any decorations start to peel or come off, carefully remove them and touch them up with new materials.
- If the tumbler gets dirty, gently clean it with a soft cloth or sponge instead of scrubbing vigorously.
By following these maintenance tips, you can ensure that your personalized tumbler stays in top condition and lasts for a long time. Happy decorating! So have fun and keep creating! Happy decorating! So have fun and keep creating! Happy decorating!
Personalization and Customization
One of the best things about decorating tumblers is the ability to personalize and customize them according to your preferences. You can choose any color, design, or technique that speaks to you and reflects your style. You can also incorporate different materials such as stickers, decals, vinyl, glitter, gems, paint pens, or even hand-drawn illustrations.
The possibilities are endless! You can also use your tumbler as a canvas to express yourself, show off your creativity, or make a statement. Whether you prefer a sleek and minimalist design or a bold and colorful one, there is no right or wrong way to decorate a tumbler. So, let your imagination run wild and create something truly unique!
If you want to take your tumbler decorating skills to the next level, you can also experiment with advanced techniques such as hydro dipping, alcohol inking, or using a vinyl cutter machine. These methods may require more time and effort but can result in stunning and intricate designs. You can also try creating themed tumblers for special occasions like holidays, birthdays, or weddings. These personalized tumblers can make great gifts and add a special touch to any event.
Tips
- Start with a clean and dry tumbler to ensure that the decorations adhere properly.
- Plan your design beforehand or sketch it out on paper to avoid mistakes or wasting materials.
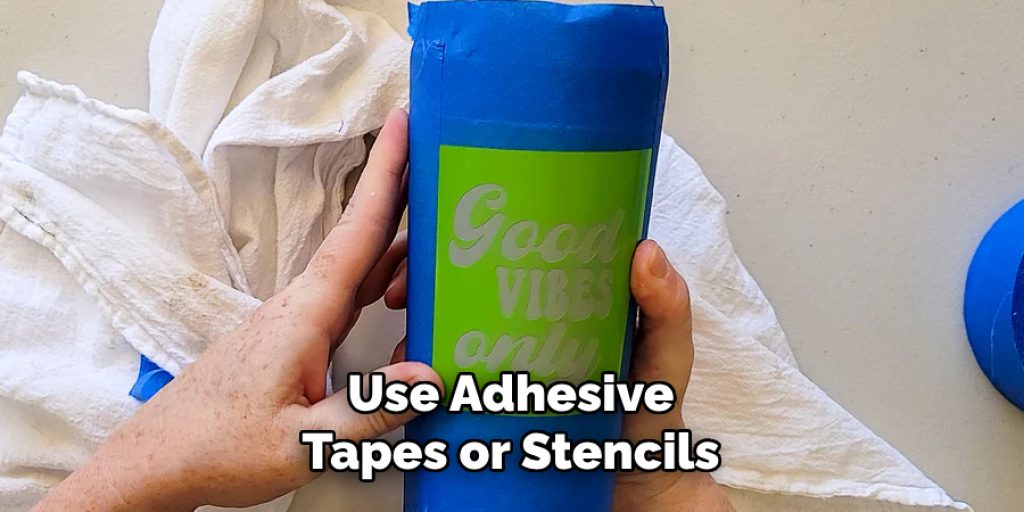
- Use adhesive tapes or stencils to create straight lines, shapes, or intricate patterns.
- Work in a well-ventilated area and use protective gear like gloves or masks when using chemical products.
- Don’t be afraid to make mistakes or try new things. It’s all part of the learning and creative process!
With these tips and techniques, you can create a personalized tumbler that is truly one-of-a-kind. Remember, practice makes perfect, so keep decorating and have fun with it! So have fun and keep creating!
Frequently Asked Questions
Q: Can I Use Any Type of Tumbler for Decorating?
A: Yes, as long as the material is suitable for the methods and materials you plan to use. For example, if you want to use epoxy resin, make sure your tumbler is made of a non-porous material such as stainless steel or glass. It’s also important to consider the shape and size of your tumbler, as it may affect your design choices.
Q: What Type of Paint Should I Use?
A: Acrylic and enamel paints are recommended for decorating tumblers. Make sure to use ones that are suitable for the material of your tumbler and let each layer dry completely before adding another one. You can also use markers or pens for more precise designs. The key is to experiment and find what works best for you.
Q: Do I Need to Seal My Tumbler After Decorating?
A: It’s recommended to apply a sealant or clear coat to protect your decorations and make them last longer. However, it’s not necessary if you use permanent markers or vinyl decals as they are already resistant to wear and tear. Always read the instructions for your chosen sealant and test it on a small area first to avoid any unwanted changes in appearance.
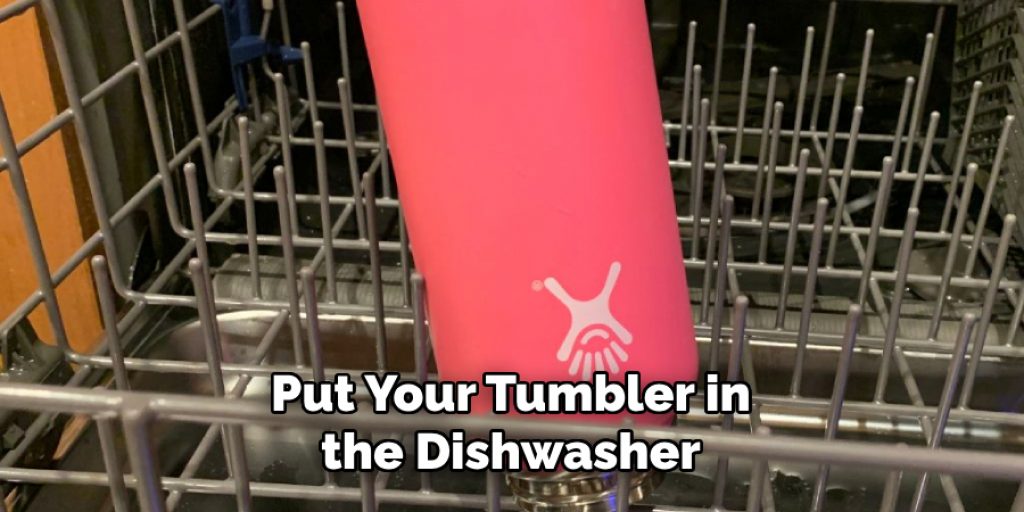
Q: Can I Put My Decorated Tumbler in the Dishwasher?
A: It’s generally safe to put your tumbler in the dishwasher, but hand washing is recommended for preserving the design. If you use epoxy resin, make sure to check if the product is dishwasher safe before putting it in. You can also remove any detachable parts, such as straws or lids, before washing. However, it’s always best to check the dishwasher instructions of your specific tumbler first.
Q: How Can I Fix Mistakes on My Tumbler Design?
A: If you make a mistake or want to change the design, you can remove decorations with acetone or rubbing alcohol. For more stubborn mistakes, you may need to use a sandpaper or a blade scraper. Remember to be careful and gentle when removing decorations to avoid damaging the tumbler. You can then start over with a new design if desired.
Conclusion
Decorating tumblers is a creative and fulfilling hobby that allows individuals to express their personal style while creating something functional and unique. From selecting the perfect tumbler to exploring various decorating techniques, the process is a rewarding adventure in creativity and personal expression. With the tips and information provided in this guide, you are well-equipped to start your own tumbler decorating projects.
Remember, the most important aspect of this craft is to enjoy the process and allow your creativity to flow freely. Whether you’re making a tumbler for personal use or as a gift, the attention to detail and personalized touch will surely make it a cherished item. Happy decorating, and may your tumblers reflect your imagination and style!
Angela Ervin
Angela is the executive editor of DIY quickly. She began her career as an interior designer before applying her strategic and creative passion to lifestyle and home. She has close to 15 years of experience in creative writing and online content strategy for housekeeping, home decorations as well as other niche efforts. She loves her job and has the privilege of working with an extraordinary team. She lives with her husband, two sons, and daughter in Petersburg. When she's not busy working she spent time with her family.