How to Decorate Wooden Letters
Decorating wooden letters is a creative hobby that provides a sense of personalization and style to any home. Whether you’re embarking on your first crafting project or looking to spruce up your living space with something handmade, wooden letters offer a versatile canvas to express yourself.
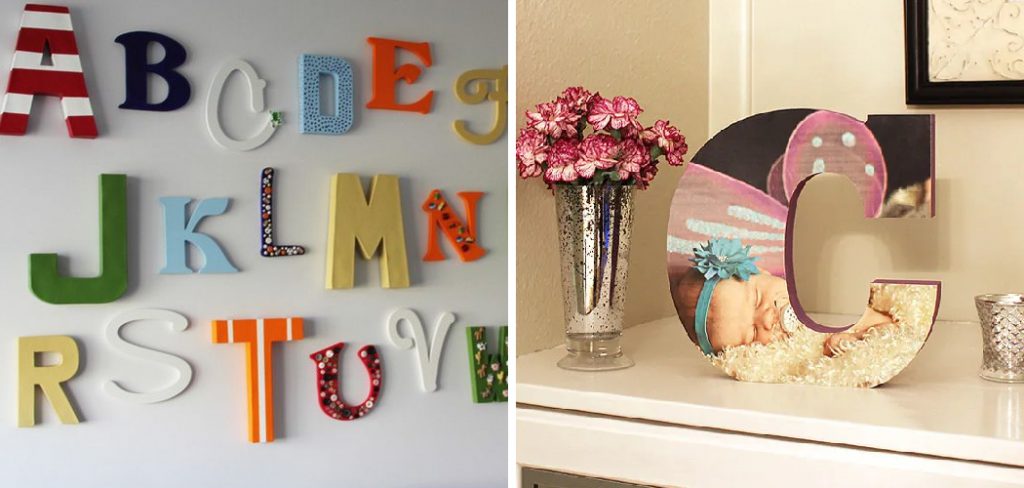
In this post, I’ll walk through multiple techniques for how to decorate wooden letters using paints, stains, fabrics, and more. By following a few simple steps, you can transform plain blocks of wood into unique statement pieces tailored to your tastes. Read on to learn how to get started decorating wooden letters like a pro and adding a customized decorative touch to your walls.
9 Best Ways on How to Decorate Wooden Letters
1. Painted Wooden Letters:
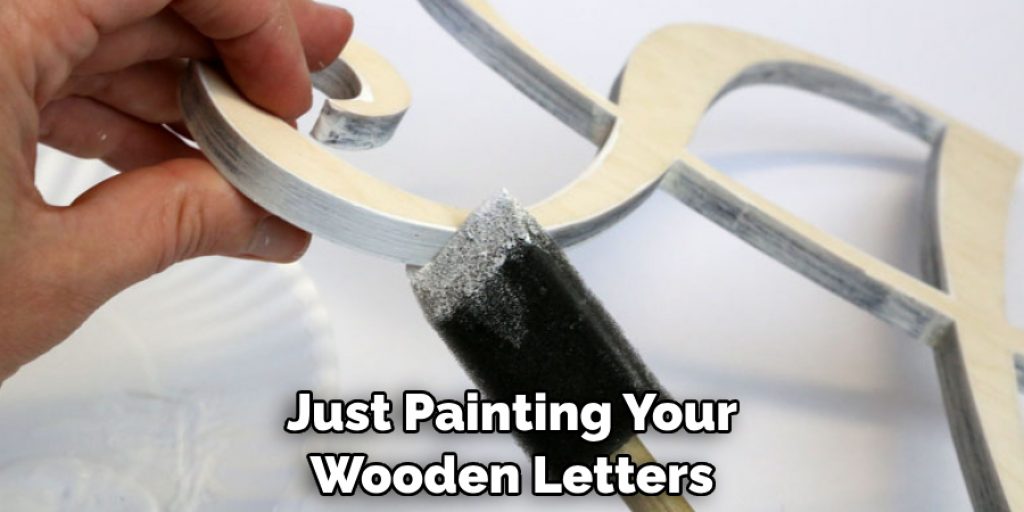
One of the most popular ways to decorate wooden letters is by painting them. You can use acrylic or chalk paint in various colors, patterns, and designs to create a letter that stands out. First, sand your wooden letter to ensure a smooth surface for painting. Then, apply your desired paint using a brush or sponge and let it dry completely before adding additional layers or designs. If you’re feeling adventurous, you can also try using stencils or free-hand painting to add more intricate details.
2. Decoupage Wooden Letters:
Decoupage is an excellent technique for adding pattern and color to wooden letters. You can use a variety of materials, such as paper, fabric, or even napkins, to create a unique look. Simply cut your chosen material into small pieces and adhere them to your letter using decoupage glue. Make sure to smooth out any air bubbles and let it dry completely before adding a top coat of glue for extra durability.
3. Stained Wooden Letters:
For a more natural look, try staining your wooden letters. You can use wood stain or gel stain in various colors to achieve different effects on the wood’s surface. Before applying the stain, make sure to sand your letter to remove any imperfections. Then, use a rag or brush to apply the stain in the direction of the wood grain and let it dry completely before adding additional coats for a darker color.
4. Fabric Covered Wooden Letters:
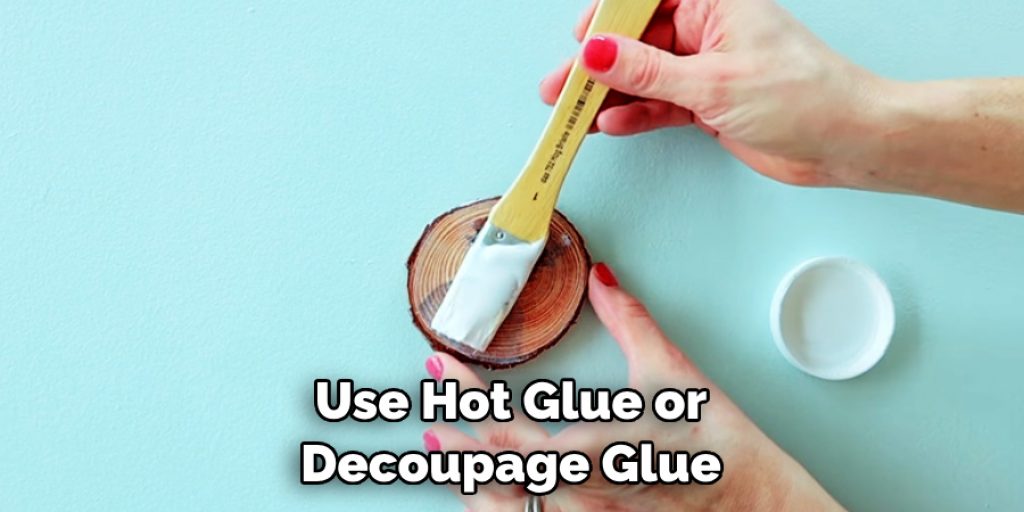
If you have leftover fabric scraps lying around, why not use them to cover your wooden letters? You can use hot glue or decoupage glue to attach the fabric to your letter, making sure to smooth out any wrinkles as you go. This technique is perfect for adding a pop of color or texture to your home decor. This is also a great way to use up any old or unused fabrics you may have.
5. Glittery Wooden Letters:
For those who love all things sparkly, glitter is the perfect medium for decorating wooden letters. You can use either loose glitter or glitter paint to achieve your desired look. First, cover the letter with a layer of glue and then sprinkle or paint on the glitter. Let it dry completely before adding a top coat of glue to keep the glitter in place.
6. Washi Tape Wooden Letters:
Washi tape is a versatile crafting material that comes in various colors, patterns, and widths. You can use it to decorate wooden letters by wrapping them around the edges or creating intricate designs directly on the letter’s surface. This is a quick and easy way to add color and personality to your letters without the mess of paint or glue.
7. Decals on Wooden Letters:
Decals are pre-made designs that you can easily stick onto your wooden letters for instant decoration. You can find decals in a variety of shapes, sizes, and themes at most craft stores. Simply peel off the backing and place the decal on your letter, smoothing out any air bubbles or wrinkles. This is a great option for those who prefer a more effortless and mess-free method of decorating wooden letters.
8. Laser Cut Wooden Letters:
If you want to take your wood crafting skills to the next level, you can create intricate designs using a laser cutter. These machines use a highly focused laser beam to cut or engrave designs onto wood, resulting in precision and detail that is difficult to achieve by hand. You can either create your designs or purchase pre-made templates for a more professional look.
9. Embellished Wooden Letters:
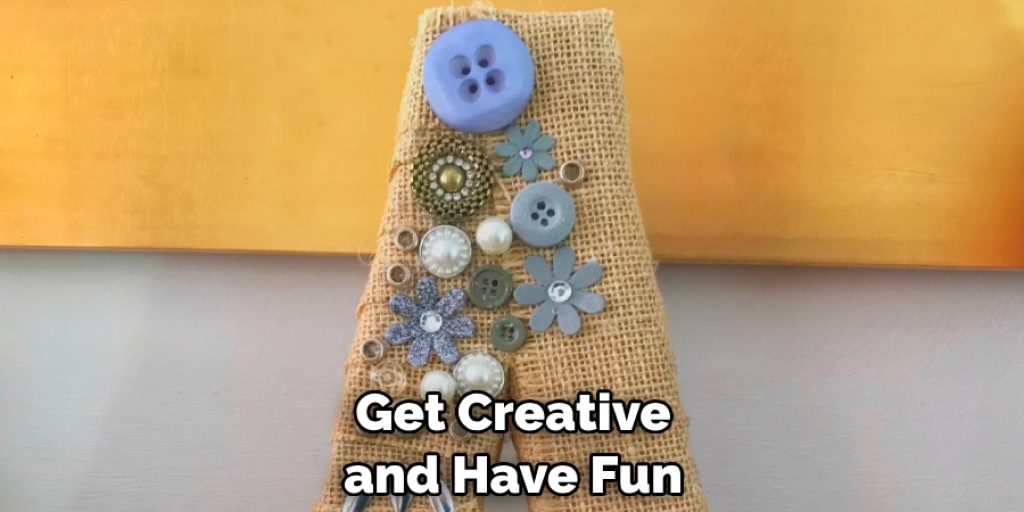
Lastly, you can add various embellishments to your wooden letters, such as buttons, beads, or even small mirrors, to create a unique and eye-catching design. Simply use glue to attach the embellishments to your letter and let it dry completely. This technique is perfect for those who love adding a bit of personality and dimension to their home decor.
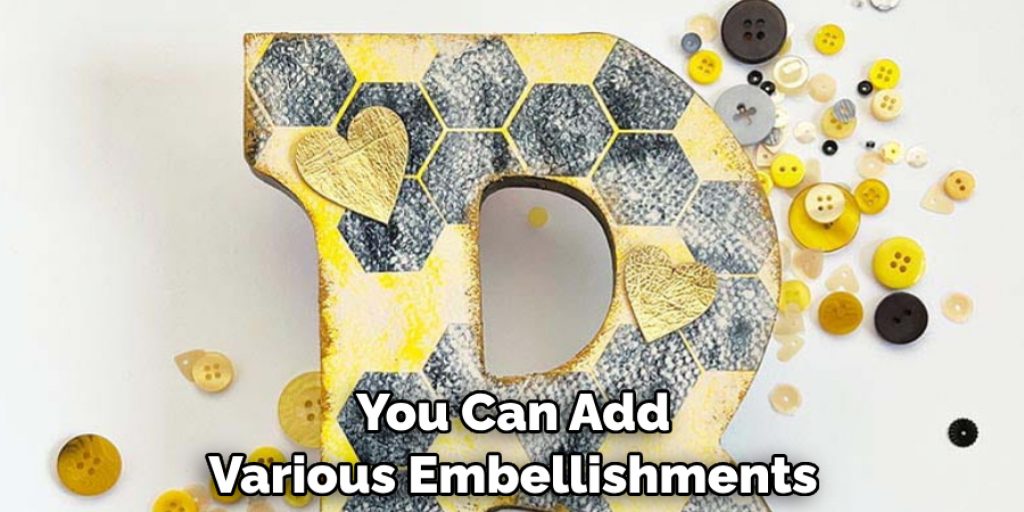
Now that you have learned some of the best ways to decorate wooden letters, it’s time to get creative and make your own! Remember, the possibilities for decorating wooden letters are endless, so don’t be afraid to experiment and have fun. These personalized decorations will add a special touch to any room in your home. Happy crafting!
Additional Tips and Tricks to Decorate Wooden Letters
1. If you’re working with wooden letters that have intricate designs or patterns, use a small paintbrush to fill in the details. This will ensure clean and precise lines.
2. Consider using multiple colors for your wooden letters to make them stand out even more. Use contrasting colors for a bold look or stick to similar shades for a subtle yet cohesive design.
3. To add dimension to your wooden letters, consider using different textures such as glitter, fabric, or even washi tape. This will make your letters pop and add visual interest.
4. Experiment with different techniques to create unique designs on your wooden letters. You can try splatter painting, stenciling, or even decoupage for a personalized touch.
5. Don’t limit yourself to just painting your wooden letters. You can also use other materials such as beads, buttons, or even dried flowers to decorate them.
6. When using adhesive materials like glue or tape, make sure to let them dry completely before handling the letters to avoid smudging or shifting of decorations.
7. If you’re using stencils for your designs, secure them firmly with tape to prevent any movement and ensure clean lines.
8. Consider using a combination of patterns and designs to create a cohesive look for your wooden letters. For example, you can use polka dots on one letter, stripes on another, and floral patterns on the rest.
9. When working with wooden letters that have connecting parts like an ‘M’ or ‘W’, make sure to keep them in place while decorating to avoid any gaps or uneven designs.
10. Don’t be afraid to mix and match different styles for your wooden letters. You can combine a rustic look with a modern design or go for an eclectic approach with various patterns and materials.
Following these additional tips and tricks, you can turn a simple set of wooden letters into a beautiful and personalized decor piece for your home or special event. Get creative and have fun with your designs to make them truly unique! Happy decorating!
Things You Should Consider to Decorate Wooden Letters
1. The first thing you need to consider when decorating wooden letters is the type of wood you are using. Different types of wood have different textures and finishes, so it’s important to know what kind of look you want before choosing your materials.
2. Another important factor to consider is the size and thickness of your wooden letters. Thicker wooden letters will be sturdier but may also be more difficult to decorate. If you are planning on adding embellishments or intricate designs, you may want to opt for thinner wooden letters.
3. When it comes to decorating wooden letters, there are endless possibilities. You can paint them, decoupage them, add fabric or ribbon, use stencils or stamps, and more. Consider your style and the overall aesthetic you want to achieve when choosing your decoration method.
4. It’s always important to properly prepare the surface of your wooden letters before decorating. This may involve sanding down any rough edges or applying a coat of primer to ensure the paint or other materials adhere properly.
5. If you are planning on using multiple colors or different materials, it may be helpful to sketch out your design beforehand. This will give you an idea of how everything will come together and help prevent any mistakes.
6. Don’t forget to consider the overall theme of your decor when decorating wooden letters. You want your letters to fit in with the rest of your space and not look out of place.
7. Experiment with different techniques and materials to create unique and personalized wooden letters. From distressing to using metallic paints, there are endless ways to add character and make your wooden letters stand out.
8. It’s important to let each layer dry completely before moving on to the next step. This will help prevent any smudging or unwanted blending of colors.
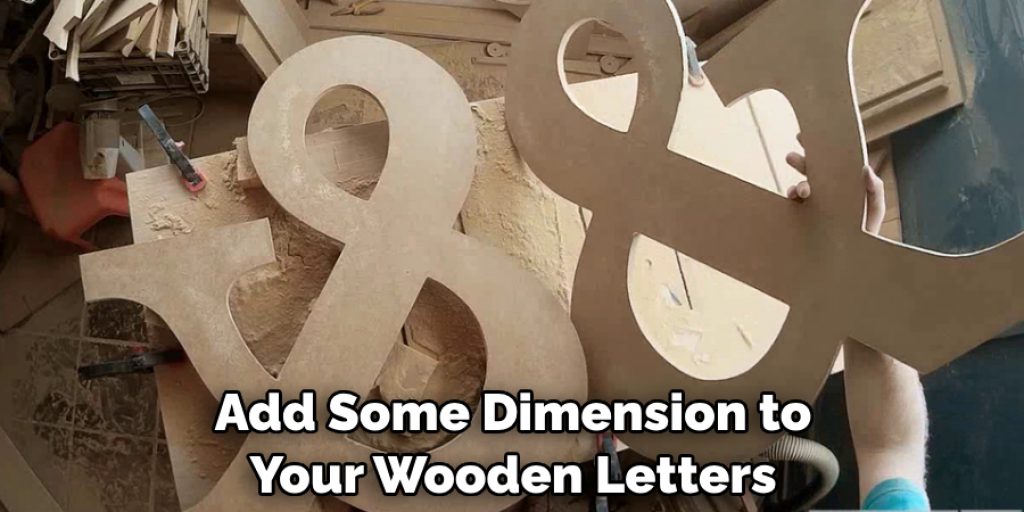
9. Don’t be afraid to add some dimension to your wooden letters, whether it’s through using different textures or incorporating three-dimensional elements like buttons or beads.
Following these considerations will help you create beautifully decorated wooden letters that add a personal touch to any space. Have fun and let your creativity run wild! So, continue exploring new ideas and techniques to turn simple wooden letters into beautiful works of art. Keep in mind that the beauty of decorating wooden letters is that there are no rules, so feel free to experiment and make them truly unique. Happy crafting!
Conclusion
In conclusion, knowing how to decorate wooden letters is not only a fun and creative activity, but it also adds a personal touch to any space. Whether you choose to paint them with bright colors or decoupage them with patterned paper, the options are endless when it comes to embellishing your wooden letters. So why not try out some of the techniques we have discussed in this post, and see how you can transform plain wooden letters into unique and eye-catching pieces of decor?
Let your imagination run wild and don’t be afraid to experiment with different materials and designs. And remember, these decorated wooden letters also make fantastic gifts for friends and loved ones for any occasion. So gather your supplies, put on some music, and get creative with your very own personalized wooden letters!

