How to Double Up Yarn
Doubling up yarn is a popular technique among crafters that can enhance the texture and warmth of your knitted or crocheted projects. By using two strands of yarn simultaneously, you can achieve a thicker and more substantial fabric, perfect for creating cozy garments, blankets, and accessories. This method not only adds depth to your work but also allows for greater versatility with your yarn selection.

In this guide on how to double up yarn, we will explore the steps to effectively double up yarn, tips for choosing the right materials, and the various creative applications for this technique. Whether you are a beginner or an experienced maker, doubling up yarn can open up a new world of possibilities for your next project.
Why Double Up Yarn?
There are many reasons why you would want to double up yarn for your projects. Here are some of the main benefits:
Enhanced Texture:
By using two strands of yarn, you can create a thicker and more textured fabric, adding dimension and depth to your work.
Increased Warmth:
The added layer of yarn provides extra insulation, making your finished project warmer and cozier.
Versatility:
Doubling up yarn allows you to mix and match different colors, fibers, and weights to create unique and interesting effects in your work.
Save Time:
Using two strands of yarn can help you complete a project faster, as the thicker fabric requires fewer stitches to cover the same area.

Materials Needed
To double up yarn, you will need:
- Two Skeins of Yarn in Your Desired Colors or Fibers
- Yarn Swift (Optional)
- Yarn Ball Winder (Optional)
7 Step-by-Step Guides on How to Double Up Yarn
Step 1: Prepare Your Yarn
Before you begin doubling up your yarn, it’s essential to prepare your materials properly. Start by selecting the two skeins of yarn you wish to use, ensuring they are compatible in terms of weight and fiber content for the best results. Next, if you have a yarn swift and ball winder, use them to neatly wind the skeins into balls, which will make it easier to manage the yarn as you work.
If you don’t have these tools, simply unwind the skeins carefully, allowing the yarn to lay flat and tangle-free. Finally, pull strands from both skeins simultaneously, ensuring they run parallel to one another. This will create even more tension as you start your project.
Step 2: Determine the Starting Point
Once your yarn is prepared, it’s time to determine where you will begin your project. Figuring out the starting point typically depends on the pattern you are following or the design you have in mind. If you’re using a specific knitting or crochet pattern, consult the instructions to identify the cast-on or foundation chain requirements.
For a custom design, consider the item you are creating—such as a scarf, blanket, or sweater—and choose an appropriate length for your starting chain or stitches. Make sure to create a slipknot with both strands together to ensure consistent tension and a uniform beginning. Once you have your starting point established, you will be ready to move on to the next step and begin your crafting journey!
Step 3: Begin Knitting or Crocheting
With your starting point secured, start knitting or crocheting with both strands of yarn held together. You can use any stitch pattern you like, but make sure to maintain the same tension throughout to avoid any inconsistencies in thickness or texture.

As you work, be mindful of the two strands of yarn, ensuring they do not twist around one another and cause tangles. If needed, pause periodically to untwist and straighten out the strands.
Step 4: Adjust for Tension
Maintaining consistent tension is crucial when doubling up yarn, as variations can lead to uneven fabric and affect the overall appearance of your project. As you knit or crochet, regularly check how snugly the yarn is being pulled; it should glide smoothly without being overly tight or excessively loose.
If you notice any tightness, gently ease up on the tension by relaxing your grip on the yarn. Conversely, if the work feels too loose, try adjusting the position of your hands to hold the strands more firmly. Additionally, consider using a larger hook or needle size, if necessary, to help manage tension more effectively. Taking the time to adjust and ensure consistent tension will result in a beautiful, even fabric that showcases the advantages of doubling up yarn.
Step 5: Joining a New Skein
Once you have used up one of your skeins, it’s time to join a new one. To do this, cut the yarn ends, leaving equal lengths on each strand. Then, tie the two strands together using a simple overhand knot, making sure to leave some slack for later adjustment if necessary.
As you continue working with both strands held together, the knot will be hidden within the stitches and should not affect the appearance of your work.
Step 6: Weave in Ends
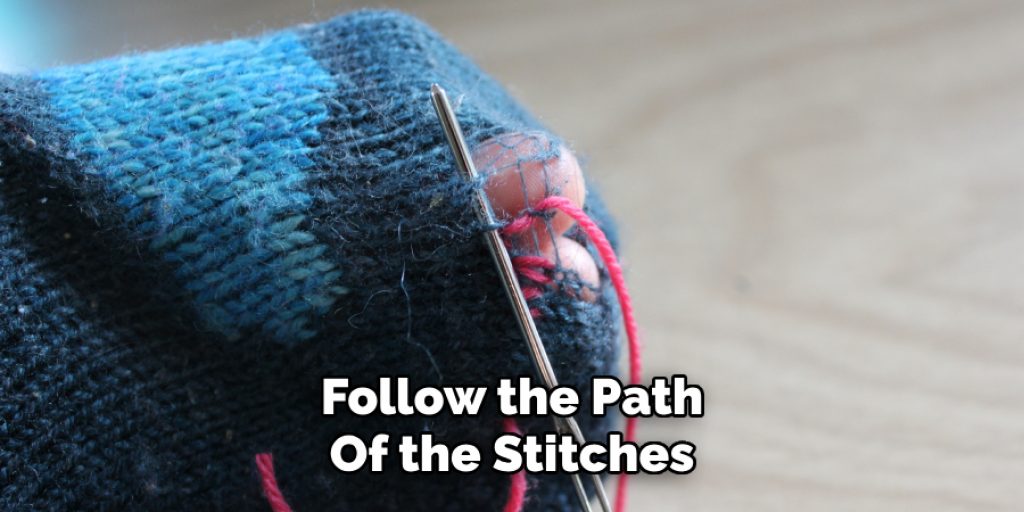
As you reach the end of your project or when you need to change colors or yarn types, it’s essential to weave in the loose ends for a polished finish. Start by trimming the yarn tails to about 6 inches in length. Using a yarn needle, thread the tails through the needle and carefully insert the needle into the stitches of your work. Aim to weave the ends into the fabric for 2-3 inches to secure them in place. It’s best to follow the path of the stitches to maintain the integrity of the fabric and avoid creating any noticeable bumps.

For projects with multiple colors or strands, try to weave the ends in the same colorway to help them blend seamlessly. Finally, snip any excess yarn, ensuring that you do not cut too close to the fabric to prevent unraveling. Taking the time to properly weave in your ends will enhance the overall appearance of your project and ensure its longevity.
Step 7: Finishing Touches
Once you have completed your knitting or crochet project, it’s time for the finishing touches. Depending on the item you created, this could be adding a border, blocking the fabric to shape and size, or adding any other embellishments. Follow the instructions of your pattern or use your creativity to add personal touches and make your project truly unique.
Congratulations! You have now successfully learned how to double up yarn and create beautiful projects with enhanced texture, warmth, and versatility in less time. Experiment with different yarn combinations and stitch patterns to create one-of-a-kind pieces that showcase this technique’s benefits creatively. Have fun exploring the endless possibilities of doubling up yarn! No matter what project you choose, you can be sure it will be uniquely yours. Happy crafting!
Additional Tips for Doubling Up Yarn
- Experiment with different weights and types of yarn to create unique textures and effects.
- Try using variegated or self-striping yarns for added visual interest.
- Consider doubling up yarn for projects requiring bulkier yarn to save money and add a personal touch.
- Make sure to use the same type of fiber in both strands to ensure consistency in texture and washing instructions.
- Don’t hesitate to mix and match colors as long as they complement each other well.
- Remember to always maintain consistent tension while working with doubled-up yarn for the best results.
- Have fun and don’t be afraid to get creative with this technique! By doubling up your yarn, you can create a unique, textured fabric that is perfect for a variety of knitting or crochet projects. With the right preparation and attention to detail, you’ll soon be an expert at using this useful technique.
Frequently Asked Questions
Q1: Can I Double Up Any Type of Yarn?
A: It is best to use the same type of fiber in both strands for consistency and washing instructions. However, you can experiment with different weights and types of yarn to create unique effects. It is essential to maintain consistent tension while working with doubled up yarn for the best results.
Q2: Will My Project Turn Out Too Thick or Bulky?
A: The thickness of your project will depend on the type of yarn and stitch pattern you choose. However, using a larger needle or hook size can help manage the bulkiness if needed. It’s always best to do a small swatch first to determine if the outcome meets your expectations.

Q3: How Do I Join a New Skein When Working with Doubled Up Yarn?
A: To join a new skein, cut the ends, leaving equal lengths on both strands and tie them together using an overhand knot. Make sure to leave some Slack for later adjustments. As you continue working, the knot will be hidden within the stitches and should not affect the appearance of your work.
Conclusion
In conclusion, doubling up yarn is a versatile technique that can enhance both the texture and warmth of your knitting or crochet projects. By following the steps outlined in this guide on how to double up yarn—from managing tension to weaving in ends—you’ll be able to create beautifully crafted pieces that showcase your unique style and creativity.
Embrace the process of experimentation with different yarn combinations and stitch patterns to fully realize the potential of doubling up yarn. With practice and patience, you’ll gain confidence in your skills and discover the joy of crafting items that are not only functional but also works of art. Happy crafting!


