How to Dye Stripes on Fabric
Are you looking for a creative way to add some flair to your fabric projects? Using dye to create stripes on fabrics is the perfect way to add some unique visual interest and texture. Not only are dying stripes simple, but the final product looks sophisticated and stylish.
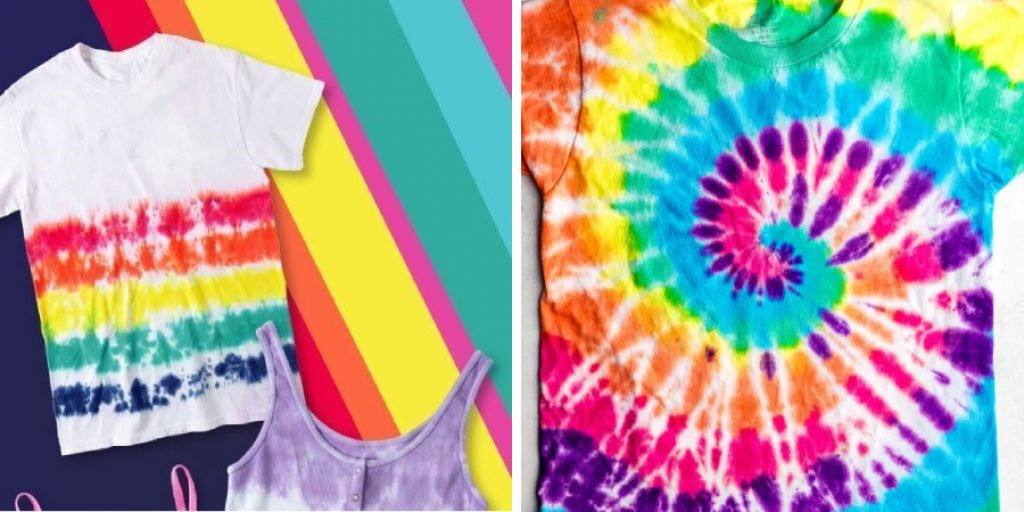
In this blog post on how to dye stripes on fabric, we’ll take you through all of the steps necessary to effectively dye vibrant stripes on any type of fabric. From selecting the right supplies and dyes, prepping your fabric, creating stripe patterns with waxed tape or string, and finally how to properly apply color with dye – we’ve got everything you need for perfectly painted flare!
11 Step-by-Step Guidelines on How to Dye Stripes on Fabric
Step 1: Choose Your Fabric and Dye
Before you begin the process of dyeing stripes, you’ll need to select the right fabric and dyes for your project. Natural fabrics such as cotton, linen, wool, and silk all work well for dyeing stripes. For best results, choose a fabric that’s lightweight so that it will absorb the dye more evenly. When selecting dyes, look for dyes that are specifically designed to work on natural fabrics. Always read the label to ensure that you have the right dyes for your fabric.
Step 2: Prepping the Fabric
Before you start the dyeing process, it’s important to make sure that your fabric is prepped properly. Wash and dry the fabric according to package instructions and then press the material with an iron so that it’s free of wrinkles. But, make sure that you don’t use any starch or fabric softeners as these can affect the dye’s ability to adhere to the fabric. This step is also the time to measure out your fabric and choose a design for your stripes.
Step 3: Create Stripe Pattern
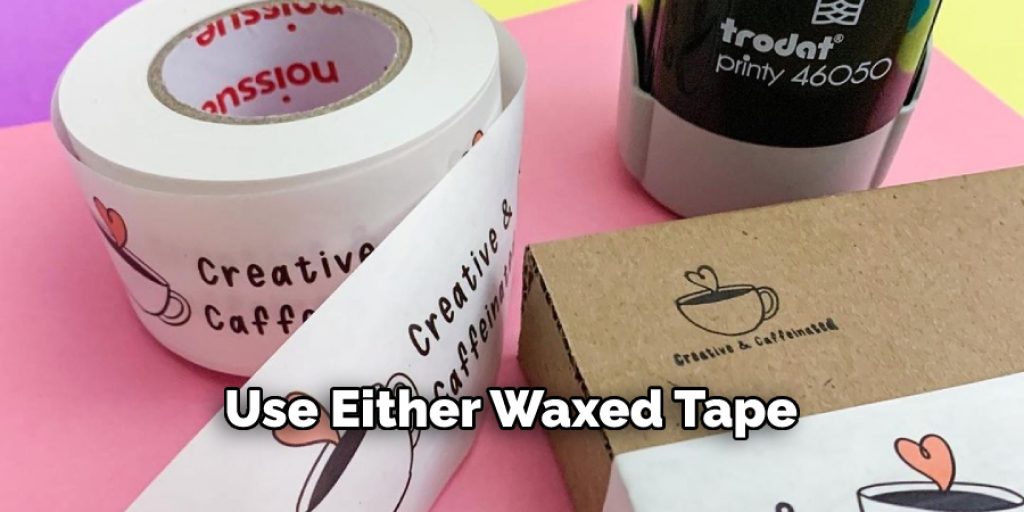
Now it’s time to create the stripe pattern you’d like for your fabric. You can use either waxed tape or string to create a straight line in the desired shape. Make sure that each stripe is spaced evenly apart from one another, as this will affect how the stripes look once they are dyed. For best results, try not to overlap stripes as this may cause uneven coloration.
Step 4: Apply Dye According To Package Instructions
Once you have completed all of the necessary steps for prepping your fabric, it’s time to apply the dye. Make sure to read and follow all of the instructions that come with the dye package so that you know exactly how much water and how many minutes each color needs to be applied. But, make sure to use separate containers for each color to avoid cross-contamination.
Step 5: Soak Fabric in Warm Water
Once you have applied the dye, soak your fabric in a bucket or bowl filled with warm water. Let the fabric sit for at least 10-15 minutes before rinsing out the excess dye. If you’re using multiple colors, be sure to rinse out the excess dye between each color. This step is important as it will help to achieve even, vibrant colors.
Step 6: Rinse Out Excess Dye
After soaking the fabric for 10-15 minutes, it’s now time to rinse out any excess dye from the material. Use cold running water to make sure all of the extra dye has been removed. But, be careful not to rub or scrub the fabric while rinsing as this could damage the material. It’s also important to make sure all of the extra dye is removed from your containers before moving on to the next step.
Step 7: Dry Fabric
Once you have rinsed out all of the excess dye, you’ll want to dry your fabric before continuing with the dying process. You can air dry or tumble dry on low heat; just make sure to check the material periodically for any signs of fading or discoloration.
Step 8: Re-Apply Waxed Tape or String
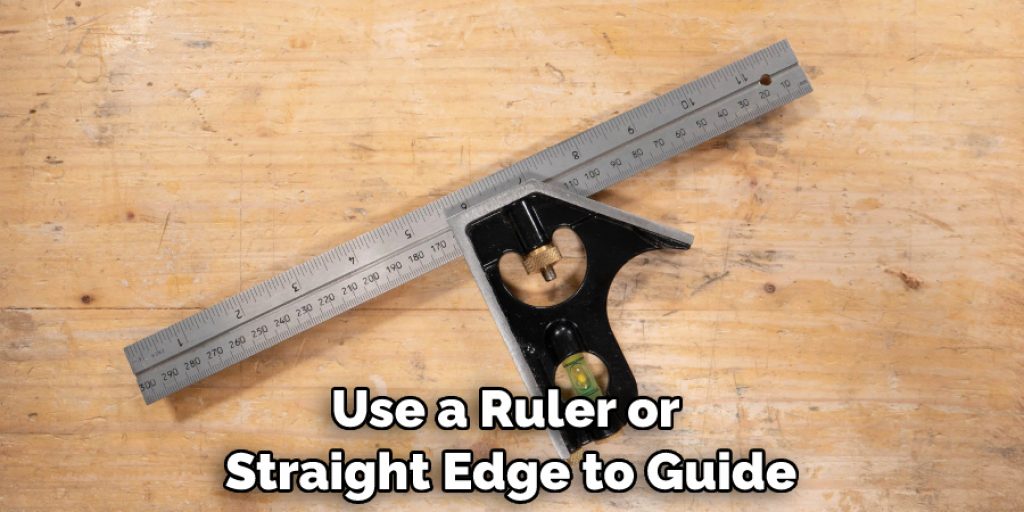
Once your fabric is completely dry, re-apply your waxed tape or string in order to create a second set of stripes. Make sure that the stripes are spaced evenly apart once again so that they will look uniform when dyed. Otherwise, you will end up with an uneven pattern. It is also important to make sure that the stripes are as straight as possible. If you need to, use a ruler or straight edge to guide you.
Step 9: Apply the Second Coat of Dye
After allowing the first coat of dye to dry completely, it’s time to apply the second coat. This step is crucial for achieving a rich and vibrant color that will last. Before applying the second coat, make sure that your fabric is completely dry. If there are any damp areas, the dye may not adhere evenly, resulting in a patchy finish. Mix your dye according to the instructions on the package, and apply it to the fabric using the same method as before.
Make sure to cover all areas evenly, including any spots that may have been missed during the first coat. If you’re using a different color for the second coat, be mindful of how the colors will blend together. Some colors may produce unexpected results when mixed, so it’s a good idea to do a test swatch before applying the second coat to your entire piece of fabric.
Step 10: Dry Fabric
Once your fabric has been thoroughly rinsed, it’s time to dry it. Hang it up or lay it flat to dry, being careful not to wring or twist the fabric as this can cause wrinkles and distort the pattern.
It’s important to avoid using a dryer, as this can shrink or damage your fabric. If you need to speed up the drying process, you can use a fan or place your fabric in a well-ventilated area.
Depending on the type of dye you used, your fabric may still be slightly damp after drying. If this is the case, you can iron it on a low heat setting to remove any remaining moisture and prepare it for use.
Step 11: Soak in Salt Water Solution
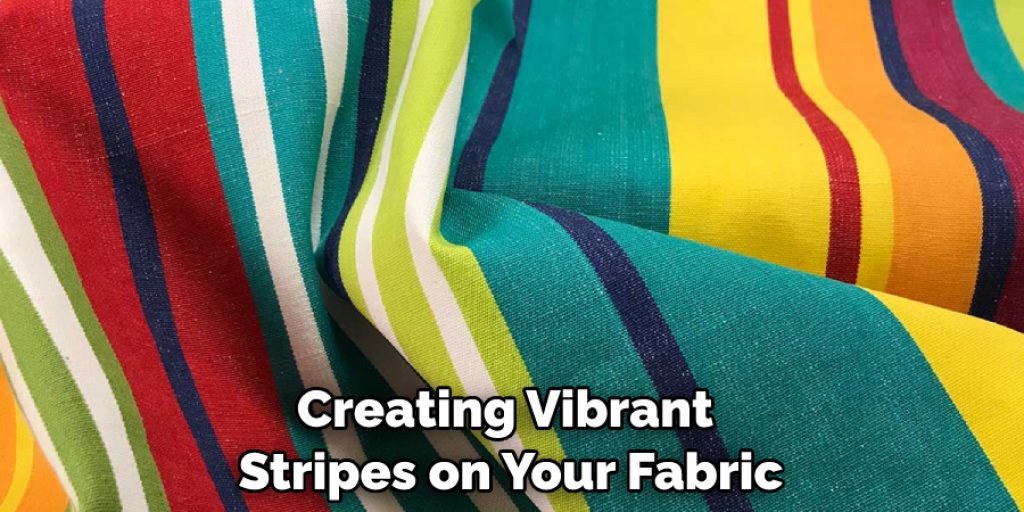
The final step in creating vibrant stripes on your fabric is to soak the material in a saltwater solution. This will help lock in the colors and prevent them from fading over time. To create this solution, mix 1 cup of salt per gallon of warm water. Let the fabric sit in this mixture for about 15 minutes before rinsing it out with cold water one more time.
Once you have completed all of these steps on how to dye stripes on fabric, your fabric should be ready to use! You can now enjoy the perfect stripe-patterned fabric that you created with ease. Have fun with your new design and show off your work for everyone to admire.
Frequently Asked Questions
Q: Can I Dye Any Type of Fabric With Stripes?
A: Most fabrics can be dyed with stripes, but the outcome may vary depending on the fabric type. Natural fibers like cotton, linen, and silk tend to absorb the dye more effectively, resulting in vibrant and long-lasting colors. Synthetic fibers like polyester and nylon may require special dyes formulated specifically for synthetics.
It’s important to read the dye manufacturer’s instructions and check if the dye is suitable for your fabric type. Additionally, consider the fabric’s composition and weave when planning your stripe design, as some fabrics may have a different dye absorption rate or pattern distortion.
Q: How Can I Create Precise and Even Stripes on Fabric?
A: Creating precise and even stripes on fabric requires careful measuring and marking. Start by determining the desired stripe width and use a ruler or measuring tape to mark the fabric at regular intervals.
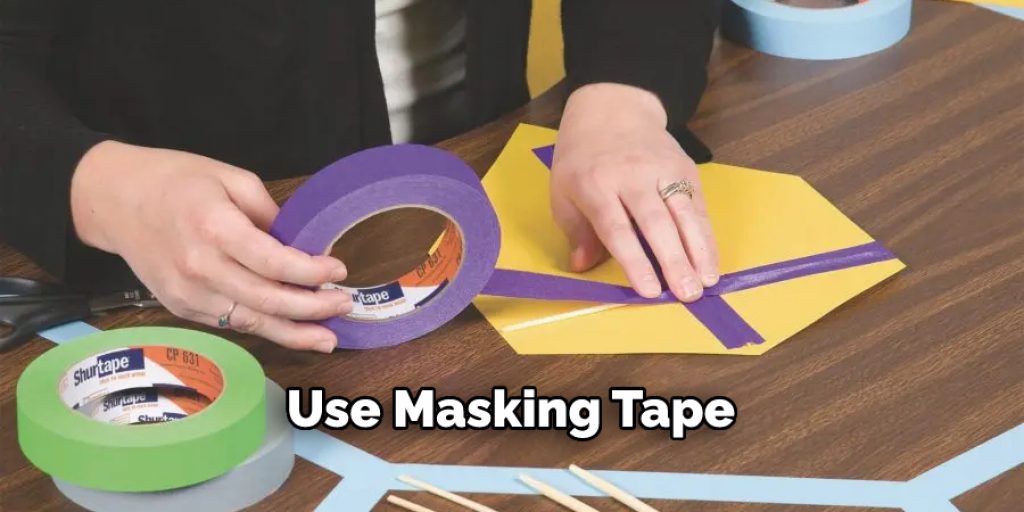
You can use fabric chalk, water-soluble markers, or tailor’s chalk to create the markings. For more accuracy, consider using masking tape as a guide to creating crisp lines while dyeing. Remember to press the tape firmly to prevent dye bleed.
Q: Can I Dye Stripes Using Multiple Colors?
A: Absolutely! Dyeing stripes with multiple colors can create a visually striking effect. To achieve this, divide the fabric into sections and use different dye colors for each section. You can use masking tape or other methods to separate the sections and prevent the colors from bleeding into each other.
Experiment with different color combinations and gradient effects to add depth and dimension to your fabric. Just be mindful of the dye’s compatibility with your fabric type and follow the dye manufacturer’s instructions for mixing and applying multiple colors.
Conclusion
Dyeing stripes on fabric is a rewarding and creative process that allows you to transform plain fabric into a stunning work of art. By following the step-by-step guidelines outlined in this article on how to dye stripes on fabric, you can confidently dye stripes on fabric and achieve professional-looking results. From preparing the fabric and workspace to choosing the right dye and creating precise stripes, each step is crucial to the success of your project.
Remember to take your time and practice patience as you work through the dyeing process. Experiment with different stripe patterns, colors, and techniques to discover your unique style and create one-of-a-kind fabric designs. Don’t be afraid to let your imagination soar and explore various dye effects.
As you become more proficient in dyeing stripes on fabric, you’ll unlock endless possibilities for incorporating striped fabric into garments, accessories, home decor, and craft projects. Embrace the joy of creating and enjoy the satisfaction of showcasing your beautifully dyed striped fabric creations.
You can Check It out To Decorate Bedside Table

