
How to Dye Wooden Beads
Dyeing wooden beads can be a delightful and creative process, allowing crafters to add vibrant colors and personal flair to their projects. Whether you’re making jewelry, embellishing home décor, or creating unique gifts, dyed wooden beads can enhance the aesthetic appeal of your creations.
This guide on how to dye wooden beads will walk you through the various methods and materials needed to effectively dye wooden beads, ensuring you achieve beautiful and consistent results. With just a few simple steps, you’ll be able to transform plain wooden beads into colorful treasures that reflect your individual style.
Benefits of Dyeing Wooden Beads
Dyeing wooden beads is a great way to add a pop of color and uniqueness to your crafting projects. Here are some benefits of dyeing wooden beads:
Variety:
With the ability to customize colors, you can create a unique and diverse collection of wooden beads for your projects. Whether you want soft pastel tones or bold, vibrant hues, dyeing allows for endless possibilities.
Cost-effective:
Dyeing wooden beads is an affordable alternative to buying pre-dyed beads. With just a few materials, you can easily transform plain wooden beads into colorful ones without breaking the bank.
Personalization:
Dyeing wooden beads allows you to add a personal touch to your creations. You can mix and match colors to create one-of-a-kind pieces that reflect your individual style and taste.
Materials Needed
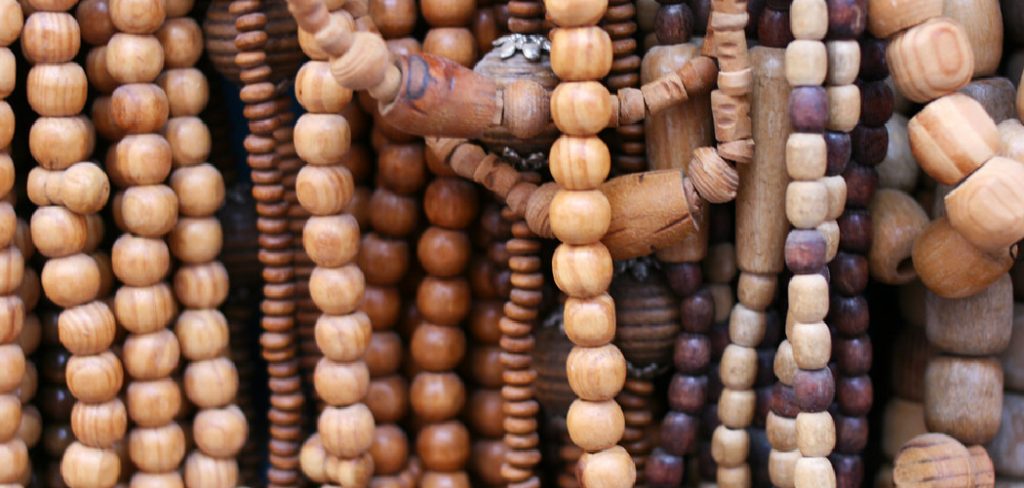
Wooden Beads (Unfinished):
The first step in dyeing wooden beads is to ensure that you have unfinished wooden beads. These are usually available at craft stores and come in various sizes, shapes, and types of wood.
Fabric Dye or Liquid Watercolors:
There are a variety of dyes that can be used to color wooden beads. Some popular options include fabric dyes such as Rit Dye, liquid watercolors, or even acrylic paints diluted with water.
Containers for Dyeing:
To soak the wooden beads in the dye, you’ll need containers that are large enough to hold the desired amount of beads while allowing them to move freely for even coverage.
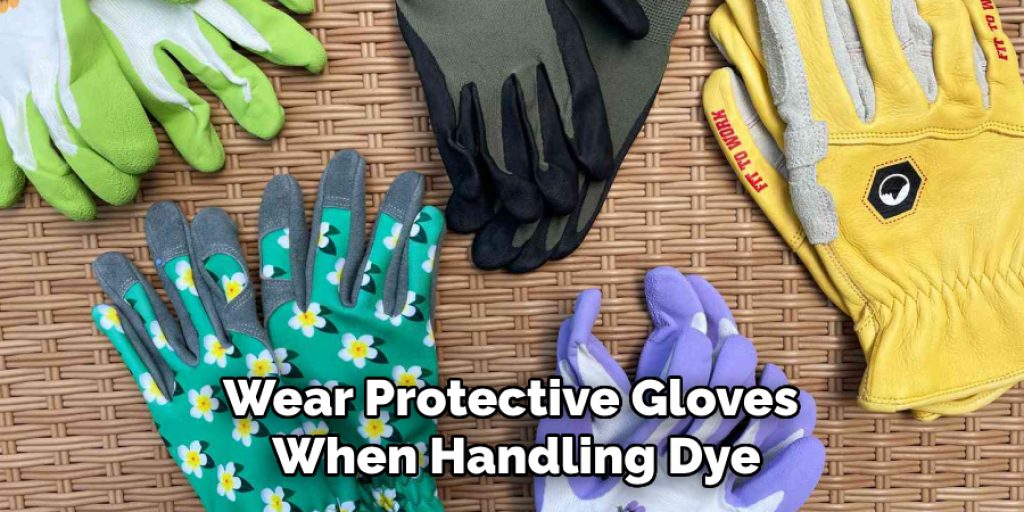
Protective Gloves:
Since dye can stain skin and fabric, it’s important to wear protective gloves when handling dye or dyed beads.
Stirring Utensils:
You’ll need some stirring utensils such as wooden sticks or spoons, to mix the dye and ensure even colour distribution.
8 Methods on How to Dye Wooden Beads
Step 1: Prepare the Dye
To start the dyeing process, you’ll first need to prepare your dye solution. If you’re using fabric dye, follow the instructions on the package to determine the appropriate dye-to-water ratio. Typically, this involves mixing a set amount of dye powder with hot water in one of your containers until it is fully dissolved.
For liquid watercolors or diluted acrylic paints, start by combining equal parts of the dye with water, adjusting the concentration based on how vibrant you want the final color to be. Stir the mixture well to ensure that the dye is evenly distributed throughout the solution. Once your dye is ready, you can move on to the next step, which is soaking the wooden beads.
Step 2: Soak the Beads
Once your dye solution is prepared, it’s time to soak the wooden beads. Begin by carefully placing the unfinished beads into the container with the dye, ensuring they are fully submerged. For even coverage, gently stir the beads using your stirring utensil, allowing them to float around in the dye solution.
The soaking time can vary based on the desired color intensity; for lighter shades, a soak of 10 to 30 minutes may be sufficient, while deeper hues may require several hours. It’s advisable to check the beads periodically to achieve your preferred color. Once the desired color has been reached, remove the beads from the dye solution and allow them to drain excess dye before proceeding to the drying stage.
Step 3: Dry the Beads
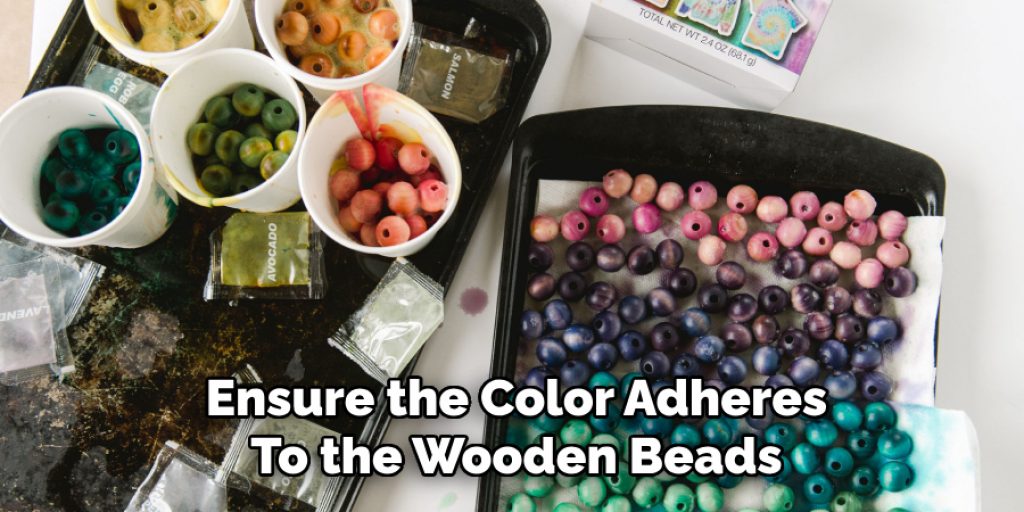
After removing the beads from the dye solution, place them on a flat surface or wire rack to dry. It’s essential to ensure that the beads do not touch each other during this process, as they may stick together and create uneven spots. Allow the beads to air dry completely before handling them further.
It’s important to note that some dyes may require heat setting to ensure the color adheres to the wooden beads. Follow the instructions on your chosen dye product to determine if this step is necessary and how to properly set the colour.
Step 4: Rinse the Beads
Once the wooden beads have dried completely, it’s time to rinse them to remove any excess dye. Begin by filling a bowl or container with cool water. Carefully place the dyed beads into the water, ensuring that they are fully submerged. Gently stir the beads in the water to help release any remaining dye particles.
This rinsing process not only helps to prevent the dye from bleeding in future projects but also enhances the overall finish of the beads. After a few minutes of rinsing, remove the beads from the water and place them on a clean towel to dry again. It’s crucial to allow the beads to dry thoroughly before using them in your crafting projects, as this will ensure that they are color-fast and will not transfer dye onto other materials.
Step 5: Mix and Match Colours
One of the great things about dyeing wooden beads is that you can mix and match colors to create unique combinations. For example, you could dip one end in a light shade and gradually increase the intensity by dipping the other end in a darker dye for an ombre effect. You can also experiment with different color combinations to achieve a marbled or tie-dye effect.
The key is to have fun and let your creativity run wild. Just remember to rinse and dry the beads thoroughly between each color application to prevent any bleeding or muddying of colors.
Step 6: Use Different Dyeing Techniques
In addition to soaking wooden beads in a dye solution, there are various techniques you can use to achieve different effects. Some popular methods include dip-dyeing, where only a portion of the bead is submerged in the dye, and drip-dyeing, where you drip the dye directly onto the bead. You can also try using a brush or sponge to paint designs or patterns onto the wooden beads with dyes.
Experiment with different techniques and see which ones produce the desired results for your project.
Step 7: Seal the Beads (Optional)
Once your dyed wooden beads have dried completely, you may choose to seal them with a clear coat of varnish or sealant. This is especially important if you plan on using the beads in jewelry or other wearable crafts, as it will help protect the color from fading and prevent any potential transfer onto skin or clothing.
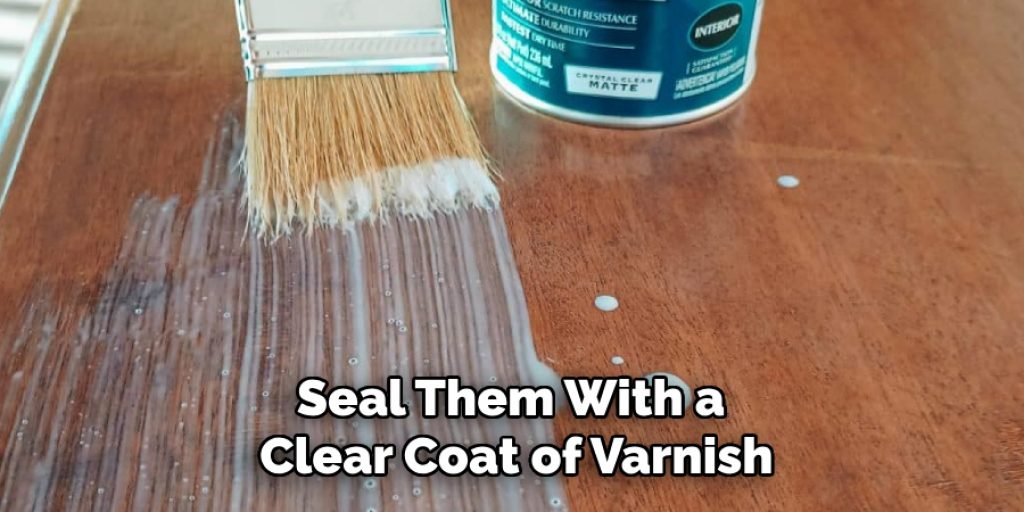
If you do decide to seal your wooden beads, be sure to follow the instructions on your chosen product carefully and allow sufficient drying time before handling them further.
Step 8: Add Finishing Touches
Now that you have successfully dyed your wooden beads, it’s time to add any finishing touches to your project. You can string them onto jewelry or use them in various crafts and DIY projects, such as keychains, garlands, or home decor pieces. The possibilities are endless!
Following these methods on how to dye wooden beads, you can easily achieve a wide range of colours and effects on your wooden beads, making them a versatile and unique addition to any crafting supplies. So go ahead and get creative with dyeing your wooden beads! Happy crafting!
Frequently Asked Questions
Q: Can I Dye Unfinished Wooden Beads?
A: Yes, you can dye unfinished wooden beads. In fact, it is easier to achieve vibrant and even colors on unfinished wood as there is no existing finish or sealant that could interfere with the dyeing process. Just be sure to sand the beads lightly before dyeing to ensure a smooth surface for the dye to adhere to.
Q: What Type of Dye Should I Use for Wooden Beads?
A: There are various types of dyes available on the market, including liquid and powder dyes specifically made for wood. It’s best to choose a dye that is safe and non-toxic, especially if you plan on using the dyed beads in projects involving children. You can also use fabric or food coloring as an alternative.
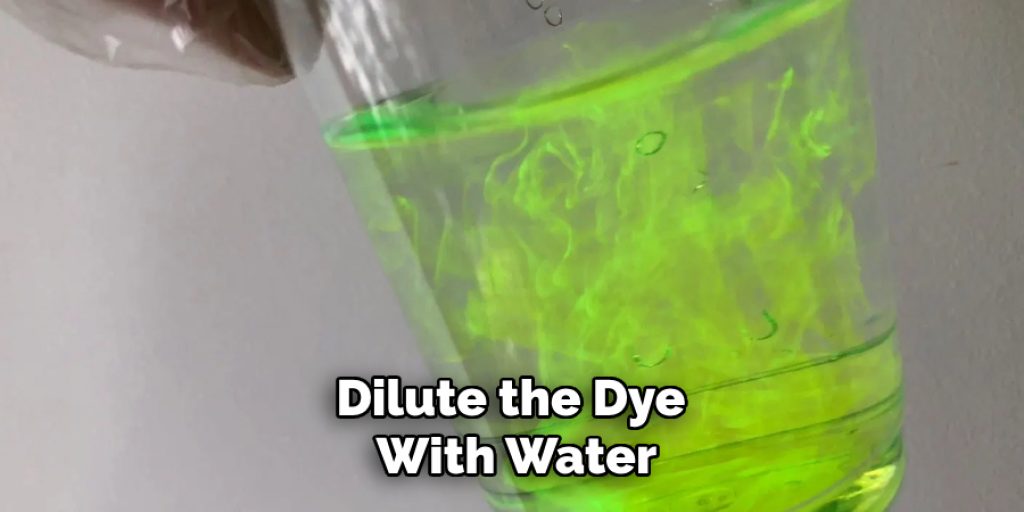
Q: How Can I Achieve Lighter Colours Using Dye?
A: To achieve lighter shades, you can dilute the dye with water before soaking the beads. You can also decrease the soaking time or use a lighter wood, such as birch, for your beads.
Conclusion
Dyeing wooden beads opens up a world of creative possibilities, allowing crafters to personalize their projects with vibrant colors and unique effects. By following the steps outlined on how to dye wooden beads—preparing your dye solution, soaking, drying, rinsing, experimenting with colors, and sealing—the process becomes manageable and enjoyable.
Whether you’re crafting jewelry, home décor, or other decorative items, the techniques you’ve learned can transform simple wooden beads into stunning custom pieces. Embrace your creativity, explore different dyeing methods, and let your imagination guide you to create truly one-of-a-kind items. Happy crafting!
Elizabeth Davis
Elizabeth is a creative writer and digital editor based in the United States. She has a passion for the arts and crafts, which she developed from a young age. Elizabeth has always loved experimenting with new mediums and sharing her work with others. When she started blogging, she knew that DIYquickly would be the perfect platform to share her tutorials and tips. She's been writing for the blog from the beginning, and her readers love her helpful advice and easy-to-follow instructions. When she's not writing or editing, Elizabeth enjoys spending time with her family and friends.


