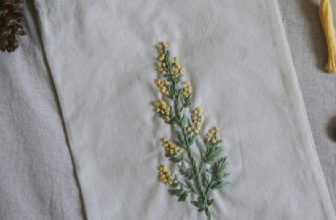
How to End an Embroidery Stitch
Embroidery, a captivating art form that weaves intricate designs with thread, culminates in the delicate and crucial step of ending a stitch. Properly concluding an embroidery stitch is essential not only for securing your design but also for achieving a polished and professional appearance. Learning how to end an embroidery stitch gracefully is a skill that ensures your creations stand the test of time without unraveling or causing unsightly knots.
In this guide, we will explore various techniques that guarantee your stitches remain secure and seamless. From locking stitches to weaving through the back of your work, these methods will empower you to confidently finish your embroidery projects with precision, allowing your creations to be admired for their beauty and lasting craftsmanship.
Understanding the Importance of Properly Ending Embroidery Stitches
Properly ending embroidery stitches is essential for the longevity of the embroidery. When stitches are not properly ended, they can easily come undone over time, leading to loose threads and a deteriorating design. By securely ending the stitches, you ensure that your embroidery will withstand regular wear and tear, allowing it to be enjoyed for years to come.
In addition to longevity, properly ending embroidery stitches also affects the overall appearance of the embroidery. When stitches are not ended seamlessly, it can create a messy and unprofessional look. On the other hand, when stitches are neatly ended, it gives the embroidery a polished and refined appearance. This attention to detail can elevate your embroidery from amateur to professional quality.
Materials Required for Seamlessly Ending Embroidery Stitches
To seamlessly end embroidery stitches, you will need a few materials. These include:
1. Embroidery Needle: Choose a needle that is appropriate for the fabric you are working with. A sharp needle with a small eye is ideal for most embroidery projects.
2. Embroidery Thread: Use high-quality embroidery thread that matches the color of your design. This ensures that the stitches blend seamlessly into the fabric.
3. Scissors: A sharp pair of scissors is necessary for cutting the thread cleanly and accurately.
4. Thimble (optional): If you find it difficult to push the needle through thick or tough fabric, a thimble can provide extra protection for your finger.
10 Steps How to End an Embroidery Stitch
Step 1: Assess Your Stitch Length
Before ending an embroidery stitch, make sure you have completed the desired length of the stitch. Ending a stitch prematurely might lead to uneven tension or an unfinished appearance.
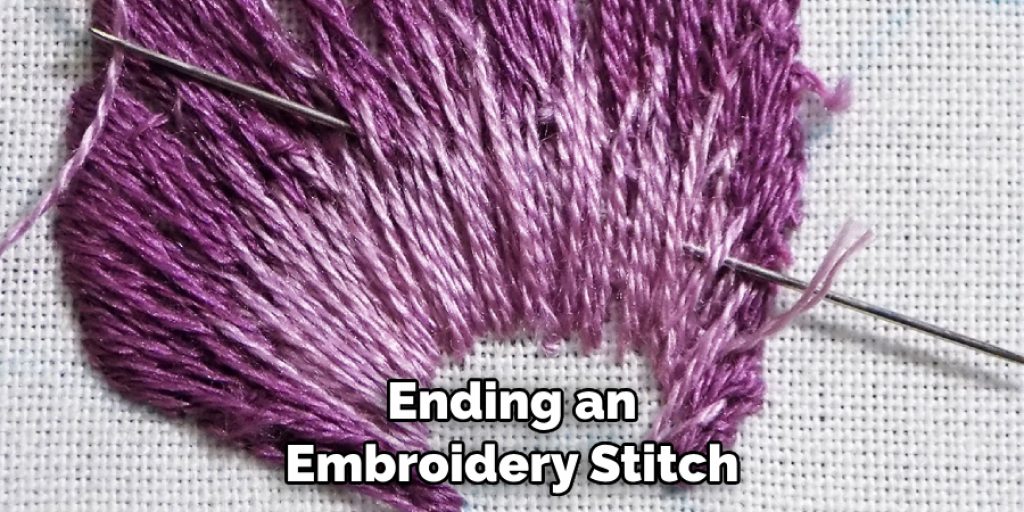
Step 2: Secure the Stitch with a Knot:
For a simple and effective way to secure your stitch, create a small knot at the end. To do this, weave the needle under the last few stitches on the backside of your fabric, then pass the needle through the loop created and gently pull to form a knot.
Step 3: Weave Through the Back:
A more discreet method is to weave the needle through the back of your stitches. Pass the needle under a few stitches on the backside of your work, following the path of the stitches. This ensures your thread is secure without creating a visible knot.
Step 4: Locking Stitch:
To add extra security to your embroidery, employ a locking stitch. After completing your final stitch, insert the needle under the last stitch on the front side of your work. Then, bring the needle to the backside and insert it under the last few stitches before snipping the thread.
Step 5: Creating a Tail:
Leave a small tail of thread at the end of your stitch. This tail can be woven through the back or secured with a locking stitch. It’s especially useful when working with slippery or delicate fabrics.
Step 6: Thread Burying:
For a seamless finish, bury the end of your thread within the stitches on the backside of your fabric. Pass the needle under several stitches, keeping the thread snug against the fabric. This method prevents the thread end from working loose over time.
Step 7: Using a Fabric Glue:
In situations where the back of your embroidery will be hidden (like on a garment’s inside), a drop of fabric glue on the back can be used to secure the thread’s end. Ensure the glue is safe for fabrics and doesn’t cause staining.
Step 8: Whip Stitch Method:
For a more decorative approach, use a whip stitch to secure the end of your thread. Pass the needle under a few stitches on the backside, then bring the needle to the front side and wrap the thread around the last stitch several times before passing it to the back again.
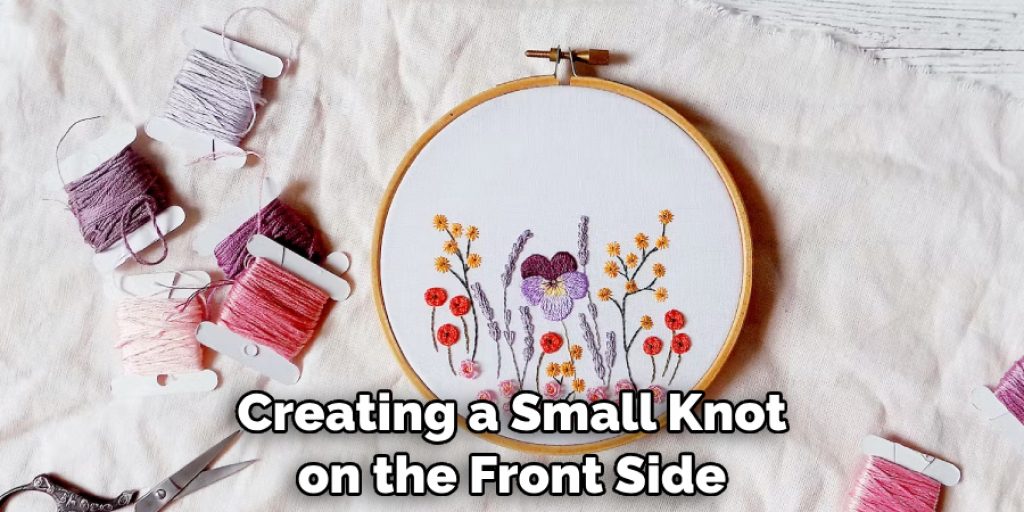
Step 9: Utilizing Stitching Knots:
Incorporate the last stitch into your design by creating a small knot on the front side. This technique is particularly fitting for more rustic or textured embroidery styles.
Step 10: Trim Excess Thread:
Once you’ve securely ended your embroidery stitch, trim any excess thread closely to the fabric. Ensure the trimmed end is hidden within the stitches or secured by the chosen method.
Common Mistakes to Avoid When Ending Embroidery Stitches
When ending embroidery stitches, there are some common mistakes that you should avoid:
1. Not securing the knot properly: When tying a knot, it is crucial to ensure that it is securely tied to prevent any accidents or mishaps. A knot that comes undone can cause a lot of problems, especially if it is holding something important together.
2. Cutting the thread too short: When you finish sewing a seam, it’s important to trim the excess thread to give your project a neat and tidy appearance. However, it’s crucial to be careful not to cut the thread too short.
3. Pulling the thread too tightly: When sewing, it is important to be mindful of the tension in the thread. Pulling the thread too tightly can cause the fabric to pucker or warp, which can ruin the overall appearance of the project. Additionally, tight stitches can be more prone to breaking or unraveling over time.
4. Rushing the process: When it comes to ending embroidery stitches, it is important to remember that rushing through the process can lead to mistakes and a less polished final product. To ensure a seamless finish, take your time and be patient with each step.
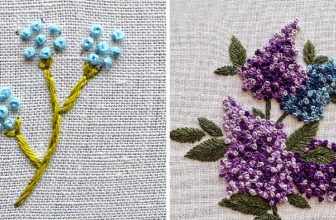
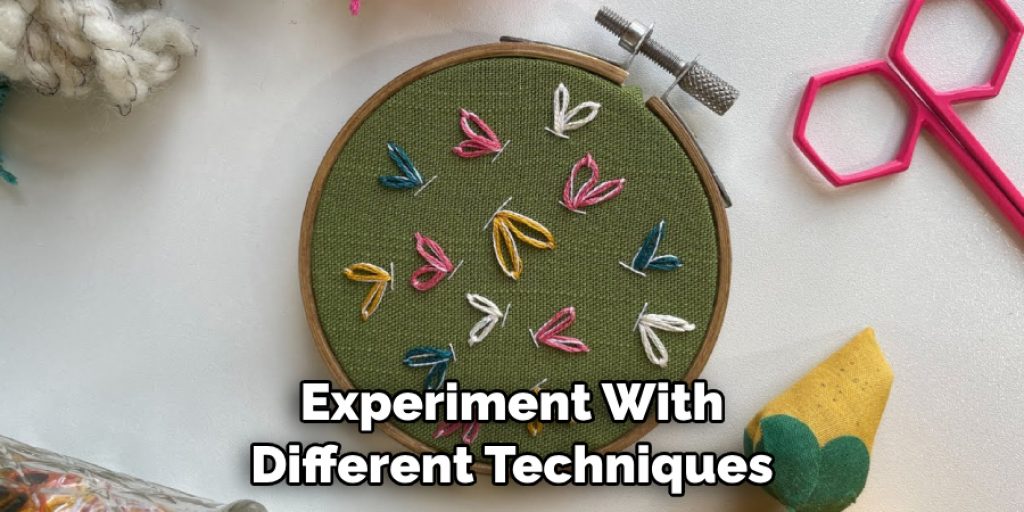
Different Techniques for Ending Embroidery Stitches
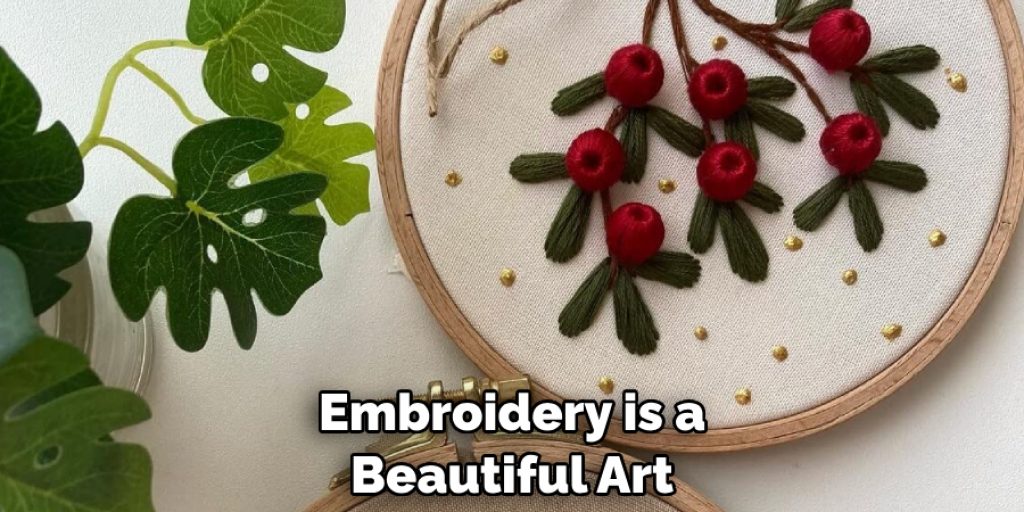
Embroidery is a beautiful art that requires precision and attention to detail. One of the most important aspects of embroidery is ending the stitches properly. There are several different techniques that can be used to end embroidery stitches, each with its own unique benefits. Knotting is the most basic and commonly used technique for ending embroidery stitches.
It involves creating a knot at the back of the fabric to secure the thread. This technique is quick and easy, making it ideal for beginners. Weaving is another technique that involves passing the needle through previously stitched threads on the back of the fabric to secure the thread. This technique is often used when working with delicate or sheer fabrics, as it creates a more subtle finish than knotting.
Burying is a more advanced technique that involves hiding the end of the thread within the stitches on the back of the fabric. This technique creates a clean and seamless finish, but it can be time-consuming and requires a lot of practice to master.
Ultimately, the technique you choose will depend on your personal preference and the type of fabric you are working with. With practice and patience, you can master all of these techniques and create beautiful embroidery pieces that will last a lifetime.
How to Choose the Right Technique for Your Embroidery Project
When choosing the right technique for ending embroidery stitches, there are several factors to consider:
1. Fabric type: Different fabrics require different techniques. Delicate or sheer fabrics may require weaving or burying techniques, while sturdier fabrics can be secured with a simple knot.
2. Design complexity: The complexity of your design may also influence your choice of technique. Intricate designs with many stitches may benefit from a weaving or burying technique to ensure a neat and tidy finish.
3. Personal preference: Ultimately, the choice of technique comes down to personal preference. Experiment with different techniques to find the one that you are most comfortable with and produces the desired result.
Conclusion
Having the knowledge of how to end an embroidery stitch can take your crafting skills to the next level. You can end a stitch in a varitey of ways depending on what look or effect you are trying to create and with some practice, you will be able to perfect that beautiful finished edge. With all of this in mind, you are now ready to end your own stitches with elegance and creativity.
Put your new found knowledge into practice today! Pay attention to details like loops and color palettes, and you’ll soon be creating stitches that are as unique as they are beautiful. We hope our guide has given you a useful way forward for being creative when ending embroidery stitches – so go forth and make something wonderful!
Nancy Behan
Nancy is an embroidery artist, fashion blogger and a full time editor at DIY quickly. Nancy edits the fashion section on DIY quickly, focusing on the embroidery and cross stitch articles, alongside with fabric and other costume design elements. She graduated from the University of Michigan with a Bachelor of Arts in Art History. She loves to work on her own projects, read books and watch romantic movies in her spare time.