How to Fix Cracked Leather
The allure of leather lies not only in its durability but also in its timeless elegance. However, over time, even the finest leather can fall victim to wear and tear, resulting in unsightly cracks that mar its appearance. Learning how to fix cracked leather is a skill that can breathe new life into cherished items, from beloved leather jackets to antique furniture pieces.
Whether the cracks are due to age, dryness, or accidental damage, the restoration process requires a delicate blend of patience, precision, and proper technique.
This article serves as a comprehensive guide, offering step-by-step insights into assessing the severity of the cracks, selecting the right repair methods, and skillfully executing the restoration process. By delving into the art of healing cracked leather, you’ll be equipped to rescue your leather possessions and restore them to their former glory, ensuring their beauty endures for years to come.
Why Leather Cracks?
Leather is a natural material, which can be quite fragile and prone to cracking over time. Cracking in leather is usually caused by improper care of the item, such as not regularly conditioning it or exposing it to too much heat or moisture. Other causes of cracking leather include age (leather naturally degrades with time), accidental damage, and exposure to harsh chemicals.
Regardless of the cause of cracking, there are a few steps you can take to restore your leather item to its former glory. The most important part is to clean any dirt and debris off the surface before applying any repair products. Then, apply a leather conditioner on a regular basis to keep it soft and supple.
If the cracks are deep, you may need to use a leather-repair kit. These kits come with filler and a colorant that help fill in cracks and bring back the original color of the leather. Just make sure to follow the instructions carefully and apply it sparingly for best results.
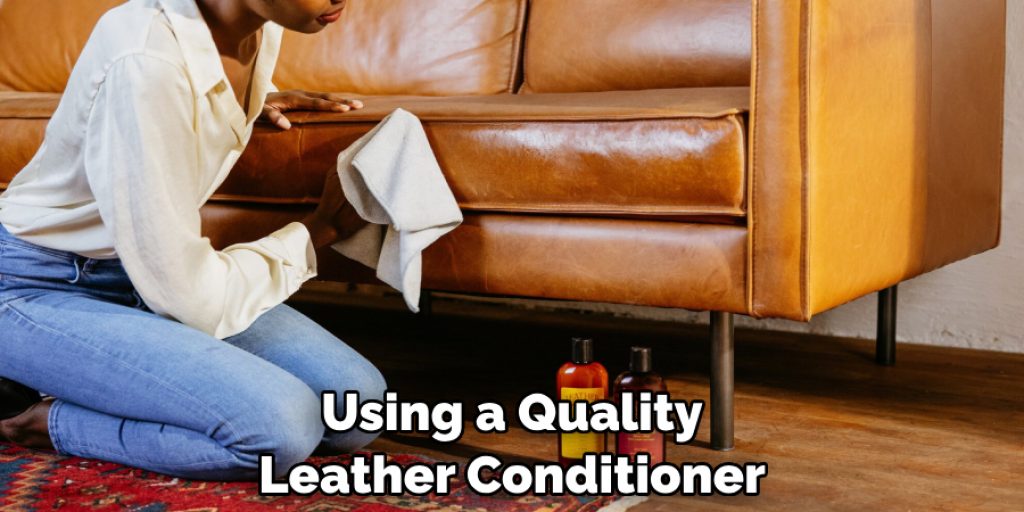
If your item is still relatively new, it’s always best practice to try just conditioning and cleaning it first before taking any drastic measures. In any case, using a quality leather conditioner on a regular basis is always recommended to prevent cracking in the future. With proper care, your leather item can stay beautiful for years to come!
Importance of Addressing Cracked Leather Early
No matter how careful we are with our leather items, wear and tear is inevitable. Fortunately, cracked leather can usually be repaired depending on the severity of damage. If you address the issue early rather than later, it’s easier to repair or even just maintain your leather item in better condition.
Repairing cracked leather takes time and patience, as well as good quality leather care products. However, the result is usually worth it — cracked leather can be restored to look as beautiful as ever!
No matter what caused the cracking in your leather item, there are a few steps you should take before attempting any repair. First, ensure all dirt and dust particles are removed using a soft cloth or brush. Then, use a leather conditioner to replenish the oils in the leather that may have been lost over time. This will help keep the leather from becoming further cracked and brittle, as well as restore its natural shine.
Once you’ve done these steps, you can move on to actually repairing the cracks in your leather item. Depending on how severe the damage is, there are different techniques you might use. If the cracks are minor and superficial, a leather paint or dyes may be enough to cover up the area. If the crack is more severe, some form of patching material may be necessary in order to ensure that the area remains water-resistant and sealed from further damage.
10 Steps How to Fix Cracked Leather
Step 1: Assess the Damage
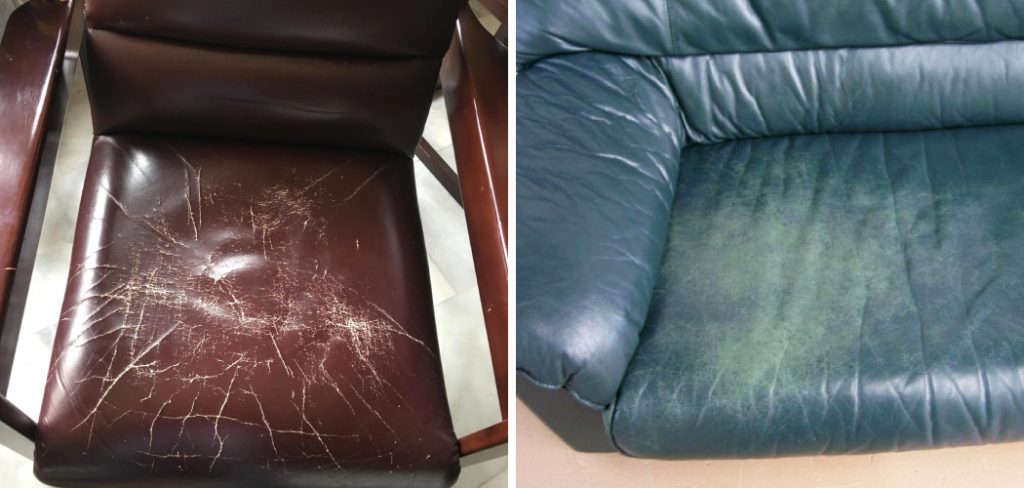
Examine the cracked leather carefully to determine the extent of the damage. Assess whether the cracks are shallow or deep, and if they are localized or spread across a larger area. Understanding the severity of the damage will help you choose the most suitable repair method.
Step 2: Clean the Leather
Before attempting any repair, clean the leather thoroughly to remove dirt, dust, and oils that could interfere with the repair process. Use a mild leather cleaner and a soft cloth to gently clean the surface. Allow the leather to dry completely before proceeding.
Step 3: Choose a Repair Method
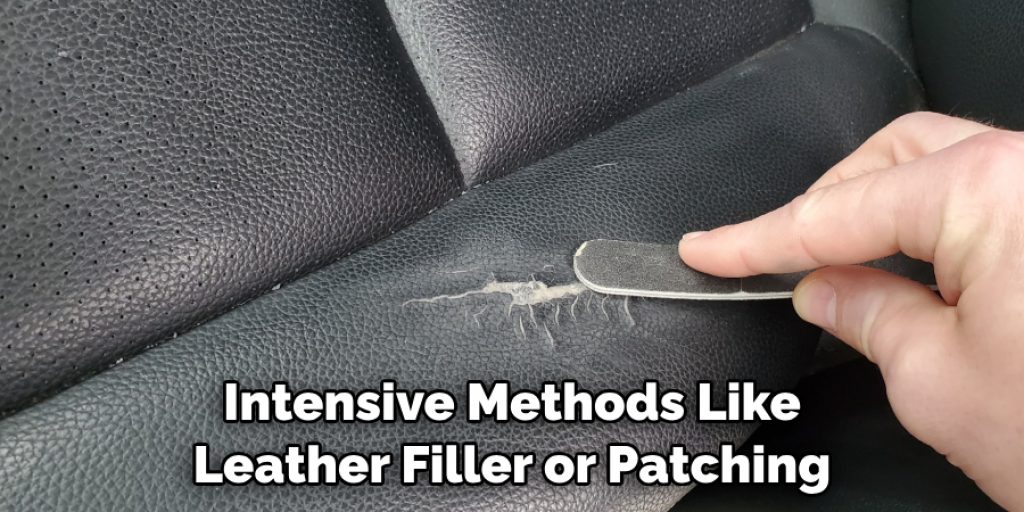
Based on the severity of the cracks, select an appropriate repair method. For minor cracks and surface damage, you can use leather conditioner or leather repair creams. Deeper cracks might require more intensive methods like leather filler or patching.
Step 4: Use Leather Conditioner
For shallow cracks and general wear, apply a quality leather conditioner to moisturize the leather and restore its flexibility. Gently massage the conditioner into the cracked areas using a clean cloth. This method can help minimize the appearance of minor cracks and prevent further damage.
Step 5: Apply Leather Repair Cream
Leather repair creams contain pigment and conditioning agents that can help fill in and conceal cracks. Choose a color that closely matches the leather and apply the cream according to the manufacturer’s instructions. Work it into the cracks and buff away excess for a smoother appearance.
Step 6: Use Leather Filler
For deeper cracks, leather filler can be used to fill in the gaps and create a smoother surface. Apply a thin layer of leather filler using a spatula or your fingers. Smooth out the filler and let it dry according to the product’s instructions. Sand the area gently to level the surface.
Step 7: Consider Leather Patching
If the cracks are extensive or severe, consider using a leather patch to cover the damaged area. Cut a patch from a piece of matching leather and glue it over the cracked area using leather adhesive. Trim any excess and ensure the edges are smooth.
Step 8: Re-color the Leather
After repairing the cracks, you might notice a difference in color between the repaired area and the rest of the leather. Use a leather colorant or dye to restore the color consistency. Apply the colorant in thin layers, allowing each layer to dry before adding another.
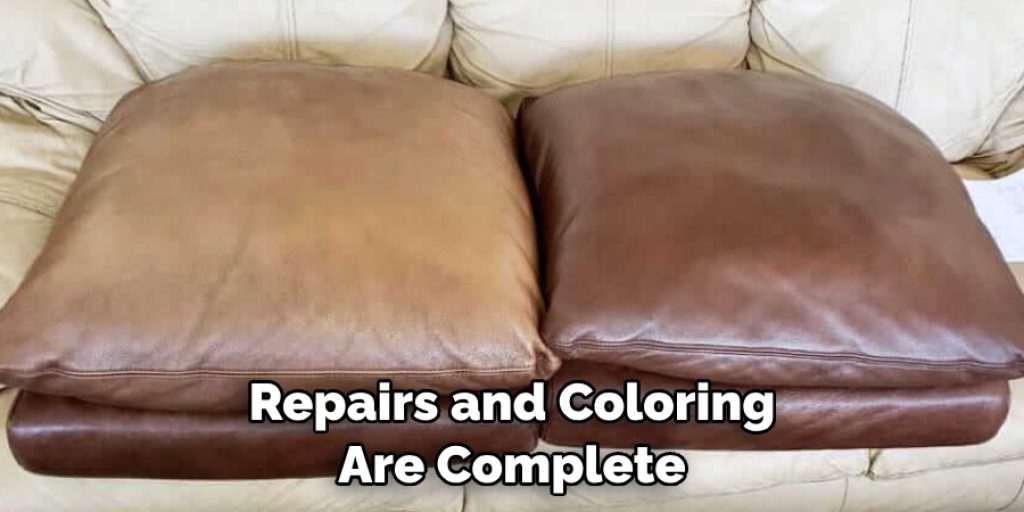
Step 9: Condition Again
Once the repairs and coloring are complete, condition the entire leather item again to ensure uniform texture and color. This step helps blend the repaired area with the rest of the leather.
Step 10: Prevent Future Cracking
To prevent future cracking, regularly clean and condition your leather items. Avoid exposing them to direct sunlight and extreme heat, as these factors can contribute to drying and cracking. Storing leather items in a cool, dry place with proper ventilation can also help maintain their quality.
Things to Consider When Fixing Cracked Leather
When it comes to leather repair, there are a few things you should consider before starting. First, the type of leather that needs to be repaired and the severity of the cracks. Depending on these two factors, the repair process will vary.
If your leather is severely cracked and beyond normal wear-and-tear, then you may need to call in a professional to help. They will have the tools and expertise needed to fix the leather properly.
When deciding on a repair method, you’ll also need to consider what kind of finish you want for your leather. Depending on the type of leather, there are different products and finishes available. A good thing to keep in mind is that not all repairs are permanent, and you may need to reapply the product over time.
Safety Precautions for Fixing Cracked Leather
When working with any type of repair job, it is important to take safety precautions. This is especially true when dealing with leather repair jobs such as fixing cracked leather. Before getting started, you should wear protective gear such as gloves and goggles. Additionally, make sure the area you are repairing is well ventilated so that you can avoid breathing in any potentially harmful fumes from the leather repair materials.
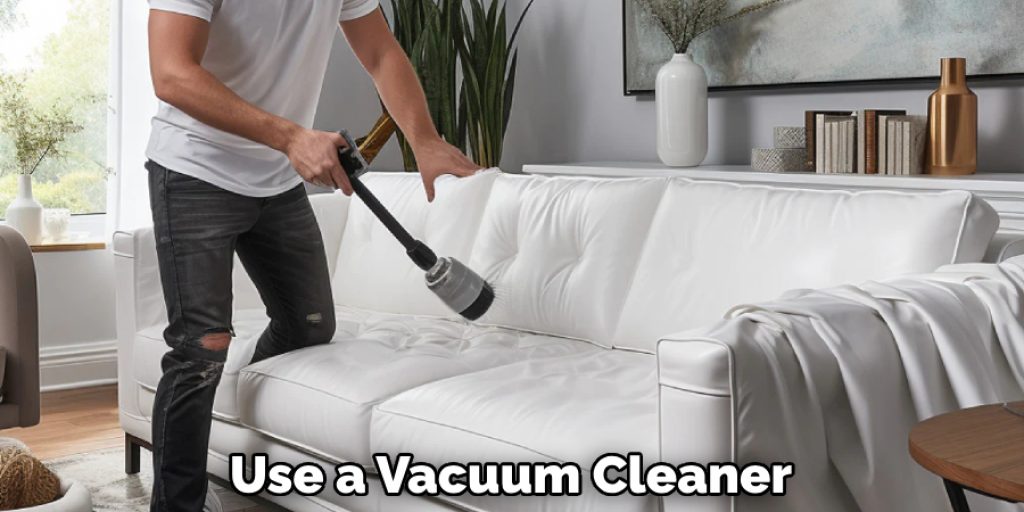
It is also important to choose the right tools for the job. A mallet, chisel, and hammer are all necessary when fixing cracked leather but make sure that they are in good condition before starting any repair work. Additionally, you should use a vacuum cleaner to remove any dust or dirt from the area while you work so that it does not interfere with the repair process.
Conclusion
Cracked leather requires a bit of effort to repair and can be both time consuming and costly. Ultimately, it depends on what the crack looks like, how deep it goes, and what type of leather you have. Despite all that, fixing cracked leather does not have to be intimidating; with the right tools and techniques, it can definitely be done.
It also makes sense to take care of your leather goods by keeping them away from direct sunlight or too much heat, as well as using proper cleaning items that are formulated specifically for use on leather. From professional deep-cleaning services likeLeather Conditioned, to DIY solutions such as shoe polish or upholstery wax, there is an abundance of options available for you when trying to tackle this fix-it task.
With these tips in mind, hopefully you feel more equipped on how to fix cracked leather — turning a seemingly difficult problem into an easy and achievable goal!
Angela Ervin
Angela is the executive editor of DIY quickly. She began her career as an interior designer before applying her strategic and creative passion to lifestyle and home. She has close to 15 years of experience in creative writing and online content strategy for housekeeping, home decorations as well as other niche efforts. She loves her job and has the privilege of working with an extraordinary team. She lives with her husband, two sons, and daughter in Petersburg. When she's not busy working she spent time with her family.