How to Fix Granite Countertop Chip
Are you looking for the perfect way to fix your granite countertop chip? Working with natural stone can be tricky and often, it takes an expert to get a quality finish. But don’t despair! If your granite countertop has experienced some minor damage in the form of a chip, you can use DIY methods to repair it yourself.
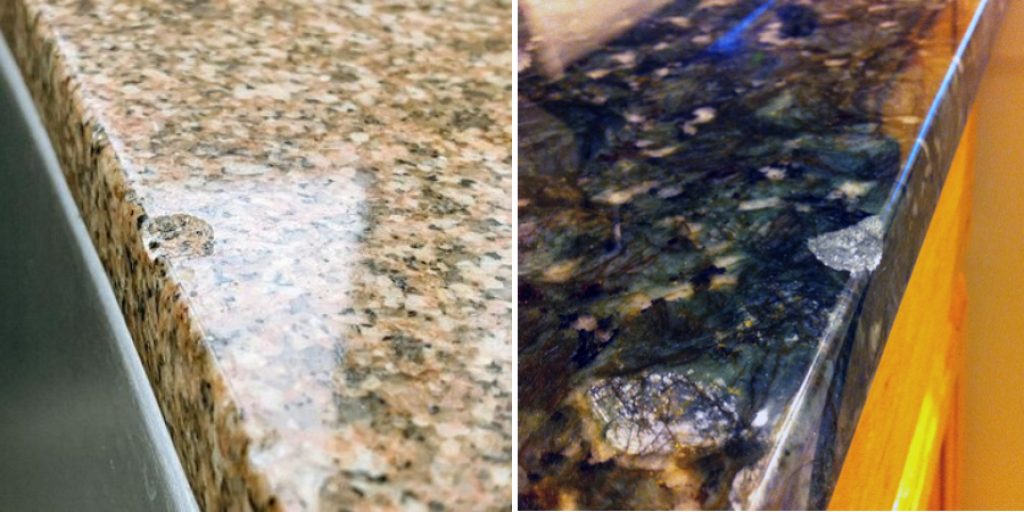
In this blog post, we’ll go over easy-to-follow instructions on how to fix granite countertop chip without professional assistance – saving you time and money in the process. Read on for all the details!
Tools and Materials You Will Need to Fix Granite Countertop Chip
- Granite Countertop Cleaner
- Epoxy Glue
- Masking Tape
- Plastic Putty Knife
- Safety Glasses
- Sandpaper (Fine and Medium Grit)
- Color-Matched Epoxy Granite Filler
- Acetone
- Gloves
Step-by-Step Guidelines on How to Fix Granite Countertop Chip
Step 1: Begin by Cleaning the Chip Area
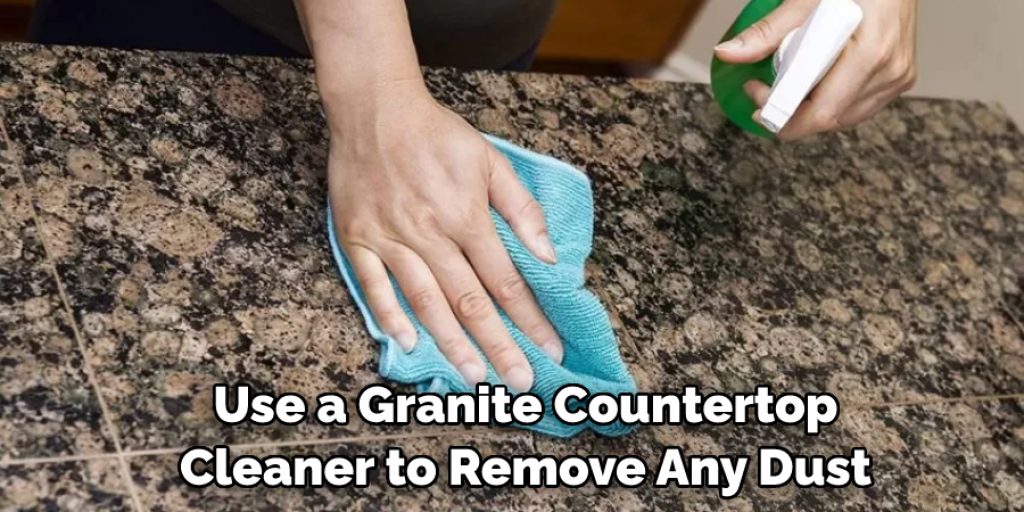
Use a granite countertop cleaner to remove any dust, residue, or other debris from the chip area. Be sure to clean the entire surface so that your repair job is even and less noticeable when finished. If you clean your chip area correctly, it will help ensure a better bond between the epoxy and granite.
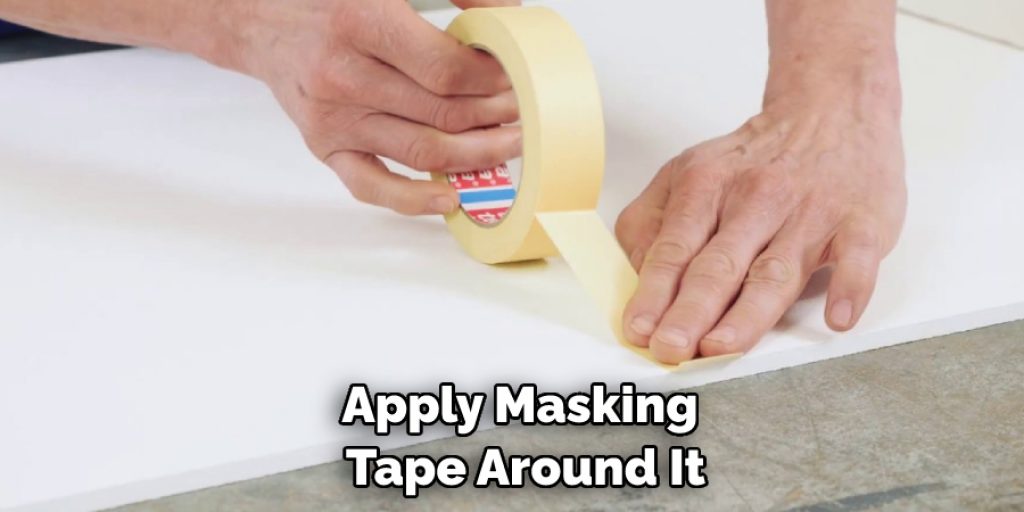
Step 2: Apply Masking Tape around the Chip Area
Once the chip area is clean, you’ll want to apply masking tape around it so that the repair job looks neat and tidy when finished. This tape helps define the edges of your fix and helps keep the epoxy and granite filler in place while they dry. Use the plastic putty knife to press the tape into place. While applying the masking tape, make sure you are wearing protective safety glasses.
Step 3: Mix Your Epoxy Glue and Granite Filler
Before you begin, read the manufacturer’s instructions on how to mix your materials correctly. Once everything is thoroughly mixed together, you can use a plastic putty knife to apply it over the chip. Make sure you press the epoxy and granite filler firmly into the chip area so that it is fully covered. Carefully remove any excess epoxy and granite filler before it dries.
Step 4: Sand the Chip Area
Once the epoxy and filler have had a chance to dry, you can begin lightly sanding the chip area with sandpaper (fine or medium-grit). This will help smooth out the surface and make sure that your repair job looks professional. Be sure to use a light hand, sanding in circles until you are satisfied with the results.
Step 5: Use Acetone to Finish the Job
To finish your job, you’ll need to use acetone to blend the chip area with the rest of the countertop. Dip a cloth into a small amount of acetone and gently rub it into the chip area until you have a seamless finish. Finally, wipe away the excess with a damp cloth and you’re done!
There you have it – a step-by-step guide on how to fix granite countertop chips. With these instructions in hand, you can now repair your damaged countertops with ease and confidence. Be sure to wear protective gear such as gloves, goggles, and masks when necessary and if you ever experience any difficulties, don’t hesitate to contact a professional. Good luck!
Additional Tips and Tricks to Fix Granite Countertop Chip
- Make sure the area is clean and dry before proceeding to repair a granite countertop chip.
- Use a chisel, or dental pick, to carefully remove any remaining pieces of granite from the edge of the chip. This will help create a flat surface for bonding in the next step.
- Using a two-part epoxy, mix a small amount of the glue and slowly apply it around the chip.
- Take a piece of wet/dry sandpaper and gently sand down the patch until it’s flush with the rest of the countertop.
- To finish off your repair, use some fine-grit sandpaper and polish the surface to match the original countertop.
With these tips, you’ll be able to fix a granite countertop chip in no time! Just make sure that you work carefully and take your time – rushing through this kind of repair can cause more damage than good. Be sure to read all product instructions before beginning the repair process. Good luck!
Things You Should Consider While Fixing Granite Counter Top Chip
1. Choose the Right Resin:
Choosing the right resin for your granite countertop chip repair is essential to achieving a successful outcome. There are two types of resins specifically designed for this job – epoxy and polyester resin. Both provide great results but have advantages and disadvantages. Epoxy resin is more durable than polyester resin and provides a stronger bond, but it can be more difficult to work with. Polyester resin is easier to use but offers less durability.
2. Choose the Right Color:
Once you’ve chosen your epoxy or polyester resin, carefully select the color of your granite countertop chip repair. If you are attempting to hide the chip, choose a color that closely matches your countertop. If you are trying to make your repairs more noticeable, pick a contrasting color for an eye-catching design element.
3. Practice Proper Safety Protocols:
When working with resin products, always wear protective gear, such as safety goggles and gloves. Make sure to work in a well-ventilated area and read the manufacturer’s instructions carefully before beginning.
4. Check Your Results:
Once you have applied your resin, allow it to dry according to the directions on the package. When dry, inspect your repair job thoroughly for any visible flaws or imperfections that may need correcting. If needed, you can always sand it down and try again.
Fixing a granite countertop chip may seem intimidating, but with these helpful tips and some patience, you can achieve great results. By choosing the right resin, color, and safety protocols, you will be able to fix your granite countertop chip with ease. Good luck!
Precautions Need to Follow for Fixing Granite Countertop Chip

1. Always wear protective gear like gloves, safety glasses, and a dust mask when working with granite chips, as there is the potential for airborne particles that can be inhaled or irritate the eyes.
2. Ensure the area to be repaired is clean, dry, and free of dust before beginning repairs. Cleaning with a damp cloth is usually sufficient.
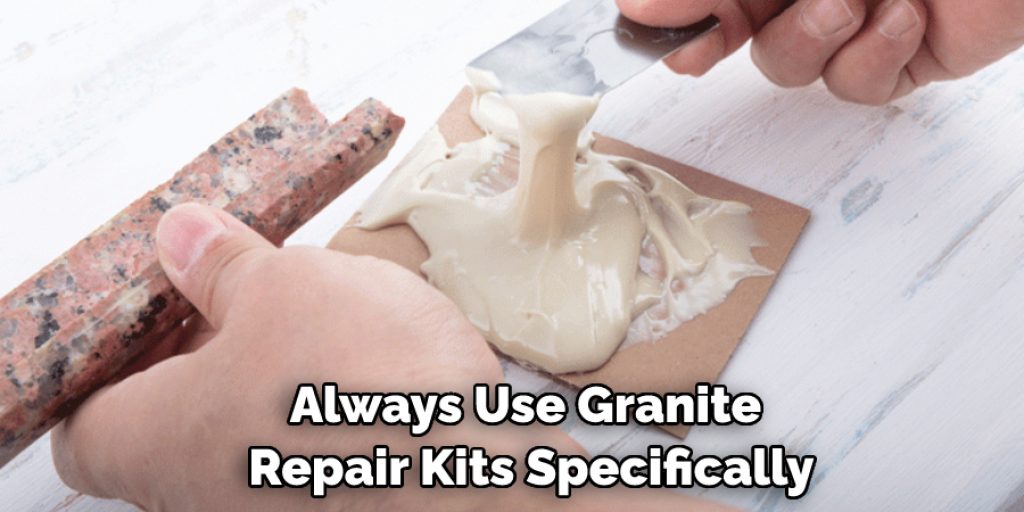
3. Always use granite repair kits specifically designed for countertops, as regular epoxy and other DIY solutions may not be compatible with granite stones.
4. Mix the resin and catalyst components of a granite repair kit in a well-ventilated area, as they have strong fumes that can cause dizziness or nausea.
5. Always observe the manufacturer’s instructions for the particular product being used when applying the epoxy, as different products may require different application methods and drying times.
6. Allow plenty of time for repairs to dry before using countertops again, as rushing this step can cause additional damage.
7. If necessary, use a sealant and buffing stone to finish the repair job and restore the glossy appearance of the granite countertop.
Following these safety precautions should help ensure that any fixes made to granite countertops are done with minimal risk and as efficiently as possible. With care and patience, it’s easy to make granite countertop chips disappear.
Frequently Asked Questions
How Much Does It Cost to Repair Granite Countertop Chips?
The cost of a chip repair will depend on the size and number of chips, as well as the type of material needed and the labor involved. Generally speaking, repairs typically range from $50-$200 per chip.
How Long Does a Chip Repair Take?
The length of time for a chip repair will depend on the size and complexity of the repair. Generally speaking, repairs typically take between 30 minutes and an hour to complete.
Can I Repair Granite Myself?
While some minor chips may be repaired with a DIY kit, it is generally recommended to leave granite chip repairs to a professional. Professional repair services have the expertise and tools needed to make sure that the job is done properly and safely.
Is Repairing Granite Countertop Chips Necessary?
Yes! Granite chips can not only affect your countertop’s aesthetic appeal but they can also become a breeding ground for bacteria and mold. Additionally, chips can weaken the granite and require further repairs in the future if not treated properly.
Do I Need to Seal My Granite After a Chip Repair?
Yes. After any repair, it is important to seal your countertop with an appropriate stone sealer. This will help to protect the repaired area from moisture and bacteria.
Conclusion
Knowing how to fix granite countertop chips is important for keeping your granite in top condition. While some smaller chips may be repaired with a DIY kit, it is generally recommended to leave the job to a professional who can make sure that the repair is done properly and safely. Additionally, sealing the countertop after any repair is essential for protecting it against moisture and bacteria buildup.
All in all, repairing granite countertop chips is an important part of maintaining your countertops for years to come. With the right knowledge and materials, you can make sure that your counters stay looking great for years to come.

