How to Fix Hinged Christmas Tree Branches
Hinged Christmas tree branches are a popular choice for easy assembly and storage during the holiday season. However, they can sometimes become misaligned or fail to stay in place, leading to an uneven appearance that detracts from the overall festive aesthetic.

This guide aims to provide you with effective solutions on how to fix hinged christmas tree branches, ensuring that your tree looks its best and brings joy to your holiday celebrations. Whether it’s a simple adjustment or a more involved repair, you’ll find practical tips to help you maintain a beautiful and balanced Christmas tree.
What are Hinged Christmas Tree Branches?
Hinged Christmas tree branches are designed to simplify the process of setting up and taking down a Christmas tree. Unlike traditional branches, which may require separate assembly, hinged branches are attached to a central pole and can be folded down for quick deployment. This innovative design allows for a more efficient setup, as the branches can be easily adjusted into place once the tree is upright.
Typically made from artificial materials, hinged branches mimic the appearance of natural foliage while providing durability and ease of storage. Their convenient assembly method makes them a popular choice among holiday decorators looking to save time and effort during the bustling festive season.
Common Issues with Hinged Branches
While hinged Christmas tree branches offer convenience, there are several common issues that may arise over time. One of the most frequent problems is misalignment, where branches fail to sit correctly in the desired position, resulting in an uneven appearance. This can be caused by wear and tear, improper setup, or loose hinges. Another issue is the inability of some branches to stay securely in place, leading to drooping or sagging, which detracts from the tree’s visual appeal.
Additionally, branches may become stuck or jammed, making it difficult to fold them up for storage or extend them during setup. Understanding these common problems can help you effectively troubleshoot and maintain the beauty of your hinged Christmas tree.

10 Methods How to Fix Hinged Christmas Tree Branches
1. Inspect the Branches
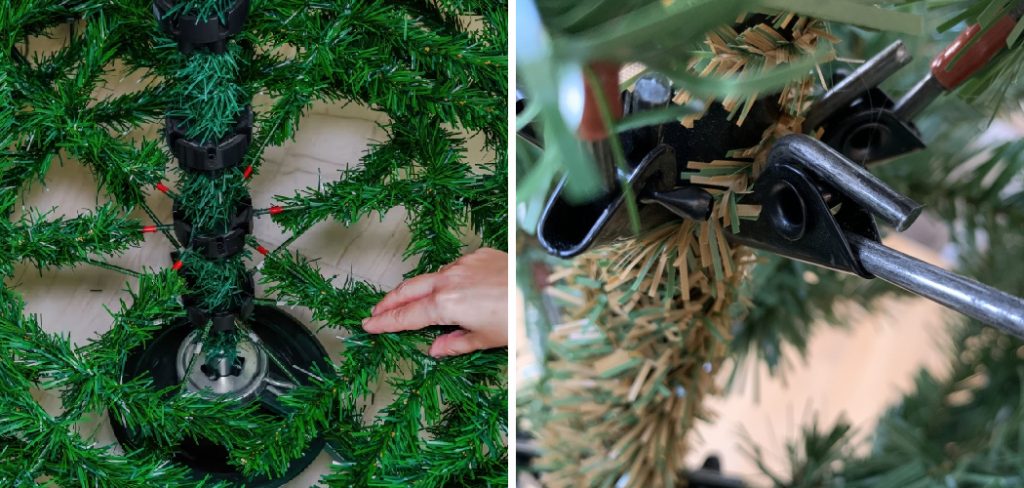
Before attempting any repairs, thoroughly inspect the hinged branches to identify the specific issues. Look for branches that are bent, misshapen, or not aligning properly with the rest of the tree. Check the hinges themselves for any signs of damage or looseness. Understanding the nature of the problem is crucial for selecting the appropriate repair method. A careful inspection helps you prioritize which branches need immediate attention and ensures that you address all potential issues effectively.
2. Adjust Branch Positioning
If the branches on your tree are not aligning correctly or appear uneven, adjusting their positioning can often resolve the issue. Gently bend and reposition each branch to achieve a more uniform and balanced appearance. Start from the bottom of the tree and work your way up, making adjustments as needed. Be cautious not to apply excessive force, as this could damage the branches or hinges. Properly adjusting branch positioning can help achieve a fuller and more symmetrical look for your Christmas tree.
3. Reinforce Loose Hinges
Loose or wobbly hinges can cause branches to droop or shift out of place. To reinforce loose hinges, first, locate the screws or fasteners that hold the hinge in place. Use a screwdriver to tighten any loose screws, ensuring that the hinge is securely attached to the branch frame. If the screws are stripped or damaged, consider replacing them with new ones. Reinforcing loose hinges helps stabilize the branches and prevents further shifting or drooping.
4. Repair Bent Branches
Bent branches can affect the overall appearance of the tree and may require some careful repair. Gently straighten any bent branches by applying even pressure along the length of the branch. Avoid bending the branch back too quickly or forcefully, as this could cause additional damage. If the branch has a permanent bend or crease, consider using a hairdryer on a low heat setting to gently warm the area, which can help the branch regain its shape. Once adjusted, reshape the branch to ensure it blends seamlessly with the surrounding foliage.

5. Use Floral Wire for Support
Floral wire is a versatile tool for providing additional support to hinged branches. Cut a length of floral wire and carefully wrap it around the base of the branch where it connects to the tree frame. Twist the wire securely to stabilize the branch and prevent it from drooping. Be sure to hide the wire among the tree’s foliage to maintain a natural appearance. Floral wire can also be used to attach any loose or damaged sections of branches, providing extra reinforcement where needed.
6. Replace Damaged Branches
In cases where branches are severely damaged or broken, replacing them may be the best solution. Check if replacement branches are available from the manufacturer or retailer of your artificial tree. If so, carefully remove the damaged branches by unscrewing or detaching them from the tree frame. Install the new branches according to the manufacturer’s instructions, ensuring that they fit securely and align properly with the rest of the tree. Replacing damaged branches restores the tree’s appearance and functionality.
7. Clean and De-tangle Branches
Dust, dirt, and tangled branches can contribute to an unkempt appearance and affect how the branches position themselves. To clean the branches, use a soft cloth or duster to gently remove any dust or debris. If the branches are tangled, carefully untangle them by hand, being cautious not to pull or stretch the branches excessively. Cleaning and de-tangling the branches improves the overall look of the tree and ensures that each branch is free to move and position as intended.
8. Add Branch Fillers
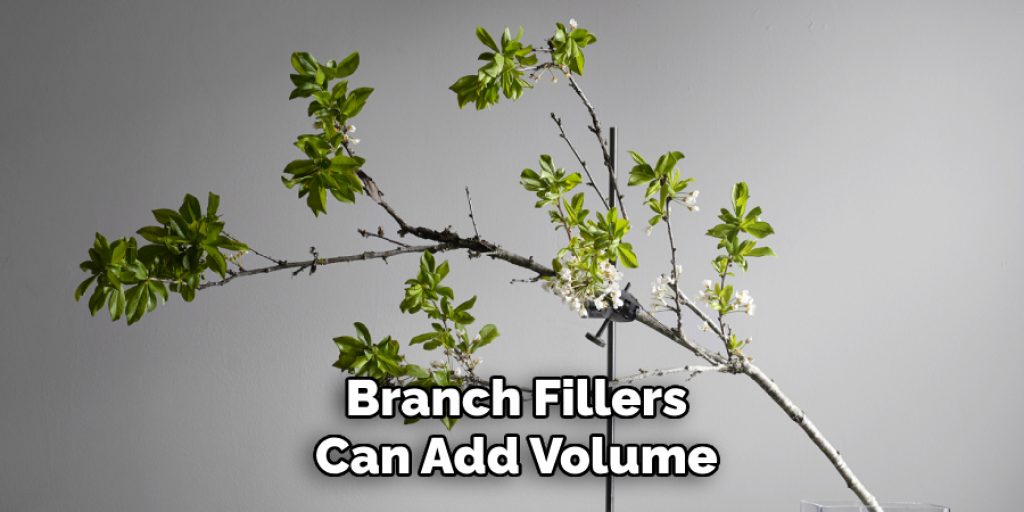
For trees with sparse or thin branches, adding branch fillers can enhance fullness and cover any gaps. Use additional faux foliage or small ornaments to fill in any empty areas and create a more cohesive look. Attach the fillers securely to the branches using floral wire or pipe cleaners, making sure they blend naturally with the existing branches. Branch fillers can add volume and help camouflage any imperfections or damaged areas, resulting in a more aesthetically pleasing tree.

9. Secure Branches with Adhesive
For branches that have come loose or shifted from their original position, a strong adhesive can provide a temporary fix. Apply a small amount of hot glue or craft adhesive to the area where the branch connects to the tree frame. Hold the branch in place until the adhesive sets, ensuring that the branch is positioned correctly. Be careful not to use excessive glue, as this can create a mess or damage the tree. Adhesive provides a quick solution for stabilizing loose branches and helps maintain the tree’s shape.
10. Consult Manufacturer’s Instructions
If you encounter persistent issues or are unsure how to address specific problems with your hinged Christmas tree branches, consult the manufacturer’s instructions or customer support. The manufacturer may provide detailed guidance on repair and maintenance for your particular tree model. Follow their recommendations for fixing common issues, such as adjusting hinges or replacing branches. Consulting the manufacturer ensures that you use the correct methods and materials for maintaining your tree, helping to extend its lifespan and preserve its appearance.
Maintenance and Upkeep
Regular maintenance and upkeep are essential for keeping your Christmas tree in top condition and ensuring it lasts for many seasons. Start by periodically inspecting the branches and hinges for any signs of wear or damage. Cleaning the tree at least once a season can help prevent dust buildup and maintain its vibrant appearance; use a soft brush or cloth to remove dust and debris gently.
Additionally, store your tree properly during the off-season. Place it in a cool, dry environment and consider using a protective cover or bag to shield it from moisture and pests. By taking these proactive steps, you can enjoy a beautiful and well-maintained Christmas tree year after year.
Preventative Measures
To ensure the longevity and optimal appearance of your Christmas tree, implementing preventative measures is crucial. First, always handle the branches and hinges with care during assembly and disassembly to avoid unnecessary stress or damage. Consider setting up your tree in a location away from heat sources and direct sunlight, as prolonged exposure can lead to fading and deterioration of materials.
Additionally, applying a fabric protector spray can help shield the tree from dust and stains. Regular inspections throughout the holiday season will allow you to catch and address minor issues before they escalate. Finally, establishing a cleaning routine with gentle products will help maintain the tree’s aesthetics without causing harm to its components. By taking these precautions, you can preserve the beauty and functionality of your Christmas tree for years to come.

Conclusion
Fixing hinged Christmas tree branches involves a combination of practical repairs and creative solutions to ensure that your tree looks its best throughout the holiday season. By employing these ten methods—inspecting the branches, adjusting positioning, reinforcing loose hinges, repairing bent branches, using floral wire for support, replacing damaged branches, cleaning and de-tangling, adding branch fillers, securing branches with adhesive, and consulting the manufacturer’s instructions—you can address a range of issues and restore your tree’s appearance. Thanks for reading, and we hope this has given you some inspiration on how to fix hinged christmas tree branches!


