How to Hold Yarn When Knitting
Knitting is a delightful and rewarding craft that allows individuals to create a variety of projects, from cozy sweaters to intricate scarves. One of the fundamental skills in knitting is how to properly hold yarn, as this technique impacts both the tension and the overall appearance of the finished piece. In this guide on how to hold yarn when knitting, we will explore various methods for holding yarn, catering to different preferences and styles.
Whether you are a beginner looking to master the basics or an experienced knitter seeking to refine your technique, understanding how to hold yarn effectively is essential for any successful knitting endeavor.
Things to Consider Before Choosing a Yarn-holding Method
Type of Yarn:
The type of yarn you are using can influence which holding method is best for you. Specifically, the thickness and texture of the yarn may require different tension and grip.
Project Stitch:
Different stitches may also require different yarn-holding techniques to achieve the desired tension and consistency. For example, simple knit stitches may require a different grip than intricate cable stitches.
Personal Preference:
Ultimately, the best yarn-holding method is one that feels comfortable and allows you to produce consistent results. Experiment with different techniques until you find one that suits your knitting style.
7 Step-by-step Methods on How to Hold Yarn When Knitting
Step 1: Prepare Your Yarn
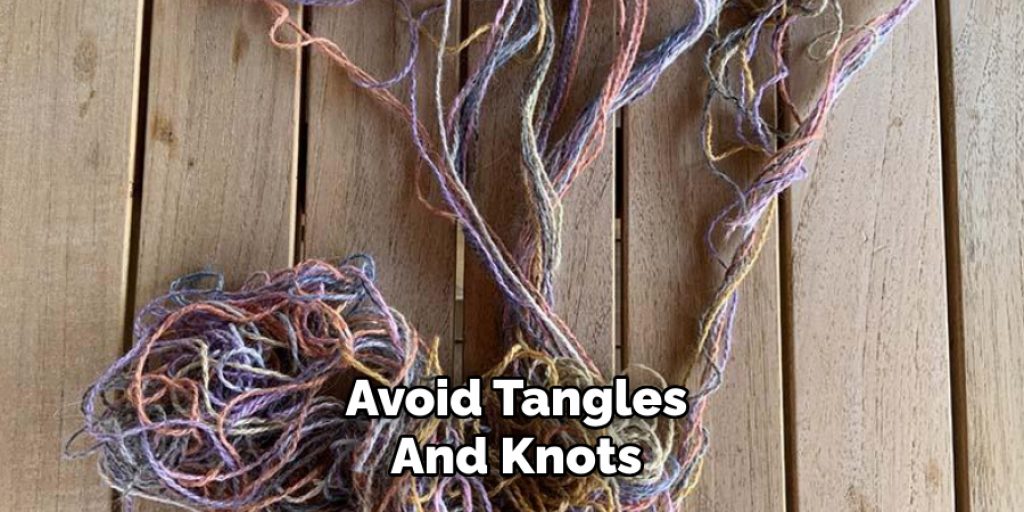
Before you begin knitting, it’s important to properly prepare your yarn to ensure a smooth and enjoyable experience. Start by unwinding a length of yarn from the skein or ball, allowing for a comfortable amount to work with. Be cautious to avoid tangles and knots; if you encounter any, gently work them out to prevent frustration later.
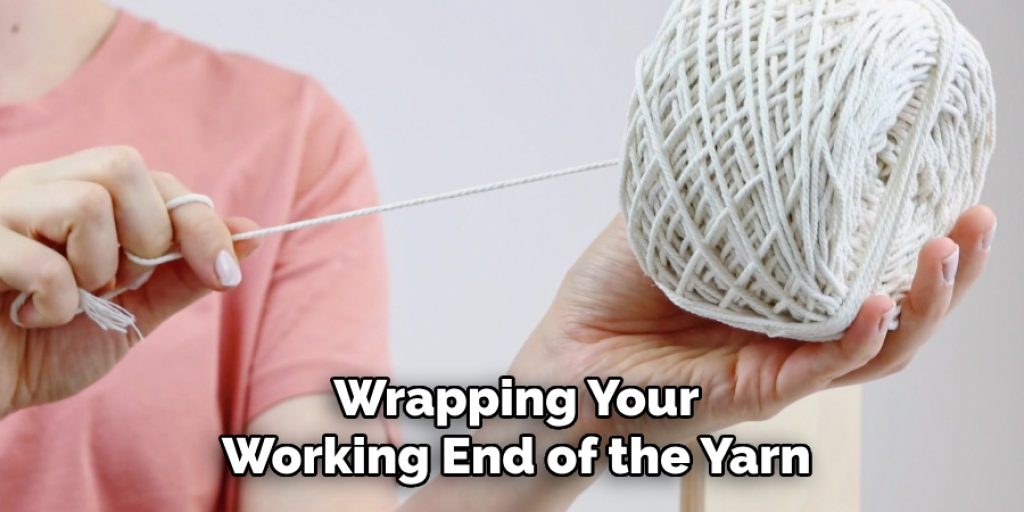
Additionally, consider the working end of the yarn—the end you will be using to knit. Make sure it is easily accessible and free from any snags. Finally, check that your yarn is not overly twisted, as this can affect your tension and overall knitting rhythm. With everything in place, you are ready to move on to the next step in mastering yarn-holding techniques.
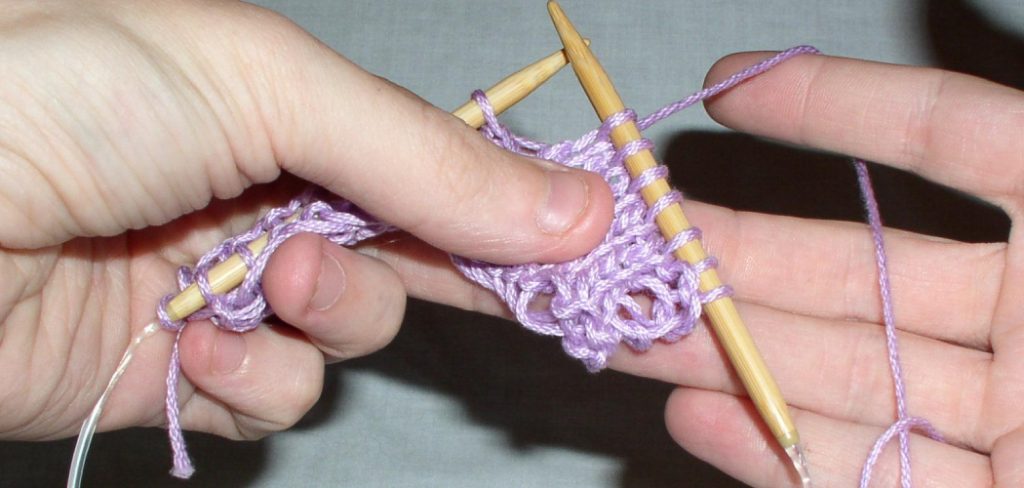
Step 2: Wrap the Yarn Around Your Fingers
One of the most common yarn-holding methods is wrapping it around your fingers. Start by holding your hand with your palm facing up, and extend your index finger out. Then wrap the working end of the yarn around your pinky finger, then under and over your ring finger, across the back of your middle finger, and finally under and over your index finger.
Adjust the tension on your fingers to achieve a comfortable grip that allows for smooth movements when knitting. This method is particularly useful for beginners as it provides a stable base for controlling yarn tension.
Step 3: Create a Slip Knot
Another popular technique involves creating a slip knot with the working end of your yarn. First, tie a basic overhand knot at the end of your yarn, leaving a small loop. Then, insert your index finger and thumb into the loop and tighten it around them. Adjust the tension by pulling on the yarn to achieve your desired grip.
This method is versatile as you can adjust the size of the loop to accommodate different yarn thicknesses or project stitches.
Step 4: Use a Yarn Guide
A yarn guide is an accessory that can be attached to your finger or knitting needle, creating a consistent path for your working yarn to follow. This technique is ideal for those who have difficulty holding onto slippery or fine strands of yarn.
To use a yarn guide, simply slide the yarn through the loop or hook of the guide and position it on your finger or needle. This way, your fingers are free to focus on controlling tension and creating stitches.
Step 5: Make a Yarn Butterfly
A yarn butterfly is a convenient method for holding multiple strands of yarn at once. To create one, start by wrapping your working end of the yarn around two fingers in a figure-eight motion until you have several loops. Then, secure the loops with an additional wrap around all the strands.
The advantage of this method is that it keeps multiple strands untangled and prevents them from getting twisted while knitting.
Step 6: Hold Your Yarn Over Your Finger
For this technique, start by making a loose slip knot at the end of your yarn and placing it on your index finger. Then loop the yarn over your middle finger and continue wrapping around your ring finger, securing it with another slipknot.
This method allows for quick tension adjustments while knitting and is useful for those who prefer a looser grip on the yarn.
Step 7: Use a Yarn Bowl or Swift
If you are working with a larger ball or skein of yarn, using a yarn bowl or swift can help keep your yarn organized and prevent tangles. Place the ball or skein in the bowl or swift and thread your working end through the guide or hole, allowing for a smooth release of yarn as you knit.
This method is particularly helpful when knitting with chunky or textured yarns that are prone to tangling.
Do You Need to Get Help From a Professional?
While many knitters find success in mastering yarn-holding techniques through practice and experimentation, there are instances where seeking professional guidance can be beneficial. If you are struggling with tension issues or find that your stitches consistently appear uneven, a knitting teacher or experienced friend can provide valuable insights tailored to your unique knitting style. Professional lessons can also introduce you to new techniques and methods that may not be covered in standard guides, enhancing your skill set.

Additionally, if you have specific knitting goals—such as tackling complex patterns or learning how to create custom garments—working with a professional may expedite your progress and deepen your understanding of the craft. Don’t hesitate to reach out for help; knitting, like any skill, can be greatly enriched through shared knowledge and experience.
How Long Will It Take to Master Yarn Holding Techniques?
The time it takes to master yarn-holding techniques varies significantly from person to person, depending largely on individual practice habits and prior knitting experience. For beginners, it may take several weeks of consistent practice to feel comfortable and confident with various methods. Engaging in regular knitting sessions, even for short periods, can expedite the learning process. As you become more familiar with the motions and your grip, you’ll likely notice improvements in your tension and stitch consistency.
For those who have already experienced knitters, refining your yarn-holding method could take less time, often a matter of days to weeks, as you’ll be building upon existing skills. Attending workshops or classes can further accelerate learning, providing immediate feedback and tips from experienced instructors. Remember, the key is patience and persistence; with dedication, you’ll find the yarn-holding technique that works best for you, enhancing your overall knitting experience.
Tips for Holding Yarn When Knitting
- Keep a relaxed grip on the yarn to avoid excessive tension and hand fatigue.
- Adjust the position of your hands as needed to find a comfortable and effective grip for different stitches.
- Avoid wrapping the yarn too tightly around your fingers, as this can create uneven tension in your knitting.
- Utilize stitch markers or pins to help keep track of where you are holding yarn when switching between techniques or taking breaks.
Following these tips on how to hold yarn when knitting and experimenting with different methods will help you find the best way to hold yarn for your personal knitting style. With practice, holding yarn will become second nature and contribute to more enjoyable and successful knitting projects.
Frequently Asked Questions
Q: Can I Use Different Yarn-holding Methods for Different Projects?
A: Yes, you can choose the method that works best for each project’s specific stitches and yarn thickness. It is also common to switch between techniques while working on the same project.
Q: How Do I Hold Yarn While Purling?
A: The most common technique for holding yarn while purling is to wrap it around your index finger and hold it in place with your middle finger. This allows for a smooth transition between knit and purl stitches. Experiment with different methods to find one that suits you best.
Q: Can I Use the Same Yarn-holding Method for Both Continental and English Knitting Styles?
A: Yes, you can use the same method for both knitting styles. However, some knitters may find it more comfortable to adjust their grip when switching between styles to maintain consistent tension. It is essential to find what works best for you as a knitter. Don’t be afraid to experiment and try different techniques until you find the one that feels most comfortable and effective for your knitting projects.
Conclusion
Mastering how to hold yarn when knitting takes time and practice. By considering your personal preferences, project stitches, and type of yarn, you can experiment with different methods until you find one that works best for you. Remember to also consider the tension and grip on your fingers to ensure consistent results. With these tips in mind, you will be well on your way to becoming a skilled knitter! Happy crafting!
Elizabeth Davis
Elizabeth is a creative writer and digital editor based in the United States. She has a passion for the arts and crafts, which she developed from a young age. Elizabeth has always loved experimenting with new mediums and sharing her work with others. When she started blogging, she knew that DIYquickly would be the perfect platform to share her tutorials and tips. She's been writing for the blog from the beginning, and her readers love her helpful advice and easy-to-follow instructions. When she's not writing or editing, Elizabeth enjoys spending time with her family and friends.