How to Insert an Invisible Zip
Are you a fashion enthusiast or a sewing hobbyist? If yes, you know the struggle of inserting an invisible zip. But don’t worry; we’ve got you covered with this step-by-step guide on how to insert an invisible zip like a pro.
Inserting an invisible zip is a valuable technique in sewing that allows for a clean, seamless finish on garments and other fabric creations. This method is vital in the construction of dresses, skirts, and fitted garments, where the goal is to hide the zipper from view, thereby maintaining the aesthetic integrity of the design. By mastering the insertion of invisible zippers, sewers can enhance their craftsmanship and create professional-looking results.
This guide will provide you with the necessary materials, preparation steps, and detailed instructions to insert an invisible zip successfully into your next sewing project.
What Will You Need?
To begin, gather the following materials:
- An invisible zipper
- The fabric you will be inserting the zip into
- A sewing machine with a zipper foot attachment
- Thread that matches your fabric color
- Pins or clips to hold the fabric in place
Once you have all of these materials ready, follow the instructions below to insert an invisible zip.
10 Easy Steps on How to Insert an Invisible Zip
Step 1: Prepare Your Fabric
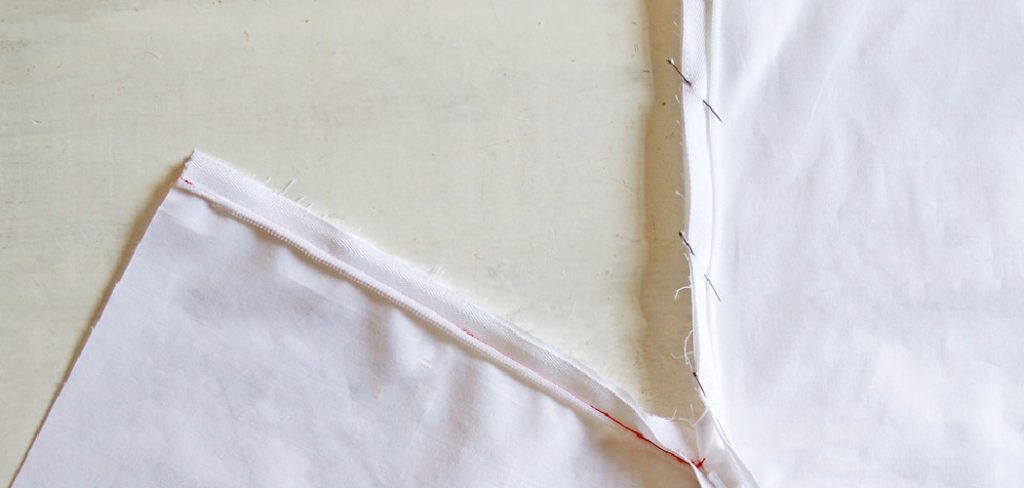
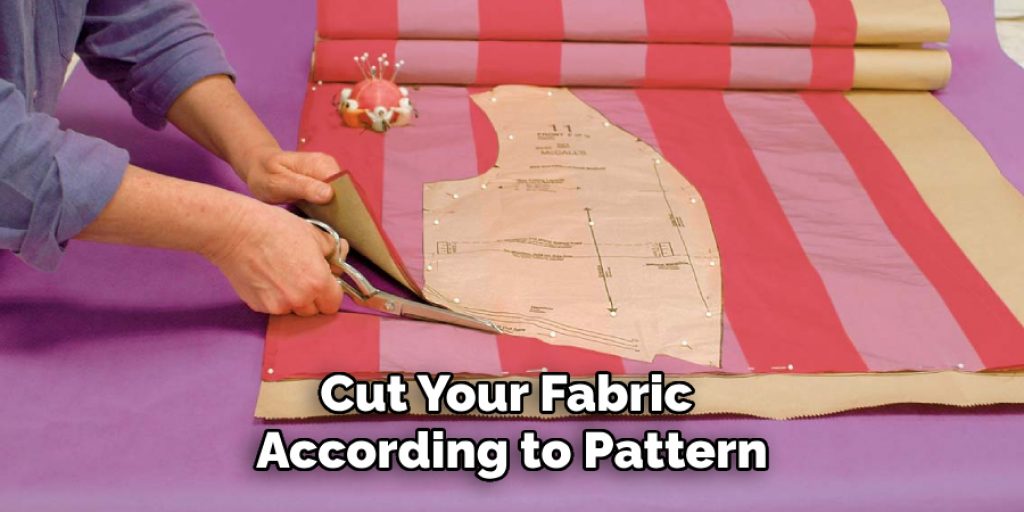
Before you begin sewing, preparing your fabric correctly is crucial to ensure a smooth installation of the invisible zip. Start by washing and pressing your fabric to remove any wrinkles and pre-shrink it, as this will help avoid any distortion after the zip is sewn in. Next, cut your fabric according to your pattern, ensuring the seam allowance is consistent along the edges where the zip will be inserted.
Finishing the raw edges of your fabric with a serger or a zigzag stitch is also helpful in preventing fraying, which can affect the cleanliness of your zip insertion. Afterward, mark the seam line where the zipper will be placed. This is typically around 1/2 inch from the edge of the fabric, depending on your design.
Step 2: Position the Invisible Zip
Once your fabric is prepared, it’s time to position the invisible zip. Lay one side of the zip along the marked seam line on the right side of the fabric, ensuring the zipper’s teeth are aligned with the seam line. Use pins or clips to secure the zip in place, keeping the fabric edges aligned. The zipper pull must be facing the correct direction, usually towards the top of the garment. Repeat this process for the other side of the zip, laying it out on the opposite side of the seam line. Take a moment to double-check that the zippers are positioned correctly and securely before moving on to the next step.
Step 3: Stitch the First Side
With your invisible zip adequately positioned, the next step is stitching the zipper’s first side. Attach your zipper foot to the sewing machine, ensuring it’s placed correctly to allow the needle to get close to the zipper teeth. Begin sewing at the top of the zip, backstitching to secure your stitch, and then continue sewing down to the bottom. Remember to keep the fabric taut but not stretched, allowing the machine to guide the fabric through smoothly.
As you sew, keep an eye on the alignment of the fabric edges and the zipper to maintain a clean and straight line. Once you reach the end of the zip, backstitch again to secure the stitch before trimming any excess thread.
Step 4: Stitch the Other Side
Now, move on to the second side of the zipper. Flip your fabric to the opposite side with the right side facing up. Again, position the zipper along the marked seam line, ensuring it’s aligned with the other side and that the teeth framework is straight. Pin or clip the second side into place as you did with the first. Repeat the stitching procedure using your zipper foot, starting from the top and sewing down to the bottom. Be sure to maintain the same seam allowance as the first side. Once complete, backstitch at both ends to secure your stitches.
Step 5: Press the Zipper
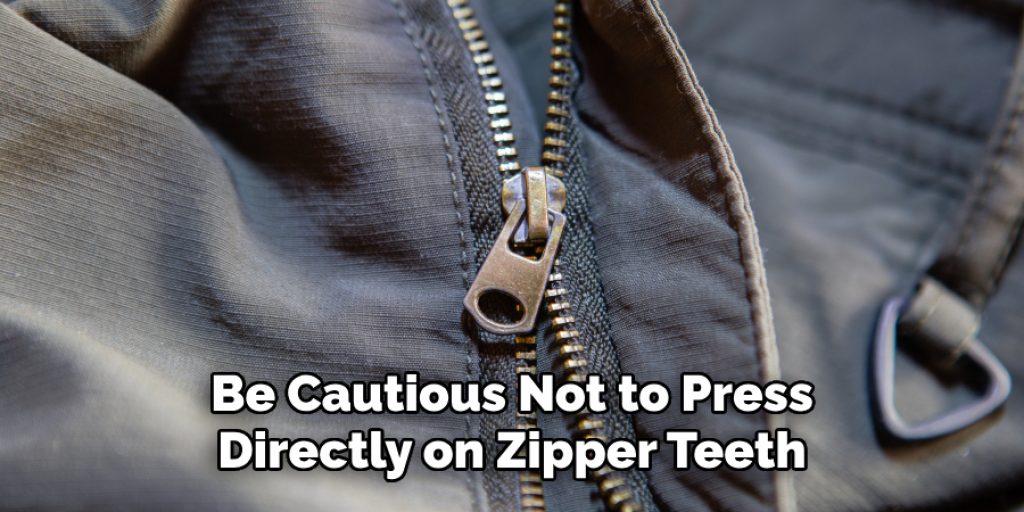
After both sides of the zipper are sewn in, it’s time to press the zipper for a professional finish. Carefully open the zip to its full length and press the fabric around the zipper using an iron on a low heat setting. Be cautious not to press directly on the zipper teeth, which could damage them. Instead, press the fabric away from the zipper to ensure a crease-free finish. This step helps to ensure that the zip lies flat against the fabric, creating a seamless look.
Step 6: Finish the Seam
To install your invisible zip, you must finish the seam properly for a polished finish. Lay your garment flat and use a serger or a zigzag stitch to finish the raw edges of the seams where the zipper is attached. This will help prevent fraying and will give your garment durability. Trim any unnecessary threads and ensure the edges are neat. By completing this step, you solidify the construction of your piece and maintain its aesthetic appeal.
Step 7: Secure the Zipper Ends
Now that the zipper is inserted and the seam is finished securing the zipper’s ends is essential to prevent any potential unraveling. Fold back the raw edges of the fabric at both ends of the zipper, ensuring they align nicely with the newly finished seam. Pin these edges in place to hold them securely. Using a straight stitch, sew across the end of the zipper tape, which will anchor the zipper in position. Be careful not to catch the zipper teeth in this stitch; you want to secure only the fabric. This final touch ensures the longevity of your zip installation while maintaining a neat appearance.
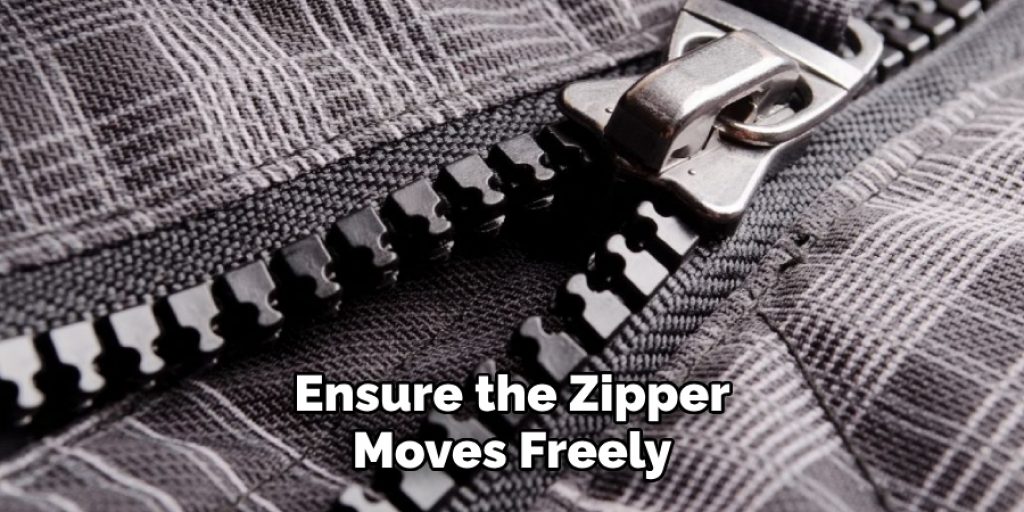
Step 8: Test the Zipper Functionality
Before finishing your project, it’s essential to test the functionality of the invisible zipper. Gently pull the zipper slider up and down to ensure it moves smoothly without snagging. If you notice any resistance, ensure the fabric is not caught in the zipper teeth or under the stitching. This step is crucial, as it verifies that your installation was successful and that the zipper will operate effectively when the garment is worn.
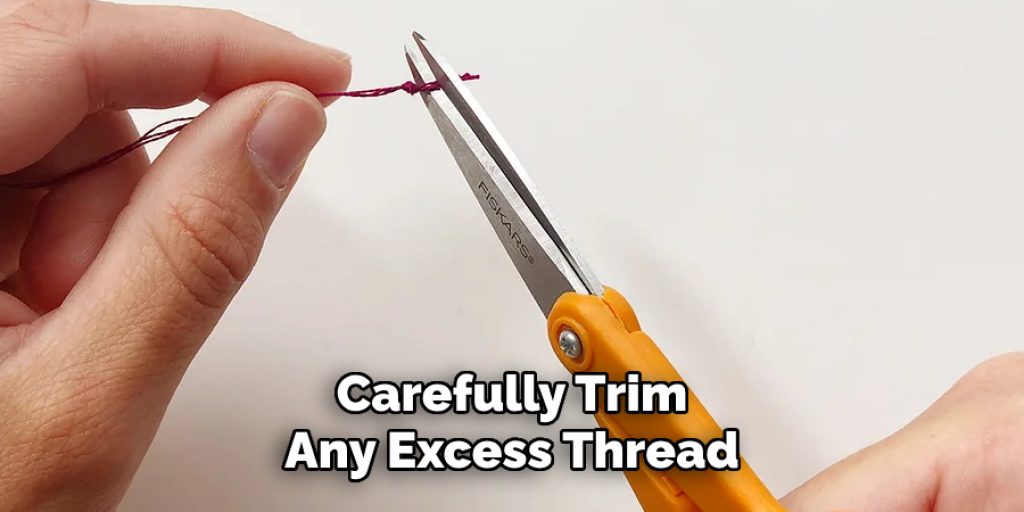
Step 9: Clean Up Any Loose Threads
With the zipper functioning correctly, the next step is to tidy up your workspace by cleaning up any loose threads or remnants from your sewing process. Carefully trim any excess thread from the zipper installation, ensuring you maintain a neat appearance in the finished garment. A clean workspace promotes a professional finish and helps keep your sewing area organized for future projects.
Step 10: Final Pressing
The final step is to press your garment thoroughly. Lay the entire piece flat on an ironing board and use a low heat setting to avoid direct contact with the zipper teeth. Press the fabric around the zipper carefully to set the seams and eliminate wrinkles. This final pressing will enhance the overall look of your project, creating a polished appearance that showcases your hard work. Your invisible zipper installation is complete, and your garment is ready to wear!
By following these ten steps, you can easily install an invisible zipper into your garment. Remember to always take your time and stay patient throughout the process.
5 Things You Should Avoid
- Skipping the Marking Step: Please mark your fabric accurately to avoid misaligned zippers. Always take the time to mark where the zipper will be placed to ensure a clean and professional look.
- Using the Wrong Foot: Using a standard presser foot instead of a zipper foot can make it challenging to sew close to the teeth. Always switch to a zipper foot for better control and precision during the sewing process.
- Overly Tight Stitches: Sewing too tightly can cause the fabric to pucker around the zipper. Maintaining even tension when stitching is essential to keep the fabric looking smooth and flat.
- Neglecting to Test the Zipper: Not testing the zipper before finalizing the garment can lead to functionality issues. Always ensure the zipper moves freely without catching on the fabric to avoid disappointment.
- Ignoring Fabric Type Compatibility: Using incompatible fabrics can cause problems during installation. Ensure the zipper and fabric types complement each other for easy sewing and a desirable finish.
By avoiding these common mistakes, you can ensure a successful invisible zipper installation and achieve a professional finish on your garment.
Conclusion
How to insert an invisible zip may seem daunting at first, but following the outlined steps can lead to a successful and professional result.
By carefully preparing your fabric, using the appropriate tools, and taking the time to finish each step correctly, you can achieve a smooth, seamless look that enhances the overall appearance of your garment. Remember that patience and practice are essential; the more you work with zippers, the more comfortable and proficient you will become.
With this guide, you’re now equipped to tackle your next project with confidence and skill, ensuring that every installation is a testimony to your craftsmanship.
Elizabeth Davis
Elizabeth is a creative writer and digital editor based in the United States. She has a passion for the arts and crafts, which she developed from a young age. Elizabeth has always loved experimenting with new mediums and sharing her work with others. When she started blogging, she knew that DIYquickly would be the perfect platform to share her tutorials and tips. She's been writing for the blog from the beginning, and her readers love her helpful advice and easy-to-follow instructions. When she's not writing or editing, Elizabeth enjoys spending time with her family and friends.