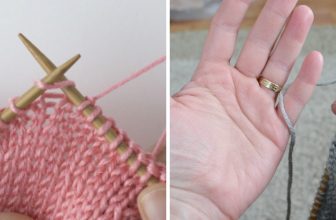
How to Join Yarn in Knitting without a Knot
Joining yarn in knitting is a fundamental skill that every knitter should master, as it allows for seamless transitions between skeins without creating bulky knots. This technique not only maintains the integrity of the fabric but also contributes to a polished and professional finish. In this guide, we’ll explore various methods on how to join yarn in knitting without a knot, perfect for beginners and experienced knitters alike. Whether you’re looking to change colors or simply attach a new ball of yarn, these knot-free techniques will help elevate your knitting projects.
Importance of Joining Yarn Smoothly
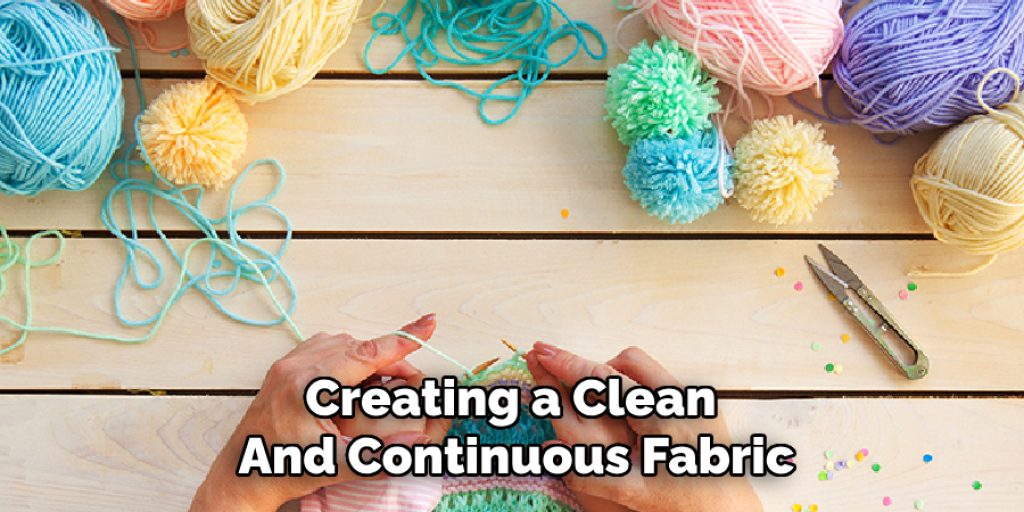
Joining yarn smoothly is crucial in knitting for several reasons. First and foremost, it enhances the overall appearance of the finished piece, creating a clean and continuous fabric without noticeable bumps or interruptions. This is particularly important in larger projects where visible joins can disrupt the visual flow of the design. Additionally, smooth joins help maintain the structural integrity of the garment, preventing weak points that could unravel or create holes over time. By mastering the art of knot-free yarn joins, knitters can ensure that their creations not only look professional but also stand the test of time, ultimately leading to greater satisfaction and confidence in their skills.
Why Avoid Knots?
Avoiding knots in knitting is essential for both aesthetic and functional reasons. When knots are present, they can create unsightly bumps on the fabric, disrupting the visual flow and detracting from the overall design. In addition to their visual impact, knots can also cause tension issues in the knitting process, leading to inconsistent stitches that affect the uniformity of the project. Moreover, knots may weaken the yarn at the join point, increasing the risk of breaks or unraveling over time, which can compromise the durability of the finished piece. By mastering knot-free techniques, knitters can achieve a more polished look while ensuring their projects remain intact and resilient through wear and wash.
10 Methods How to Join Yarn in Knitting without A Knot
1. The Russian Join
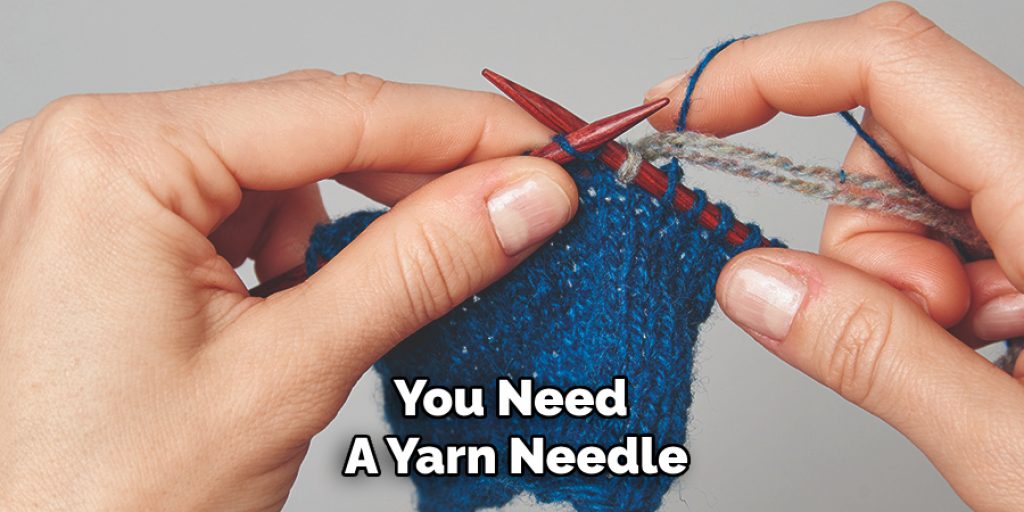
The Russian Join is a clever and secure method to join yarn seamlessly, especially useful for projects requiring durability. To execute this method, you need a yarn needle. First, thread the end of the old yarn through the needle and weave it back into itself, creating a loop. Do the same with the new yarn, threading it through the loop of the old yarn. Pull the ends tight and trim any excess. This method creates a sturdy join that blends well into the fabric, making it ideal for items that will experience wear and tear, such as socks or gloves.
2. The Spit Splice (or Felted Join)
The Spit Splice is particularly effective for wool or other animal fibers that can felt. Begin by unraveling a few inches of both the old and new yarn ends. Lay the ends on top of each other, overlapping them slightly. Add a bit of moisture—traditionally, knitters use spit, but water works just as well. Rub the overlapped ends between your palms vigorously until they felt together. This method creates a seamless join that is virtually undetectable in the finished product and works best with non-superwash wool that has a natural felting ability.
3. The Weaving Method
The Weaving Method involves integrating the new yarn into the knitted fabric without disrupting the flow of the stitches. To do this, knit a few stitches with both the old and new yarns held together. Once the new yarn is secure, drop the old yarn and continue knitting with the new yarn alone. After a few rows, weave the ends of both yarns into the fabric on the wrong side using a yarn needle. This method is versatile and works well with all types of yarns and knitting projects, from scarves to sweaters.
4. The Magic Knot Join
While this technique technically involves a knot, it’s so small and well-integrated that it often goes unnoticed. Tie a knot at the end of both the old and new yarns. Trim the ends close to the knots. Hold the new yarn against the back of the old yarn and knit a few stitches. The knot will be small and secure, hidden within the stitches. This method is quick and ensures that the join stays put, making it a popular choice for knitters who prefer a fast and straightforward solution.
5. The Overlap Join
The Overlap Join is a simple and effective method that involves overlapping the old and new yarns. Start by knitting a few stitches with the old yarn. Then, lay the new yarn alongside the old yarn and knit a few stitches with both yarns held together. After a few stitches, drop the old yarn and continue knitting with the new yarn alone. This method creates a smooth transition between the old and new yarns, making it perfect for color changes or when you’re nearing the end of a ball of yarn.
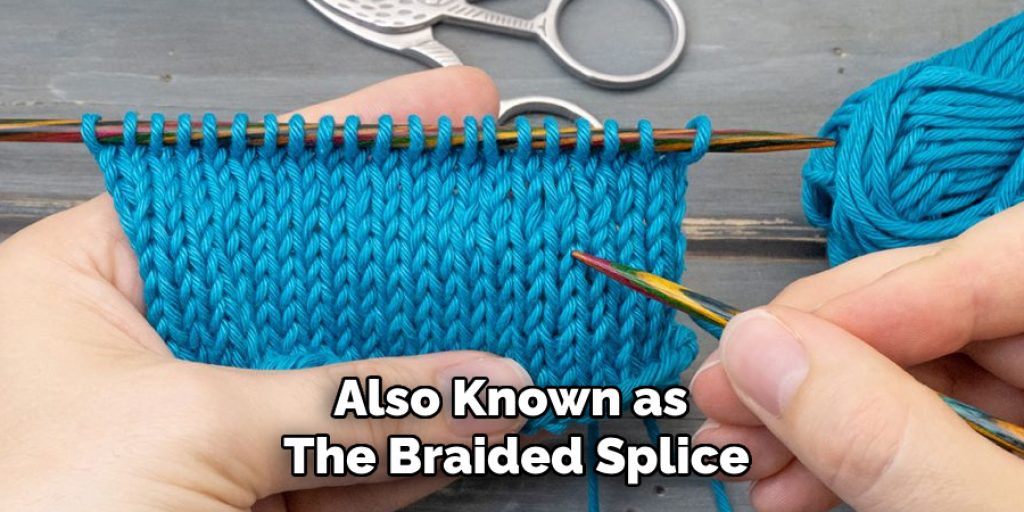
6. The Braided Join
The Braided Join, also known as the Braided Splice, is a bit more intricate but results in a very secure and seamless join. Begin by splitting the plies of both the old and new yarns. Braid the plies together by interweaving them. Once braided, rub the join between your palms to secure it. This method is especially useful for thick yarns and creates a strong, nearly invisible join that works well in high-stress areas of the knitting.
7. The Back Join
The Back Join is a method that works well with thicker yarns or projects where you want to avoid bulk. To perform the Back Join, unravel a few inches of the new yarn. Lay it alongside the old yarn and knit a few stitches. Then, knit a few stitches with the new yarn alone. The yarns will be joined in a way that creates minimal bulk, making this method ideal for chunky knits or areas where you need a smooth finish.
8. The Invisible Join
The Invisible Join is a meticulous method that ensures the join is completely hidden within the fabric. To execute this method, thread the end of the old yarn onto a yarn needle. Weave the old yarn through a few stitches on the wrong side of the fabric. Repeat the process with the new yarn. This method requires patience but results in a join that is completely invisible, making it perfect for delicate projects where appearance is paramount.
9. The Duplicate Stitch Join
The Duplicate Stitch Join involves using a duplicate stitch technique to join the new yarn seamlessly. Thread the old yarn onto a yarn needle and duplicate stitch over a few stitches on the wrong side of the fabric. Do the same with the new yarn. This method is time-consuming but creates a join that is very secure and blends seamlessly into the fabric, making it ideal for intricate or colorwork projects.
10. The Knit-in Join
The Knit-in Join is a straightforward method that involves knitting the ends of the yarns into the fabric. To do this, knit a few stitches with the old yarn, then lay the end of the new yarn alongside the old yarn and knit a few stitches with both yarns held together. Once the new yarn is secure, drop the old yarn and continue knitting with the new yarn alone. This method is easy to execute and works well with most types of yarns and knitting projects.
Troubleshooting Common Issues
When working with yarn joins, knitters may encounter a few common challenges. One frequent issue is visible joins, which can occur if the tension is not consistent between the old and new yarns. To avoid this, ensure that both yarns are held at an even tension throughout the joining process. Another problem might be knots that slip or come undone, particularly with quicker methods like the Magic Knot Join.
To address this, double-check that the knots are securely tied and consider reinforcing them by knitting a few extra stitches with both yarns held together. Additionally, if the join feels bulky or creates an uneven fabric, try using a more delicate join method or adjusting the number of stitches knitted with both yarns to create a smoother transition. Finally, should any join unravel, be sure to inspect the stitches around the join for any looseness and re-weave as needed to maintain the integrity of the finished project.
Conclusion
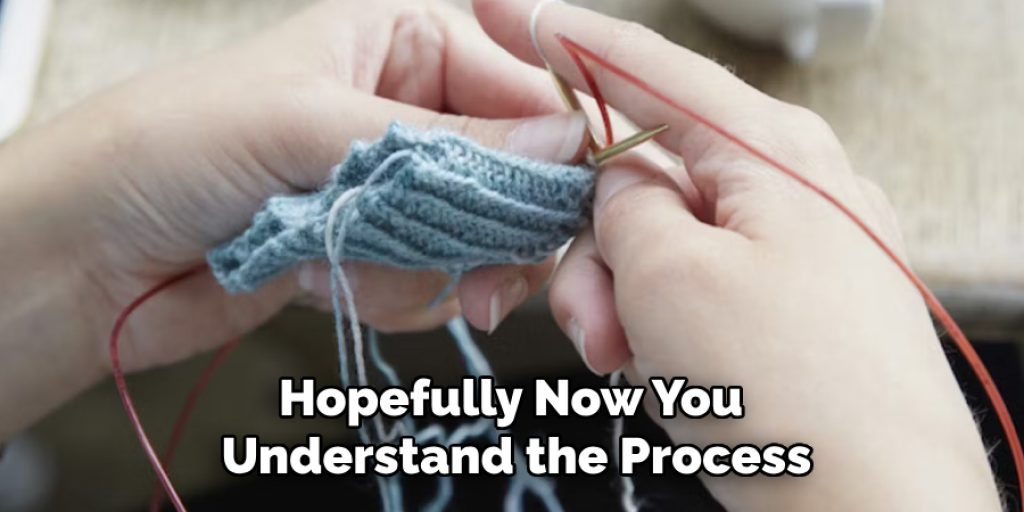
In conclusion, joining yarn in knitting without creating a knot is an essential skill that enhances the quality and appearance of your projects. Each method described above has its unique benefits and applications, depending on the type of yarn and the specific requirements of your project. By mastering these techniques, you can ensure that your knitted items are not only beautiful but also durable and comfortable to wear. Now that you know how to join yarn in knitting without a knot. While it does take a few steps each time, hopefully now you understand the process and why it’s worth taking the extra step to make sure your floor is properly cared for. So don’t wait any longer, take action today!
Elizabeth Davis
Elizabeth is a creative writer and digital editor based in the United States. She has a passion for the arts and crafts, which she developed from a young age. Elizabeth has always loved experimenting with new mediums and sharing her work with others. When she started blogging, she knew that DIYquickly would be the perfect platform to share her tutorials and tips. She's been writing for the blog from the beginning, and her readers love her helpful advice and easy-to-follow instructions. When she's not writing or editing, Elizabeth enjoys spending time with her family and friends.