How to Knit a Bow
Knitted bows are charming and versatile creations that can add a touch of whimsy to various projects. Whether used as hair accessories, decorative accents, or thoughtful gifts, these bows enhance the aesthetic appeal and showcase the intricate art of knitting.
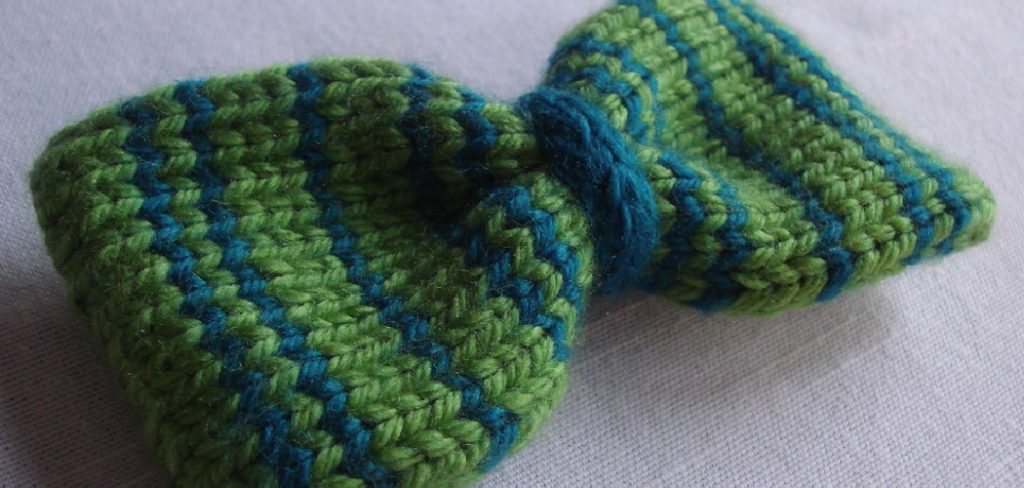
Learning how to knit a bow opens up endless possibilities for personalization and creativity. The knitting process itself is both relaxing and satisfying, involving a few simple stitches to create beautiful shapes that can be tailored to suit any occasion. The delightful combination of yarn and skill allows crafters to make bows in various sizes and styles, which are ideal for dressing up gifts, embellishing clothing items, or brightening up home décor. As you explore the world of knitted bows, you’ll discover how easy and enjoyable it is to incorporate your hand-knit creations into everyday life.
Materials and Tools Needed
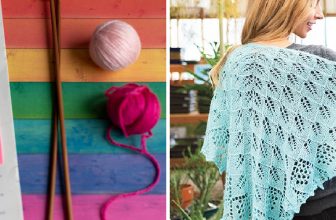
You’ll need a few essential materials and tools to embark on your journey of creating knitted bows. Start with your yarn choice; soft, medium-weight yarn is often recommended for beginners, but feel free to experiment with different textures and colors. You’ll also require a pair of knitting needles that complement your yarn thickness—typically, sizes 8 to 10 US are a good fit for worsted-weight yarn.
A tapestry needle is crucial for weaving in the ends and securing your work, while a pair of scissors will help in trimming any excess yarn. Additionally, you may want to consider optional embellishments like buttons or beads to personalize your finished bow. Choosing the right combination of materials will enhance the final appearance of your piece and make the knitting experience enjoyable and fulfilling.
Basic Knitting Stitches
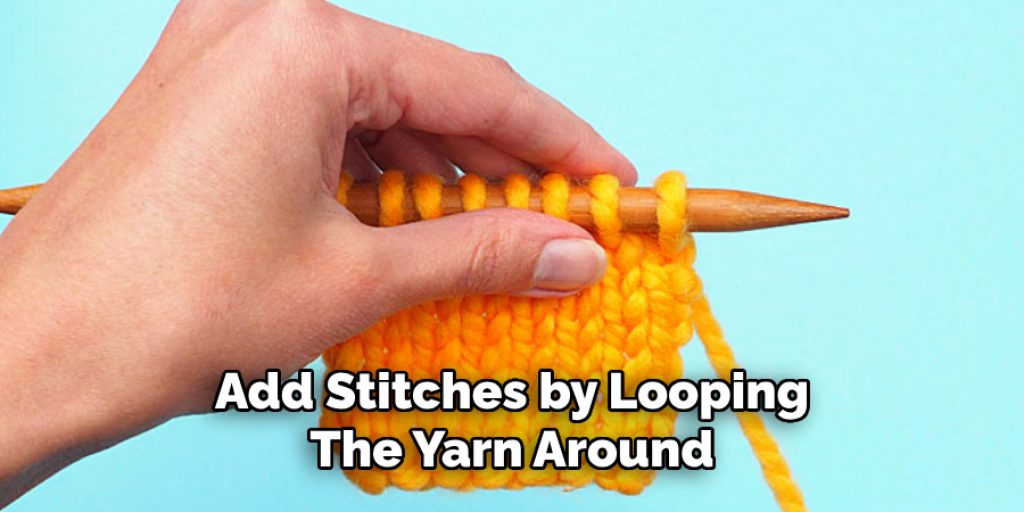
To successfully knit a bow, it’s essential to master a few basic knitting stitches. The first stitch is the cast-on, which establishes the initial foundation of your project. To cast on, place a slip knot on your needle, then use your other needle to add stitches by looping the yarn around.
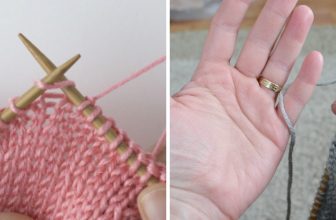
Next is the knit stitch, where you insert the right needle into the front of the stitch on the left needle, wrap the yarn around it, and pull it through, transferring the stitch to the right needle. The purl stitch is the opposite, where you bring the yarn to the front, insert the right needle from back to front, wrap the yarn, and pull it through. Finally, binding off involves knitting and securing stitches to finish your project neatly.
For beginners, practice these stitches regularly by making small swatches. Your tension will improve with time, so don’t hesitate to rip back and redo if necessary. For visual guidance on these techniques, it’s often helpful to refer to online tutorials or videos.
How to Knit a Bow: Knitting the Bow
1.Casting On
To begin creating your bow, determine its width by deciding how thick you want the finished bow to be. Casting on between 10 to 20 stitches is typical for a standard-sized bow, depending on your yarn and desired width. Once you have your width in mind, use the long tail cast-on method for an even edge. This technique allows you to make a neat foundation. Keep your stitches loose enough to avoid constriction as you knit further. A relaxed casting on the edge will lead to a better drape for your bow.
2.Knitting the Main Piece
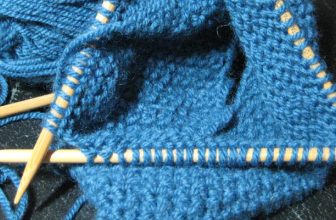
Moving on to the body of your bow, you can choose between garter stitch or stockinette stitch. The garter stitch knits every row, resulting in a squishy and textured fabric, while the stockinette stitch features a knit row followed by a purl row, creating a smoother appearance. For your bow, garter stitch may be the best option if you’re after a soft and flexible structure. As you knit, maintain consistent tension; this will help create an even fabric.
Regularly check your stitch count and ensure that you have the same number of stitches on your needle after each row. You may need to adjust your project as you approach the desired length for your bow, typically around 20-30 rows. To ensure it fits your vision, you can fold the piece as you go along to get a feel for how it will look once complete.
3.Binding Off
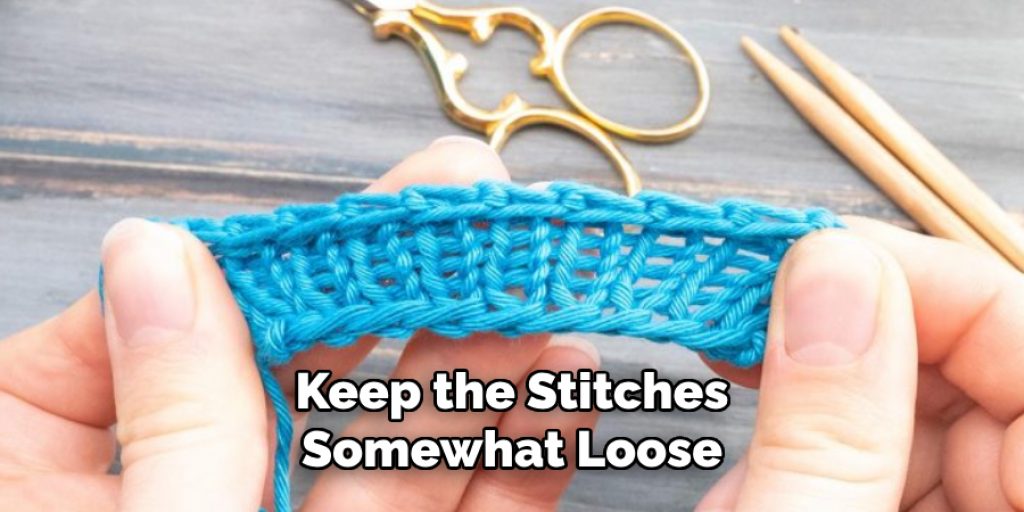
Once your main piece is the desired length, it’s time to bind off the stitches. Begin by knitting the first two stitches in the row. Using your left needle, lift the first stitch over the second stitch and off the needle, then knit another stitch and repeat the process until you reach the end of the row. This method creates a neat edge that won’t unravel. Make sure to keep the stitches somewhat loose while binding off to maintain the bow’s elasticity.
4.Creating the Center Wrap
To create the center wrap of the bow, knit a smaller strip, typically 5-10 stitches wide and about 4-5 inches long. Once knitted, bind off the strip and finish the edges, ensuring it’s ready to secure the bow’s shape when assembled.
Assembling the Bow
Fold the main piece into a bow shape to assemble your knitted bow. Gently pinch the center together and hold it in place, creating a distinct bow form. Next, take the center strip you knitted earlier and wrap it tightly around the middle of the bow to secure the shape—this will provide the crucial definition between the loops of your bow. Ensure that the wrap is placed neatly and covers the joint between the body and the centerfold.
Once you’ve positioned it, you can secure the center strip either by stitching it in place or using a knot. If opting for stitching, use a tapestry needle and yarn to thread through the layers, keeping everything secure and discreet. After securing the center, adjust the shape of your bow by gently pulling on the loops and fluffing it out to achieve the desired volume and symmetry. This step is vital to create a polished look that stands out.
Adding Embellishments
Embellishments are an excellent way to personalize your knitted bow and enhance its visual appeal. Add buttons, beads, or even a small ribbon to complement your design. For buttons, choose ones that match the color scheme of your yarn or provide an eye-catching contrast. Beads can be sewn directly onto the fabric or incorporated into the center wrap for added sparkle. When attaching embellishments, ensure they are securely affixed; use a sturdy thread and double knot your stitches to prevent any accidents.
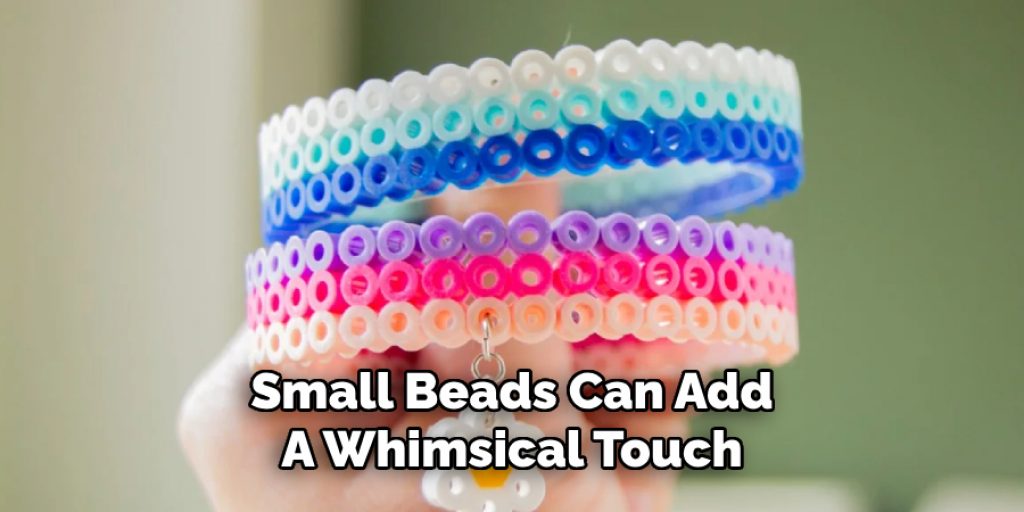
It’s also wise to position embellishments thoughtfully, placing them where they balance the overall design without overwhelming the bow. For instance, a single large button at the center can create a focal point, while multiple small beads can add a whimsical touch. Enjoy the creative process and make your bow truly unique by experimenting with various combinations of embellishments!
Final Touches and Adjustments
After assembling your knitted bow, take a moment to inspect it for any loose threads or imperfections. Carefully trim any excess yarn to ensure a clean finish. Make final adjustments to achieve the perfect shape, gently tugging on the loops to create balance and consistency. If desired, you can lightly press the bow using a low heat setting on an iron, protecting the fabric with a cloth to avoid any damage. This will give your bow a polished look, enhancing its overall appearance and readiness for use.
Uses for Knitted Bows
Knitted bows offer a versatile touch to various projects. They can serve as charming hair accessories, adding a playful element to ponytails or headbands. Use them as embellishments on clothing, such as adorning jackets, sweaters, or even bags, to infuse your wardrobe with a personal flair. Additionally, knitted bows make delightful finishing touches for gift wrapping, transforming plain packages into eye-catching gifts.
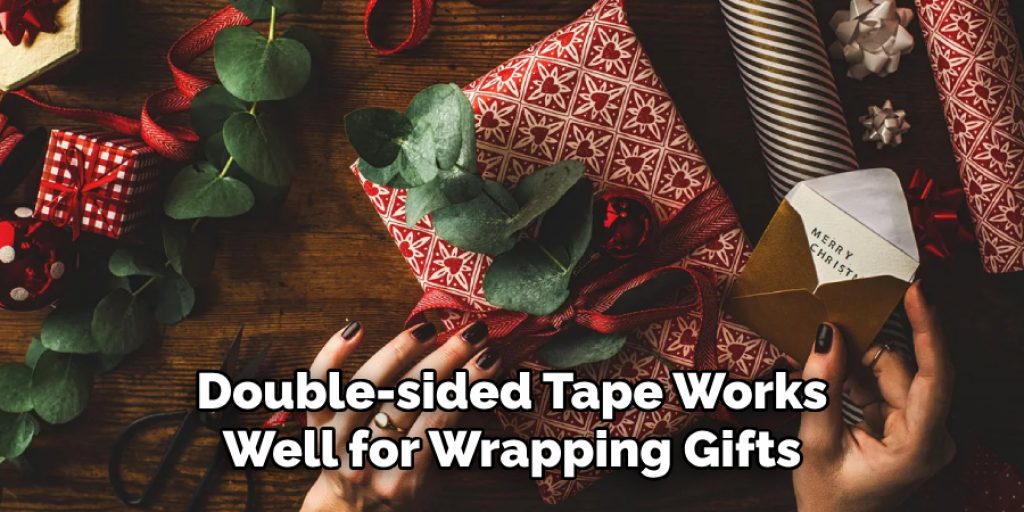
When attaching bows, consider using safety pins or fabric glue for a secure hold on clothing items, while double-sided tape works well for wrapping gifts. Get creative by incorporating bows into home décor, such as on wreaths or wall hangings. The possibilities are endless, and experimenting with placements and combinations can lead to unique creations. Knitted bows can elevate your projects in delightful ways, whether for practical use or decorative purposes.
Conclusion
In summary, knowing how to knit a bow involves several key steps: choosing your stitch type for the main piece, binding off the stitches, creating the center wrap, assembling the bow, and finally adding embellishments to make it your own. It’s important to experiment with different yarns and sizes to create unique designs that suit your personal style. Whether you opt for a luxurious yarn or a quirky color combination, each choice can significantly alter the look and feel of your finished bow.
Remember, knitted bows are not just accessories; they are versatile decorations that can be used in numerous projects, from hair ties to gift wraps. Embrace your creativity and enjoy the process, allowing each knitted bow to reflect your individuality and charm, making it a delightful addition to your crafting repertoire.

