How to Knit a Shrug
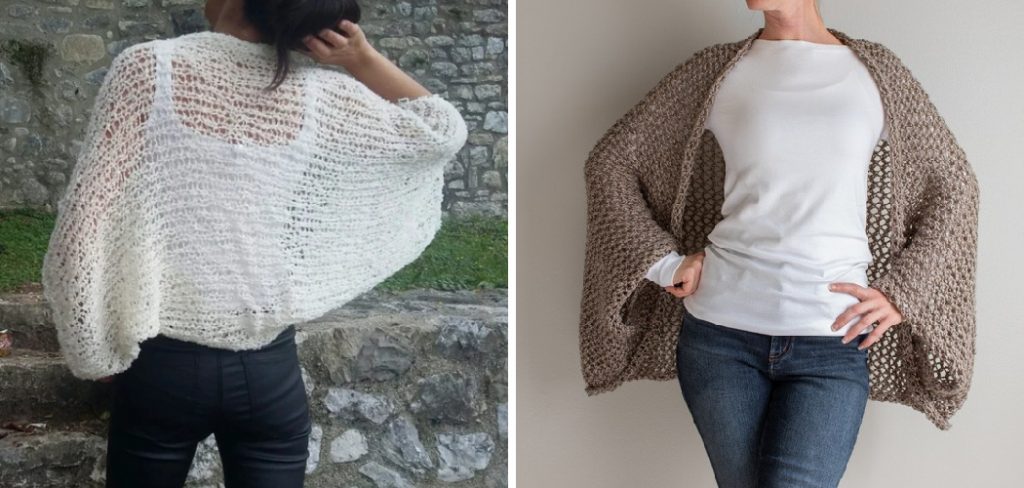
Knitting a shrug is a delightful way to create a versatile piece of clothing that can elevate any outfit. This stylish garment serves as a perfect layering option, providing warmth and comfort without compromising on fashion. Whether you’re looking to add a bit of flair to your wardrobe or searching for a thoughtful handmade gift, a knitted shrug can be tailored to suit various occasions and personal tastes.
In this guide on how to knit a shrug, we will walk you through the essential techniques and steps needed to create your own unique shrug, ensuring that both beginners and experienced knitters can enjoy this fulfilling project.
Why Knit a Shrug?
Before diving into the knitting process, let’s take a moment to explore why knitting a shrug is a worthwhile endeavor.
Firstly, sweaters and cardigans can sometimes feel bulky and restrictive, whereas shrugs offer the perfect balance of coverage and freedom. You can wear them over dresses or tops without feeling overwhelmed by layers of fabric.
Secondly, shrugs are an excellent way to experiment with different stitches and patterns. Due to their small size, they are less time-consuming than larger garments like sweaters or scarves, making them ideal for honing your skills or trying out new techniques.
Lastly, knitting a shrug allows you to express your individuality through your choice of yarn, color, and design. You can choose from a range of fibers, from cozy wool to luxurious silk, and create a shrug that complements your personal style.
Materials You Will Need
To knit a shrug, you will need the following materials:
Yarn:
Choose a yarn weight that suits your desired drape and warmth level. Worsted weight is typically used for shrugs as it strikes the right balance between thick and thin. However, you can experiment with different weights to achieve different textures and looks.
Needles:
Circular or straight needles in a size suitable for your chosen yarn. It’s best to check the yarn label for recommendations on needle size, but typically, sizes 7-10 (4.5mm-6mm) work well for worsted weight yarns.
Stitch markers:
These will help keep track of your stitches and make it easier to identify where to begin/end certain sections.
Scissors:
For cutting the yarn when needed.
Tapestry needle:
Used for weaving in ends and seaming if necessary.
7 Step-by-step Guidelines on How to Knit a Shrug
Step 1: Choose a Pattern
The first step in knitting your shrug is selecting a pattern that resonates with your style and skill level. Patterns for shrugs can range from simple, garter stitch designs to more intricate lace or cable options. If you’re a beginner, consider starting with a basic rectangular design, as it requires fewer techniques and is easier to manage.
For those with more experience, you might explore patterns that feature textured stitches or unique shaping techniques to create visual interest. Once you’ve found a pattern you love, be sure to read through all the instructions and familiarize yourself with any special stitches or techniques that will be used throughout the project.

Step 2: Gauge Swatch
Before diving into your shrug, it’s essential to create a gauge swatch. This small square of knitted fabric will determine how many stitches and rows you need to achieve the desired size and fit for your pattern. While it may seem tedious, taking the time to complete a gauge swatch can save you from ending up with an ill-fitting garment at the end.
To make a gauge swatch, cast on at least 20 stitches using the recommended needle size for your yarn. Knit in your chosen stitch pattern until you have a square measuring about 4 x 4 inches (10 x 10 cm). Measure the number of stitches and rows in the middle of your swatch and compare it to the gauge listed in your pattern. If there are more stitches/rows than required, try again with larger needles; if there are fewer stitches/rows, go down a needle size.
Step 3: Cast On
Once you have your materials ready and have completed your gauge swatch, it’s time to cast on for your shrug. The number of stitches you need will vary depending on the pattern you’re using. Some patterns may call for specific cast-on methods, so be sure to check before starting.
One popular method for casting on is long-tail cast on, which creates a neat edge that is easy to work into. However, you can also use a simple knit or cable cast on if preferred.
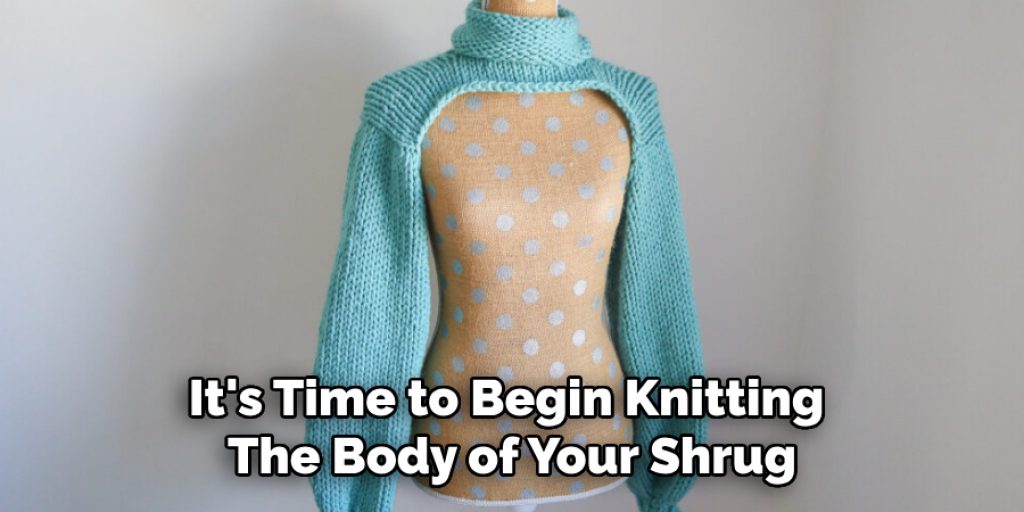
Step 4: Knitting the Body
With your stitches cast on, it’s time to begin knitting the body of your shrug. Depending on the design, you may knit in one piece from cuff-to-cuff or separately and seam them together later. Pay close attention to any shaping instructions in your pattern, such as increases or decreases, which will create the desired fit.
If using circular needles, simply continue knitting until you reach the desired length for your shrug. If using straight needles, you will need to switch to a circular needle once your work becomes too large and move back and forth as necessary.
Step 5: Sleeves (Optional)
If your pattern includes sleeves, now is the time to knit them. Most shrug patterns will involve picking up stitches from the armhole edges and knitting in the round or back and forth, depending on the design. Be sure to follow any specific instructions regarding decreases or increases for shaping the sleeves.
It’s important to note that some shrug patterns may have a design where the sleeves are incorporated into the body, in which case you would knit them along with the main body and follow any shaping instructions as needed.
Step 6: Finishing
Once you’ve finished knitting your shrug, it’s time to weave in any loose ends and block your garment. Blocking involves wetting your knitted piece, gently stretching it to the desired size and shape, and allowing it to dry. This step helps even out stitches and gives your shrug a professional finish.
If necessary, this is also the time to seam any separate pieces together using a tapestry needle or perform any finishing touches like adding buttons or other embellishments.
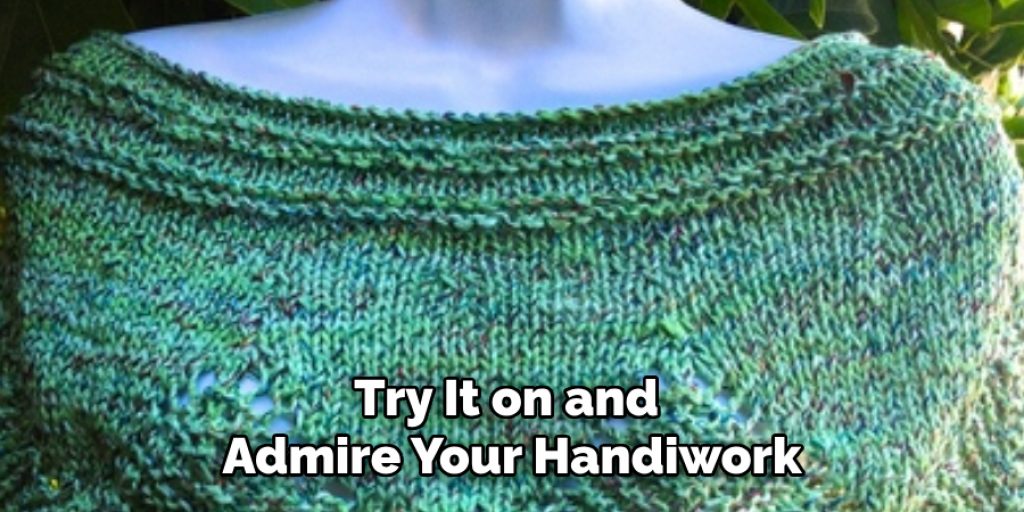
Step 7: Enjoy Your New Shrug!
Congratulations, you have successfully knitted your very own shrug! Try it on and admire your handiwork. You can wear it as a stylish layering piece with dresses, tank tops, or long-sleeved shirts. The possibilities are endless, so have fun experimenting with different outfits and showing off your unique shrug.
Following these step-by-step guidelines on how to knit a shrug, you can create a beautiful shrug that complements your personal style and adds a touch of handmade charm to your wardrobe. Happy knitting!
Frequently Asked Questions
Q: Can I Use a Different Yarn Weight Than What the Pattern Recommends?
A: While it’s best to stick with the recommended yarn weight for your chosen pattern, you can certainly experiment with different weights. Keep in mind that your finished shrug may turn out a different size and fit than the pattern intended, so it’s important to do a gauge swatch beforehand.
Q: I’m New to Knitting. Should I Start With a Shrug Pattern?
A: It’s always good for beginners to start with simple projects before moving on to more complex patterns like shrugs. However, if you feel confident in your knitting skills and have a basic understanding of techniques such as increasing/decreasing, you can certainly give it a try. Just be sure to choose an easy pattern and take your time following the instructions carefully.
Q: How Long Does It Take to Knit a Shrug?
A: The time it takes to complete a shrug will vary depending on your knitting speed, the complexity of the pattern, and any interruptions or breaks you may take. On average, it can take anywhere from a few days to a couple of weeks to finish a shrug.
Q: Can I Customize My Shrug?
A: Absolutely! Once you have mastered the basic techniques for knitting a shrug, feel free to get creative and add your own personal touches. You can experiment with different stitch patterns, add embellishments like buttons or beads, or even incorporate different colors into your design. Make it uniquely yours!
Conclusion
Knitting a shrug is a rewarding endeavor that allows you to express your creativity while crafting a versatile piece of clothing. By following the outlined steps on how to knit a shrug—from choosing the right pattern to adding final touches—you can successfully create a garment that not only enhances your wardrobe but also serves as a testament to your skills and dedication.
Remember, each shrug you knit is a unique reflection of your personal style and an opportunity to explore various techniques and yarns. Embrace the process, enjoy every stitch, and wear your completed shrug with pride! Happy knitting!
Elizabeth Davis
Elizabeth is a creative writer and digital editor based in the United States. She has a passion for the arts and crafts, which she developed from a young age. Elizabeth has always loved experimenting with new mediums and sharing her work with others. When she started blogging, she knew that DIYquickly would be the perfect platform to share her tutorials and tips. She's been writing for the blog from the beginning, and her readers love her helpful advice and easy-to-follow instructions. When she's not writing or editing, Elizabeth enjoys spending time with her family and friends.