How to Knit a Snowman
Knitting holiday-themed decorations is a delightful way to embrace the festive spirit while engaging in a creative and relaxing hobby. Handmade knitted ornaments provide a personal touch to your seasonal décor and allow for custom designs that reflect your unique style or serve as heartfelt gifts for loved ones.
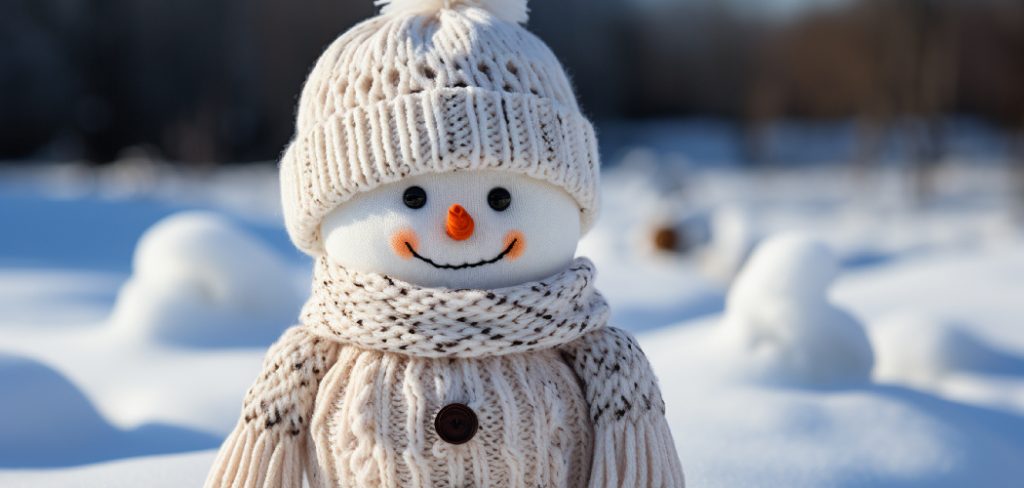
In this guide, we will explore how to knit a snowman, a charming addition to any holiday display. The process involves knitting several body sections, assembling them, and adding delightful features such as a hat, scarf, and facial details. By the end of this guide, you’ll be able to create your very own knitted snowman, bringing warmth and joy to your home during the winter months.
Materials and Tools Needed
To get started on your knitted snowman, you’ll need to gather the following materials: yarn in white for the body, black for the eyes and buttons, and various other colors for details like the hat and scarf. Ensure you have stuffing to give your snowman a firm shape, along with buttons and beads for embellishments.
The tools required include knitting needles appropriate for your yarn weight, a tapestry needle for sewing, scissors for cutting yarn, and stitch markers to keep track of your rows. Optional embellishments can enhance your creation further—consider adding ribbon for the scarf, felt pieces for additional decorations, or small accessories like a miniature broom for your snowman to hold. With these materials and tools, you’ll be well-prepared to embark on your knitting adventure!
How to Knit a Snowman: Knitting the Body Sections
1.Knitting the Bottom Ball
To start your snowman, cast on a sufficient number of stitches for the bottom section, typically around 30 to 40, depending on your yarn and desired size. Once you have cast on your stitches, begin increasing the number of stitches on every other row to create a round shape. This can be achieved by knitting two stitches into one stitch at intervals, gradually building a larger diameter.
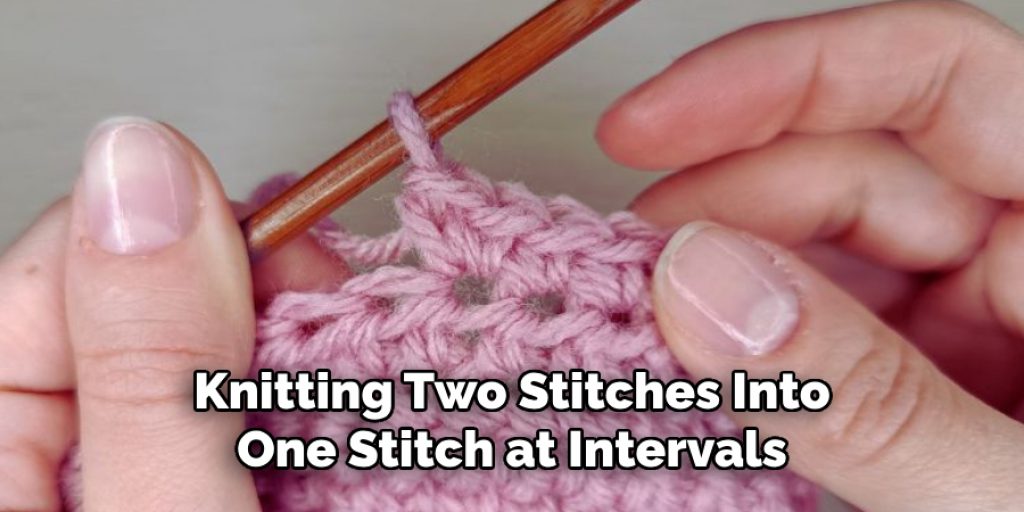
Continue to knit in the round, or if you prefer flat knitting, work back and forth until the piece reaches your desired size—usually about 10 inches in height for the bottom ball. Bind off loosely after reaching your desired size, ensuring the edge remains flexible for easy stuffing.
2.Knitting the Middle and Top Balls
For the middle and top balls, cast on fewer stitches than you did for the bottom ball; typically, 20 to 30 stitches for the middle and 15 to 20 stitches for the top should suffice. Repeat the same increase method used for the bottom ball to form the round shapes, keeping in mind that each section should be proportionate to one another. This will ensure that your snowman has a balanced appearance, with a sturdy base and a charming top.
Assembling the Body
Once all three body sections are knitted, it’s time to assemble your snowman. Begin by stuffing each section with filling, ensuring it’s evenly distributed to create a firm shape while avoiding overstuffing. A well-stuffed lower ball is essential for stability. After stuffing, take your tapestry needle and a length of yarn to sew the bottom ball to the middle ball securely. Use a whip stitch for a stronghold, ensuring that no gaps are left between the two segments.
Next, attach the top ball to the middle section, maintaining the same sewing method to ensure the snowman stands upright. After you’ve sewn all the sections together, give your creation a good shake to check its balance. A well-assembled snowman should stand steady without leaning. Adjust any sections as necessary to achieve perfect stability before proceeding to the next steps of adorning your festive figure with a hat, scarf, and facial features.
Knitting the Hat and Scarf
Knitting the Hat
To create a charming hat for your snowman, begin by casting on 40 to 60 stitches, adjusting the number based on the desired fit and yarn thickness. Depending on your preference, You can knit in the round with circular needles or flat knitting with straight needles. If you’re knitting in the round, simply join the stitches to form a loop, ensuring no twists. Knit several rows in a simple stitch pattern, such as ribbing or stockinette, to add some texture. As you approach the desired height of the hat, start decreasing stitches to shape the top.
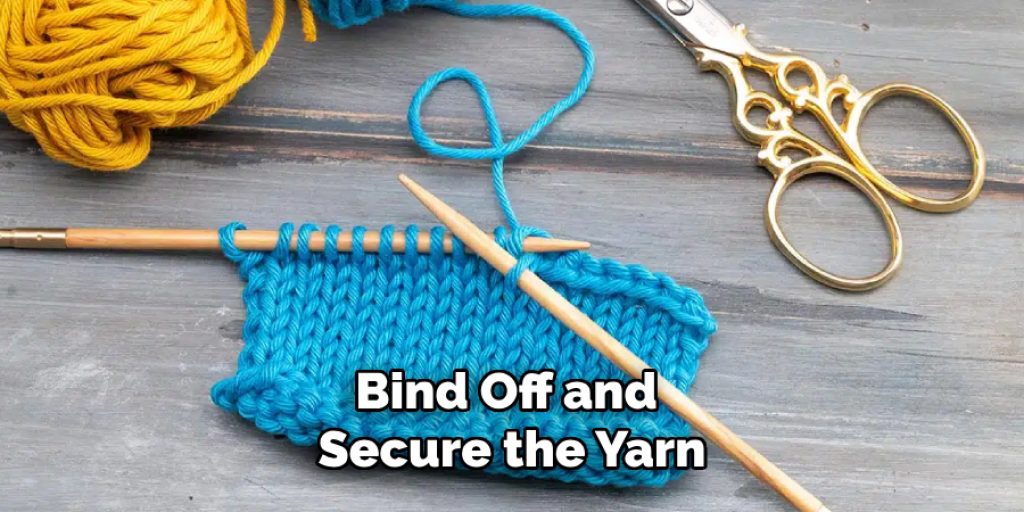
This can be done by knitting two stitches together at regular intervals. Bind off and secure the yarn once the hat reaches the desired height. For a finishing touch, add a pom-pom on top or other embellishments like buttons or felt decorations to make your snowman’s hat extra special.
Knitting the Scarf
For the scarf, cast on approximately 15 to 25 stitches, depending on how wide you want it to be. Choose a simple stitch pattern, such as a garter or stockinette, to create texture and interest. Knit the scarf to a length of about 30 to 40 inches or according to your preference for how you want it to drape on your snowman. After reaching the desired length, bind off your stitches. You can choose to add fringe at each end for a fun, whimsical detail or use additional yarn to create decorative patterns or embellishments, further enhancing your snowman’s festive look.
Adding Arms and Other Details
To give your snowman a bit of character, create arms using pipe cleaners, felt, or knitted i-cord. If opting for pipe cleaners, simply cut them to your desired length and bend them to form branches. For felt, cut two elongated shapes and securely stitch or glue them to the sides of the snowman’s middle section. If you choose to knit i-cord, cast on a few stitches and knit until you reach the desired length, then attach the finished piece at a comfortable angle.
Once the arms are in place, you can embellish your snowman with optional accessories such as a miniature broom or cute earmuffs made from felt. These additional elements contribute to the charm and uniqueness of your creation.
Final Touches and Assembly
Before declaring your snowman complete, take a moment to check for any loose ends or dangling threads. Secure all parts by carefully weaving in the yarn tails or snipping excess fabric, ensuring a polished finish. Ensure that all details, like buttons, eyes, and any additional decorations, are firmly attached to withstand the test of time and display. Finally, give your snowman a thorough inspection for overall appearance—adjust any features or arms, and fluff up the scarf and hat for a tidy look. Once you’re satisfied with your snowman’s presentation, find a cozy spot to display your festive creation and enjoy the warmth and joy it brings to your winter celebrations!
Tips and Tricks for Successful Snowman Knitting
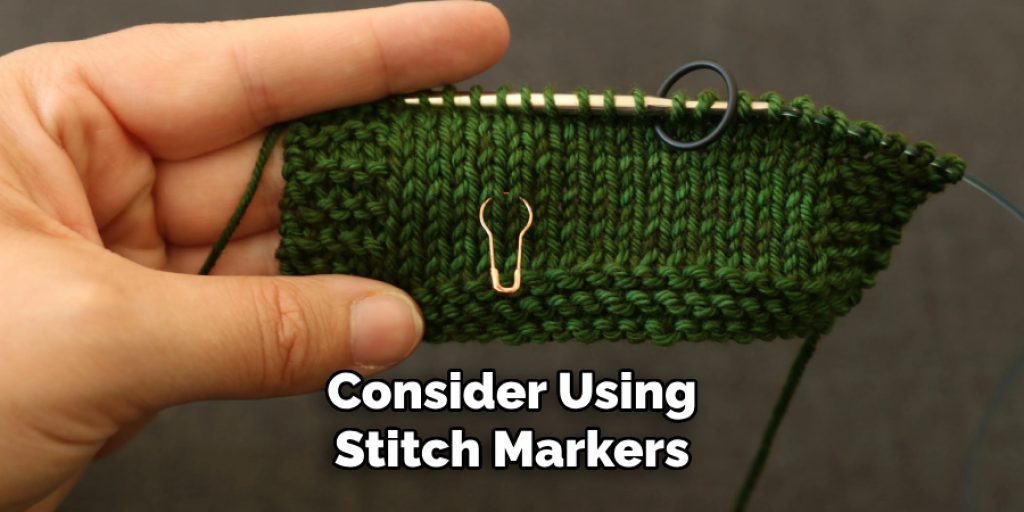
Here are some helpful tips and tricks to ensure your snowman project is a success. One common mistake is misjudging the size of the body sections; to avoid this, always check your tension and gauge before starting. Additionally, adjusting the pattern to create larger or smaller snowmen can be easily done by changing the number of cast-on stitches while maintaining proportionality between the sections. Consider using stitch markers to denote increases or decreases for more complex designs, which helps keep your work organized. A row counter can also be invaluable for tracking your progress and ensuring each body part is of equal height.
Lastly, don’t shy away from adding your flair! Experiment with different yarn types, colors, and embellishments to create a distinctive look for your snowman. Custom touches, like unique hats or scarves, will reflect your creativity and make your handmade creation truly special.
Conclusion
In summary, learning how to knit a snowman involves several engaging steps, from knitting the individual body sections to assembling and adorning your festive figure. Remember to cast on your stitches carefully, maintain consistency in size for a well-proportioned snowman, and pay attention to details for a polished final product. Don’t forget the joy lies in experimenting with different designs and embellishments to create a snowman that is unique to you.
Whether you choose traditional patterns or branch out into more whimsical designs, each knitted snowman will add a personal touch to your holiday decorations. Creating these charming figures enhances your knitting skills and allows you to enjoy the warmth of handmade decorations during the festive season. Happy knitting!

