
How to Knit a Tapestry
Knitting a tapestry is a rewarding and creative process that allows you to bring your artistic visions to life through yarn and needles. This ancient craft combines traditional techniques with modern design, enabling knitters to create intricate patterns and textures that can transform any space.
Whether you’re a beginner or an experienced knitter, this guide on how to knit a tapestry will walk you through the essential steps, tools, and techniques needed to create beautiful tapestry pieces that reflect your personal style. From selecting the right materials to mastering various stitches, you will discover how to weave a story into every stitch, making your tapestry a true work of art.
Why Knit a Tapestry?
Knitting a tapestry has been an essential part of human culture for centuries, and its popularity continues to grow today. Unlike other forms of knitting, tapestry knitting is not limited to creating garments or accessories; rather, it allows you to create unique and intricate pieces that can serve as stunning wall hangings, decorative pillows, or even rugs.
It’s a versatile medium that offers endless possibilities for creativity and self-expression. Moreover, the slow and rhythmic nature of tapestry knitting can have therapeutic benefits, promoting relaxation and mindfulness.
Materials Needed
To get started on your first tapestry project, you will need:
Yarn:
Choose high-quality yarn in different colors and textures, depending on your desired design. For beginners, it’s recommended to start with a medium-weight yarn in a solid color.
Knitting Needles:
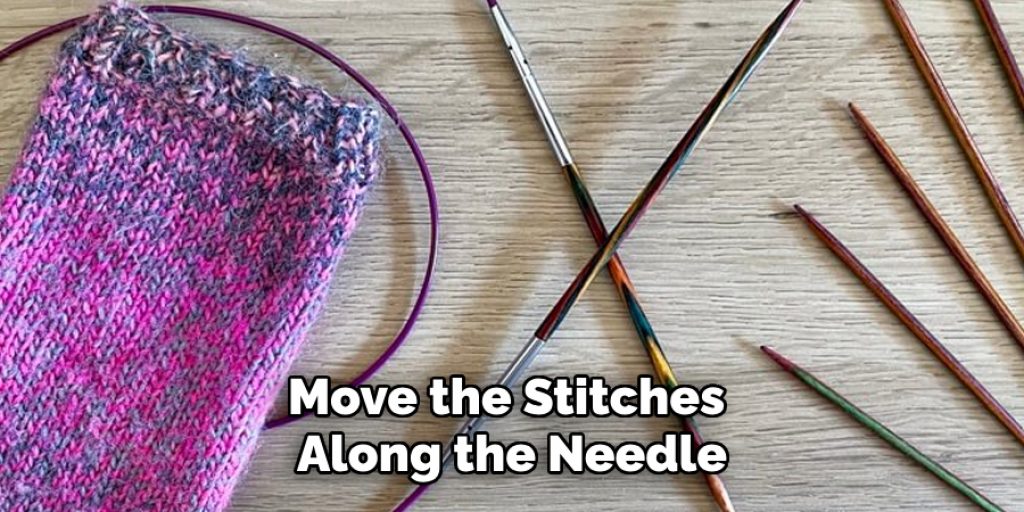
Circular or straight needles can be used for tapestry knitting, but circular needles are preferred as they allow you to easily move the stitches along the needle.
Tapestry Needle:
These needles have a large eye and blunt tip, making them perfect for weaving in ends and sewing pieces together.
9 Step-by-step Guidelines on How to Knit a Tapestry
Step 1: Choose a Design
The first step in creating your tapestry is to choose a design that inspires you. This could be anything from a simple geometric pattern to a complex scene depicting nature or an abstract composition. To begin, sketch your ideas on paper or use digital design tools to visualize your tapestry. Consider the size of your project and how it will fit into your intended space.
If you’re a beginner, starting with a smaller, simpler design will help you build confidence and skills. Once you have a design in mind, you can create a color palette and outline the stitches you plan to use, setting a solid foundation for your tapestry creation journey.
Step 2: Choose Your Yarn
Selecting the right yarn is crucial for achieving the desired look and feel of your tapestry. Consider the weight of the yarn, as it will influence the texture and drape of your piece. For beginners, medium-weight yarn is often the easiest to work with, allowing for visible stitches without being overly bulky. Explore different fibers, such as wool for warmth and durability, cotton for a smooth finish, or acrylic for affordability and variety.
Additionally, think about your color palette; choose a combination of yarn colors that will complement each other and align with your design vision. Keep in mind that yarn dye lots can vary, so purchasing enough yarn for your entire project at once ensures a consistent appearance throughout your tapestry.
Step 3: Cast On
Once you have chosen your design and selected your yarn, it’s time to cast on stitches. The cast-on method you choose may depend on your project or personal preference, but a simple long-tail cast-on is often recommended for tapestry knitting. To begin, measure a length of yarn that is approximately three times the width of your tapestry, ensuring you have enough for your cast-on stitches. Make a slipknot on one needle, then use the long-tail technique to create the desired number of stitches based on your pattern.
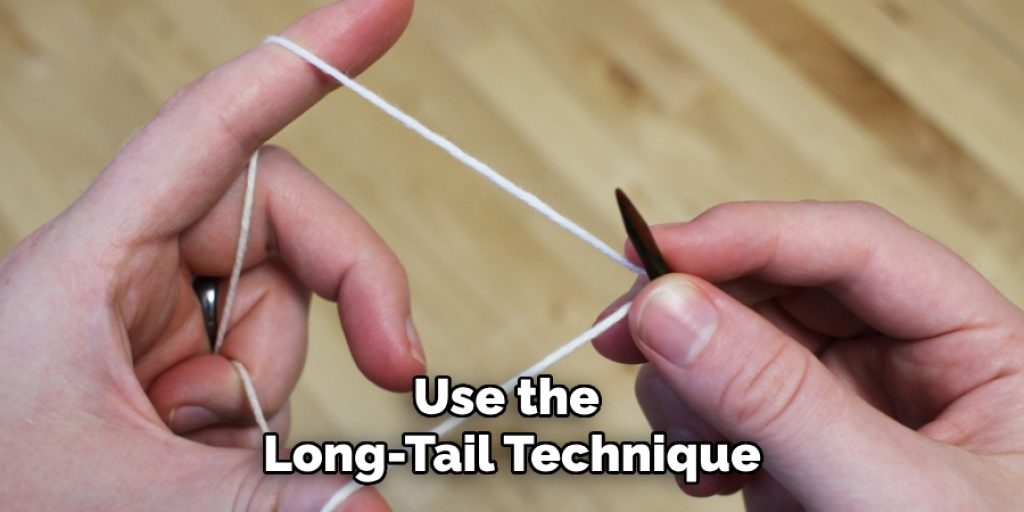
Ensure your stitches are not too tight, as this will allow for ease of movement while knitting. Once you have cast on your stitches, you are ready to embark on the exciting process of bringing your tapestry to life through the art of knitting.
Step 4: Master Basic Stitches
Tapestry knitting mainly involves two basic stitches – the knit stitch and the purl stitch. The knit stitch creates a smooth, v-shaped loop on the right side of your work, while the purl stitch creates a bumpy, horizontal row on the right side.
Experiment with these stitches to create different textures and patterns in your tapestry. For example, you can alternate between rows of knits and purls to create a ribbed effect or use them both in one row to create a garter stitch pattern.
Step 5: Introduce Colorwork
Once you’ve mastered the basic stitches, it’s time to incorporate color into your tapestry project, enhancing its visual appeal and complexity. Colorwork involves using two or more colors of yarn to create patterns and designs, allowing you to bring your tapestry to life with rich hues and textures. There are several techniques for introducing color, such as stranded knitting, intarsia, and tapestry crochet, each offering unique effects. For beginners, stranded knitting is often the easiest to start with; it involves carrying multiple strands of yarn across the back of your work while you knit, creating a seamless transition between colors.
When working with multiple colors, remember to twist the yarns around each other at the back to prevent tangling and maintain an even tension. Experiment with different color combinations and stitch patterns to find the perfect mix for your tapestry, making sure to plan out your design and practice any new techniques on a swatch before diving in. This step allows you to express your creativity and add depth to your artwork, transforming your tapestry into a truly unique piece.
Step 6: Change Colors
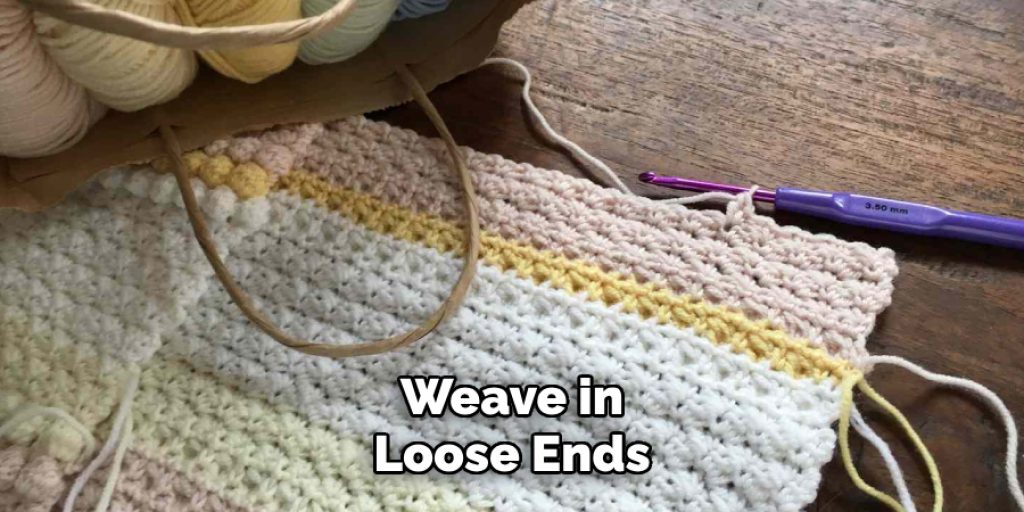
As you knit your tapestry, you may need to change colors to create different elements of your design. To do this, simply carry the previous color up the side of your work and start knitting with the new color from where it is needed. You can also cut off excess yarn when changing colors or weave in any loose ends later on using a tapestry needle.
The process of changing colors is similar to adding a new ball of yarn when one runs out, ensuring that your tapestry has a neat and polished finish.
Step 7: Finishing Touches
Once you have completed knitting your tapestry, it’s time for the finishing touches. Weave in any loose ends using a tapestry needle, making sure they are secure and invisible on the backside of your work.
If needed, block your tapestry by wetting it and laying it flat to dry, which will help even out stitches and give your piece a professional look. Finally, trim off any excess yarn or fringe according to your design’s desired length.
Step 8: Frame or Hang Your Tapestry
After all your hard work and creativity, it’s time to display your tapestry with pride. You can choose to frame it or hang it using a rod or dowel, depending on the size and weight of your piece.
Alternatively, you can create a unique wall hanging by attaching wooden dowels or branches to each end of your tapestry and hanging it from a nail or hook. This adds a natural element to your tapestry while also allowing for easy removal and repositioning if desired.
Step 9: Share Your Art
Finally, don’t forget to share your beautiful tapestry with others! Whether you give it as a gift or showcase it in your home, your tapestry is a work of art that deserves to be shared and admired. You can also share it on social media or join online communities dedicated to tapestry knitting to connect with other artists and get inspired by their creations.
Following these steps on how to knit a tapestry will help you create a stunning tapestry that reflects your personal style and artistic vision. With patience, practice, and a love for knitting, you can transform yarn and needles into a vibrant piece of art that will be cherished for years to come. So go ahead and start weaving your own tapestry today! Happy knitting!
Frequently Asked Questions
Q: Can I Use Any Type of Yarn for Tapestry Knitting?
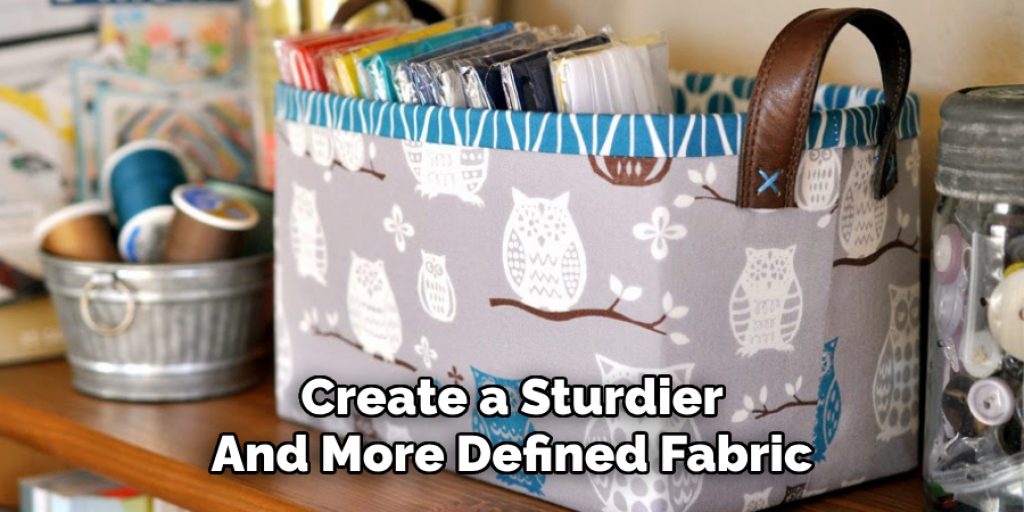
A: While you can use any type of yarn, it is recommended to use a thicker, non-stretchy yarn such as wool or cotton for tapestry knitting. These types of yarn will create a sturdier and more defined fabric, making it easier to work with multiple colors and achieve the desired texture.
Q: How Many Colours Can I Use in My Tapestry?
A: There is no limit to the number of colours you can use in your tapestry; however, it is important to consider how many different strands you can comfortably manage while knitting. For beginners, starting with 2-3 colors may be a good place to start before experimenting with more complex designs.
Q: How Do I Fix Mistakes While Knitting a Tapestry?
A: If you make a mistake while knitting your tapestry, it is best to fix it as soon as possible before continuing. You can unravel the stitches until you reach the mistake and then re-knit them correctly. For bigger mistakes, such as wrong color or dropped stitch, you can use a crochet hook to fix them without having to undo all your work.
Conclusion
Tapestry knitting is a beautiful and rewarding craft that allows you to create unique and personalized pieces of art. By following these steps on how to knit a tapestry and experimenting with different techniques, colours, and designs, you can turn yarn into a stunning masterpiece that will bring joy for years to come. So gather your materials, choose your design, and let the magic of tapestry knitting unfold before your eyes! Happy crafting!
Elizabeth Davis
Elizabeth is a creative writer and digital editor based in the United States. She has a passion for the arts and crafts, which she developed from a young age. Elizabeth has always loved experimenting with new mediums and sharing her work with others. When she started blogging, she knew that DIYquickly would be the perfect platform to share her tutorials and tips. She's been writing for the blog from the beginning, and her readers love her helpful advice and easy-to-follow instructions. When she's not writing or editing, Elizabeth enjoys spending time with her family and friends.


