How to Lengthen a Dress by Adding Fabric
Are you a fashion enthusiast wanting to squeeze more out of your wardrobe? Is there a beautiful dress that’s just too short for your liking? With some creativity and know-how, lengthening a dress can be quite simple.
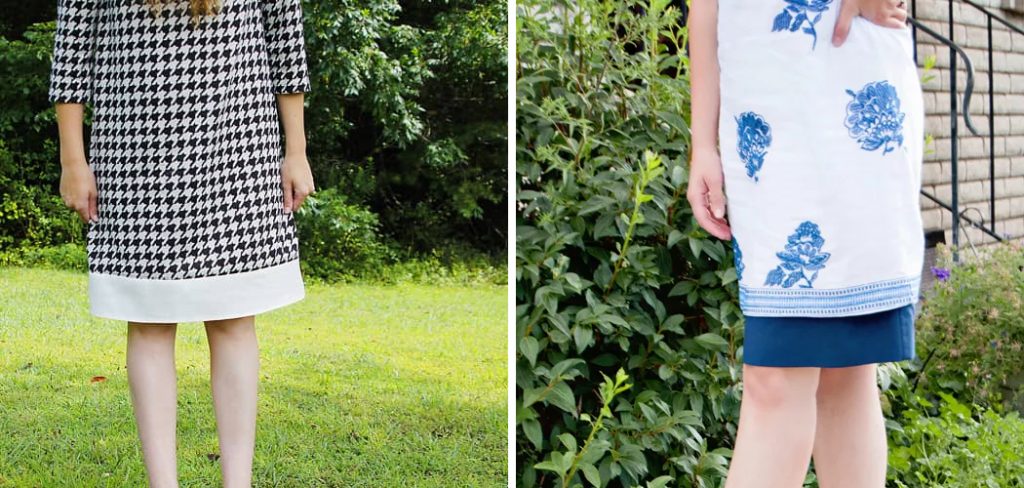
In this article on how to lengthen a dress by adding fabric, we’re going to show you how adding fabric is an easy way to transform any outfit and extend it from a mini length into a midi or maxi with minimal effort. Keep reading for tips on making sure the extra fabric looks like part of the original design!
Step-by-step Guidelines on How to Lengthen a Dress by Adding Fabric
Step 1: Gather the Necessary Materials
Collect fabric that matches the dress, matching thread, sewing supplies (sewing machine, scissors, pins, measuring tape, and iron), and a seam ripper if needed. This will ensure that everything is readily available when it’s time to start the project. If you don’t have matching fabric, opt for something in a complementary color or pattern that won’t stick out like a sore thumb.
Step 2: Assess Your Dress
Examine the dress design, fabric, and structure to determine if it is suitable for lengthening. Consider any embellishments or details that may be affected by the alteration. If the dress has a print or pattern that you are trying to match, take note of it. It’s best to work with a lightweight fabric as it will be easier to sew. Otherwise, if the fabric is too thick or bulky, it may become stiff in certain parts of the dress.
Step 3: Plan the Lengthening Process
Decide on the desired length and sketch out a plan for adding the fabric. Consider where you want to add fabric, whether it’s at the hemline or waist, and visualize the final result. But, be sure to leave enough fabric for hemming and seam allowances.
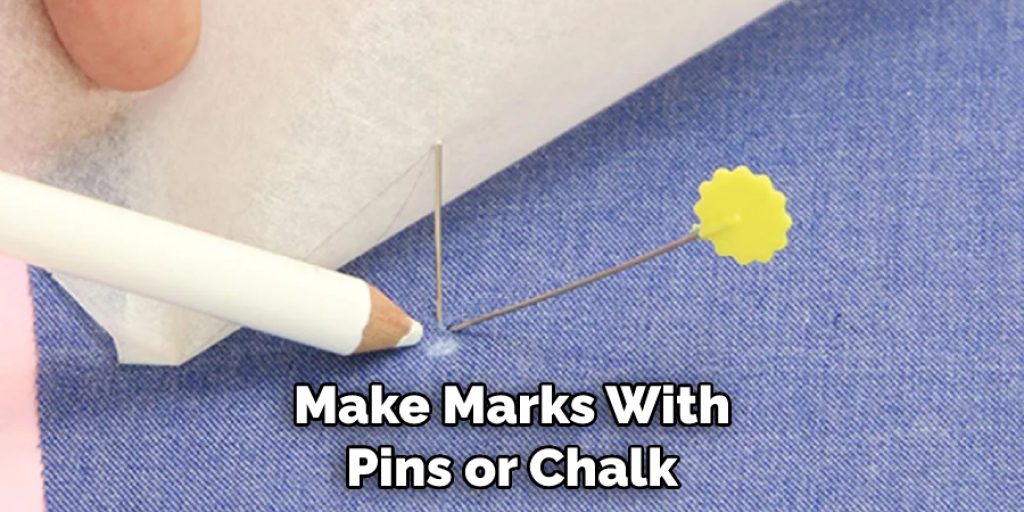
It is also helpful to make marks with pins or chalk on the dress, as well as any pattern pieces you have cut out. If the dress has an intricate design, measure twice and make a test pattern in newspaper or muslin first.
Step 4: Prepare the Dress
Carefully remove any existing stitches or hems in the area where the fabric will be added. If there are trims or decorations, consider removing them temporarily. This will make it easier to add the fabric without having any pieces in the way. If the dress is lined, consider adding the fabric to the lining instead, as this will make it easier to adjust without affecting the main garment.
Step 5: Measure and Cut the Fabric
Determine the additional length required and cut a strip or panel of fabric accordingly. Ensure the fabric matches the original dress in terms of color, texture, and weight. It is best to use a pattern if the dress has a complex design. This will create a uniform look, but it is also possible to add a contrasting fabric for an interesting look. But, make sure to consider the fabric’s drape and movement when choosing a contrast.
Step 6: Pin the Fabric in Place
Pin the fabric strip or panel to the dress, aligning the edges and seams accurately. Pinning the fabric ensures it stays in place during the sewing process. It is also helpful to mark the fabric with chalk or pins in order to remember where it should go. Otherwise, pin the fabric in place and try on the dress to check the fit. It may be necessary to make some adjustments if the fabric is not quite fitting correctly.
Step 7: Sew the Fabric to the Dress
Using a straight stitch on your sewing machine, sew the fabric securely to the dress. Take care to sew along the existing seam lines or create new seams if necessary. This will give the dress a finished look. If the fabric is particularly thick, consider using a topstitch along the seam or an overlock stitch to prevent fraying. But, take care not to sew the fabric too tightly, as this can affect the fit of the dress.
Step 8: Trim Excess Fabric
Trim any excess fabric from the added section, leaving a small seam allowance for a neat finish. However, be careful not to trim too much fabric as this can affect the fit. Once you are happy with the length and shape, press the seam with iron and steam. If the dress had any trims or decorations, reattach them now.

Step 9: Finish the Seams
Use an appropriate finishing technique, such as zigzag stitching or serging, to prevent fraying and secure the seams.
Step 10: Press the Seams
Press the seam allowances toward the added fabric to create a smooth and professional finish. Use an iron to press the fabric and remove any wrinkles. It may be necessary to use a seam roll if the dress includes any curved seams. But it is also helpful to use a pressing cloth to protect the fabric from any heat damage. Then, you can hem the dress according to your desired length.
Step 11: Check for Imperfections
Examine the new seams and overall appearance of the dress. Look for loose threads or any imperfections and tidy them up. It is important to make sure all the seams are secure and that any trims or decorations have been attached correctly. Otherwise, if you are satisfied with the results, your dress is now lengthened and ready to wear! So, now you know how to lengthen a dress by adding fabric.
Step 12: Try on the Dress
Put on the dress to ensure the desired length has been achieved. Make any final adjustments if needed. This step is important to make sure everything fits comfortably and looks great. Once you are happy with the fit, you can wear your newly lengthened dress with confidence and style. Congratulations! You have successfully added fabric to lengthen your dress.
Step 13: Final Touches
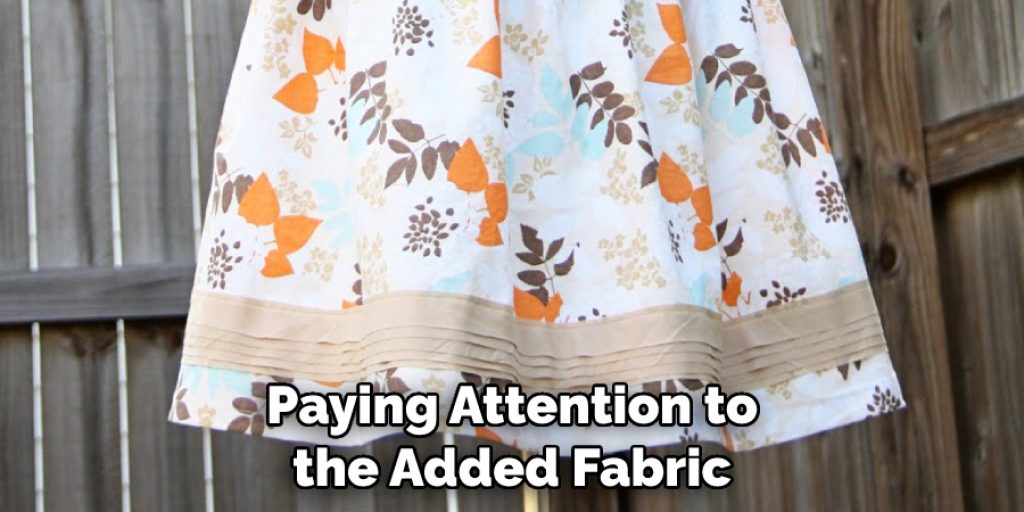
Press the dress once more, paying attention to the added fabric, to ensure a polished look. Remove any stray threads or imperfections, and your lengthened dress is ready to be worn!
Remember, practice and patience are key when working on alterations. Take your time, follow the steps carefully, and you’ll be able to successfully lengthen your dress by adding fabric. Enjoy the process and embrace the opportunity to create a unique piece that fits your style perfectly.
Following these steps will help you learn how to lengthen a dress by adding fabric. It is a great way to create the perfect fit and keep your wardrobe up to date. Have fun with it and let your creativity flow! Good luck and happy sewing!
Frequently Asked Questions
Q: How Do I Make Sure the Fabric Added to My Dress is Secure?
A: It is important to sew the fabric securely to the dress. Use a straight stitch on your sewing machine, and take care to sew along the existing seam lines or create new seams if necessary. If the fabric is particularly thick, use a topstitch or an overlock stitch to prevent fraying. Additionally, press the seam allowances toward the added fabric for a smooth finish.
Q: What Are Some Finishing Techniques I Can Use?
A: Appropriate finishing techniques include zigzag stitching and serging. This help to hold the seam securely and prevent fraying. Be sure that whatever technique you choose is appropriate for your particular fabric and design of the dress.
Q: What Do I Need To Check Before Wearing My Dress?
A: Firstly, try on the dress once more after making the alterations to ensure that everything fits comfortably. Additionally, examine the new seams and overall appearance of the dress to make sure all trims and decorations have been reattached correctly. Finally, press the dress once more, paying special attention to the added fabric, for a polished look.

Q: Are There Any Tips I Should Keep In Mind When Attempting This Alteration?
A: Yes! Practice and patience are key when it comes to any alteration project. Take your time to measure correctly and use appropriate sewing techniques throughout. Don’t be afraid to get creative – you can add extra features and details such as pockets or appliques for a unique twist on a classic style! Most importantly, don’t forget to check over your work for any loose threads or imperfections before wearing the dress.
Conclusion
Doing this alteration is a great way to give a dress new life, and it’s incredibly easy when following the steps outlined in this blog post. Understanding how to buy and measure the additional fabric, as well as learning about clothing construction, are important skills for any fashion-conscious individual. Not only will doing alterations extend the life of garments, but they can also help you remain stylish on tighter budgets.
There is something incredibly gratifying about taking an item that doesn’t entirely fit your body right, adding some fabric and making it into a dress that fits perfectly. People may even comment on what a sharp-looking dress you have and never know it used to be too short. The possibilities truly are endless! So get out there and start altering away – your wardrobe will thank you for it!

