
How to Make a Bee Bath
Are you looking to create a beautiful and functional addition to your backyard? A bee bath is a great way to attract pollinators and help them stay hydrated.
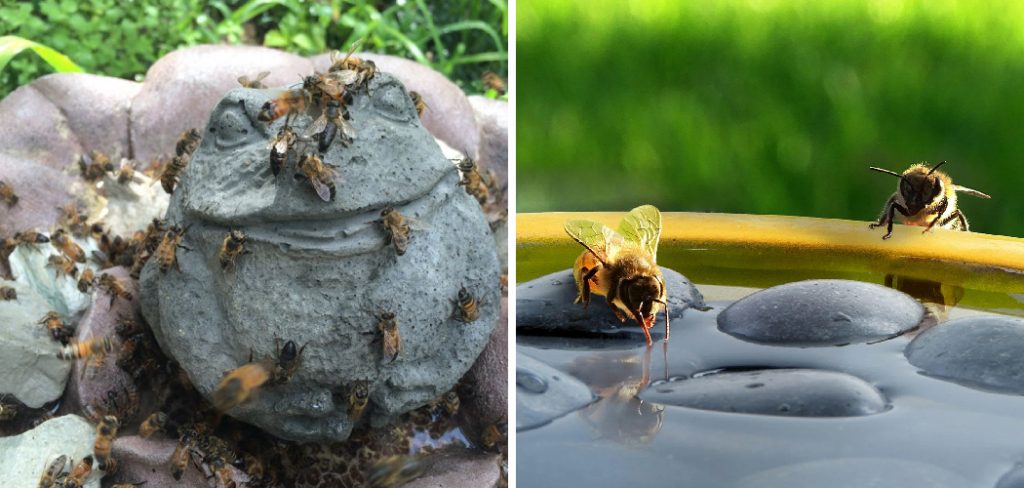
How to make a bee bath is a simple yet impactful way to support our vital pollinators. Bees, essential for pollinating many plants and flowers, require water like any other living creature. However, finding a safe and accessible water source can be challenging for them. A bee bath provides a perfect solution, offering a shallow water source where bees can hydrate without drowning.
In this guide, we will explore how to make an inviting bee bath using readily available materials, ensuring you create a delightful oasis for these essential insects. By implementing this small project, you can contribute to the health of your local ecosystem while enjoying the beauty and buzz of nature in your backyard.
What Will You Need?
Let’s gather all the necessary materials before we delve into the step-by-step instructions. The good news is that you probably have most, if not all, of these items at home or can easily obtain them. Here are the essential supplies for your bee bath:
- A shallow dish or plate
- Pebbles or rocks
- Freshwater
- A few drops of unscented liquid soap (optional)
10 Easy Steps on How to Make a Bee Bath
Step 1: Choosing the Right Location and Dish
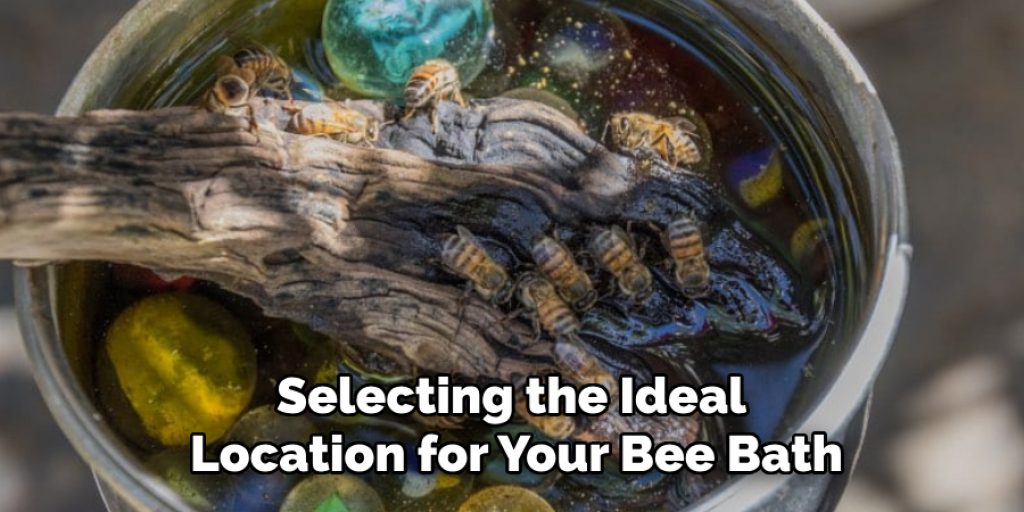
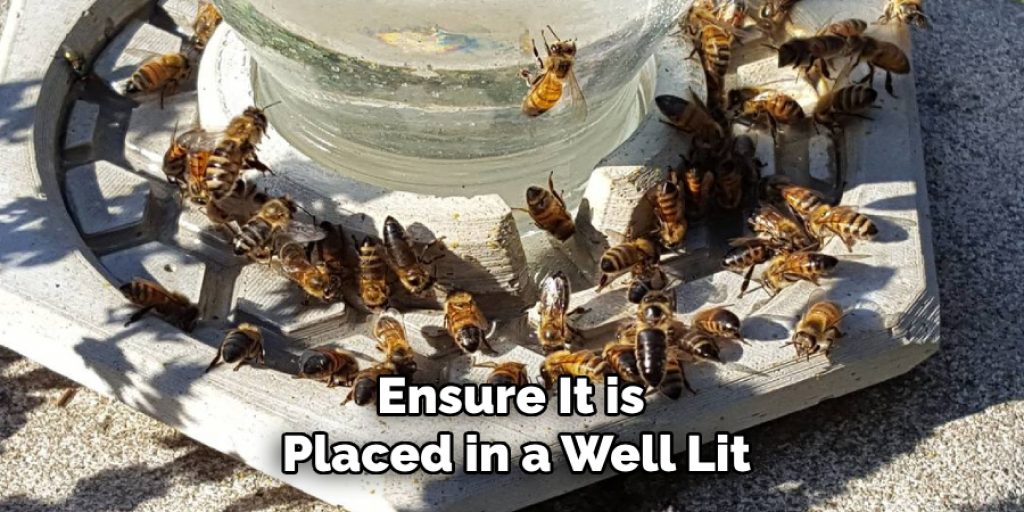
When selecting the ideal location for your bee bath, consider spots that receive ample sunlight throughout the day, as bees are attracted to warm environments. A sunny spot also allows the water to evaporate more slowly, ensuring that the bees have a steady supply to drink from. Position the dish near flowering plants to encourage bees to visit frequently, benefiting your garden and the pollinators.
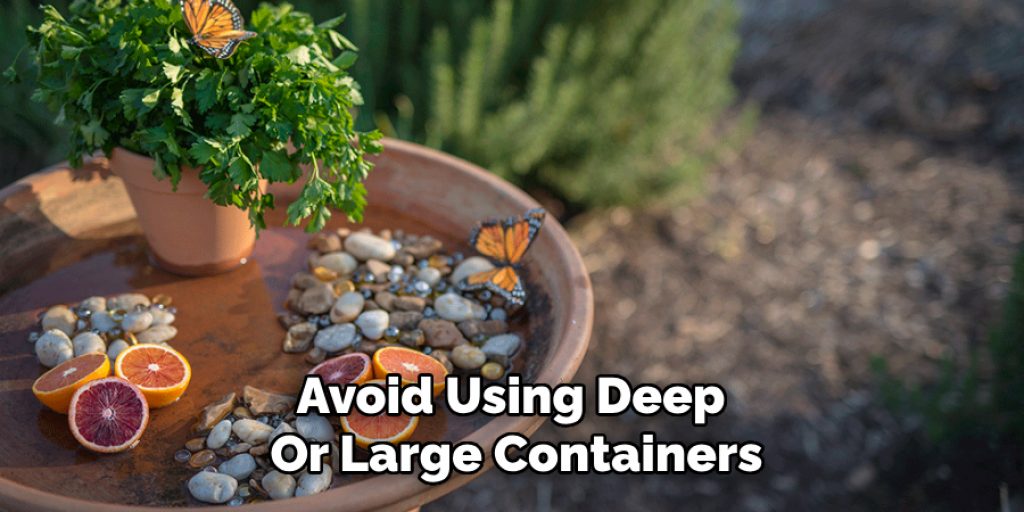
As for the dish, opt for a shallow dish or plate wide enough to accommodate multiple bees at once without the risk of overcrowding. Avoid deep bowls, which can pose a drowning hazard to these tiny creatures. Flat, textured surfaces are beneficial, providing additional grip for bees to land safely. Whatever dish you choose, make sure it is durable to withstand outdoor conditions. A simple ceramic, glass, or even metal dish can work beautifully, adding a touch of charm to your garden while serving a vital ecological purpose.
Step 2: Preparing the Bee Bath
Once you have selected the right location and dish, it’s time to prepare your bee bath. Start by filling the shallow dish with fresh, clean water, being careful not to overflow it. The water level should be shallow enough for bees to land safely and take a drink without the risk of drowning. Next, add pebbles or small rocks to the dish. These will serve as landing spots for the bees, allowing them to access the water easily while preventing them from slipping into deeper areas. Aim for a mix of larger and smaller stones to create varying heights and textures. This simple addition transforms your bee bath into a bee-friendly haven, making it a safe watering source for these essential pollinators.
Step 3: Adding Optional Elements for Attractiveness
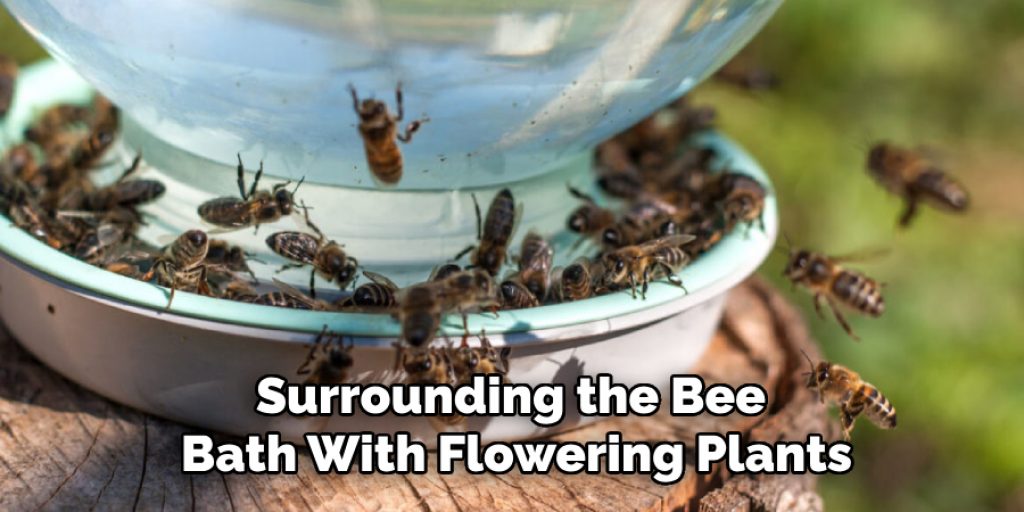
Consider incorporating additional elements around the dish to make your bee bath even more appealing to these crucial pollinators. Surrounding the bee bath with flowering plants can create a vibrant environment that attracts bees. Choose native plants that bloom at varying times throughout the season to ensure a steady influx of visitors. Additionally, you can sprinkle a bit of unscented liquid soap into the water, which can help reduce surface tension, making it easier for bees to drink without the risk of slipping.
However, ensure the soap is entirely unscented, as strong fragrances can deter bees. Finally, consider placing colorful decorations or plant-themed ornaments nearby to enhance the aesthetic appeal of your bee bath setup, making it a delightful feature of your garden.
Step 4: Maintaining Your Bee Bath
Regular maintenance is essential to ensure that your bee bath remains a safe and inviting resource for pollinators. Start by checking the water level daily, especially during warm weather, and refill it as needed to keep it shallow and accessible for the bees. Clean the dish periodically to remove any debris, algae, or dead insects that may accumulate. This keeps the water fresh and ensures a hygienic environment for the bees. If you notice the water becoming murky or contaminated, replace it with fresh water. Taking these simple steps to care for your bee bath’ll provide a constant oasis for bees while fostering a thriving garden ecosystem.
Step 5: Monitoring Bee Activity
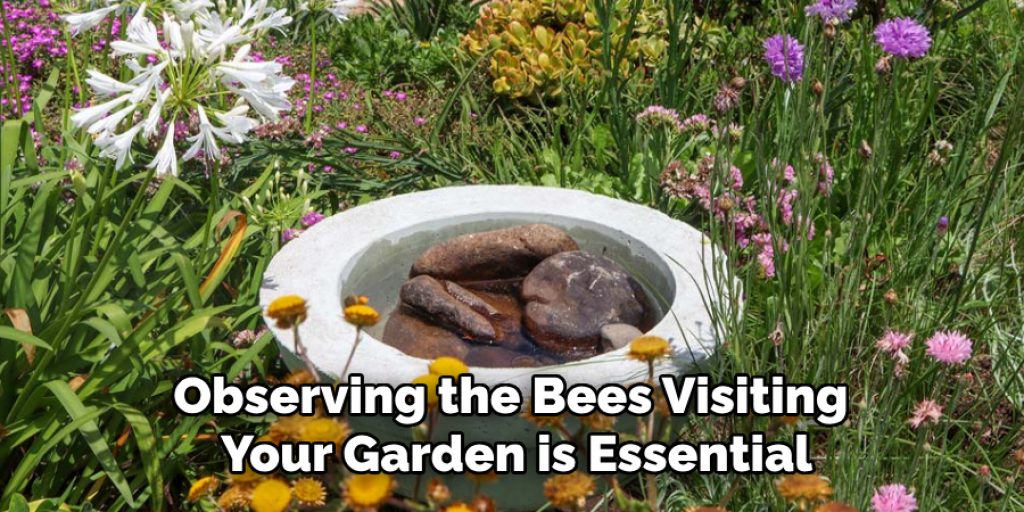
After setting up your bee bath, observing the bees visiting your garden is essential. Monitoring their activity will help you understand how effective your bee bath is and if any adjustments are needed. Spend time each day watching to see if bees use the water source. You might notice different species visiting, which can provide insight into the diversity of pollinators in your area. If you observe low activity, consider enhancing the surrounding floral environment or adjusting the water level to make it easier for bees to access. Recording your observations can also contribute to local conservation efforts by providing valuable data on pollinator behavior in your area.
Step 6: Creating a Bee-Friendly Environment
To further enrich your garden for bees, focus on cultivating a bee-friendly environment. This involves planting various nectar-rich flowers that bloom at different times of the year, offering bees a continuous food source. Opt for native plants, as they are typically better adapted to local conditions and are more attractive to local bee species. Additionally, avoid using pesticides and herbicides in your garden, as these chemicals can harm bees. Instead, consider natural pest control methods, such as introducing beneficial insects or using organic sprays. Providing a diverse habitat with a mix of flowering plants, sheltering areas, and a water source like your bee bath will significantly enhance the attractiveness of your garden to these essential pollinators.
Step 7: Educating Others
Sharing your knowledge and enthusiasm for bee conservation can positively impact your community. Encourage friends, family, and neighbors to create their bee baths or to plant bee-friendly gardens. Host workshops or informational gatherings to discuss the importance of bees and simple actions everyone can take to support them. By raising awareness, you contribute to a collective effort that can significantly enhance local ecosystems and promote the health of pollinator populations. Social media platforms can also be a powerful tool to spread the word, allowing you to share your bee-friendly practices and connect with others passionate about protecting these vital insects.
Step 8: Observing Seasonal Changes
As the seasons change, it’s essential to adapt your bee-friendly practices to ensure continued support for these vital pollinators. In the spring, focus on planting early-blooming flowers that provide crucial nectar and pollen sources as bees emerge from hibernation. During summer, monitor your water sources and floral offerings, ensuring they remain abundant. As autumn approaches, consider adding late-blooming plants to extend the foraging window for bees preparing for winter. Protect any remaining plants in winter and plan for next spring’s initiatives, such as creating more diverse habitats or expanding your bee bath setup.
Step 9: Creating Bee Habitats
Establishing dedicated habitats for bees can further enhance your garden’s appeal. In addition to your bee bath, consider adding bee hotels—structures that provide nesting sites for solitary bee species. These can be as simple as bundles of hollow stems or commercially available bee houses filled with drilled wood blocks. Ensure these habitats are in sunny locations, sheltered from strong winds and rain. Moreover, leaving areas of bare ground can benefit ground-nesting bees by providing them with sites to burrow. By diversifying the environments and resources available in your garden, you will support a broader range of bee species and contribute to their overall well-being.
Step 10: Engaging with Local Conservation Efforts
Getting involved with local conservation initiatives is a great way to promote bee-friendly practices in your community further. Many organizations and groups focus on pollinator protection efforts, hosting events such as planting days, educational workshops, or community garden projects. Participating in these activities can help you learn more about local bee species and how to support them effectively. Additionally, consider advocating for policies that protect bee habitats and educate others about bees’ critical role in our ecosystem.
By following these ten steps, you can significantly impact bee conservation while creating a beautiful and inviting garden.
5 Things You Should Avoid
- Using Deep Containers
Avoid using deep or large containers, as these can make it difficult for bees to access the water. Shallow dishes are best, as they provide accessible landing spots and prevent drowning.
- Adding Harmful Chemicals
Never add chemicals, such as soaps or fragrances, to the water. These can be toxic to bees and other wildlife, undermining the very purpose of your bee bath.
- Neglecting Regular Maintenance
Pay attention to the necessity of cleaning and refreshing the water frequently. Stagnant water can become a breeding ground for harmful bacteria and algae, which can deter bees.
- Placing the Bath in Poor Locations
Avoid positioning your bee bath in shaded or windy areas. Bees thrive in sunny spots where they can warm up and quickly find water, so ensure it is placed in a well-lit, sheltered location.
- Ignoring Local Wildlife
Be cautious of creating a bee bath that unintentionally attracts predators, such as birds or larger animals that may disturb or harm the bees. Consider implementing barriers or using designs that protect bees while allowing for their access to water.
Conclusion
How to make a bee bath is a simple yet effective way to support local bee populations and contribute to overall biodiversity in your garden.
By selecting shallow containers filled with fresh water, incorporating natural elements for safety, and placing them in sunny, accessible locations, you can create an inviting oasis for these vital pollinators. Additionally, maintaining your bee bath through regular cleaning and refreshing the water helps ensure a safe environment for bees.
By avoiding harmful chemicals and carefully managing the area to minimize predator risks, you can foster a thriving habitat that encourages bee visits. Your efforts enhance your garden and play a crucial role in promoting the health and survival of bees in your community.
Elizabeth Davis
Elizabeth is a creative writer and digital editor based in the United States. She has a passion for the arts and crafts, which she developed from a young age. Elizabeth has always loved experimenting with new mediums and sharing her work with others. When she started blogging, she knew that DIYquickly would be the perfect platform to share her tutorials and tips. She's been writing for the blog from the beginning, and her readers love her helpful advice and easy-to-follow instructions. When she's not writing or editing, Elizabeth enjoys spending time with her family and friends.


