How to Make a Crochet Envelope
Crocheting an envelope is a fun and creative way to combine your love for crafts with practical use. Whether you’re looking to send a heartfelt note, keep small items organized, or simply add a touch of handmade charm to your correspondence, a crochet envelope can serve all these purposes and more.
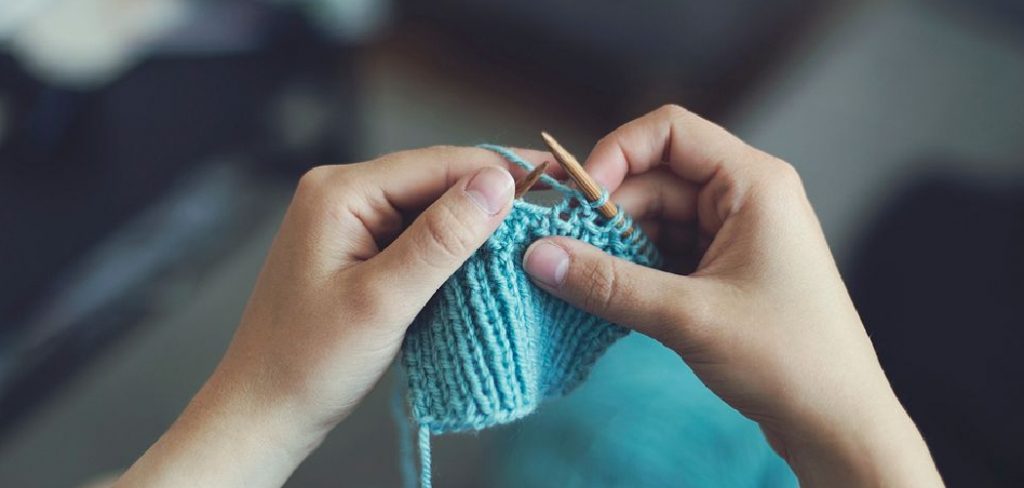
This guide will walk you through the basic materials needed and the step-by-step instructions on how to make a crochet envelope, perfect for gifting or personal use. Grab your yarn and crochet hook, and let’s get started on this delightful project!
What Is a Crochet Envelope?
A crochet envelope is a unique and artistic variation of a traditional envelope, crafted entirely from yarn using crochet techniques. Unlike standard paper envelopes, crochet envelopes are not only functional but also serve as decorative pieces that showcase creativity and personal style. They can be made in various sizes and designs, allowing for customization to suit different occasions.
These envelopes are perfect for holding letters, cards, or small gifts, adding a tactile element to the act of giving. By incorporating various stitches, colors, and embellishments, crocheters can create truly one-of-a-kind envelopes that stand out and bring joy to both the sender and the recipient.
Understanding the Basics
Before diving into the creation of a crochet envelope, it’s essential to familiarize yourself with some fundamental crochet concepts and techniques. First, you’ll need to understand basic crochet stitches, such as the chain stitch, slip stitch, and single crochet, as these will form the foundation of your envelope. Additionally, selecting the right yarn and hook size is crucial; lightweight cotton yarn is often recommended for crafting envelopes, as it provides durability and support for various designs.
It’s also helpful to have a clear vision of the size and style you wish to achieve, as this will guide your pattern choices and colour selections. By grasping these basics, you’ll be well on your way to creating a beautiful and functional crochet envelope.
Essential Tools and Materials
To begin your crochet envelope project, gather the following essential tools and materials:
- Yarn: Choose a lightweight cotton yarn that will be both durable and easy to work with. Consider selecting multiple colours to add a creative flair to your envelope.
- Crochet Hook: The size of your crochet hook should correspond to the yarn thickness; a 3.5mm (E) or 4mm (G) hook is generally suitable for lightweight cotton yarn.
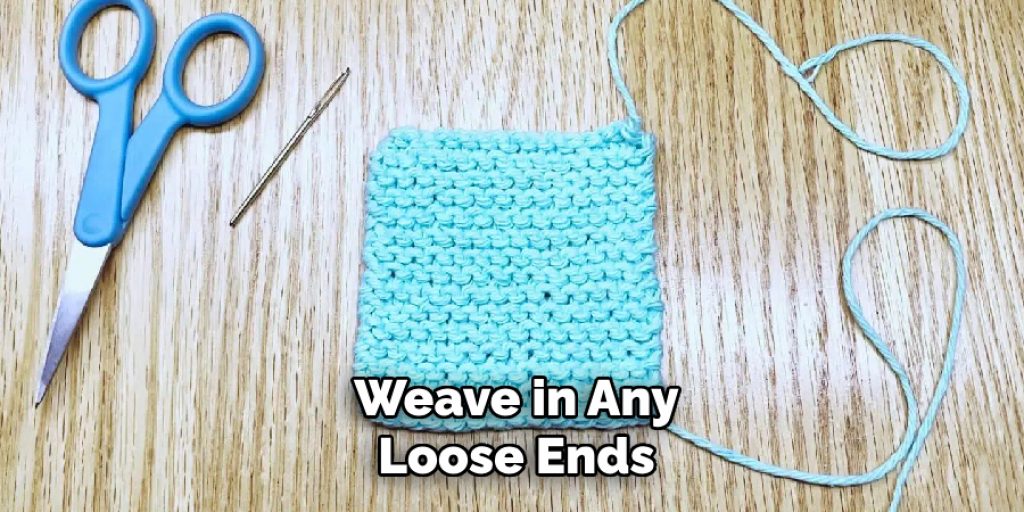
- Scissors: A good pair of scissors is necessary for cutting the yarn once you’ve completed your envelope.
- Tapestry Needle: This will help you weave in any loose ends and secure your stitches for a polished finish.
- Measuring Tape: To ensure your envelope matches your intended size, a measuring tape will be beneficial for accurate measurements.
- Pattern or Guide: While you can create your own design, having a written pattern or tutorial can provide helpful guidance for your crochet envelope.
With these tools and materials ready, you’ll be prepared to start your crochet envelope with confidence and creativity!
10 Methods How to Make a Crochet Envelope
1. Simple Single Crochet Envelope
The simple single crochet envelope is perfect for beginners. Start by chaining a desired length for the envelope’s width. Work single crochet stitches across the chain until the piece reaches twice the height you want for your envelope. Fold the bottom third up to form the pocket, leaving the top third as the flap.
Slip stitch the sides together, then create a buttonhole in the flap by chaining a few stitches and skipping the corresponding number of stitches on the next row. Finish by sewing a button to the pocket part. This basic method creates a straightforward and functional envelope.
2. Granny Square Envelope
A granny square envelope combines classic crochet motifs with practicality. Begin by crocheting two granny squares of the same size using your favorite granny square pattern. Lay one square on top of the other and slip stitch or sew three sides together, leaving one side open for the flap. Fold one corner of the top square down to create the flap.
You can add a button and loop closure for extra security. This method allows for endless creativity with colors and patterns, making each envelope unique.
3. Textured Envelope with Shell Stitch
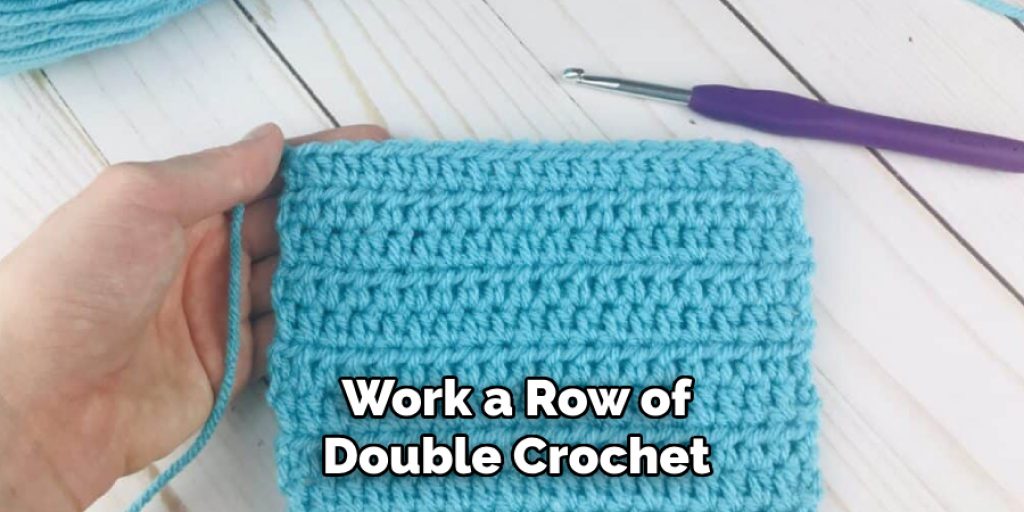
Add some texture to your envelope by incorporating the shell stitch. Start with a foundation chain for the desired width. Work a row of double crochet stitches, then begin the shell stitch pattern by working five double crochets into one stitch, skipping two stitches, and repeating across the row.
Continue this pattern until the piece is twice the height of the finished envelope. Fold and assemble the envelope similarly to the simple single crochet method. This textured design is visually appealing and adds a touch of elegance.
4. Envelope with Bobble Stitch Detail
The bobble stitch adds a fun, 3D texture to your crochet envelope. Start with a foundation chain and work single crochet rows until the piece is half the desired height. Switch to the bobble stitch for the next section by working a series of five double crochets together in the same stitch, then single crocheting in the next stitch, and repeating.
Continue with single crochet rows until the piece is the full height needed. Fold and assemble the envelope as described earlier. The bobble stitch section can be placed at the bottom or top, depending on your preference.
5. Striped Crochet Envelope
Create a colorful striped envelope by using multiple yarn colors. Start with a foundation chain and work rows of single crochet, changing colors every few rows to create stripes. Carry the yarn up the side of the work or cut and weave in the ends for a neater finish.
Continue until the piece is twice the desired height, then fold and slip stitch the sides together. The striped pattern adds a cheerful, playful touch to your envelope, making it perfect for gifting.
6. Lace Crochet Envelope
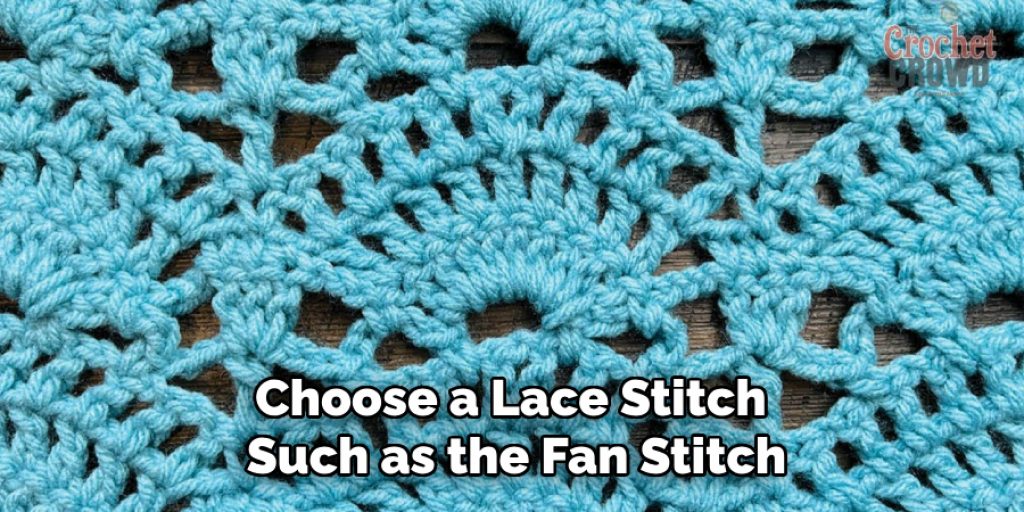
For a delicate, feminine envelope, use a lace stitch pattern. Start with a foundation chain and choose a lace stitch such as the fan stitch, shell stitch, or openwork trellis. Work in this pattern until the piece is twice the height of the finished envelope. Fold and assemble as usual. To enhance the lace effect, consider using a finer yarn or thread and a smaller hook. This lace envelope is perfect for holding special keepsakes or as a decorative piece.
7. Envelope with Appliqué
Adding appliqué to your crochet envelope allows for personalization and creativity. Start with a simple single or double crochet envelope. Before assembling, create small crochet motifs like flowers, hearts, or stars using contrasting yarn colors. Attach these motifs to the front of the envelope with a yarn needle and matching thread. This method adds a personal touch and can be customized for different occasions or recipients.
8. Corner-to-Corner Crochet Envelope
The corner-to-corner (C2C) technique creates a diagonal texture that is both sturdy and attractive. Begin by crocheting a C2C square to the desired size. Fold the square in half diagonally to form a triangle, then fold one corner up to create the envelope shape. Slip stitch or sew the sides together, leaving the top open for the flap. This method results in a unique, diagonal-striped envelope that stands out.
9. Tunisian Crochet Envelope
Tunisian crochet creates a dense, fabric-like texture that is ideal for an envelope. Use a Tunisian crochet hook and start with a foundation chain. Work in Tunisian simple stitch (TSS) or your preferred Tunisian stitch until the piece is twice the desired height. Fold and assemble as with the previous methods. The Tunisian crochet envelope is sturdy and offers a different texture from traditional crochet, adding variety to your crochet projects.
10. Granny Stripe Envelope
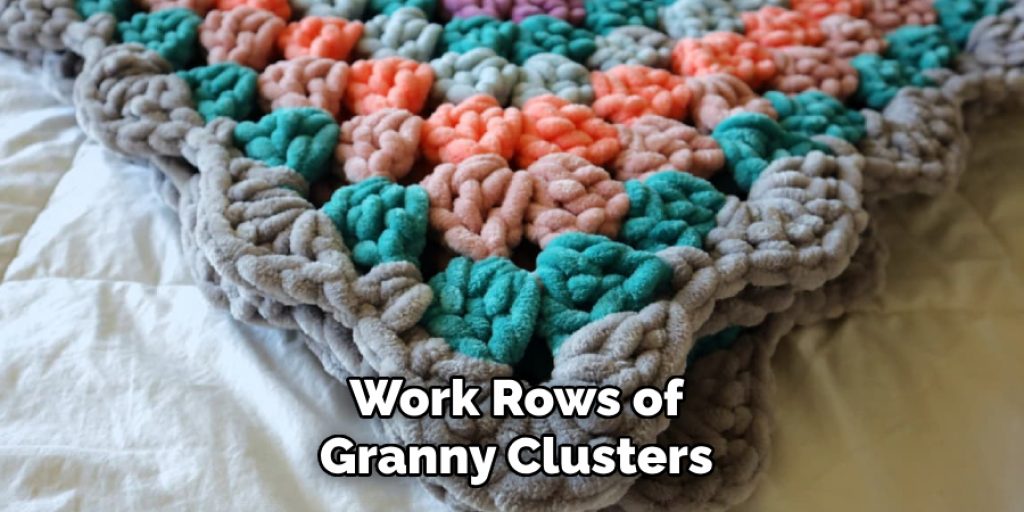
Combine the classic granny stitch with a striped pattern for a vibrant, textured envelope. Start with a foundation chain in a multiple of three plus one. Work rows of granny clusters (three double crochets in the same stitch) in different colors to create stripes. Continue until the piece is twice the desired height. Fold and assemble as described. This method blends the charm of granny squares with the fun of stripes, resulting in a cheerful and colorful envelope.
Conclusion
Creating crochet envelopes is not only a delightful craft but also a practical way to showcase your skills and creativity. Each method offers unique textures, designs, and opportunities for personal expression, allowing you to tailor your envelopes for different occasions, whether for gifting, decoration, or storage. With the versatility of crochet, you can easily adapt patterns and experiment with colours to truly make each envelope your own.
Embrace the joy of crochet and enjoy the rewarding process of crafting beautiful, handcrafted envelopes that add a personal touch to any correspondence. Hopefully, this article gave you some helpful tips about how to make a crochet envelope successfully, so now that you have the proper knowledge on how to get the job done, why not give it a try today?


