
How to Make a Cross Stitch Bookmark
Cross stitch is a timeless craft that has captivated crafters for generations. Creating a cross-stitch bookmark not only allows you to express your creativity but also provides a functional item that can add a personal touch to your reading experience.
Whether you’re an experienced stitcher or a complete novice, this project is perfect for anyone looking to combine artistry with practical use.
In this guide on how to make a cross stitch bookmark, we will walk you through the materials needed and the step-by-step process to create your own beautiful cross stitch bookmark. Get ready to bring your reading adventures to life with a handmade touch!
What is Cross Stitch?
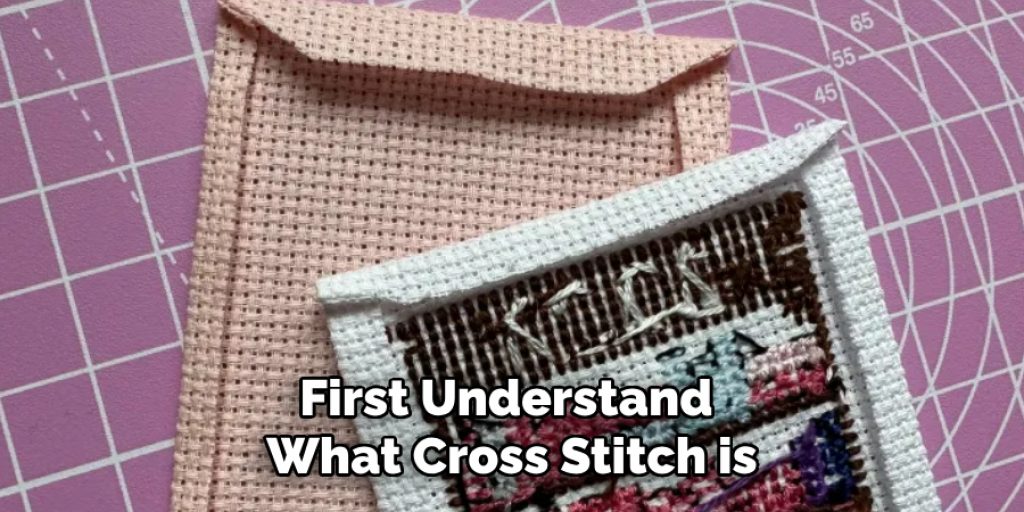
Before we dive into the tutorial, let’s first understand what cross stitch is. It is a form of embroidery that involves creating X-shaped stitches on a fabric to form a pattern or image. This technique has been around for centuries and was traditionally used to decorate household items such as clothing and linens.
Today, cross stitch has evolved into various designs and styles, making it a popular hobby among crafters. With its simple yet satisfying repetitive motion, cross stitching can be both relaxing and rewarding.
Materials Needed
To create your own cross-stitch bookmark, you will need the following materials:
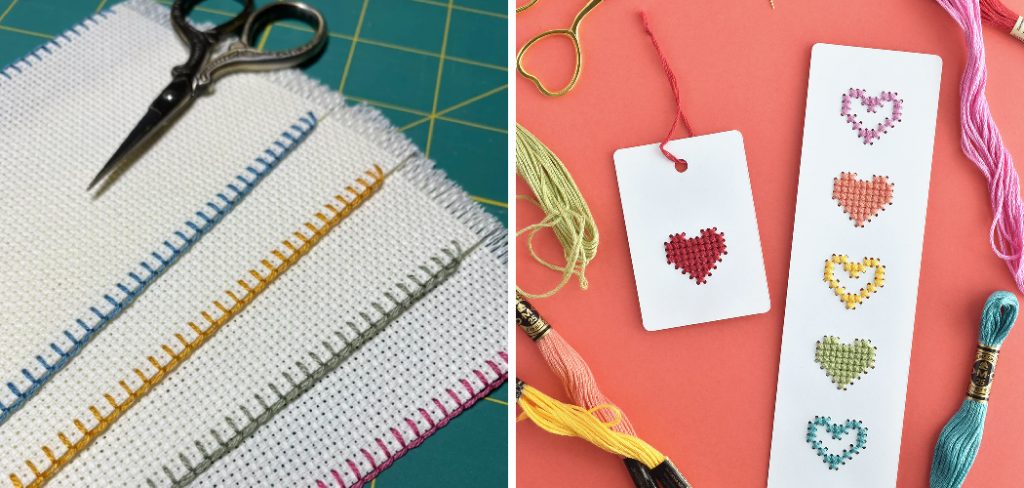
Aida Fabric (14-count is Recommended):
This is a type of fabric specially made for cross-stitching. It is woven with evenly spaced holes, making it easier to count and stitch your design accurately.
Embroidery Floss:
Choose a color palette that matches your personal style or the book you’ll be using the bookmark for. Each skein of embroidery floss typically includes six strands; you can use all six or separate them depending on the thickness you want for your stitches.
Cross Stitch Needle:
A blunt-tipped needle specifically designed for cross-stitching will help you easily pass through the holes in the Aida fabric without damaging it.
Scissors:
Any pair of small scissors will do, as long as they are sharp enough to cut your embroidery floss.
Cross Stitch Pattern:
You can either purchase a pattern or create your own design using graph paper. For beginners, it’s best to start with a simple design with fewer colors and smaller dimensions.
8 Step-by-step Instructions on How to Make a Cross Stitch Bookmark
Step 1: Prepare Your Aida Fabric
Begin by cutting a piece of Aida fabric that is slightly larger than your intended bookmark size. This extra fabric will allow for easy handling and stitching. Once cut, it’s a good idea to iron the fabric on a low setting to remove any creases, ensuring a smooth surface for your work.
Make sure to measure out the dimensions of your bookmark to achieve the desired final size. After preparing the fabric, you might also want to secure the edges with a zigzag stitch or fray check to prevent unraveling, especially if you’re using a larger piece.
Step 2: Gather and Sort Your Embroidery Floss
Before you start stitching, it’s important to gather and sort your selected embroidery floss. Begin by choosing the specific colors you’ll be using for your cross-stitch pattern. Lay out the skeins and, if necessary, separate the individual strands according to your design requirements.
It’s helpful to organize them either by color or in the order they will be used, making it easier to grab what you need as you work. Be careful not to pull too hard on the strands to avoid tangling. Once you have everything sorted, you’re ready to begin stitching your bookmark!
Step 3: Cut Your Embroidery Floss
Depending on your design, you may need to cut longer or shorter strands of floss. A general rule of thumb is to use a length that’s about twice the size of your final stitch. This will allow for enough slack and to avoid running out of thread in the middle of stitching.
Just remember that it’s better to have more than less, so if you find yourself with excess floss, you can always trim it later.
Step 4: Begin Stitching
Thread your cross stitch needle with one strand of embroidery floss (or more if desired), make a knot at the end and start stitching according to your pattern. If you’re using a printed pattern, make sure to follow the chart carefully for each stitch.
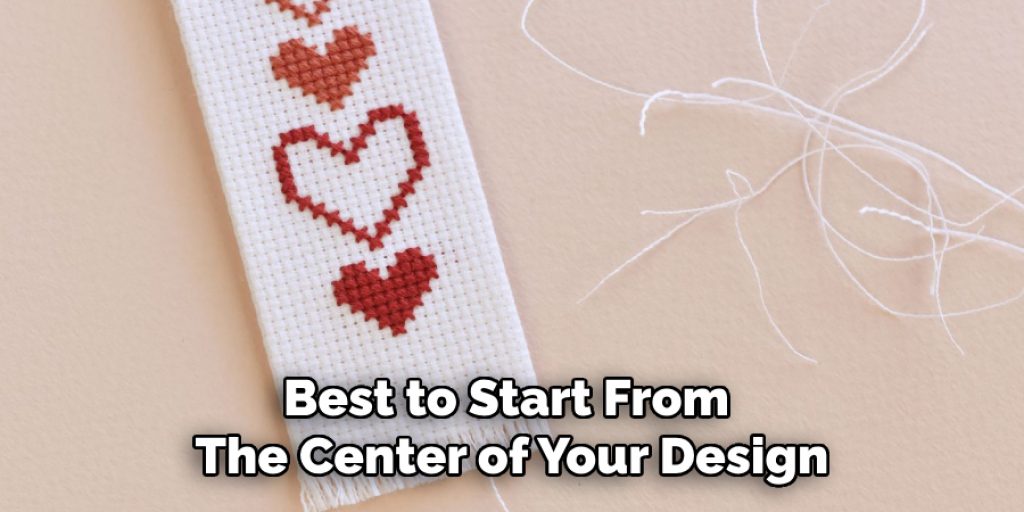
As a beginner, it’s best to start from the center of your design and work outwards. This will help ensure that your design is centered on the fabric and avoid any mistakes in counting or placement.
Step 5: Cross Stitch Technique
The cross stitch technique involves creating an X-shaped stitch by passing your needle through two holes diagonally across each other on the Aida fabric. It’s important to keep your stitches uniform in size and direction throughout your project.
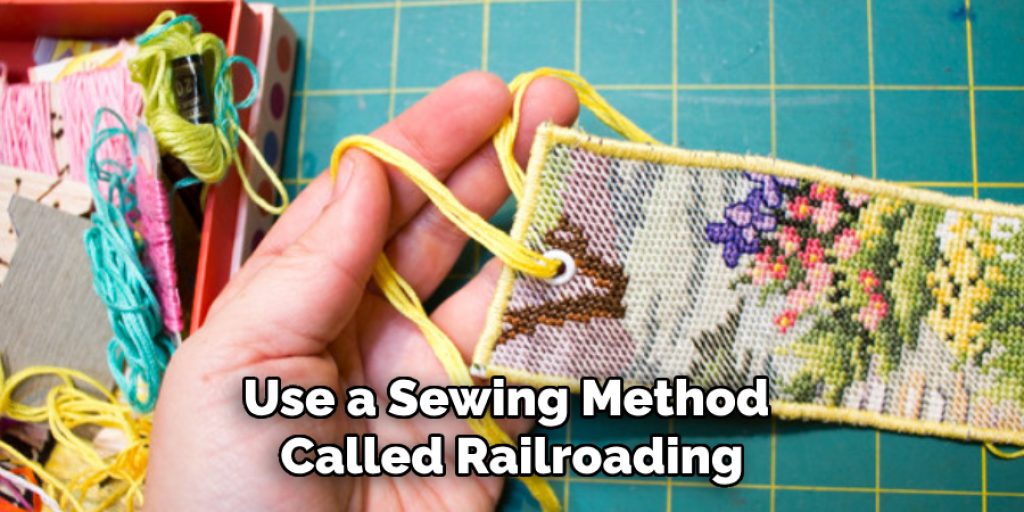
For a cleaner look, you can also use a sewing method called railroading, where you pass your needle between strands of floss instead of through them. This helps keep your stitches flat and eliminates any gaps between them.
Step 6: Finishing Your Stitches
When you reach the end of a strand or need to change colors, finish off your stitches by making a knot on the backside of the fabric. This will secure your work and prevent it from unraveling.
For a neater finish, you can also weave in the remaining loose ends on the back of your bookmark using a needle before trimming them close to the fabric.
Step 7: Time for Details and Embellishments
Now that the main design of your cross-stitch bookmark is complete, it’s time to add any additional details or embellishments that will enhance its visual appeal. Consider incorporating small motifs, borders, or even backstitching to outline certain areas, giving your bookmark greater depth and definition.
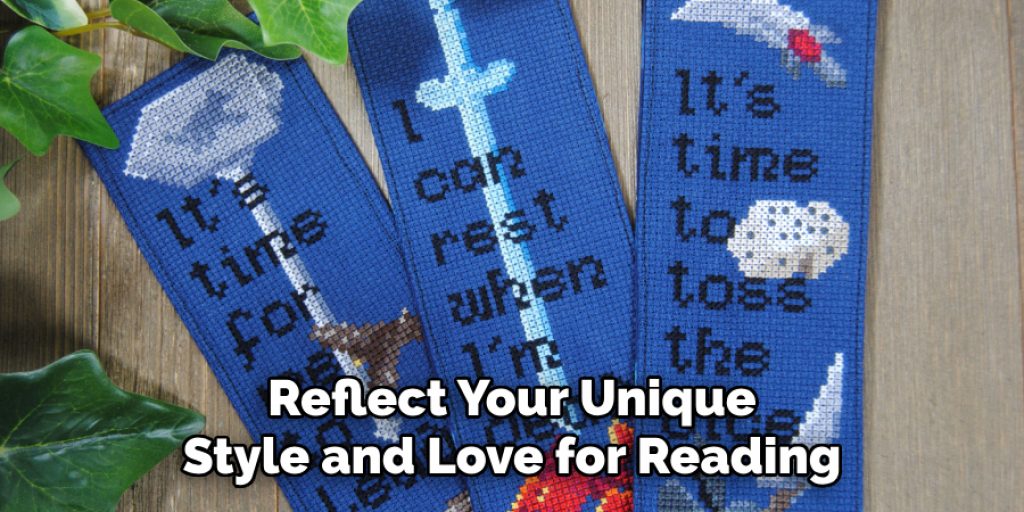
You might also opt to add beads, sequins, or even ribbons for a touch of charm. When applying these embellishments, ensure they are securely attached to withstand wear and tear, especially if the bookmark will be used frequently. Take this opportunity to personalize your creation—after all, it’s meant to reflect your unique style and love for reading!
Step 8: Finishing Touches
Once you’re satisfied with your cross stitch bookmark, trim the excess fabric around the edges, leaving about half an inch of extra fabric. Fold it inwards to create a clean edge and secure it using a sewing technique such as whip stitch or blanket stitch. This will prevent fraying and give your bookmark a polished finish.
And there you have it—a beautiful handmade cross-stitch bookmark that is perfect for keeping your place while reading or gifting to fellow book lovers! Remember to take breaks throughout the process and enjoy the meditative experience of creating something with your own hands. Following these steps on how to make a cross stitch bookmark, you can make as many bookmarks as you like in different designs and styles to add a personal touch to your reading routine. Happy stitching!
Frequently Asked Questions
Q: How Long Does It Take to Make a Cross Stitch Bookmark?
A: The time it takes to make a cross stitch bookmark varies depending on the complexity of your design, your stitching speed, and any additional details or embellishments you choose to add. On average, it can take anywhere from a few hours to several days to complete.
Q: Can I Use Aida Fabric with Different Thread Counts?
A: Yes, Aida fabric comes in various thread counts or “holes per inch.” The most common options are 14-count and 16-count fabric, but there are also finer options such as 18-count and coarser options like 11-count. Each will affect the size and appearance of your stitches, so it’s best to experiment with different thread counts to find what works best for your design.
Q: What Are Some Tips for Keeping My Stitches Neat and Uniform?
A: To keep your stitches neat and uniform, make sure to maintain consistent tension on your floss while stitching. Using a hoop or frame can also help keep your fabric taut and prevent puckering. Additionally, take breaks every so often to rest your eyes and hands to avoid fatigue, which can affect the quality of your stitches.
Q: Can I Wash My Cross Stitch Bookmark?
A: Yes, you can wash your cross stitch bookmark by hand with mild soap and cool water. Make sure to gently blot it dry and reshape it while damp to maintain its shape. Avoid using harsh chemicals or bleach as they may damage the floss or fabric.
Conclusion
Creating a cross stitch bookmark is not only a rewarding craft but also a wonderful way to combine creativity with functionality. By following the steps on how to make a cross stitch bookmark outlined—from selecting your materials and cutting your floss to finishing your project with personal embellishments—you can construct a unique and personalised piece that reflects your style.
Whether you’re an experienced stitcher or a curious beginner, this project provides a great opportunity to explore the art of cross-stitching while crafting something meaningful. So gather your supplies, unleash your imagination, and enjoy the satisfying journey of making your very own bookmark that will accompany you on countless reading adventures. Happy stitching!
Elizabeth Davis
Elizabeth is a creative writer and digital editor based in the United States. She has a passion for the arts and crafts, which she developed from a young age. Elizabeth has always loved experimenting with new mediums and sharing her work with others. When she started blogging, she knew that DIYquickly would be the perfect platform to share her tutorials and tips. She's been writing for the blog from the beginning, and her readers love her helpful advice and easy-to-follow instructions. When she's not writing or editing, Elizabeth enjoys spending time with her family and friends.


